こんにちは、源です。今日も木製物置の作り方をお届けします。
![](https://kantan-diy.com/wp-content/uploads/2023/07/de8b0abd7ba7114bec4d02279771fcd1-150x150.jpg)
棚板作ってたっぷり収納しよっと
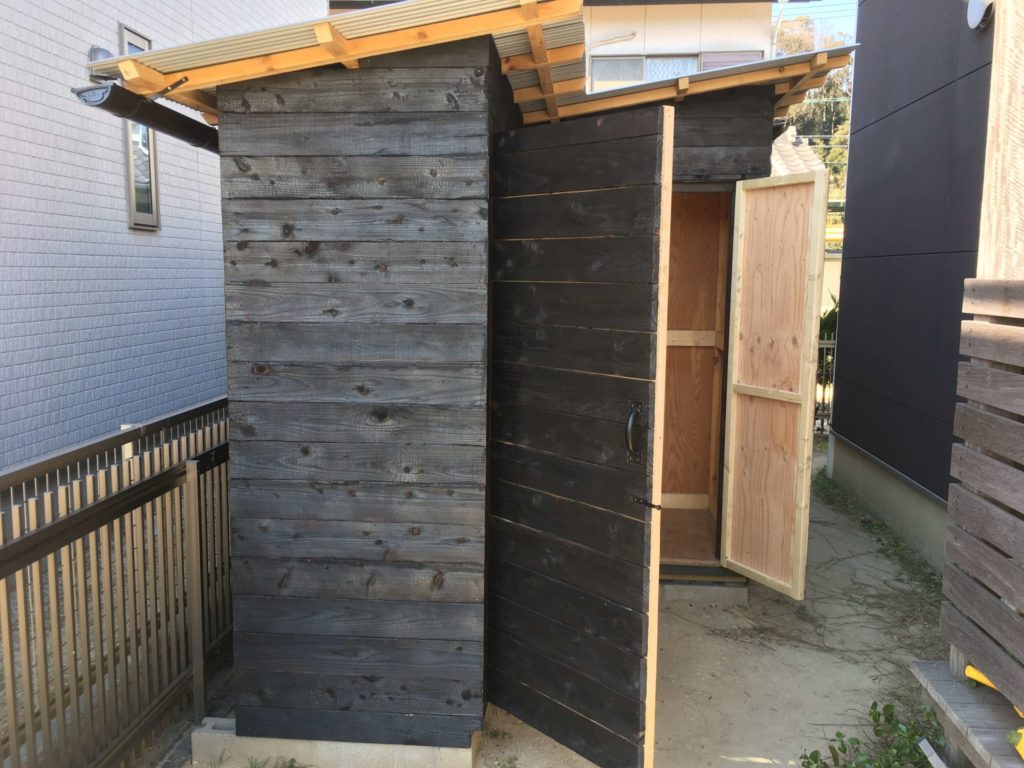
物置を自作しています。現在は、外壁として構造用合板を張り終わったところまで完成しています。
![](https://kantan-diy.com/wp-content/uploads/2019/11/20191124_050852386_iOS-scaled-e1574589332486-1024x768.jpg)
![](https://kantan-diy.com/wp-content/uploads/2019/11/20191124_050940298_iOS-scaled-e1574589231295-1024x768.jpg)
![](https://kantan-diy.com/wp-content/uploads/2019/11/20191124_050950095_iOS-scaled-e1574589204419-1024x768.jpg)
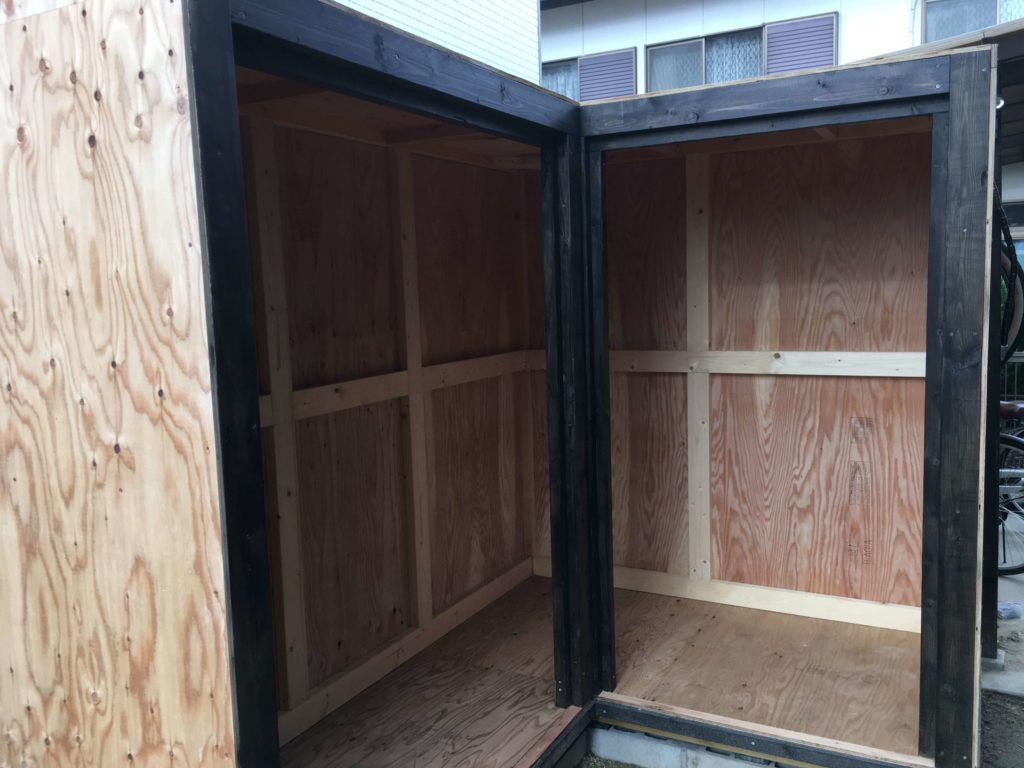
壁までが出来上がって、大分、物置らしくなってきました。しかし、物置というからには、中にいろいろなものを収納することができなければなりません。
ここで、使い勝手のためには中に棚がなければなりません。今回は、棚の製作過程について説明します。
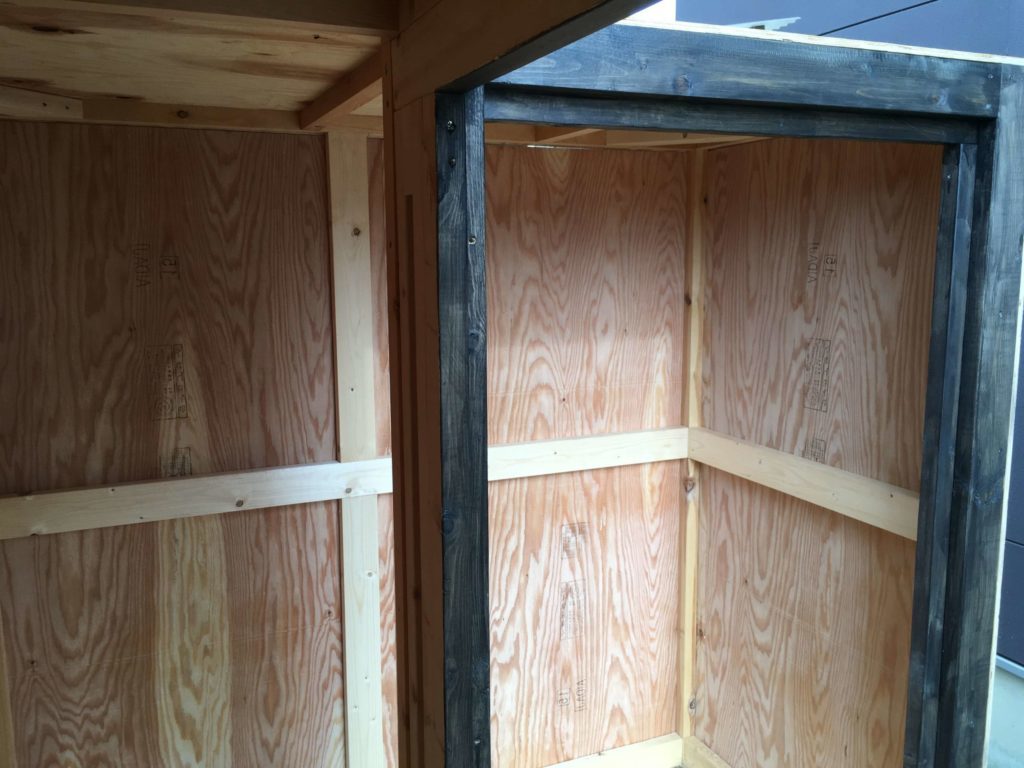
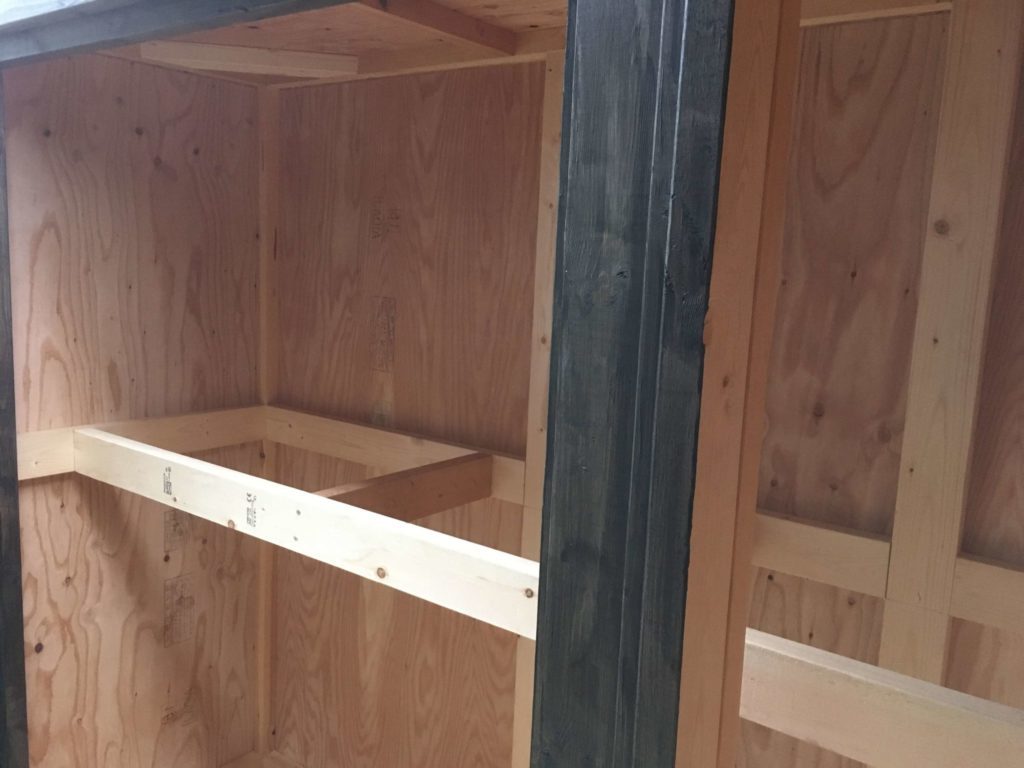
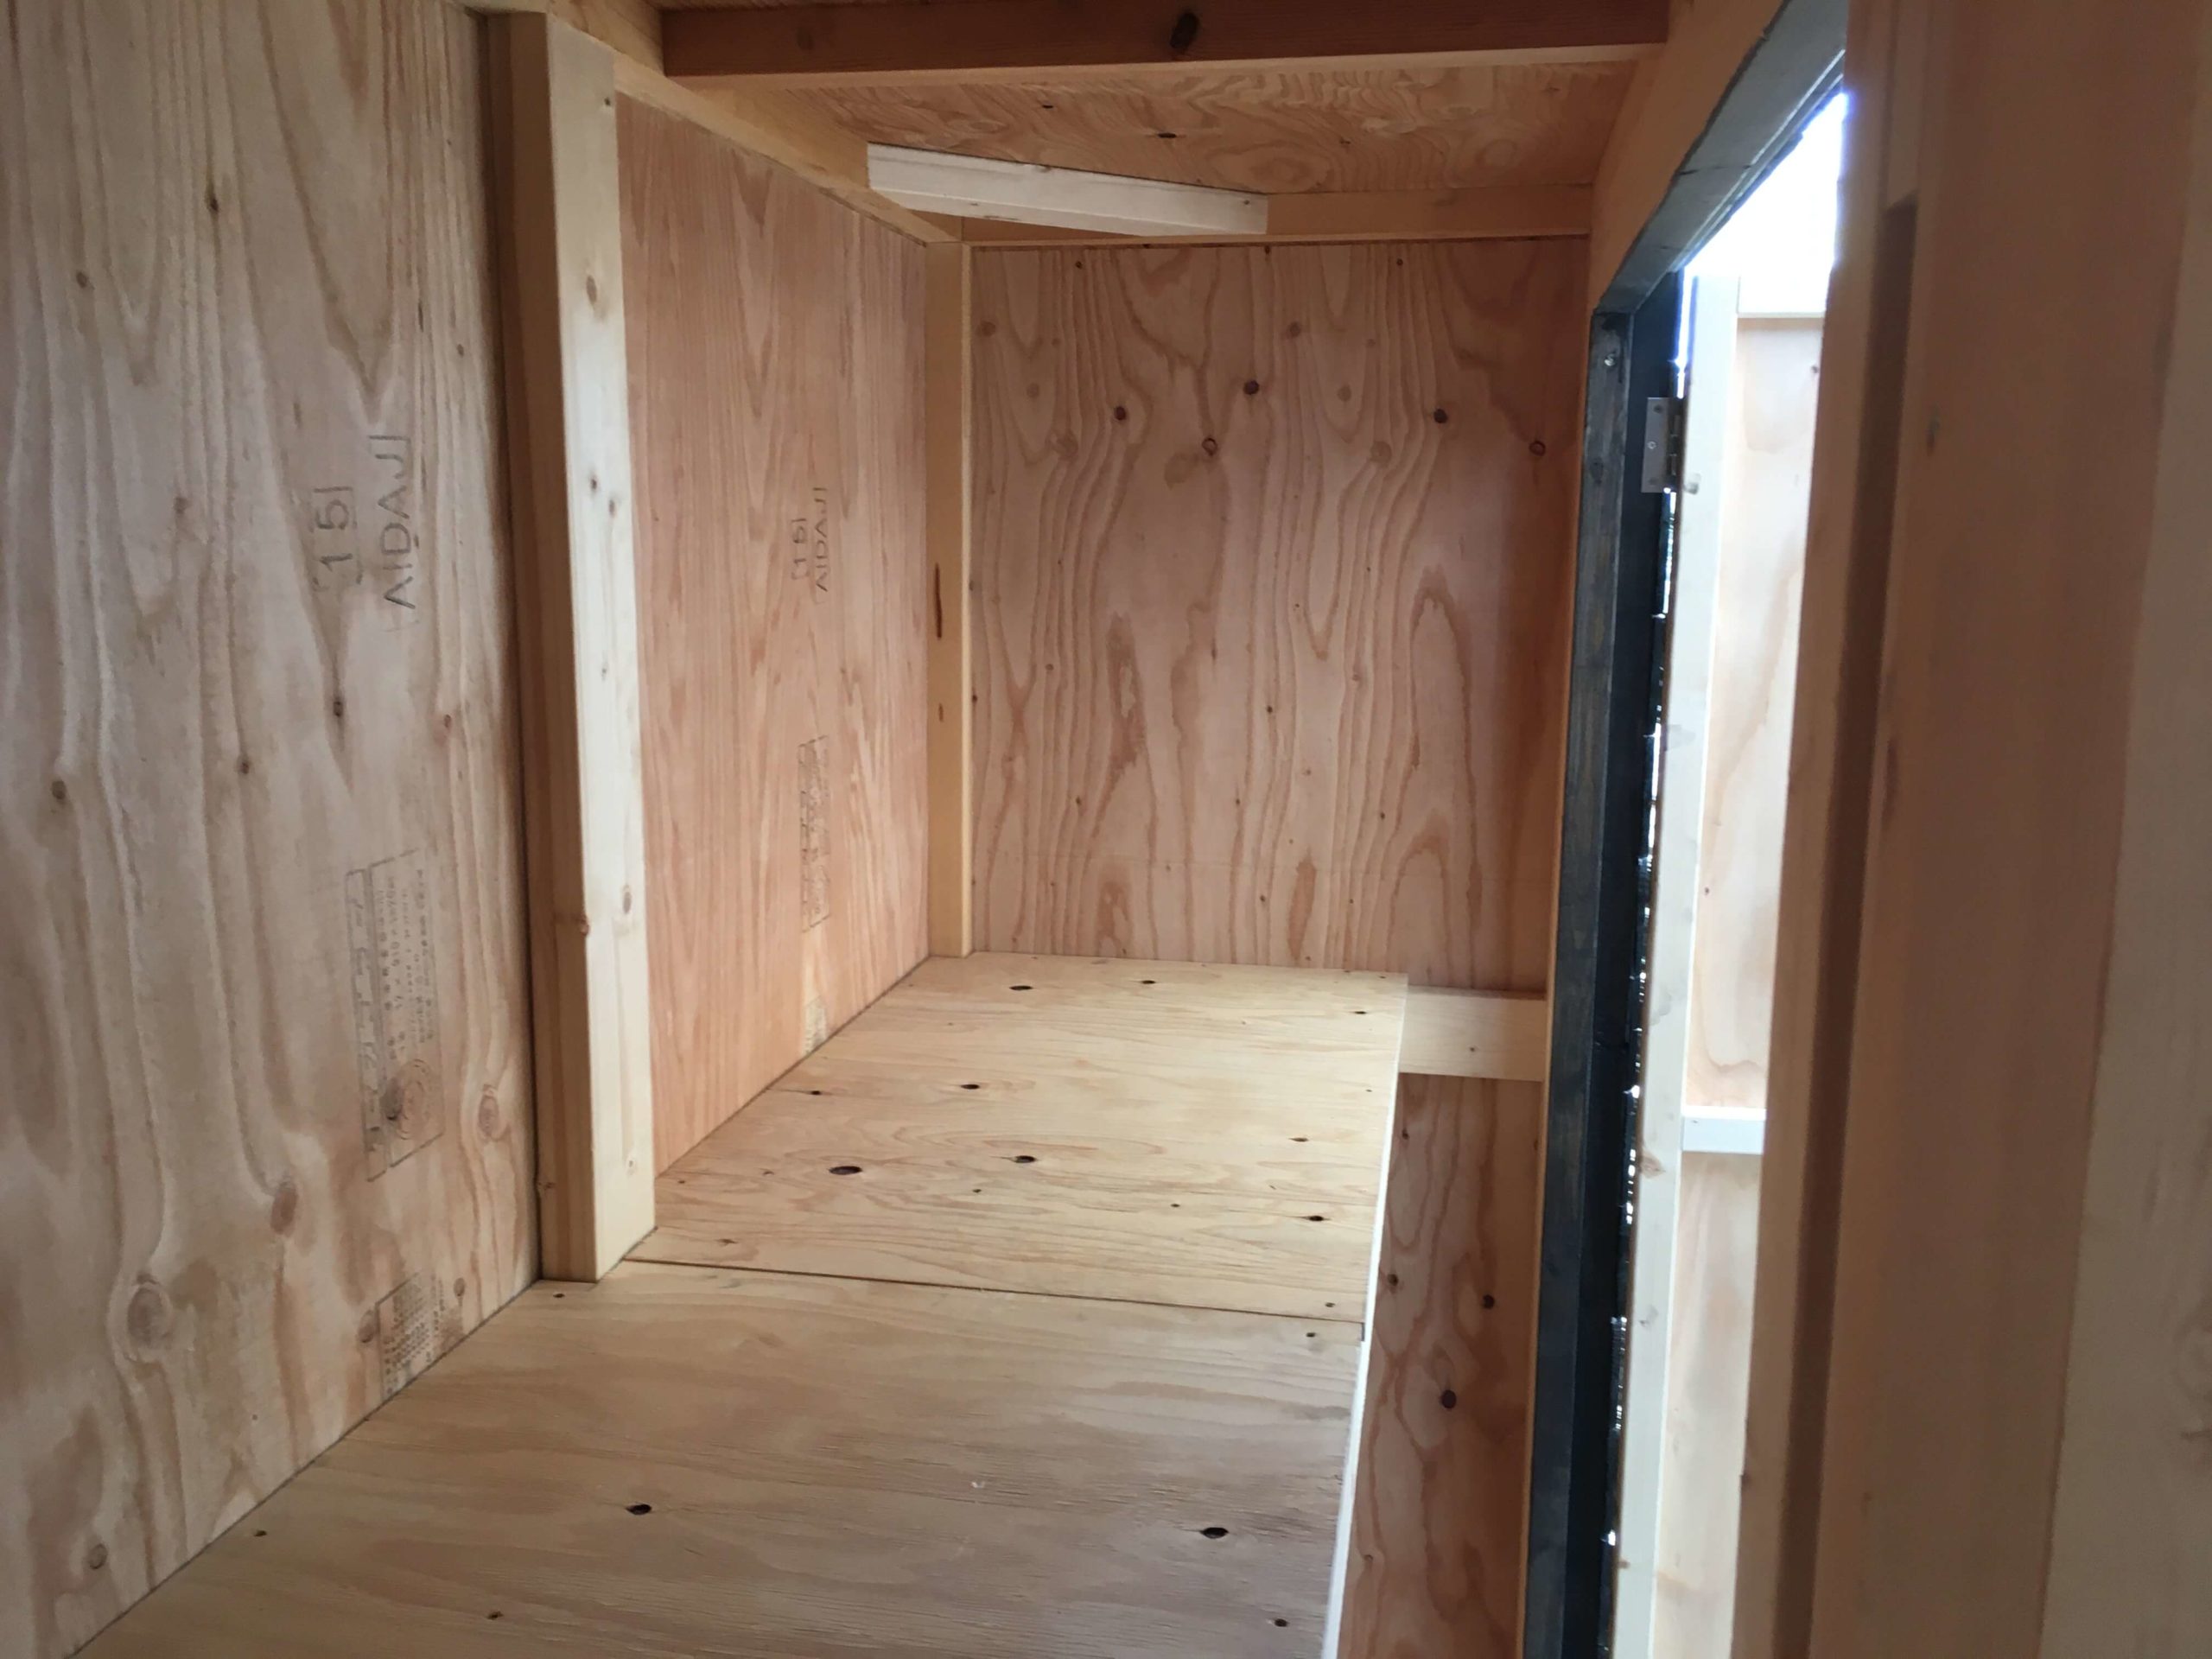
棚は物置の中を整理するアイテム「みかん箱」の奥行き52㎝にあわせて製作します。物置の全幅と同じ長さ2,400㎜のツーバイ材を奥から52㎝の位置に渡します。
![](https://kantan-diy.com/wp-content/uploads/2019/11/20191124_063106182_iOS-1024x768.jpg)
![](https://kantan-diy.com/wp-content/uploads/2019/11/20191124_062919157_iOS-768x1024.jpg)
![](https://kantan-diy.com/wp-content/uploads/2019/11/20191124_062900604_iOS-1024x768.jpg)
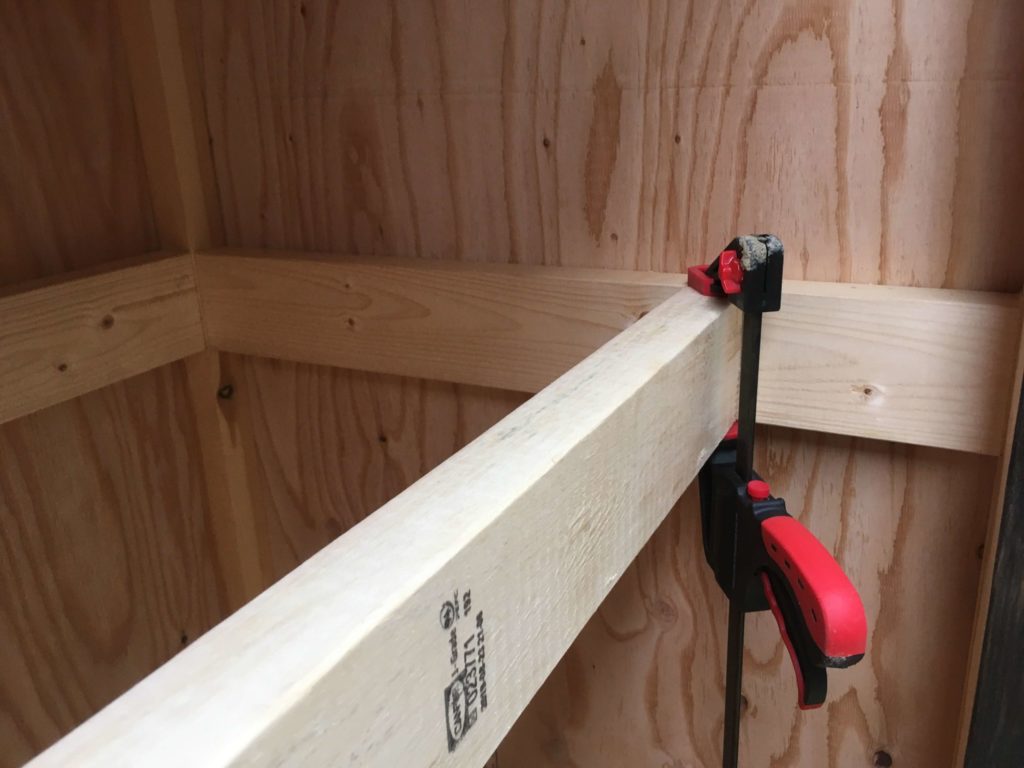
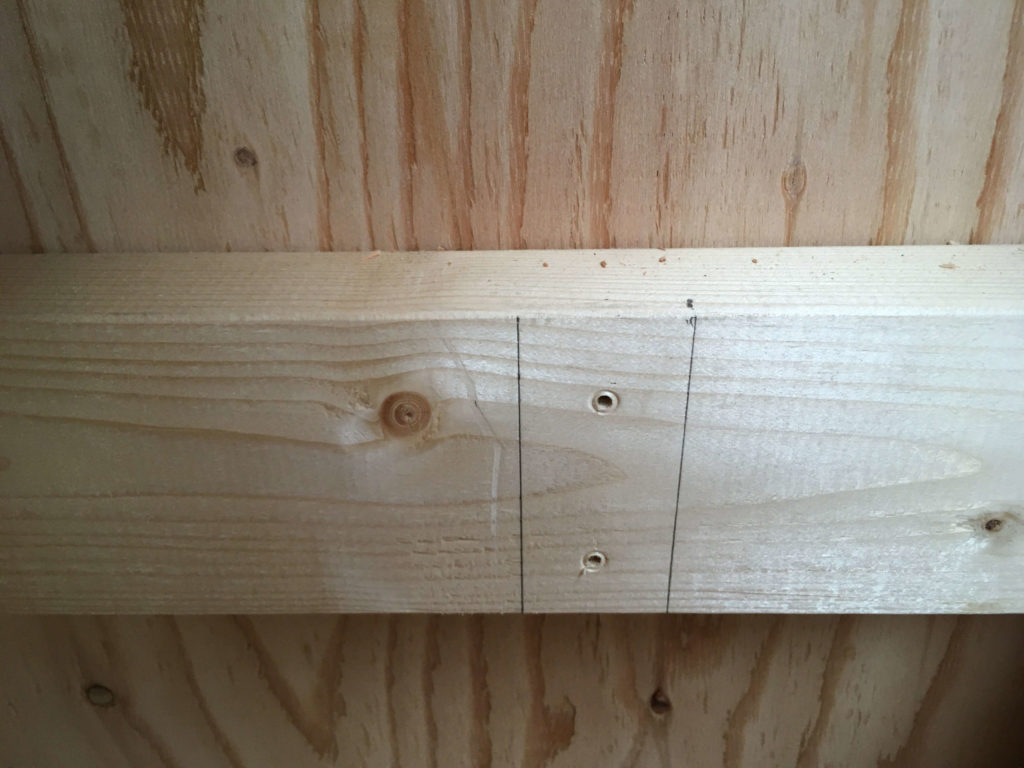
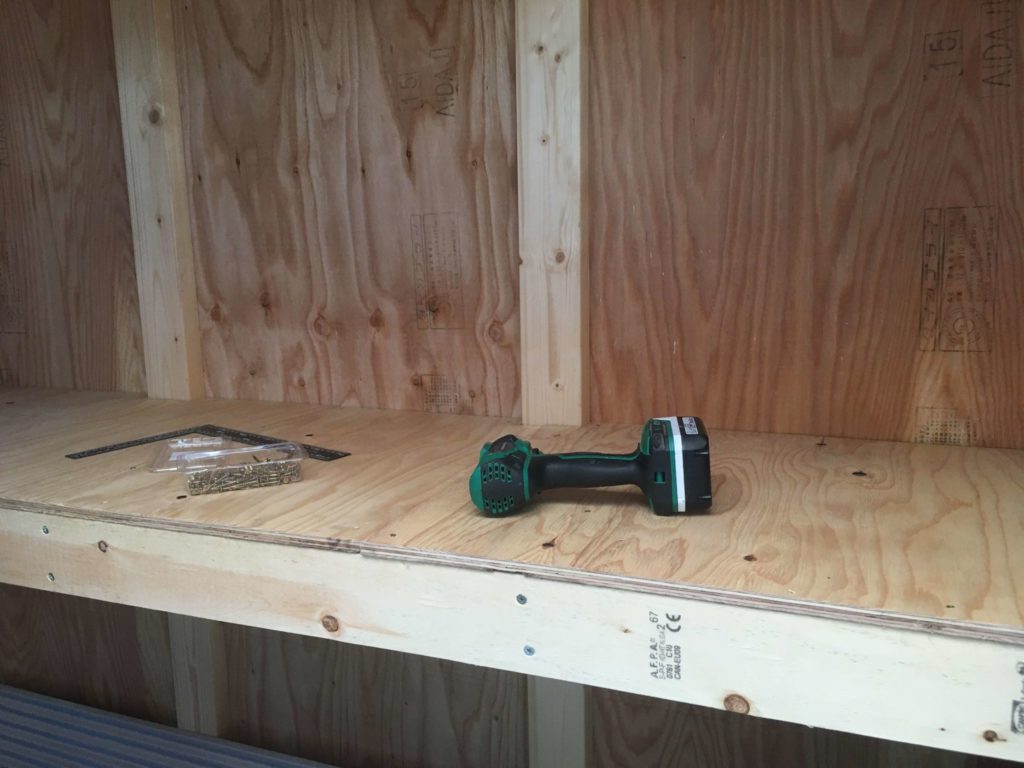
設置する位置を線引きして、その位置に合わせて合板の外側からビス留めします。ビスを打つ際にずれないようにクランプで留めておきます。
![](https://kantan-diy.com/wp-content/plugins/pochipp/assets/img/pochipp-logo-t1.png)
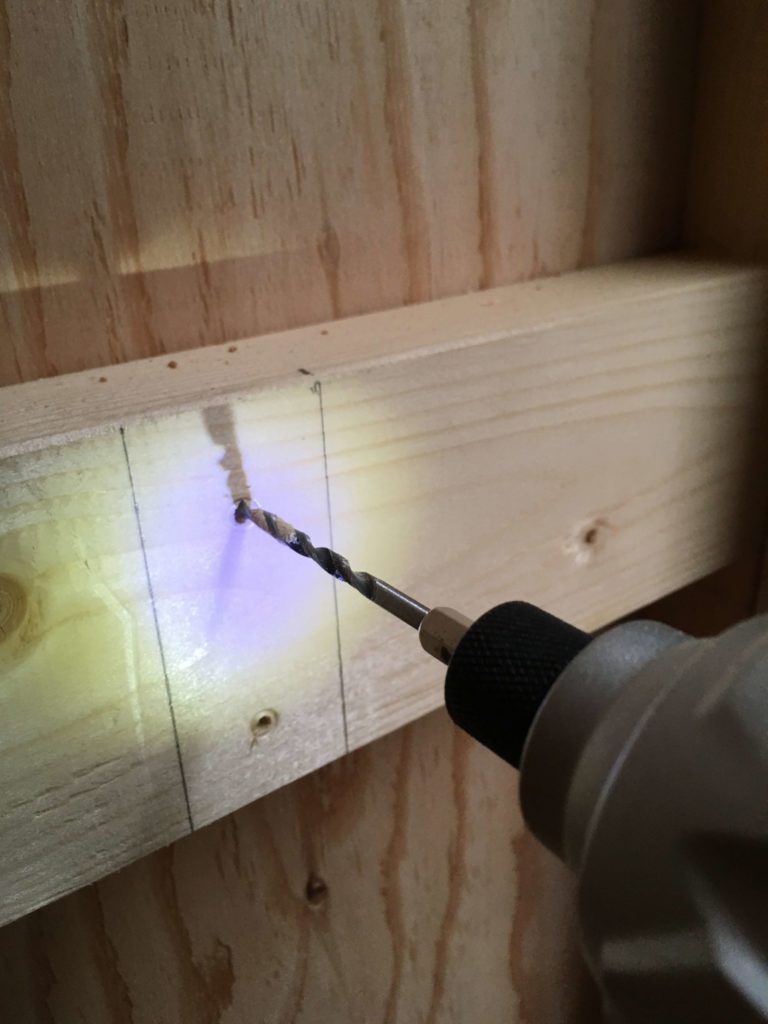
また、外部からビス打ちする際に、打ち込み位置が分かりやすいように、あらかじめ内部からドリルで穴を開けておきます。この際のドリル径はビス径よりも少し小さめを選択します。
後は、棚の構造補強としてはしご状の材料を加えておきます。接合は、先ほどと同様にドリルで先行穴を開けてビスを打ち込みます。
![棚1](https://kantan-diy.com/wp-content/uploads/2019/11/20191124_071156303_iOS-1024x768.jpg)
![棚2](https://kantan-diy.com/wp-content/uploads/2019/11/20191124_071139520_iOS-scaled-e1574589077159-1024x768.jpg)
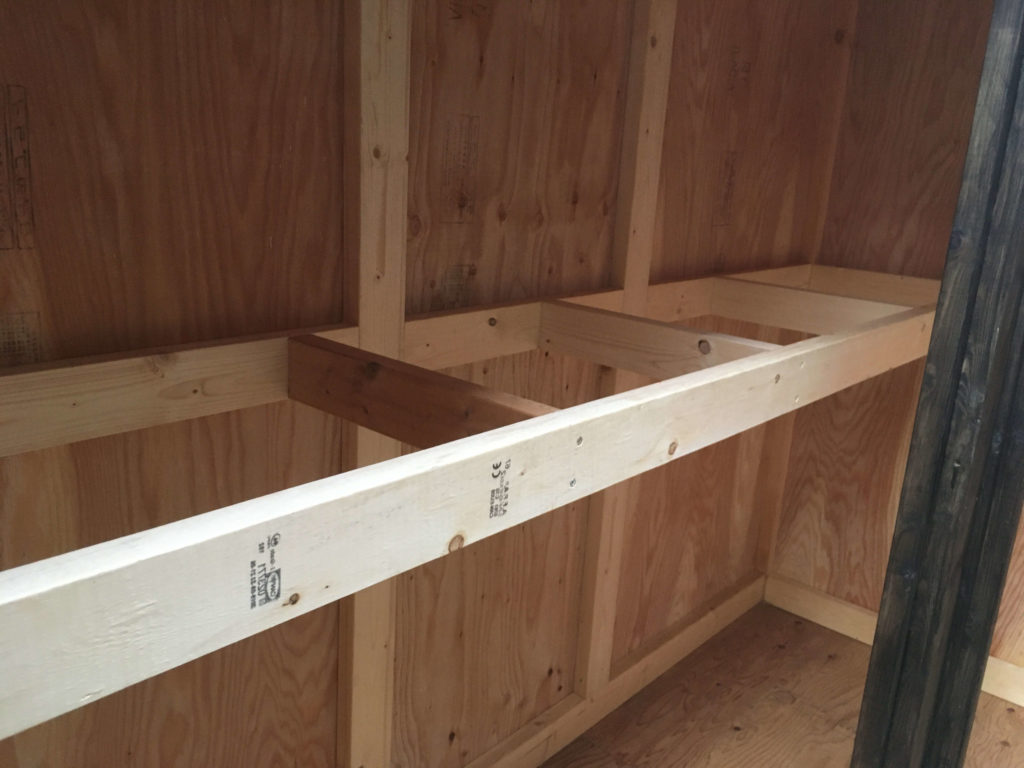
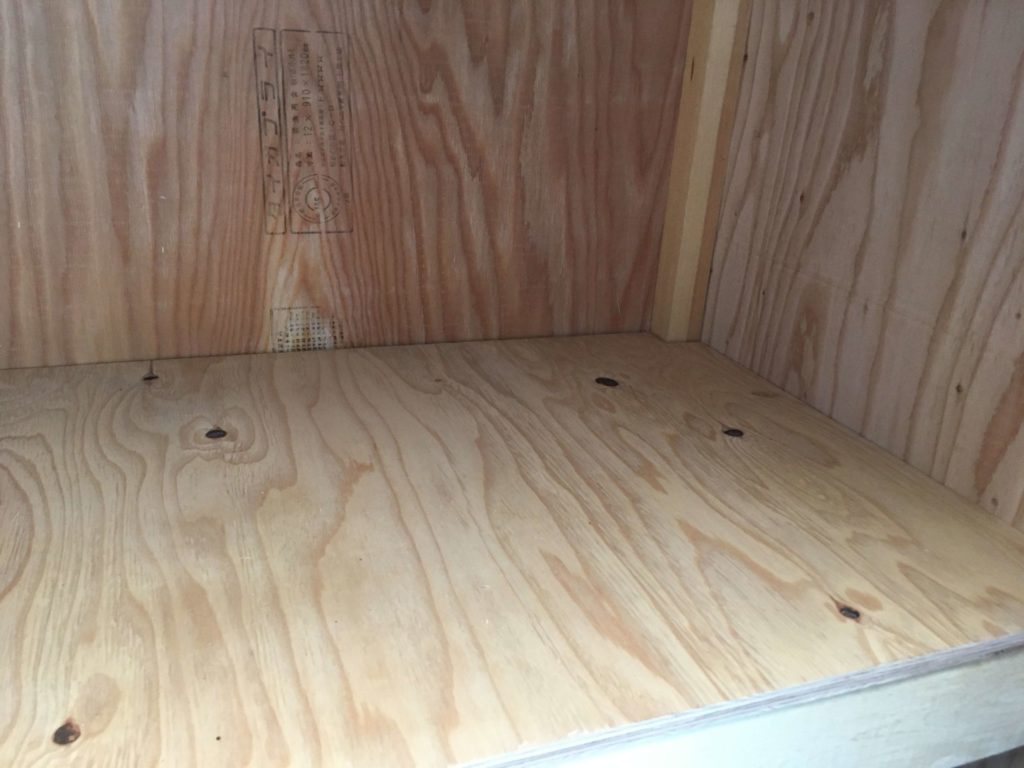
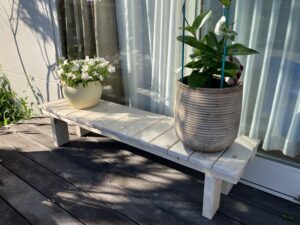
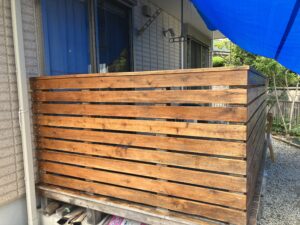
あとは、この骨組み部分に板を渡せば棚の完成です。構造用合板を張ってもいいですし、隙間を開けた細い板を何枚も張って「すのこ状」に組んでもいいでしょう。
すのこ状であれば、通気性もよくなるので湿気がこもりにくくなります。しかし、施工手間は多くなります。
なお、今回の手法で棚を作る場合は、このタイミングで作らないといけません。それは、今後、構造用合板の外側に防水施工をしていきますので、コーススレッドを打ち込むことができなくなるからです。
![](https://kantan-diy.com/wp-content/uploads/2023/11/c0bc9fab343b9f6f3e97618f1184948a-1024x562.jpg)
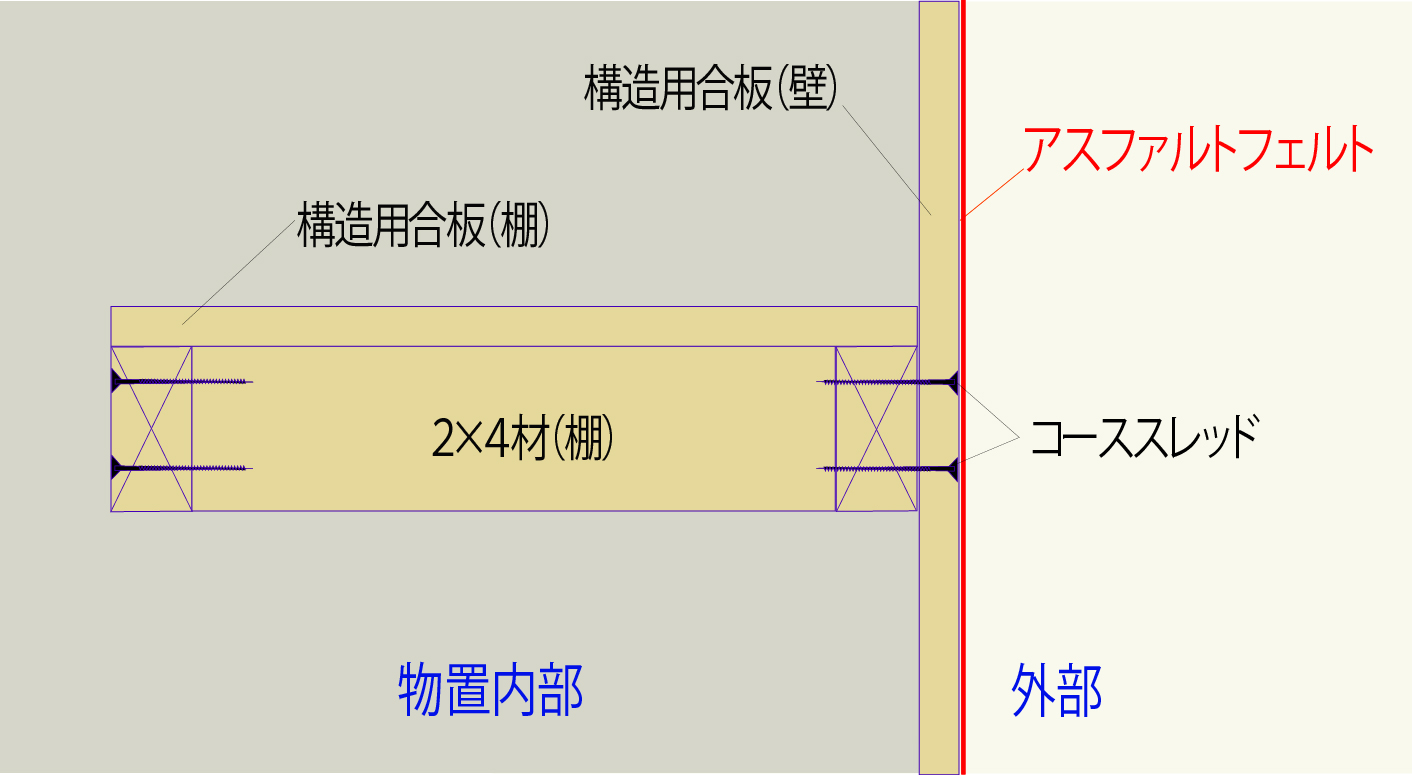
防水紙を貫通させてコーススレッドを打ち込むと、そこに「みずみち」ができてしまい、雨漏りの原因となるため、貫通させてはいけません。
構造用合板を上に載せて、コーススレッドで打ち付けると棚板の完成です。
![](https://kantan-diy.com/wp-content/uploads/2020/02/20200211_014239653_iOS-1024x768.jpg)
![](https://kantan-diy.com/wp-content/uploads/2020/02/20200211_005851710_iOS-1024x768.jpg)
![](https://kantan-diy.com/wp-content/uploads/2020/02/20200211_022401251_iOS-1024x768.jpg)
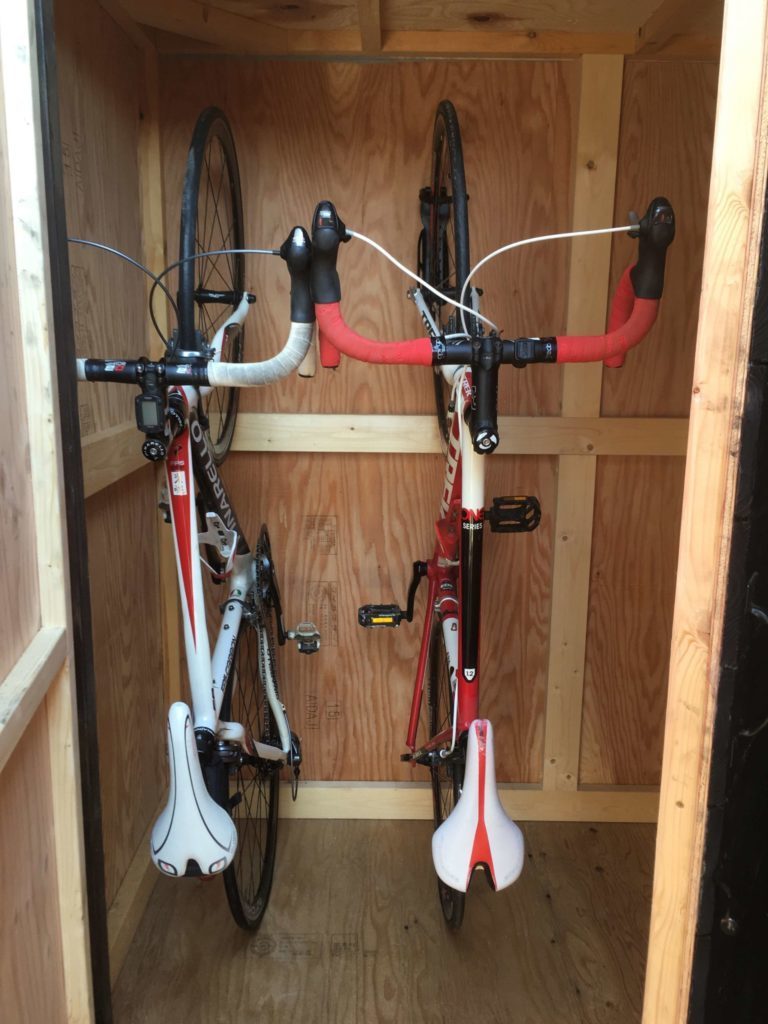
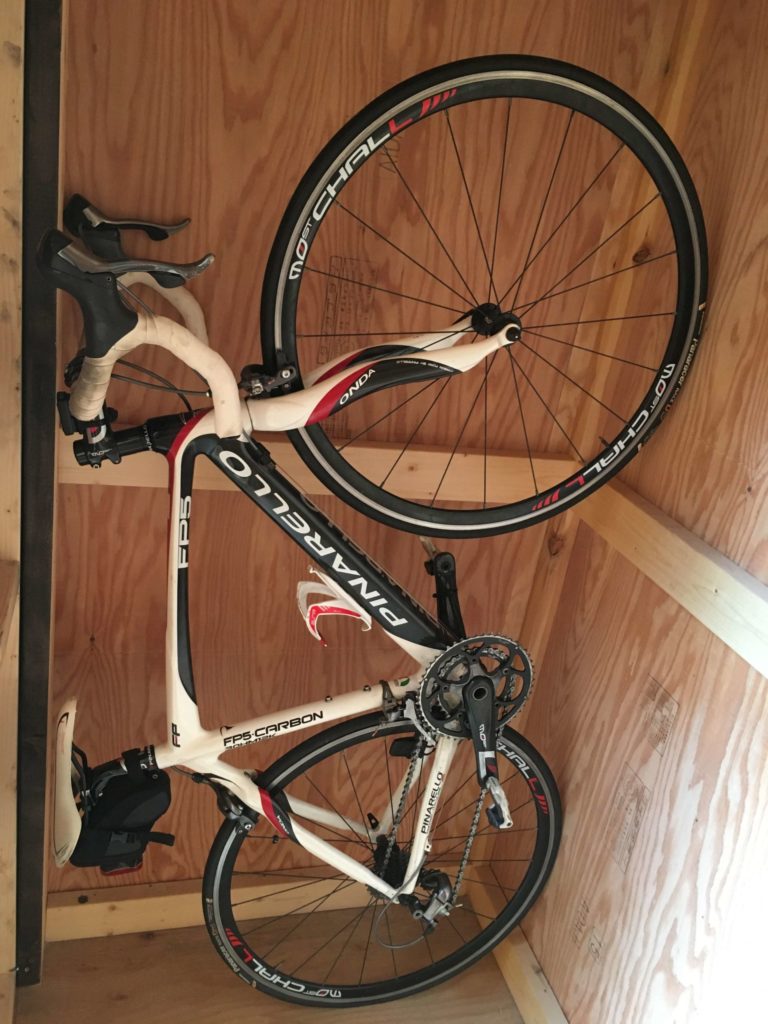
物置に物を収納した様子は以下のとおりです。
![](https://kantan-diy.com/wp-content/uploads/2020/02/20200211_074042144_iOS-1024x768.jpg)
![](https://kantan-diy.com/wp-content/uploads/2020/02/20200211_025753070_iOS-768x1024.jpg)
![](https://kantan-diy.com/wp-content/uploads/2020/02/20200211_023223449_iOS-768x1024.jpg)
物置の製作過程については、こちらをご覧ください。
物置を作るのに必要な工具です。DIY利用の場合では、今回紹介するくらいの入門用工具で慣れるのがいいと思います。
![](https://kantan-diy.com/wp-content/plugins/pochipp/assets/img/pochipp-logo-t1.png)
バッテリーもセットになっているにもかかわらず、非常にお値打ちなモデルです。DIYでは十分なトルクですので、物足りなくなることはありません。
![](https://kantan-diy.com/wp-content/plugins/pochipp/assets/img/pochipp-logo-t1.png)
丸のこは木材を綺麗に素早く切れる道具です。高速回転する刃が怖く感じるかもしれません。使い方をしっかり調べてからであれば危険な工具ではありません。
丸のこもバッテリー、電源のどちらのタイプもありますが、バッテリータイプはまだまだ高価です。電源タイプに軍配が上がります。
物置の収納については、棚の他に収納用の金具などを取り付けた下記の記事もご覧ください。
![](https://kantan-diy.com/wp-content/uploads/2020/02/20200211_022433507_iOS-scaled-e1581416173688.jpg)
コメント