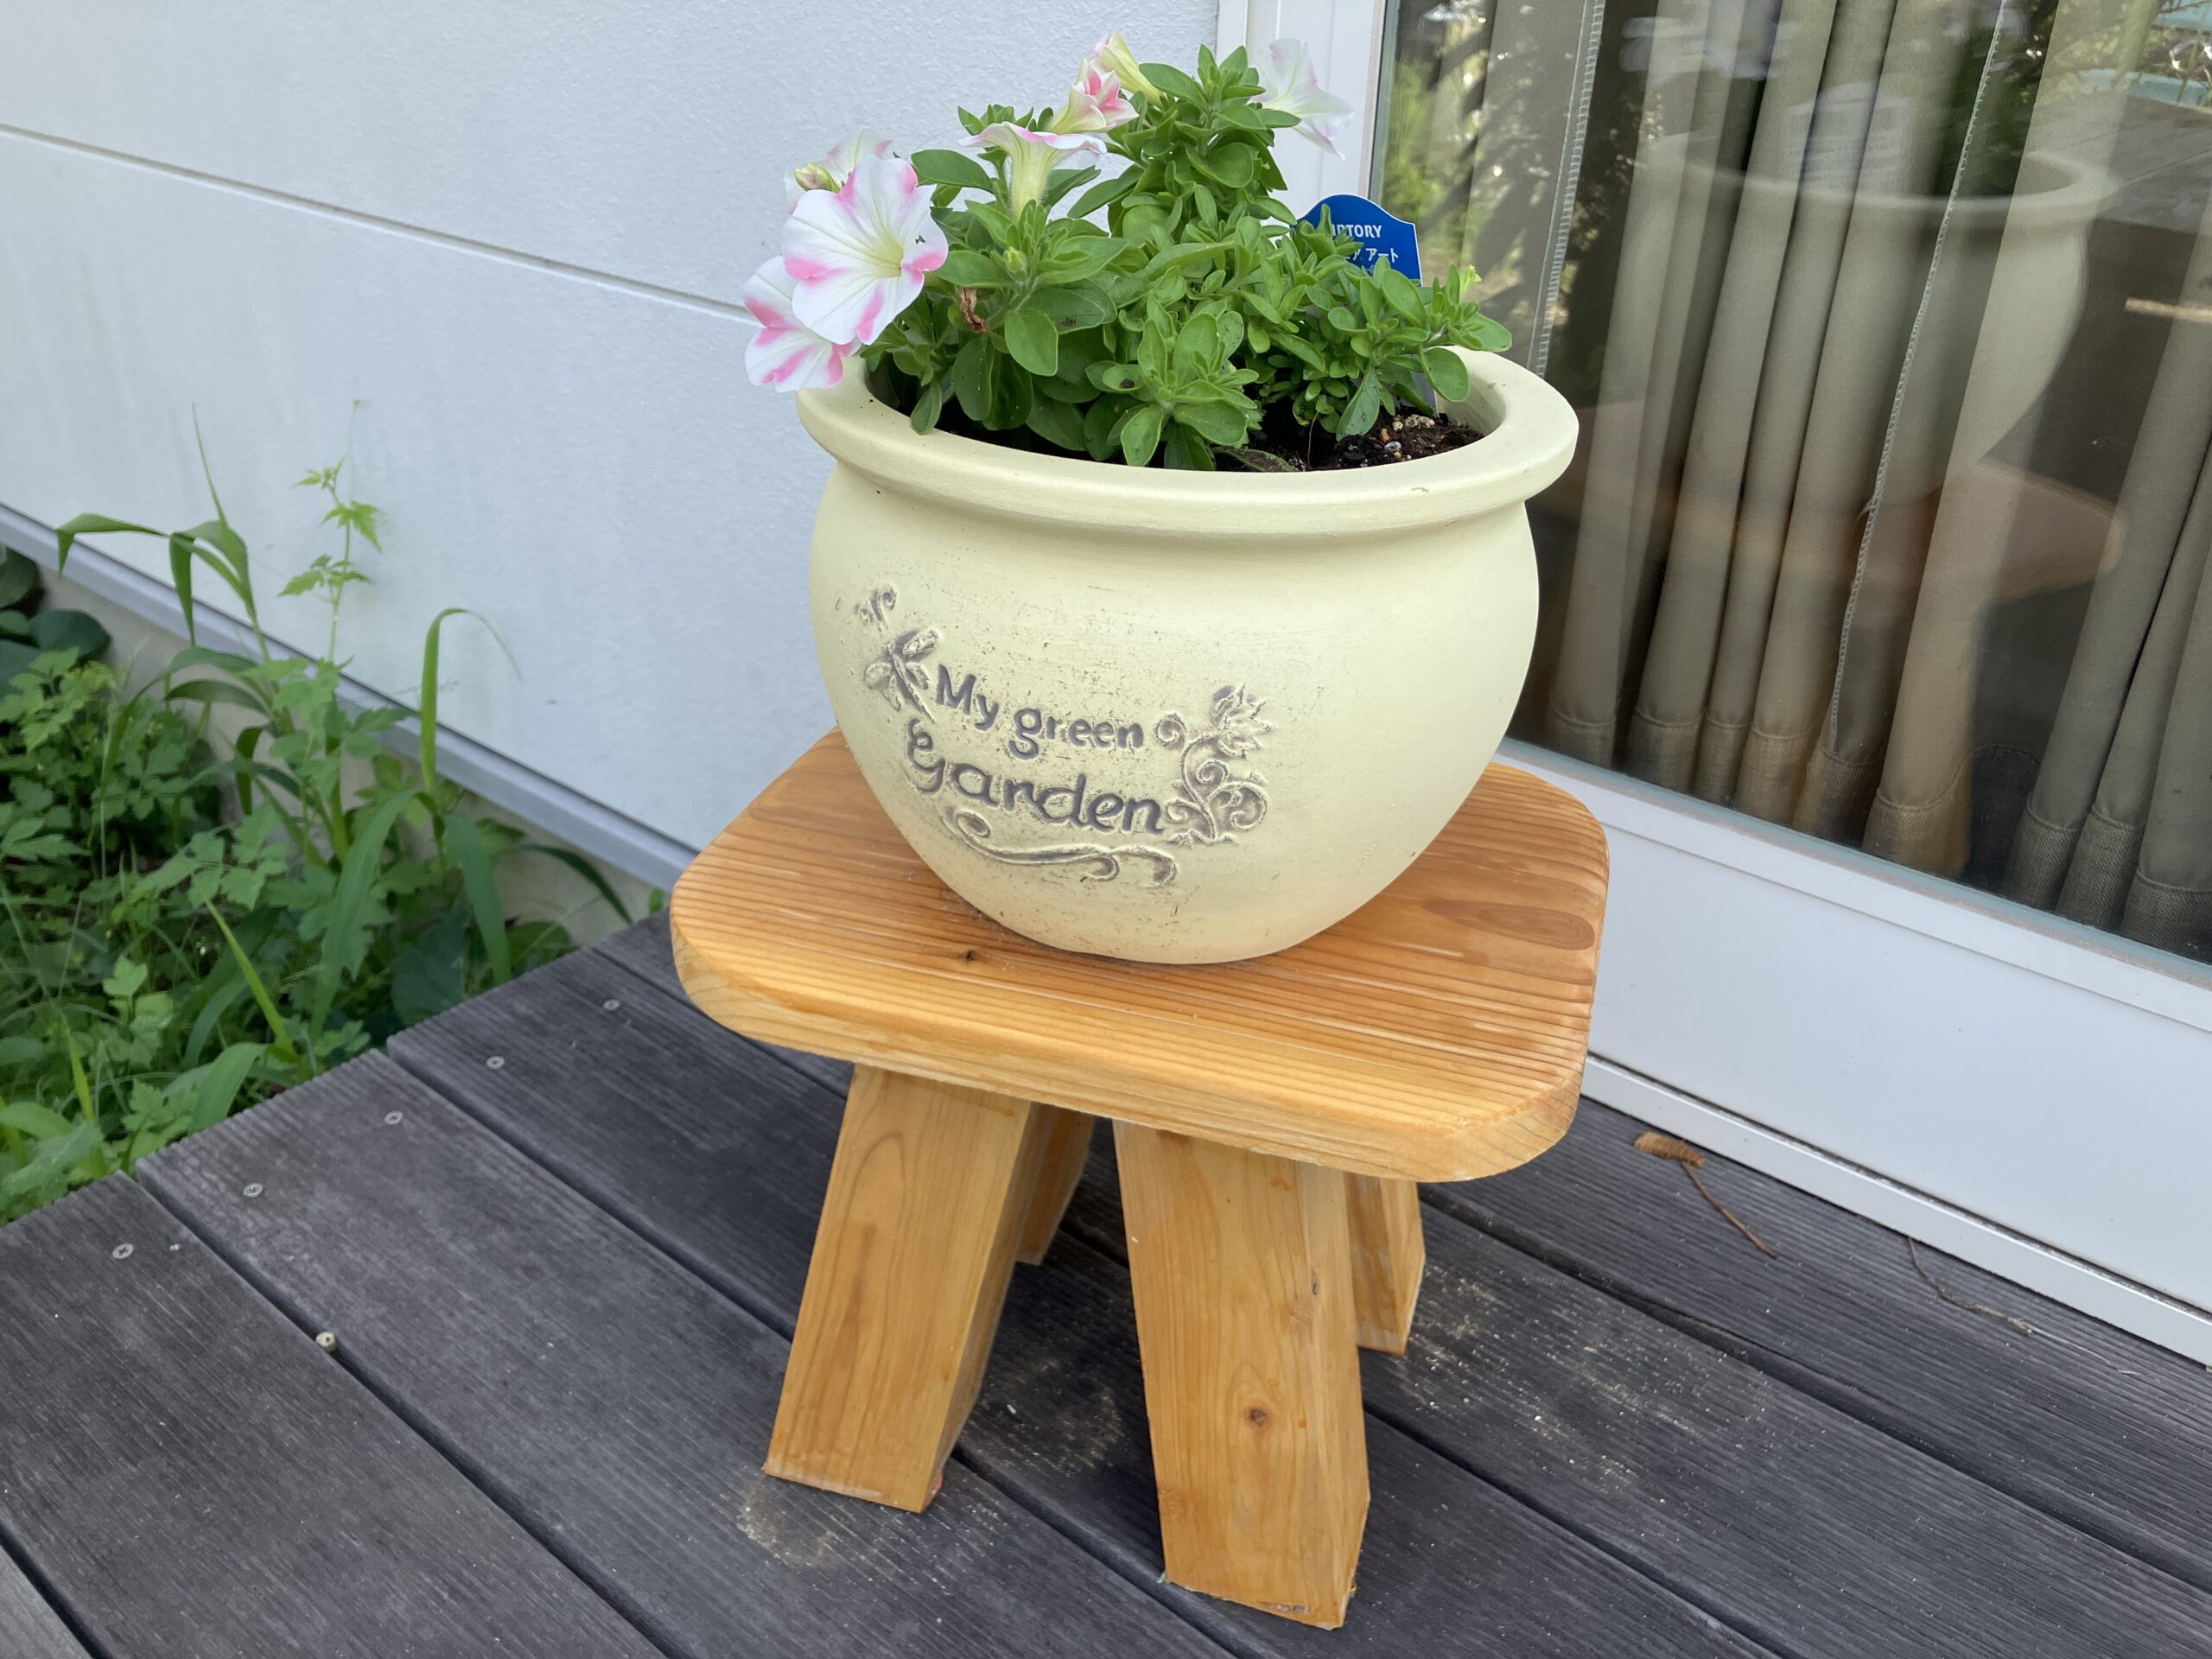
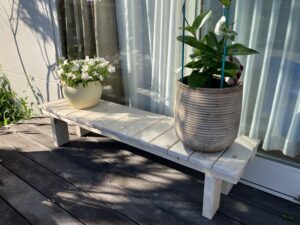
こんにちは、源です。
![](https://kantan-diy.com/wp-content/uploads/2023/07/de8b0abd7ba7114bec4d02279771fcd1-150x150.jpg)
植木鉢の台を作ったよ!
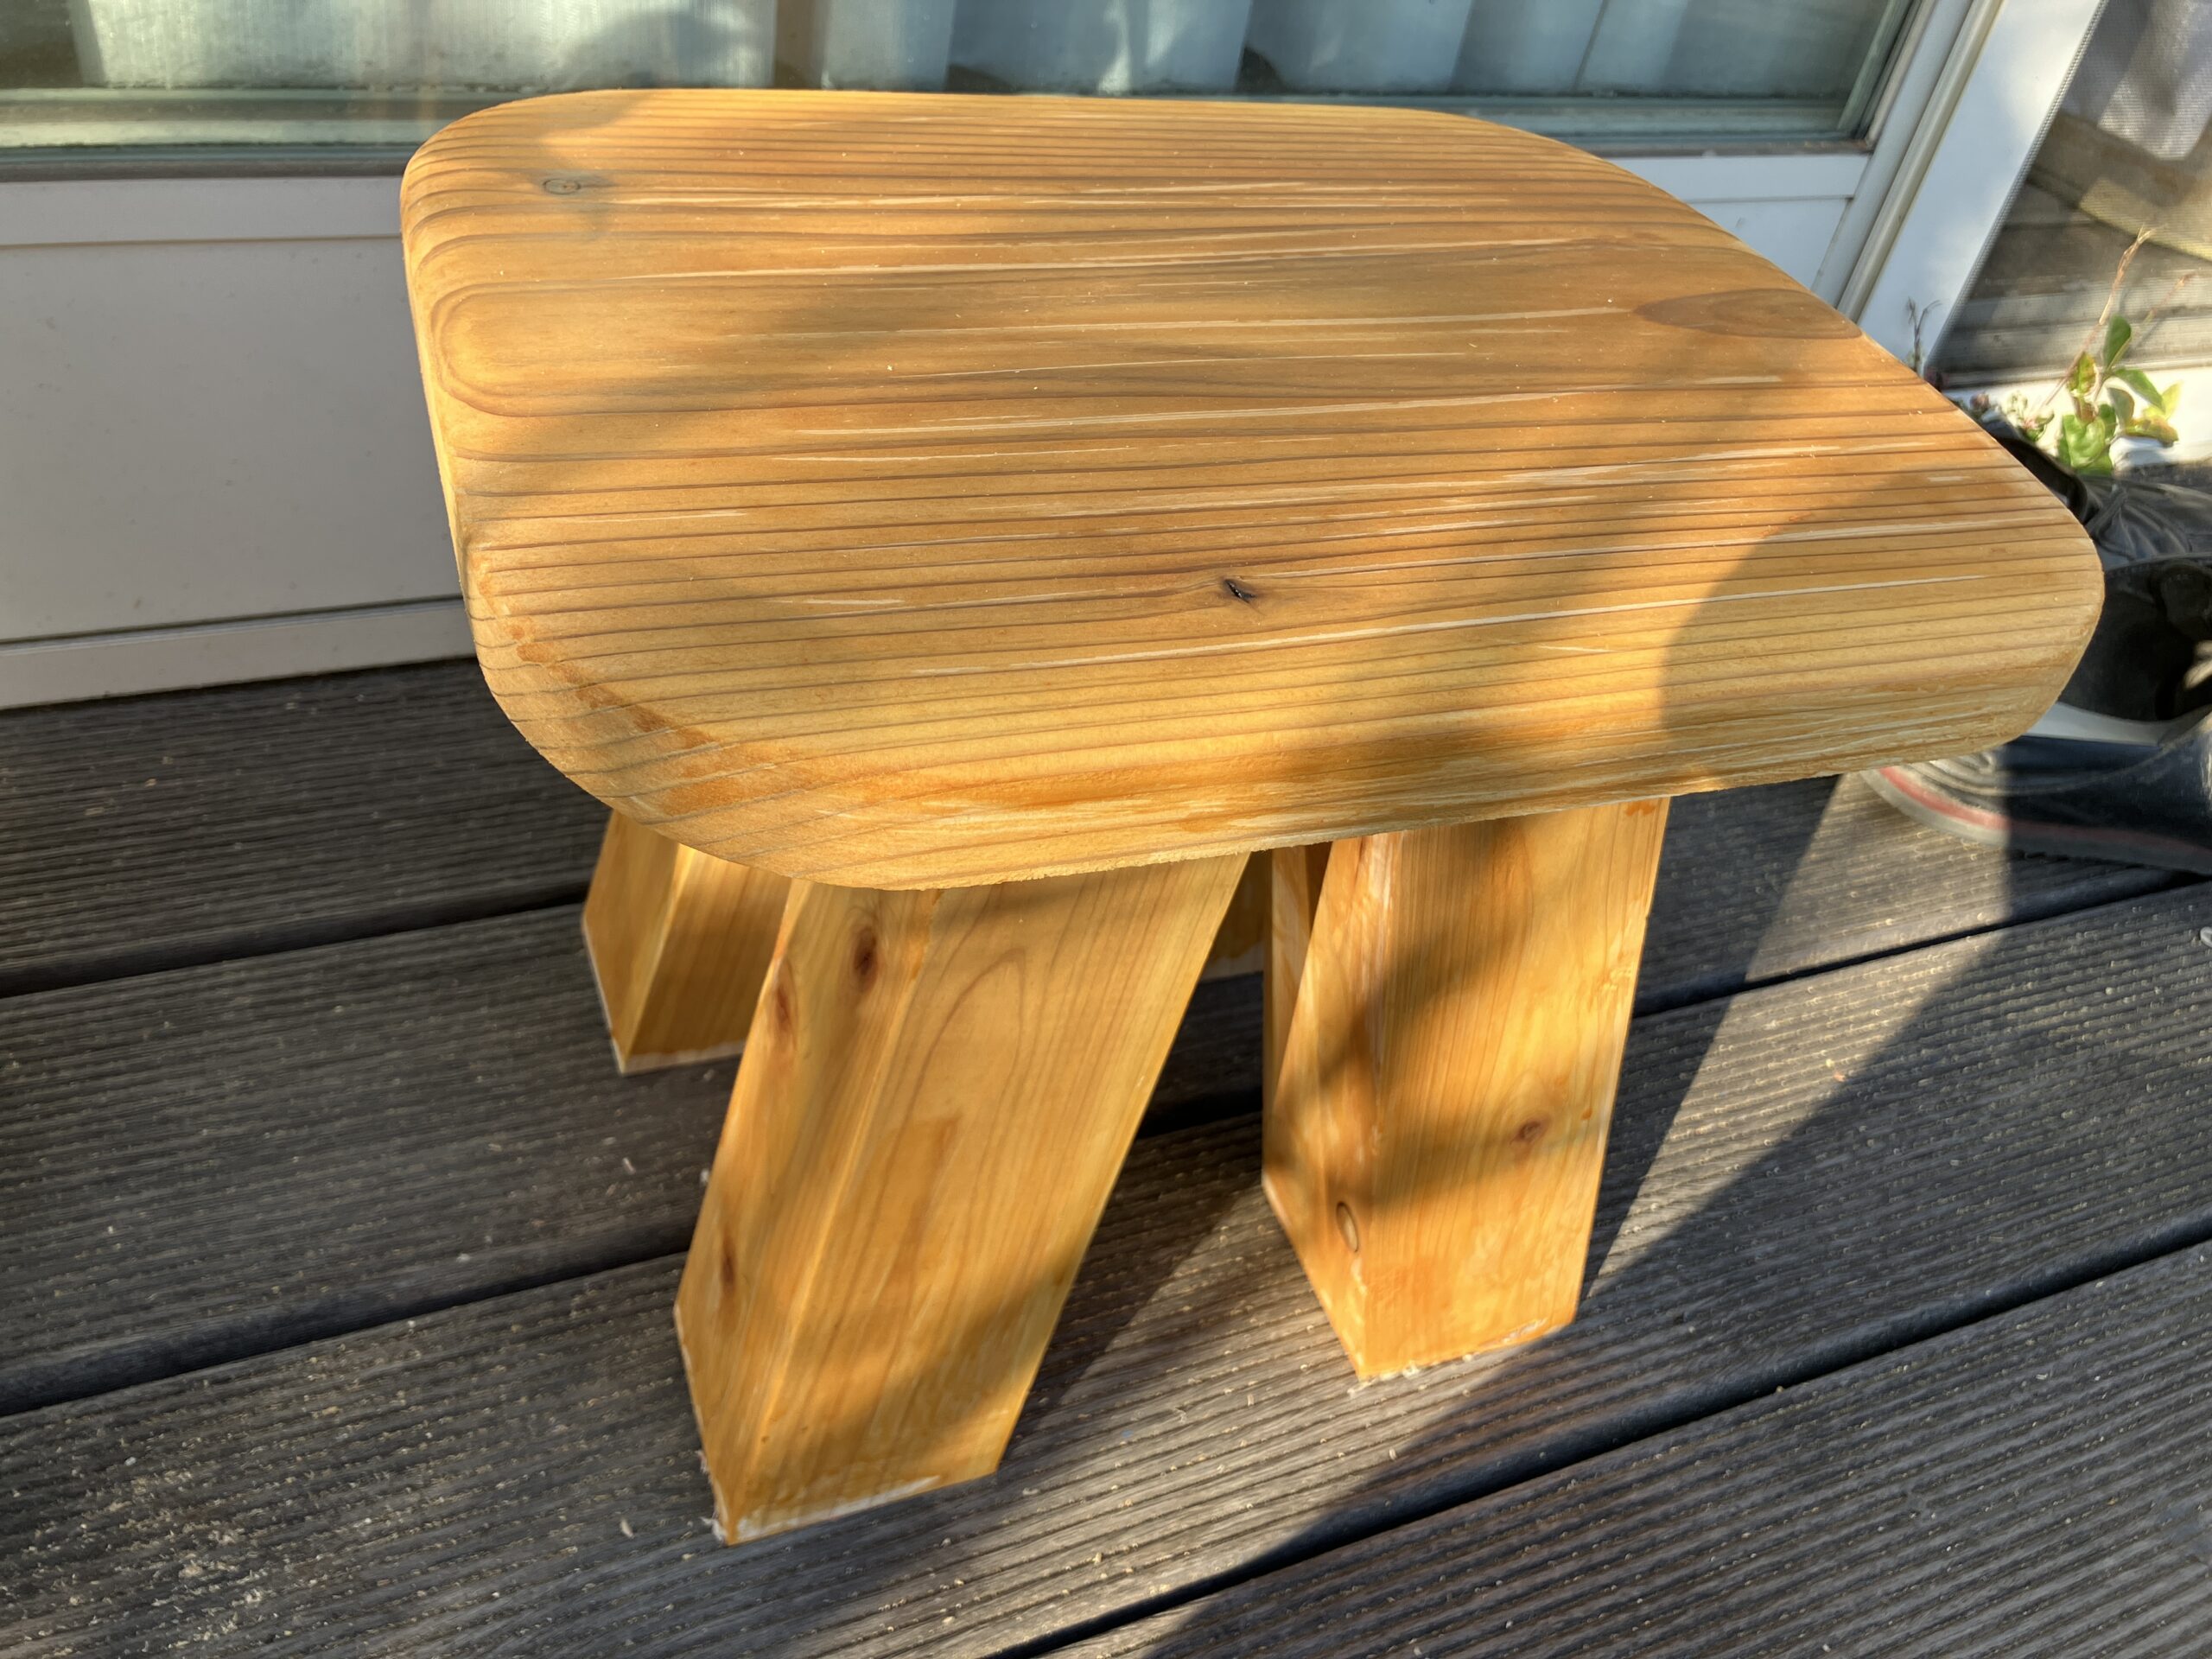
端材で作る、鉢植え台の作りかたを説明します。
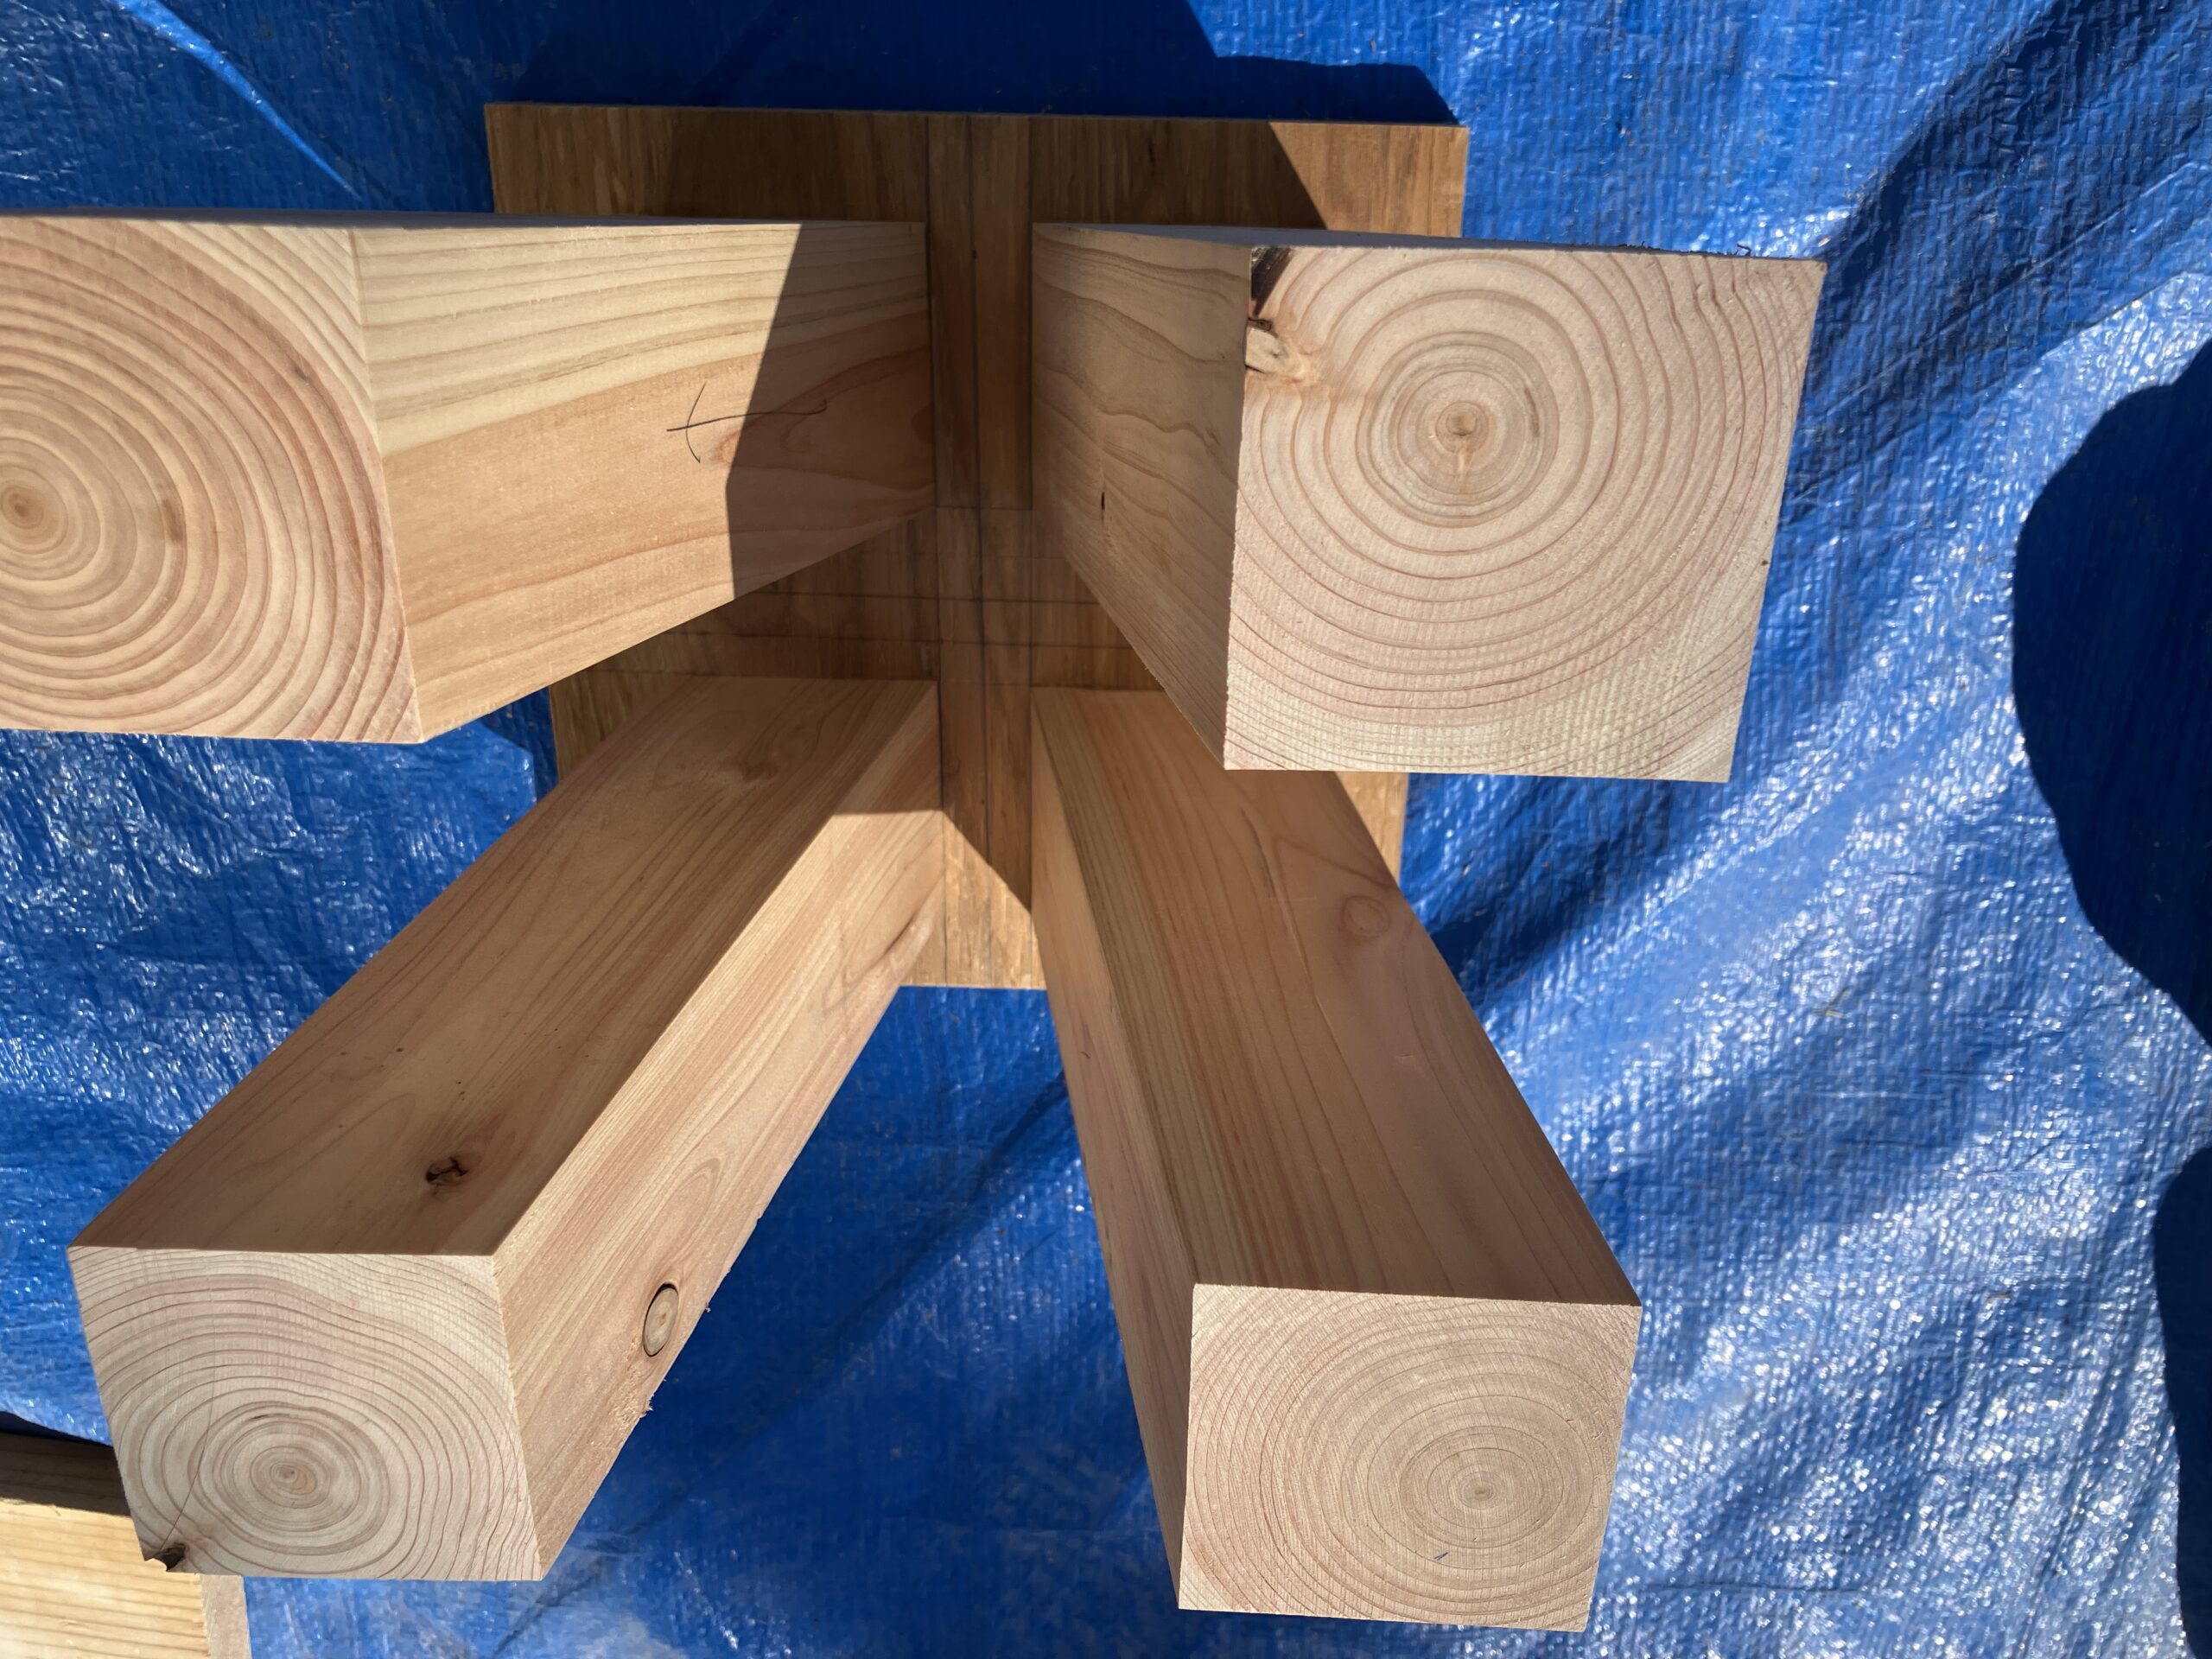
スライド丸のこを使って、おしゃれな脚にするよ
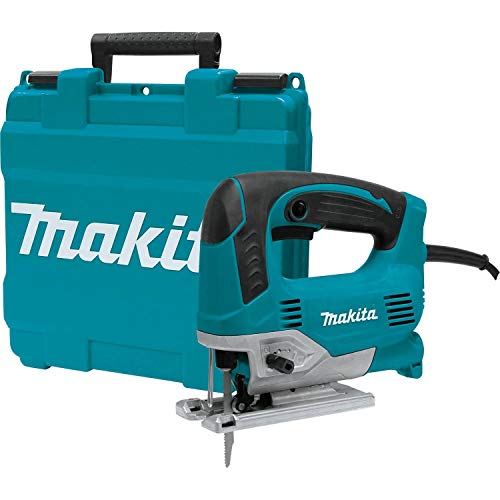
今回のポイントは、なんといってもスライド丸のこ
![](https://kantan-diy.com/wp-content/plugins/pochipp/assets/img/pochipp-logo-t1.png)
二方向に斜め切りができるので、斜めに広がった脚を簡単に作れます。
![](https://kantan-diy.com/wp-content/uploads/2024/05/IMG_0494-1024x768.jpg)
![](https://kantan-diy.com/wp-content/uploads/2024/05/IMG_0495-1024x768.jpg)
同じものを4本切り出して、対角に向かい合う2本ごとに向きを変えて配置すると広がった脚になります。
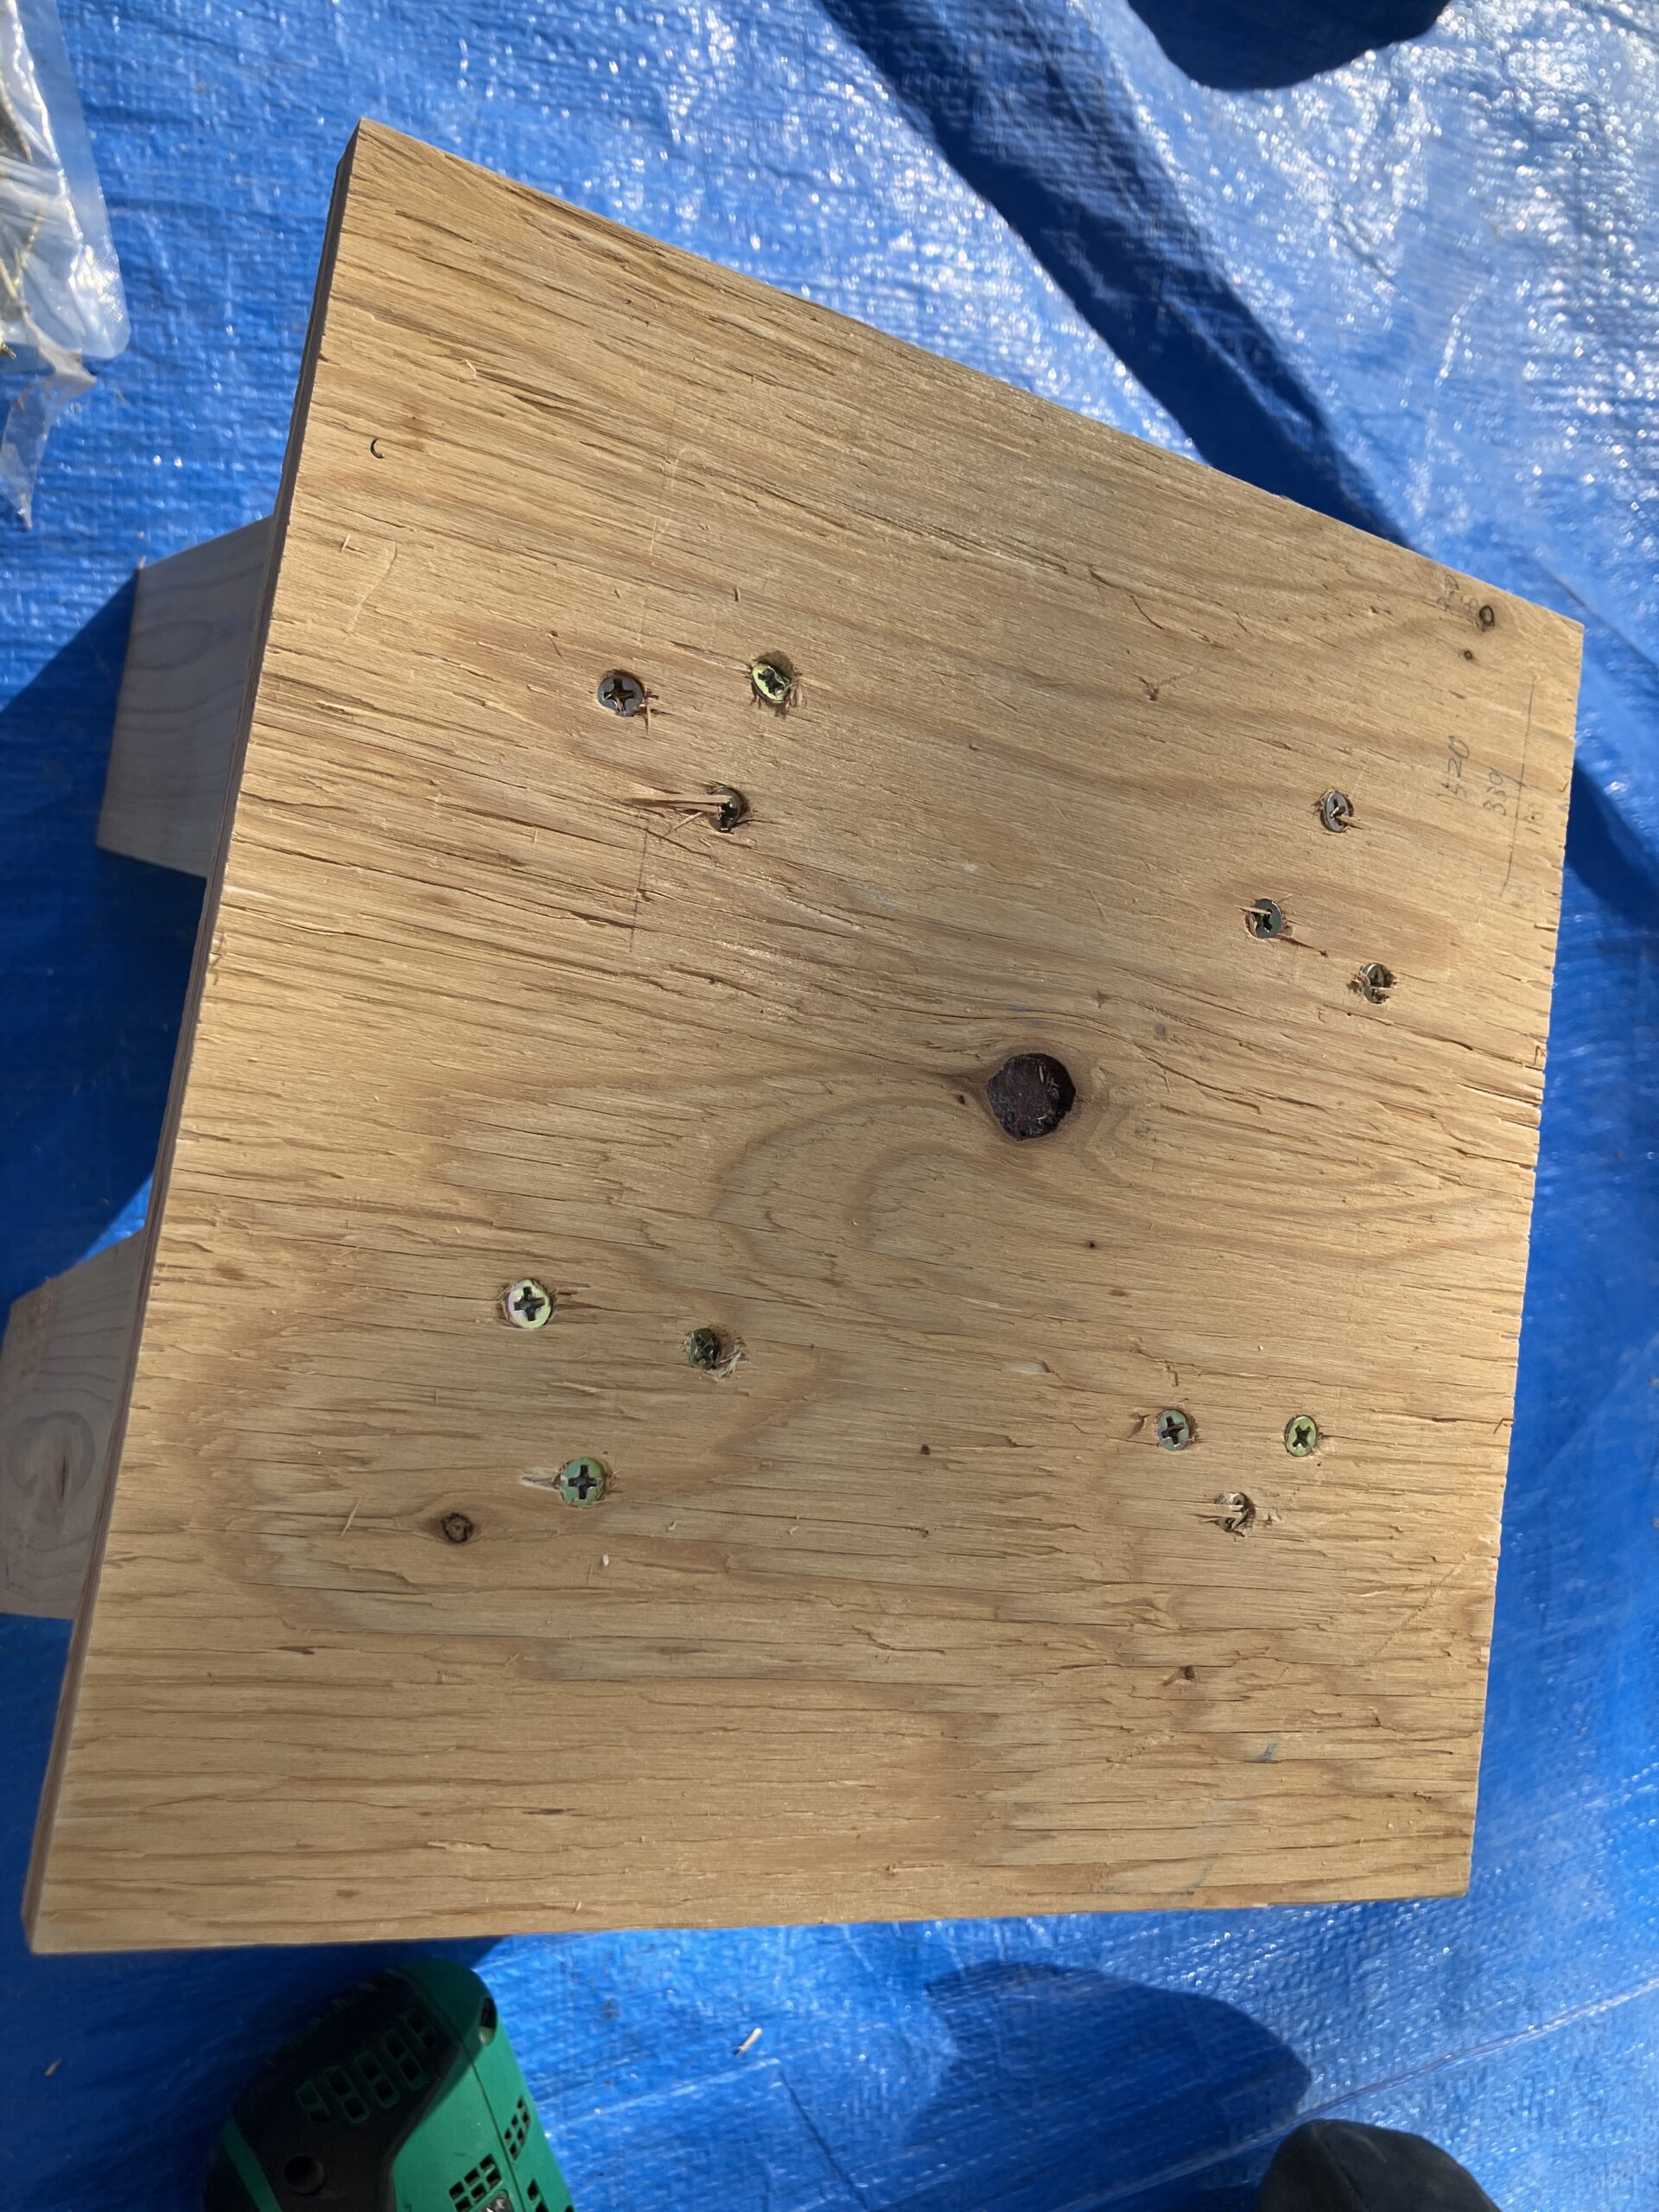
簡単に作りたいので、合板に脚を固定します。まずは、木工用接着剤で位置決めして、固定するためにビス止めします。
木工用ボンドは、屋外使用できる強力タイプのものを使います。ちなみに、このボンドはとても強力なので、すぐにガッチリくっ付きます。
![](https://kantan-diy.com/wp-content/plugins/pochipp/assets/img/pochipp-logo-t1.png)
ボンドが乾いたら、反対側からビス止めします。
![](https://kantan-diy.com/wp-content/uploads/2024/05/IMG_0498-1024x768.jpg)
![](https://kantan-diy.com/wp-content/uploads/2024/05/IMG_0497-768x1024.jpg)
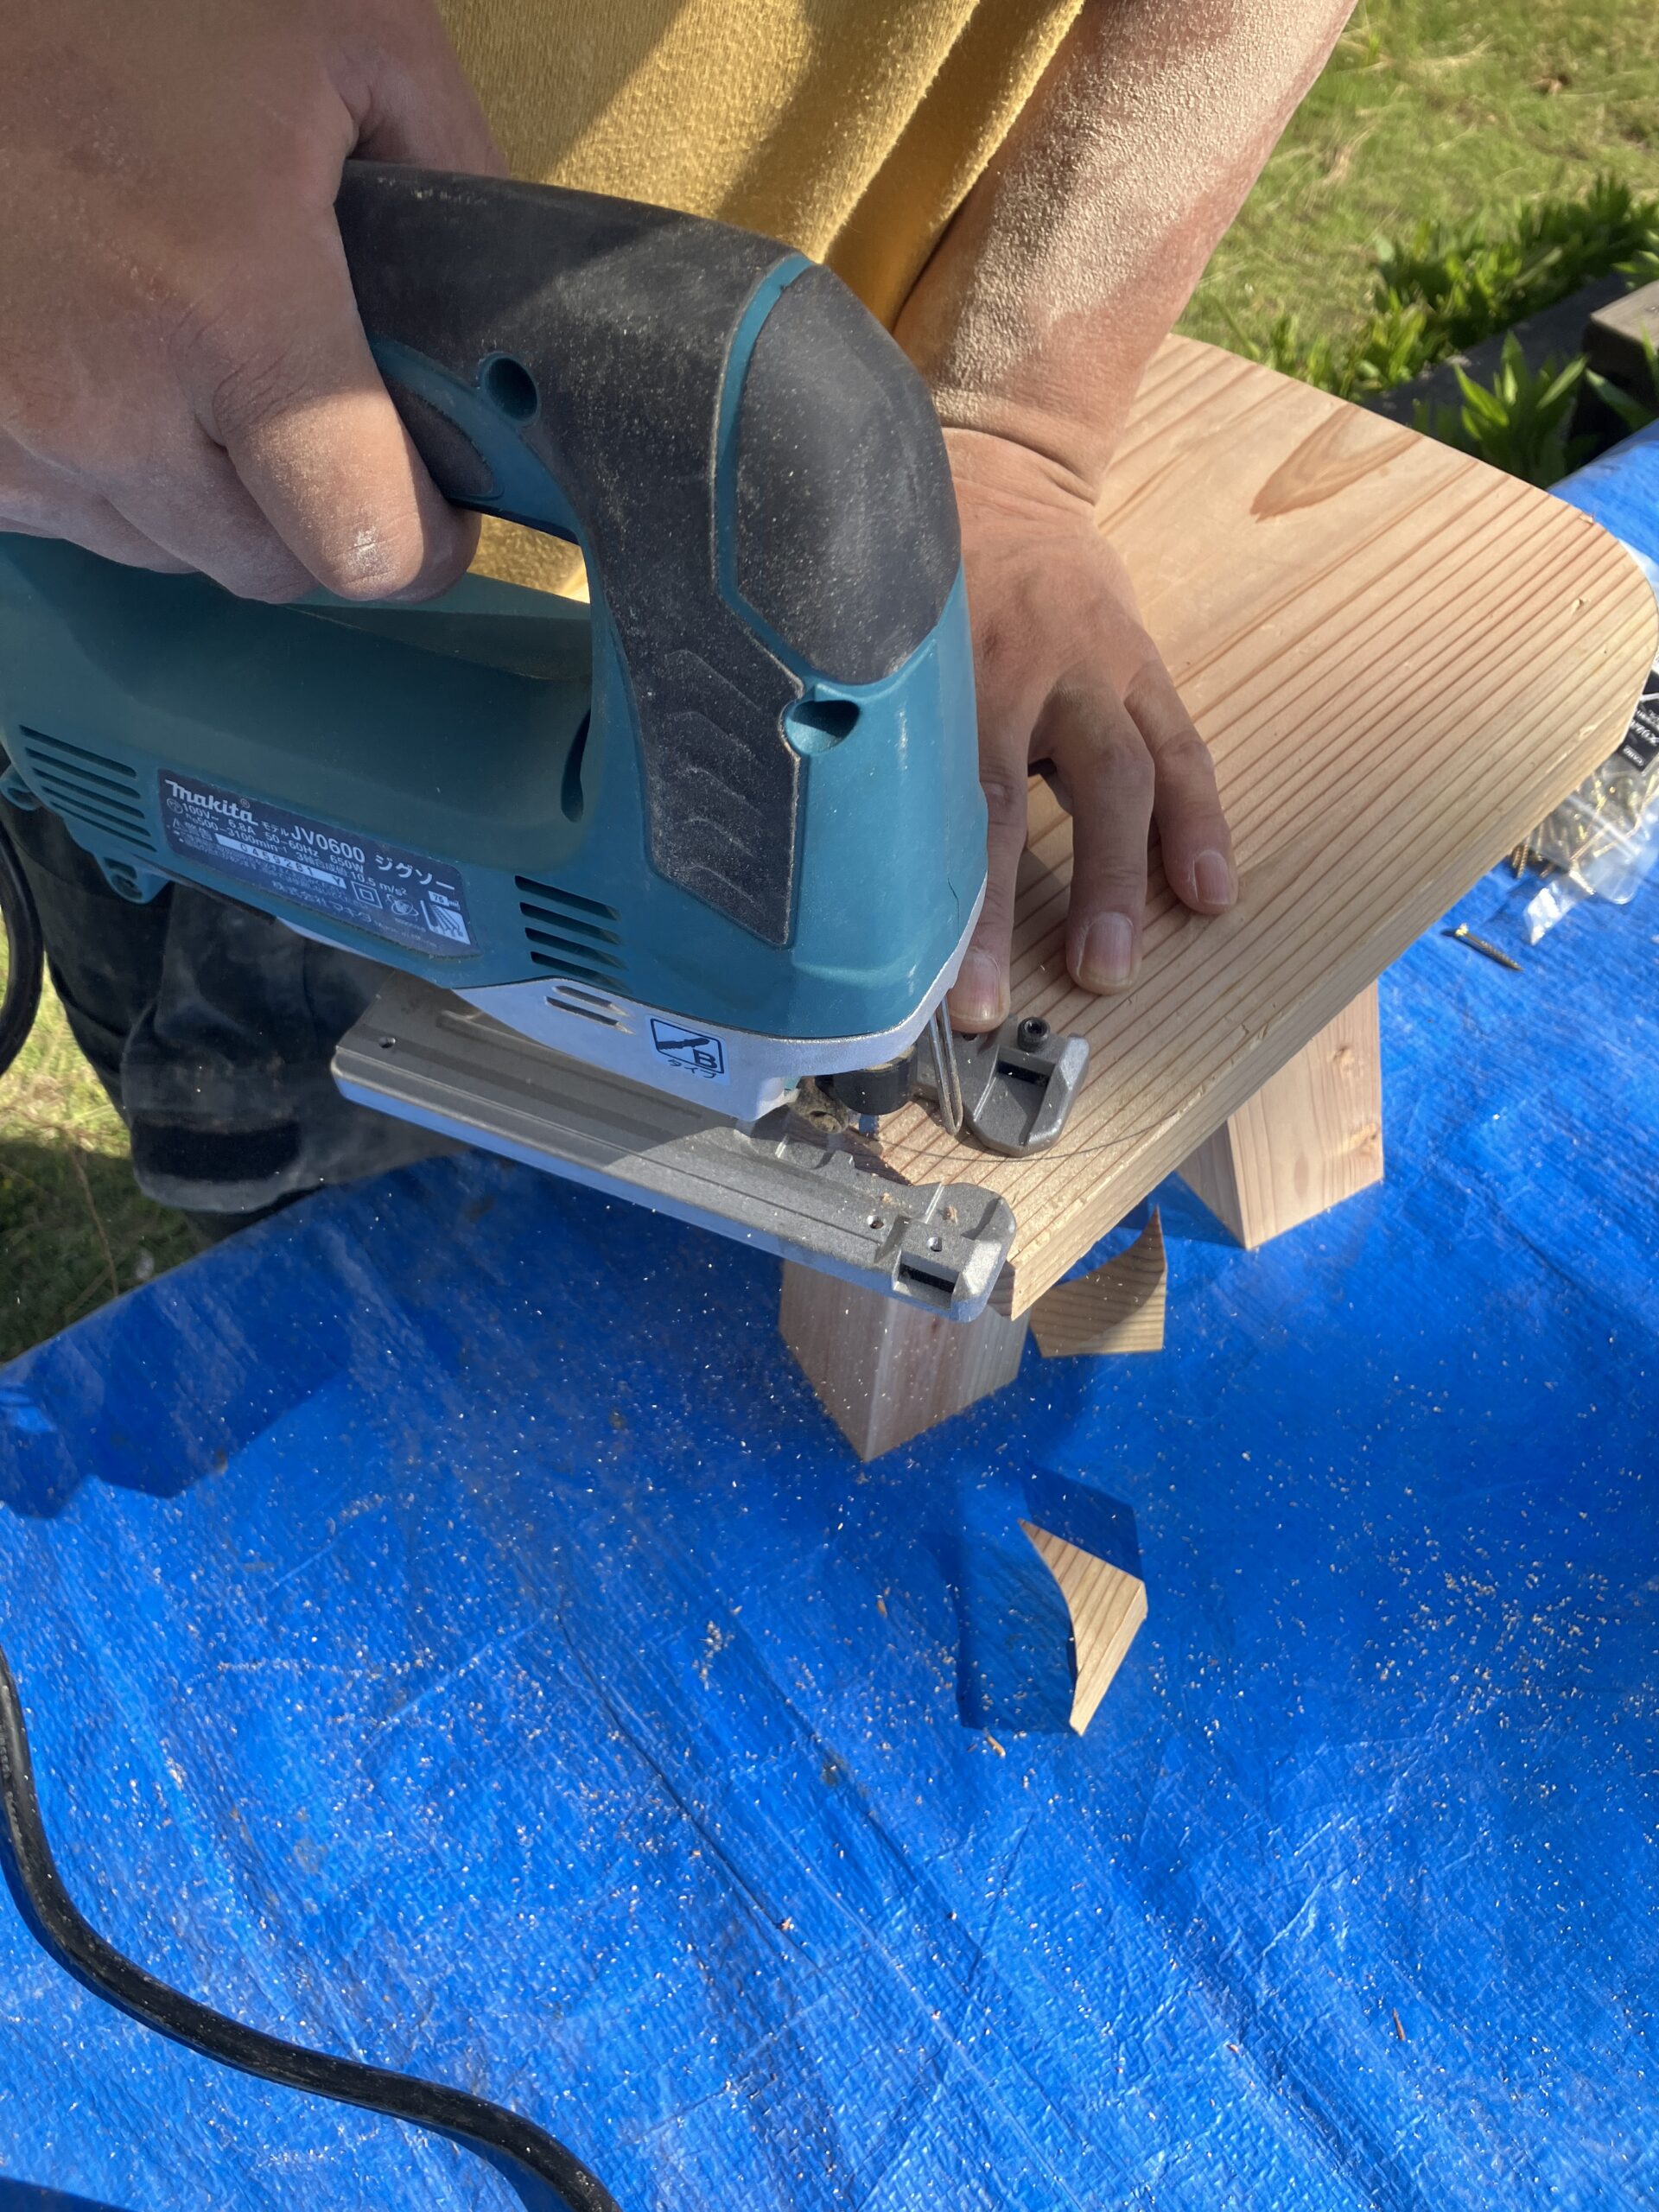
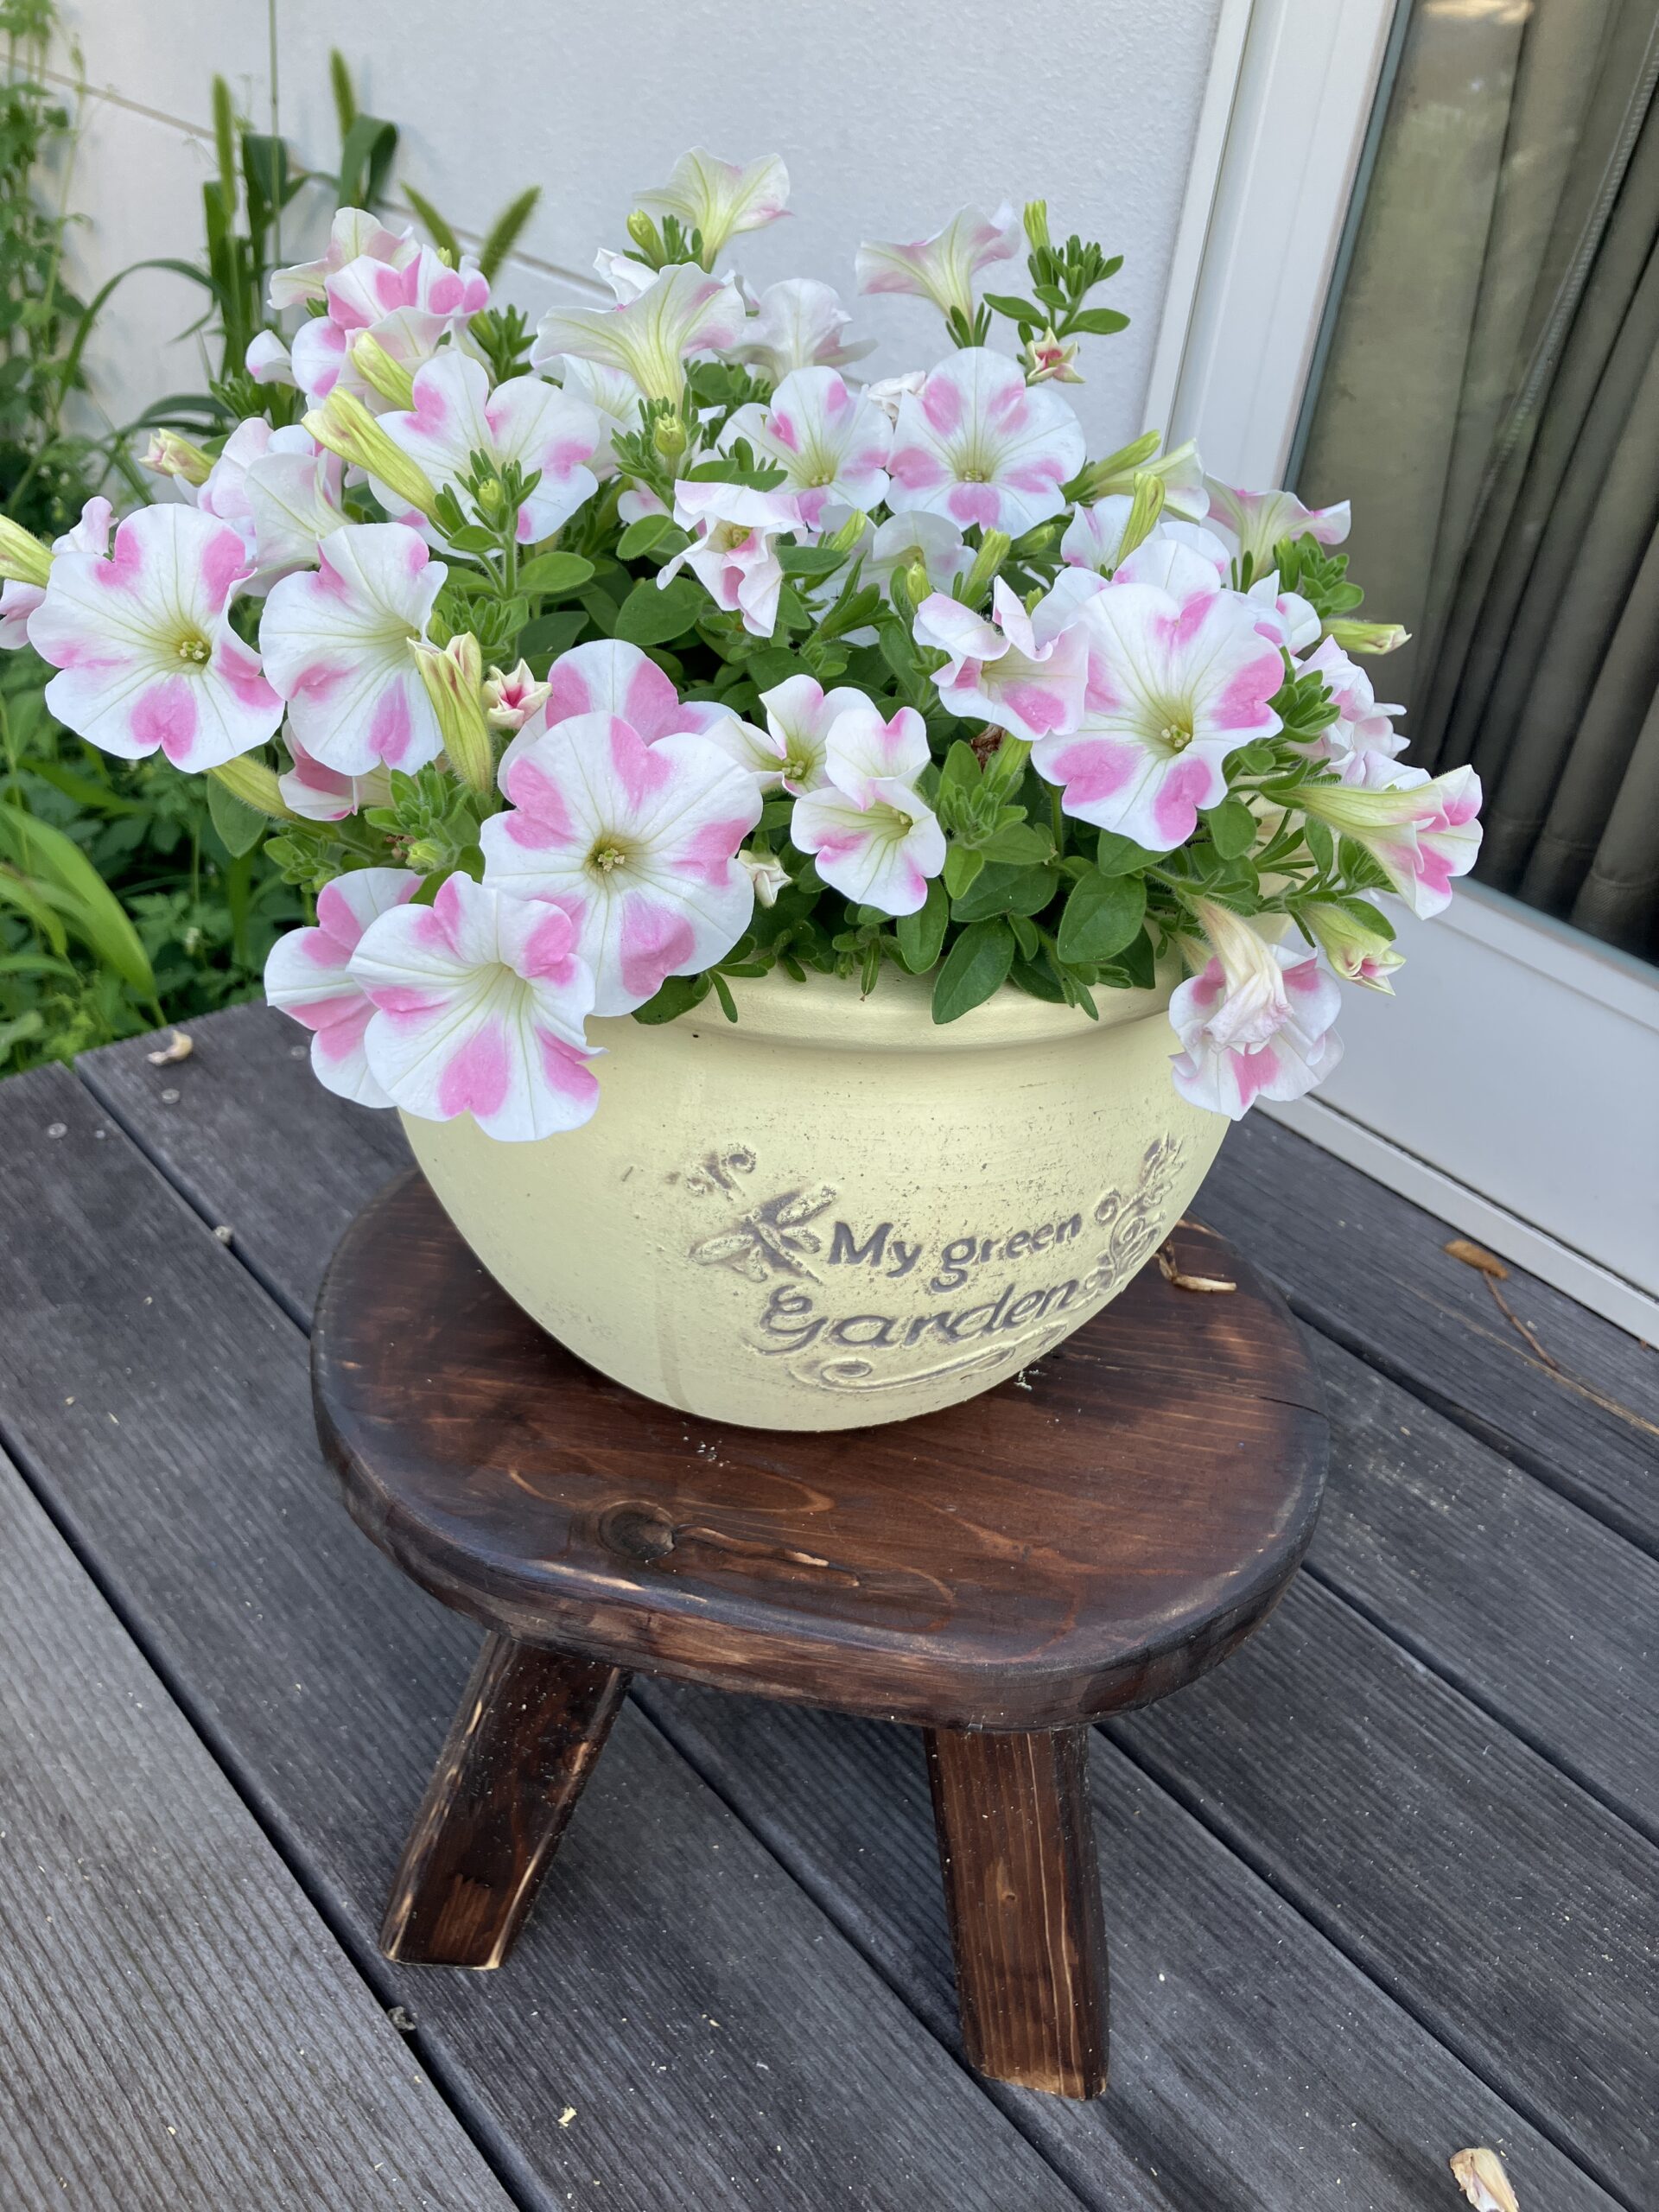
最後に、植木鉢を載せる台を上にくっつけます。角をジグソーで落として、色を塗ったら完成です。
![](https://kantan-diy.com/wp-content/uploads/2024/05/IMG_0499-768x1024.jpg)
![](https://kantan-diy.com/wp-content/uploads/2024/05/IMG_0502-1024x768.jpg)
![](https://kantan-diy.com/wp-content/uploads/2024/05/IMG_0503-768x1024.jpg)
![](https://kantan-diy.com/wp-content/plugins/pochipp/assets/img/pochipp-logo-t1.png)
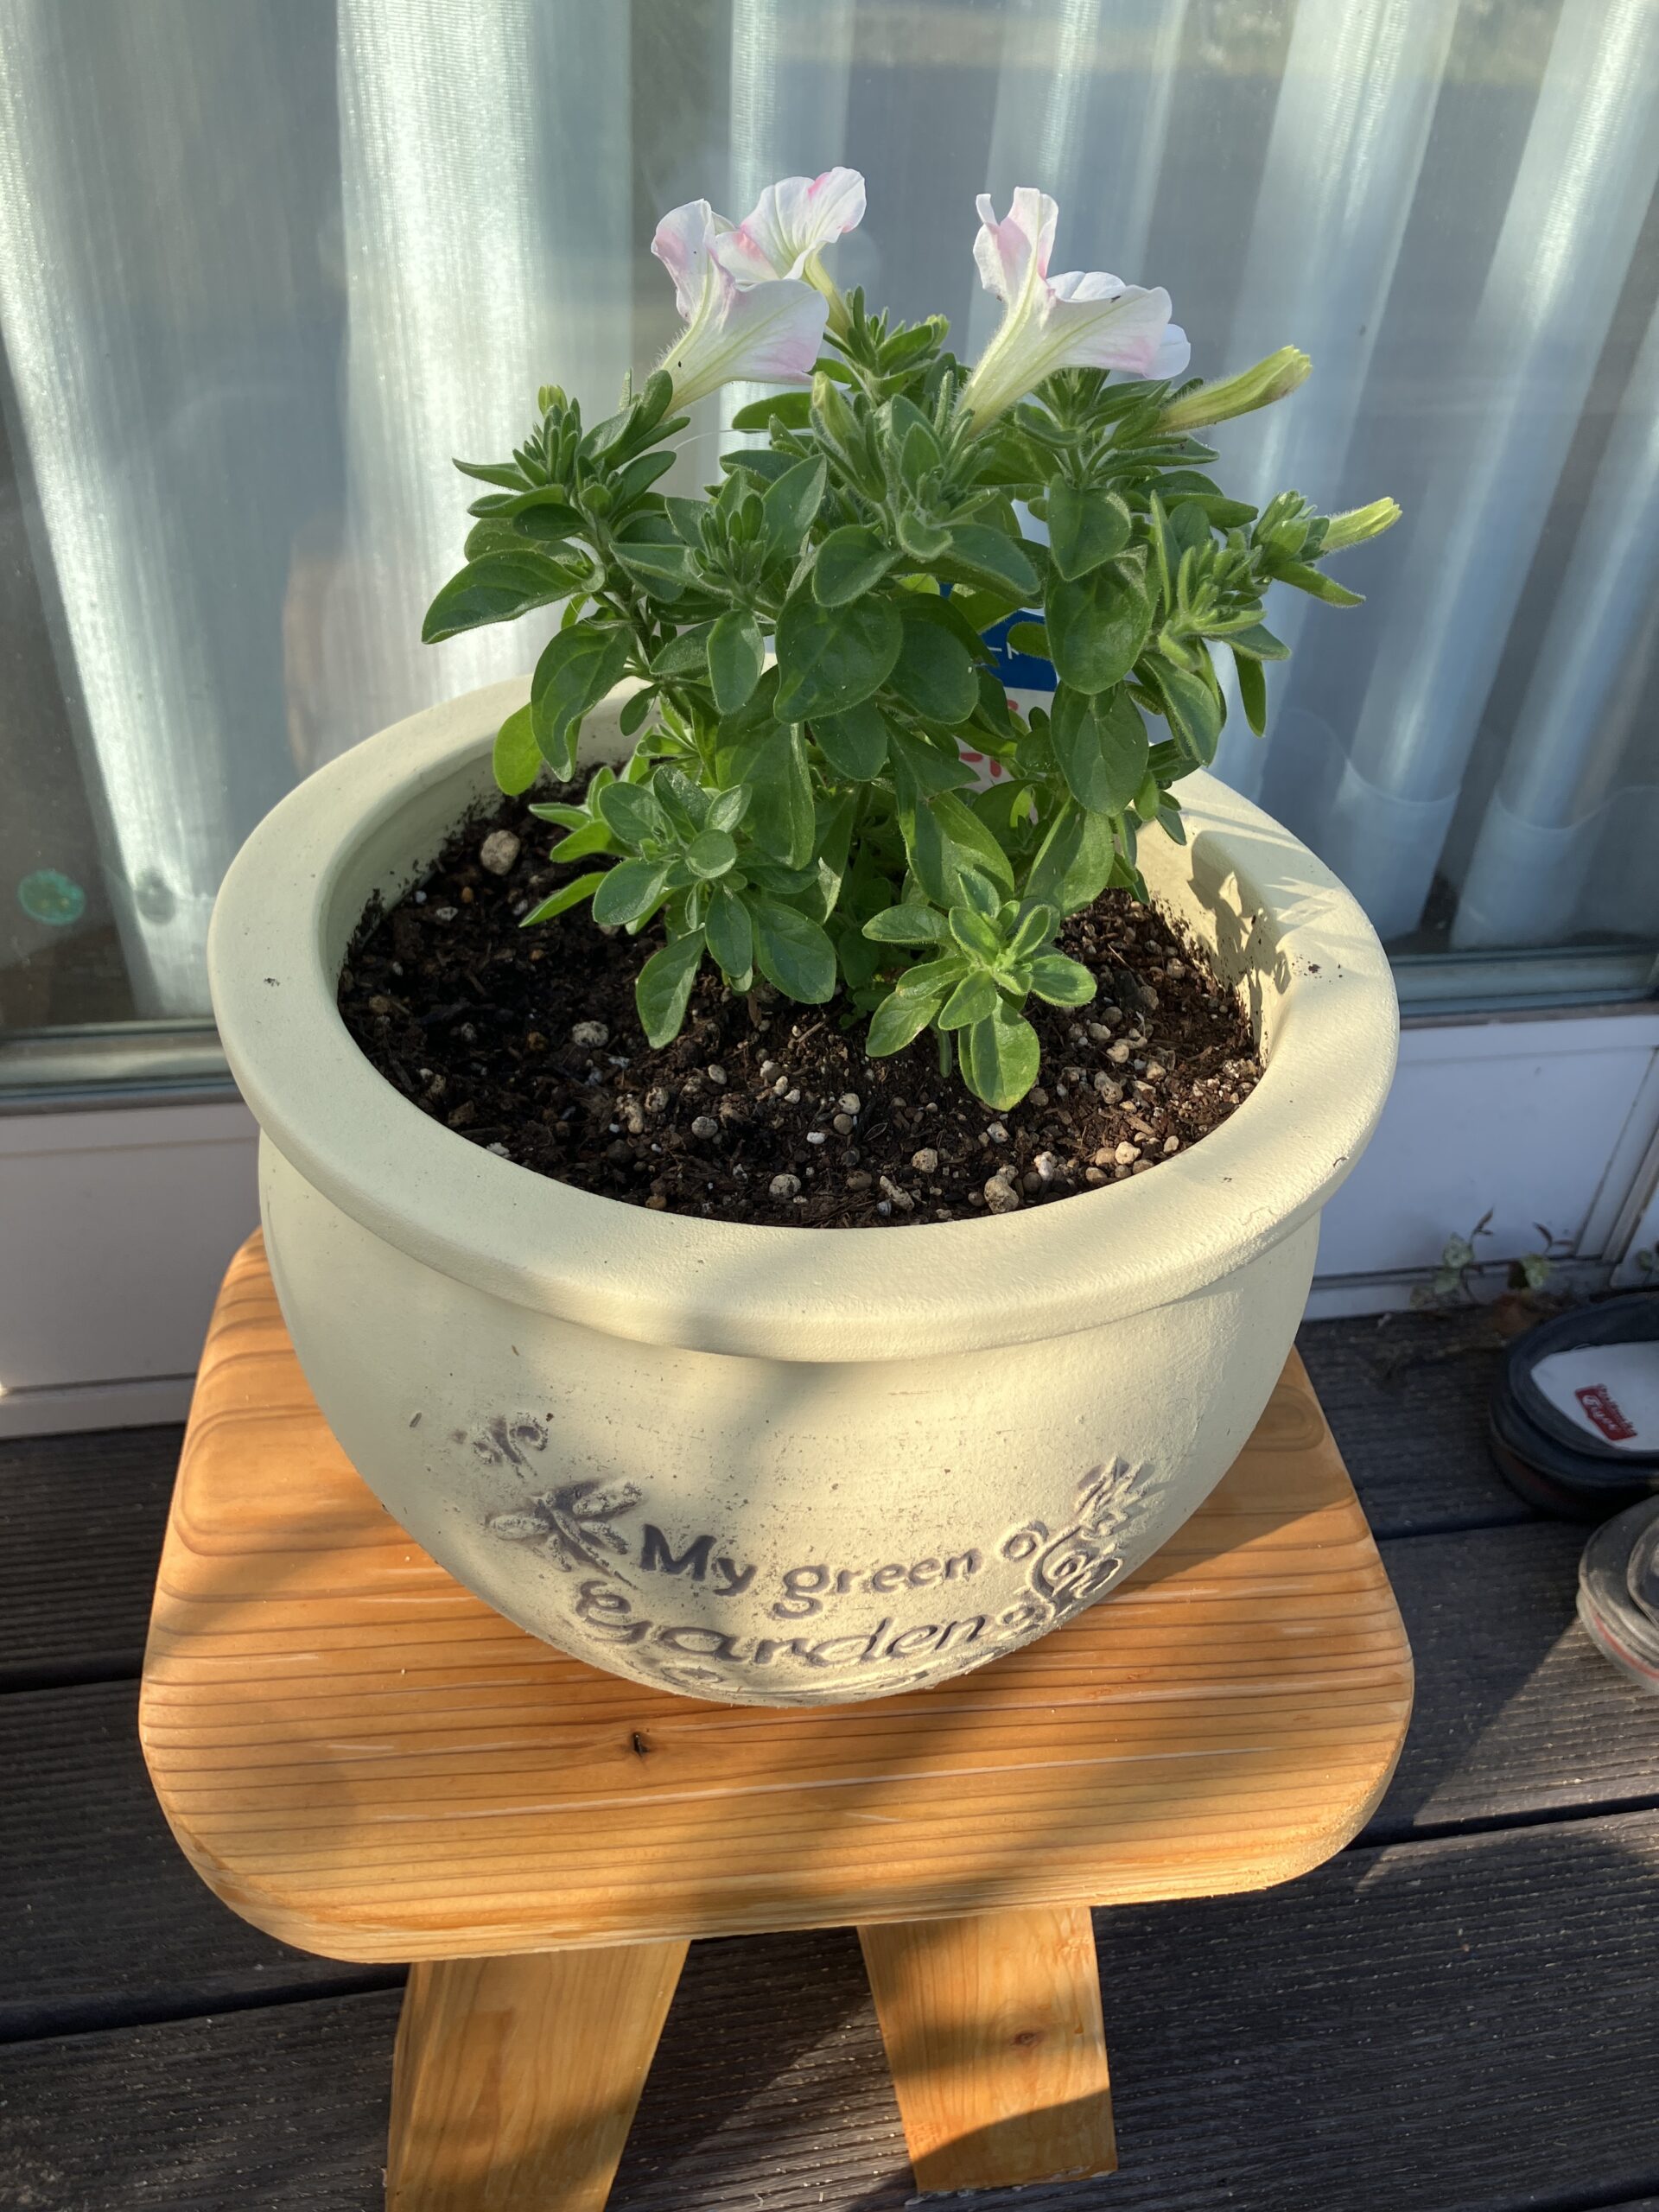
塗料は屋外用のものであればなんでもいいと思います。好きな色を塗ってください。
![](https://kantan-diy.com/wp-content/plugins/pochipp/assets/img/pochipp-logo-t1.png)
今回は、スライド丸のこありきなので、少しハードルが高いかも?レンタルや、工作室で使えるホームセンターもあるので、試してみてもいいかも。
本格的にDIYをするつもりなら、スライド丸のこを買っても、絶対に後悔しないよ!
もう少し凝った植木鉢台の作り方はこちらです。
誰でもかんたんDIY
![](data:image/gif;base64,R0lGODlhAQABAAAAACH5BAEKAAEALAAAAAABAAEAAAICTAEAOw==)
![](https://kantan-diy.com/wp-content/uploads/2024/06/IMG_0626-scaled.jpg)
道具さえ持っていればカンタンにできちゃう植木鉢台 | 誰でもかんたんDIY
こんにちは、源です。 かわいい植木鉢台を作るよ この前、端材を使って植木鉢台を作りました。とりあえず、端材で作るだけだったので、デザインには無頓着でした。 前回で…
コメント