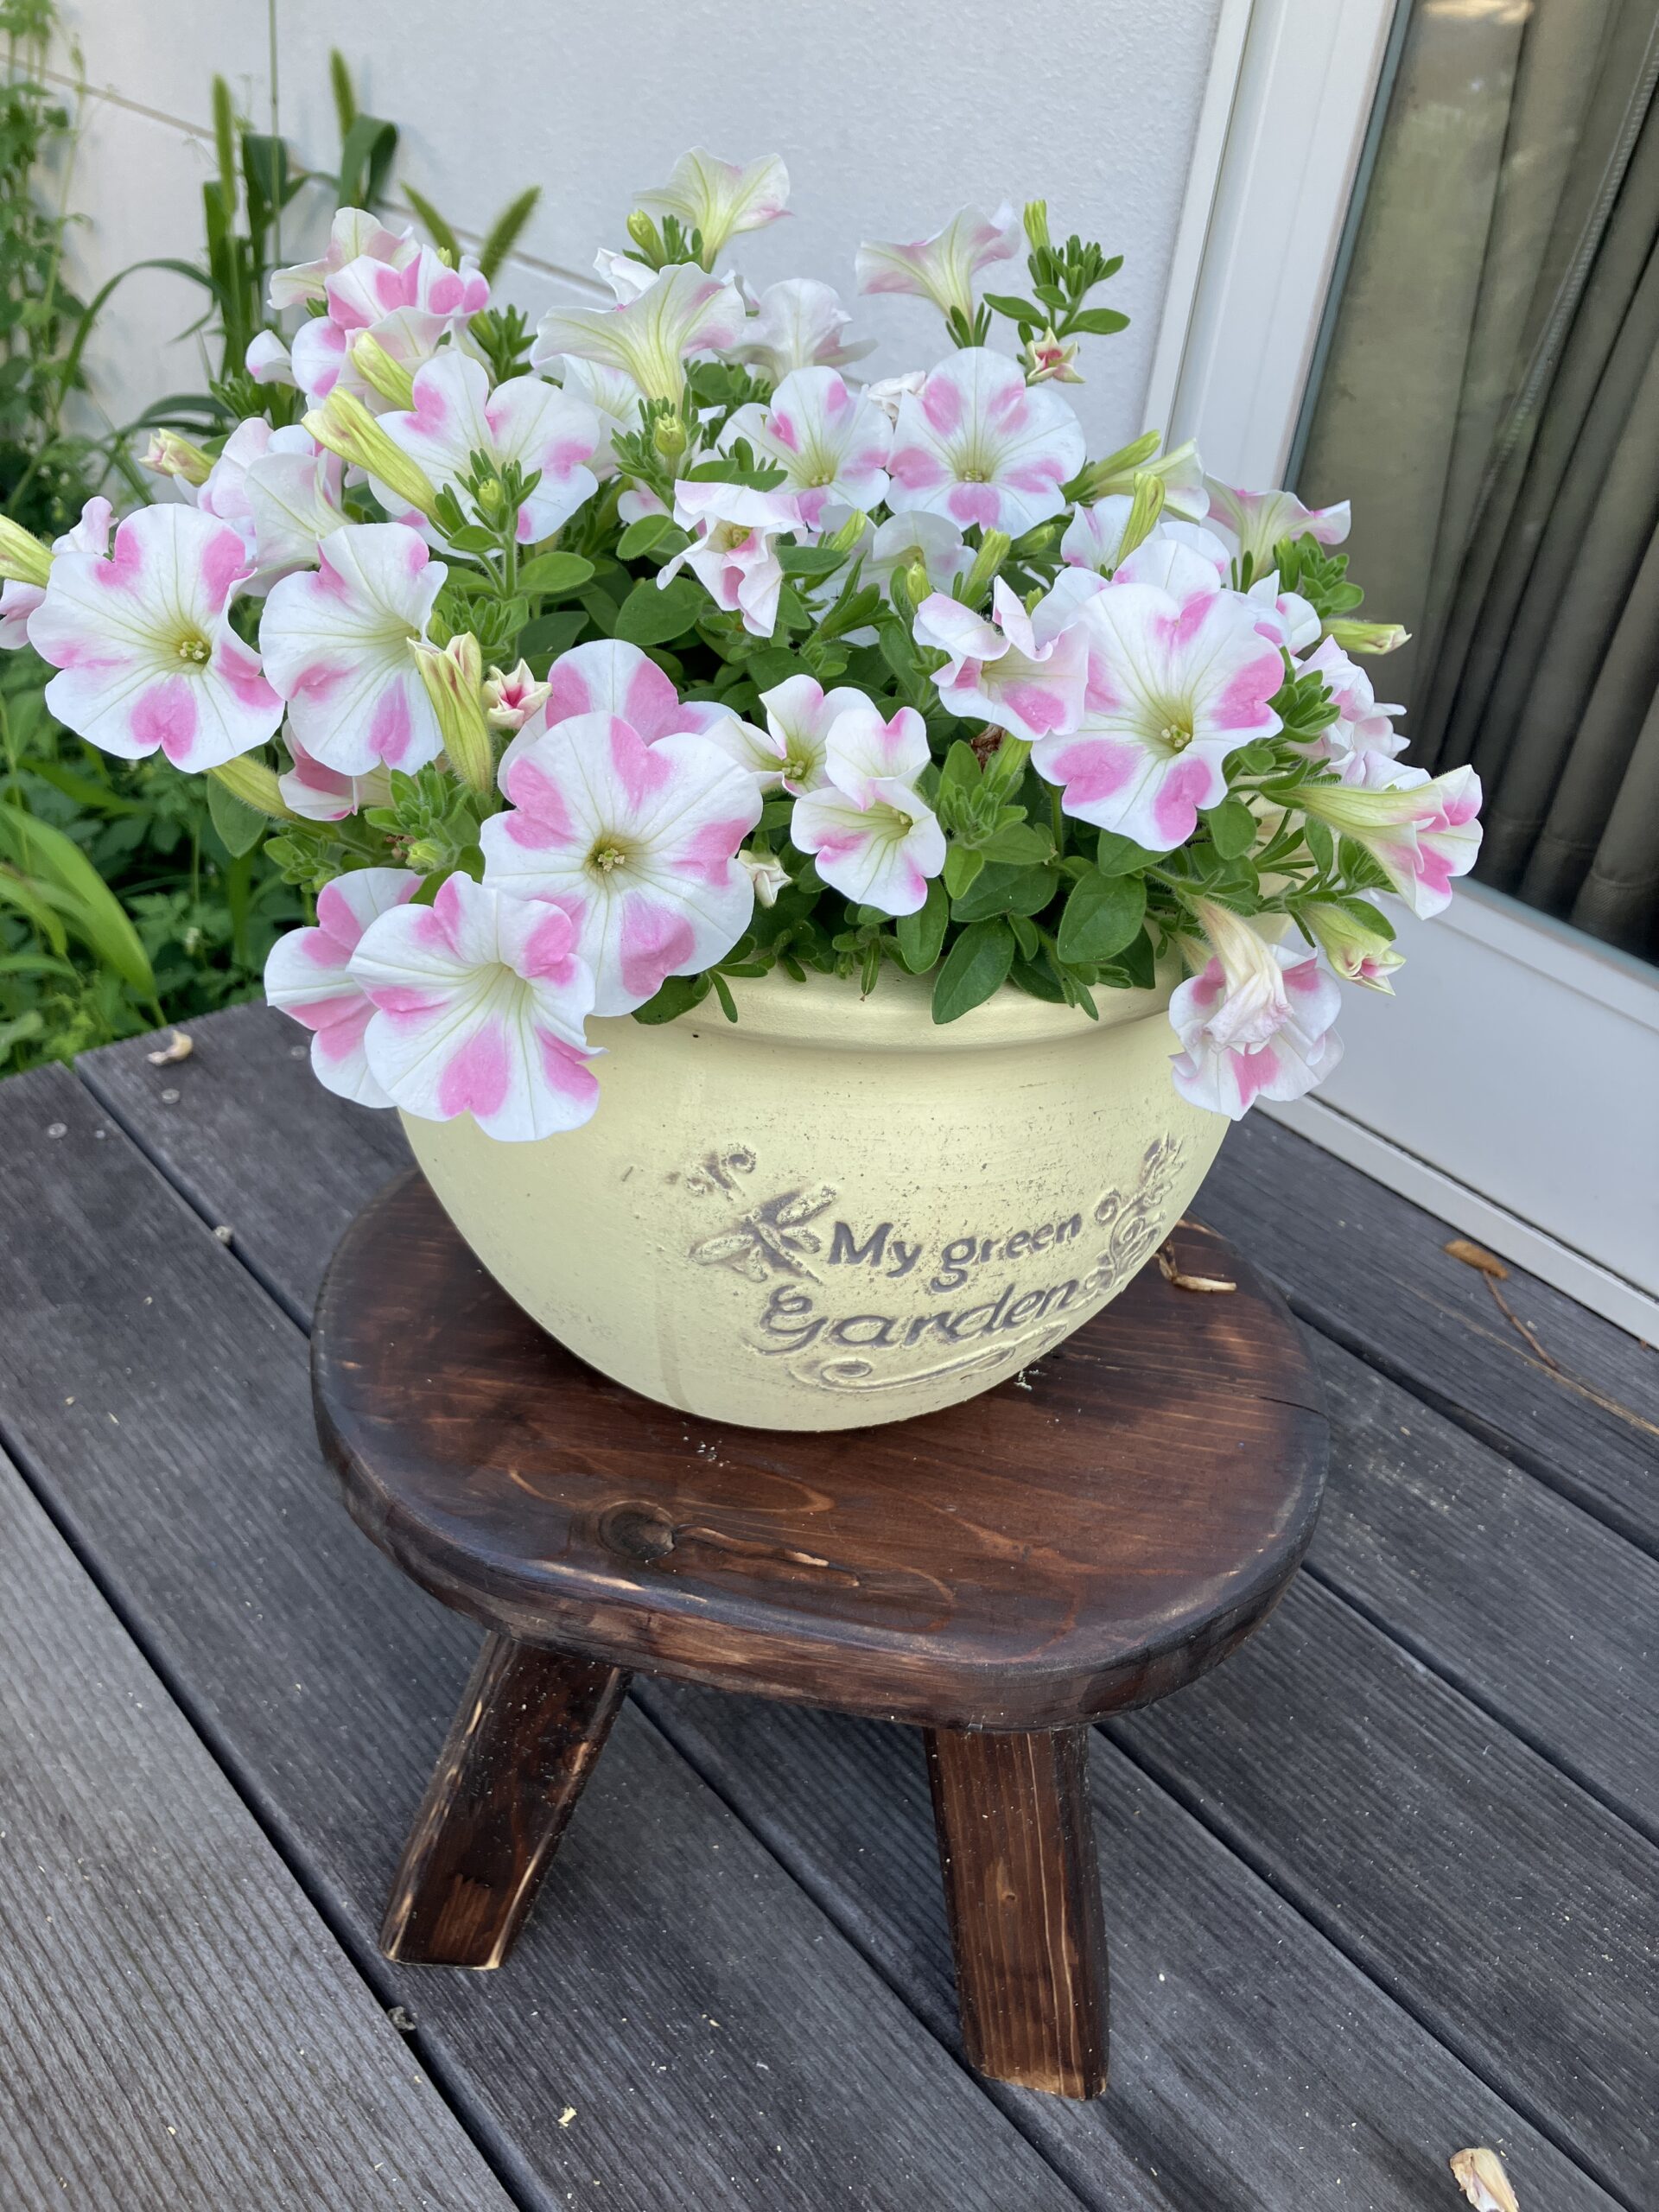
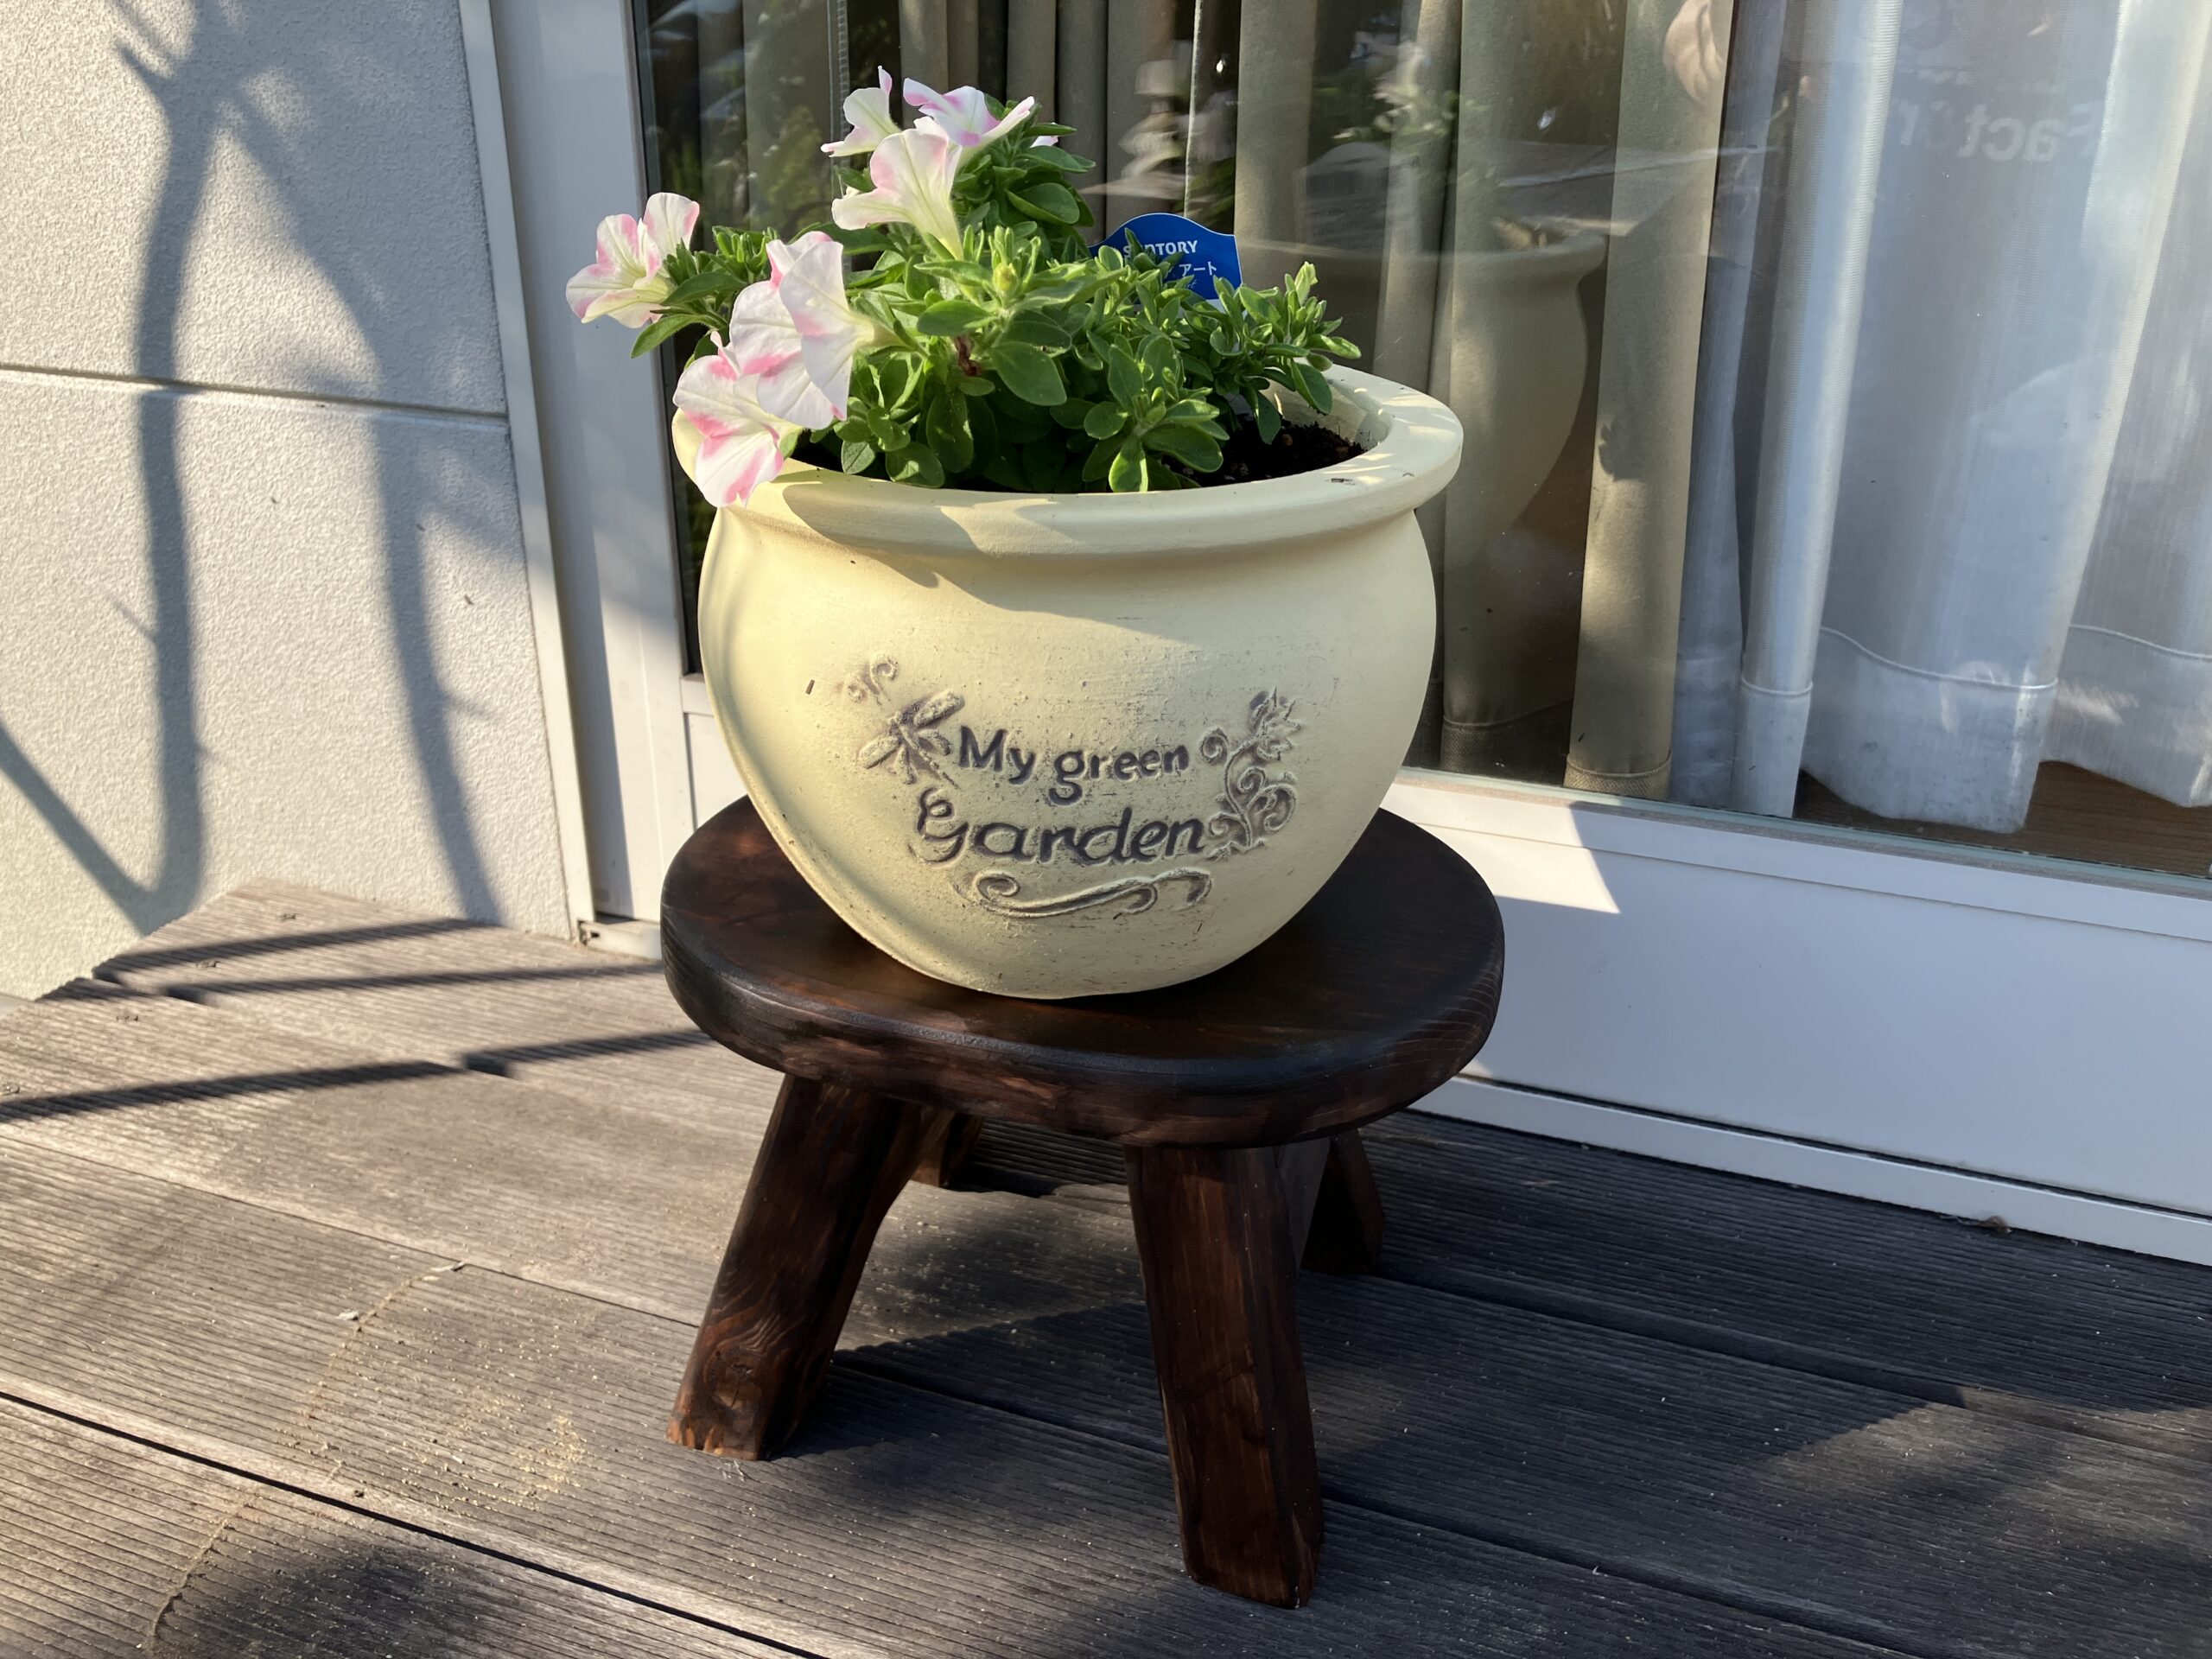
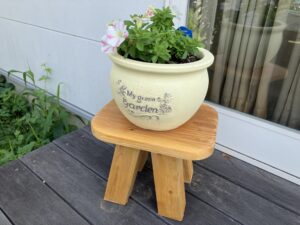
こんにちは、源です。
![](https://kantan-diy.com/wp-content/uploads/2023/07/de8b0abd7ba7114bec4d02279771fcd1-150x150.jpg)
かわいい植木鉢台を作るよ
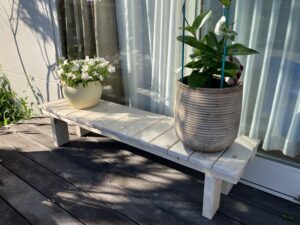
この前、端材を使って植木鉢台を作りました。とりあえず、端材で作るだけだったので、デザインには無頓着でした。
誰でもかんたんDIY
![](data:image/gif;base64,R0lGODlhAQABAAAAACH5BAEKAAEALAAAAAABAAEAAAICTAEAOw==)
![](https://kantan-diy.com/wp-content/uploads/2024/06/IMG_0537-scaled.jpg)
端材を使って植木鉢の台を作りました | 誰でもかんたんDIY
こんにちは、源です。 植木鉢の台を作ったよ! 端材で作る、鉢植え台の作りかたを説明します。 スライド丸のこを使って、おしゃれな脚にするよ 今回のポイントは、なんとい…
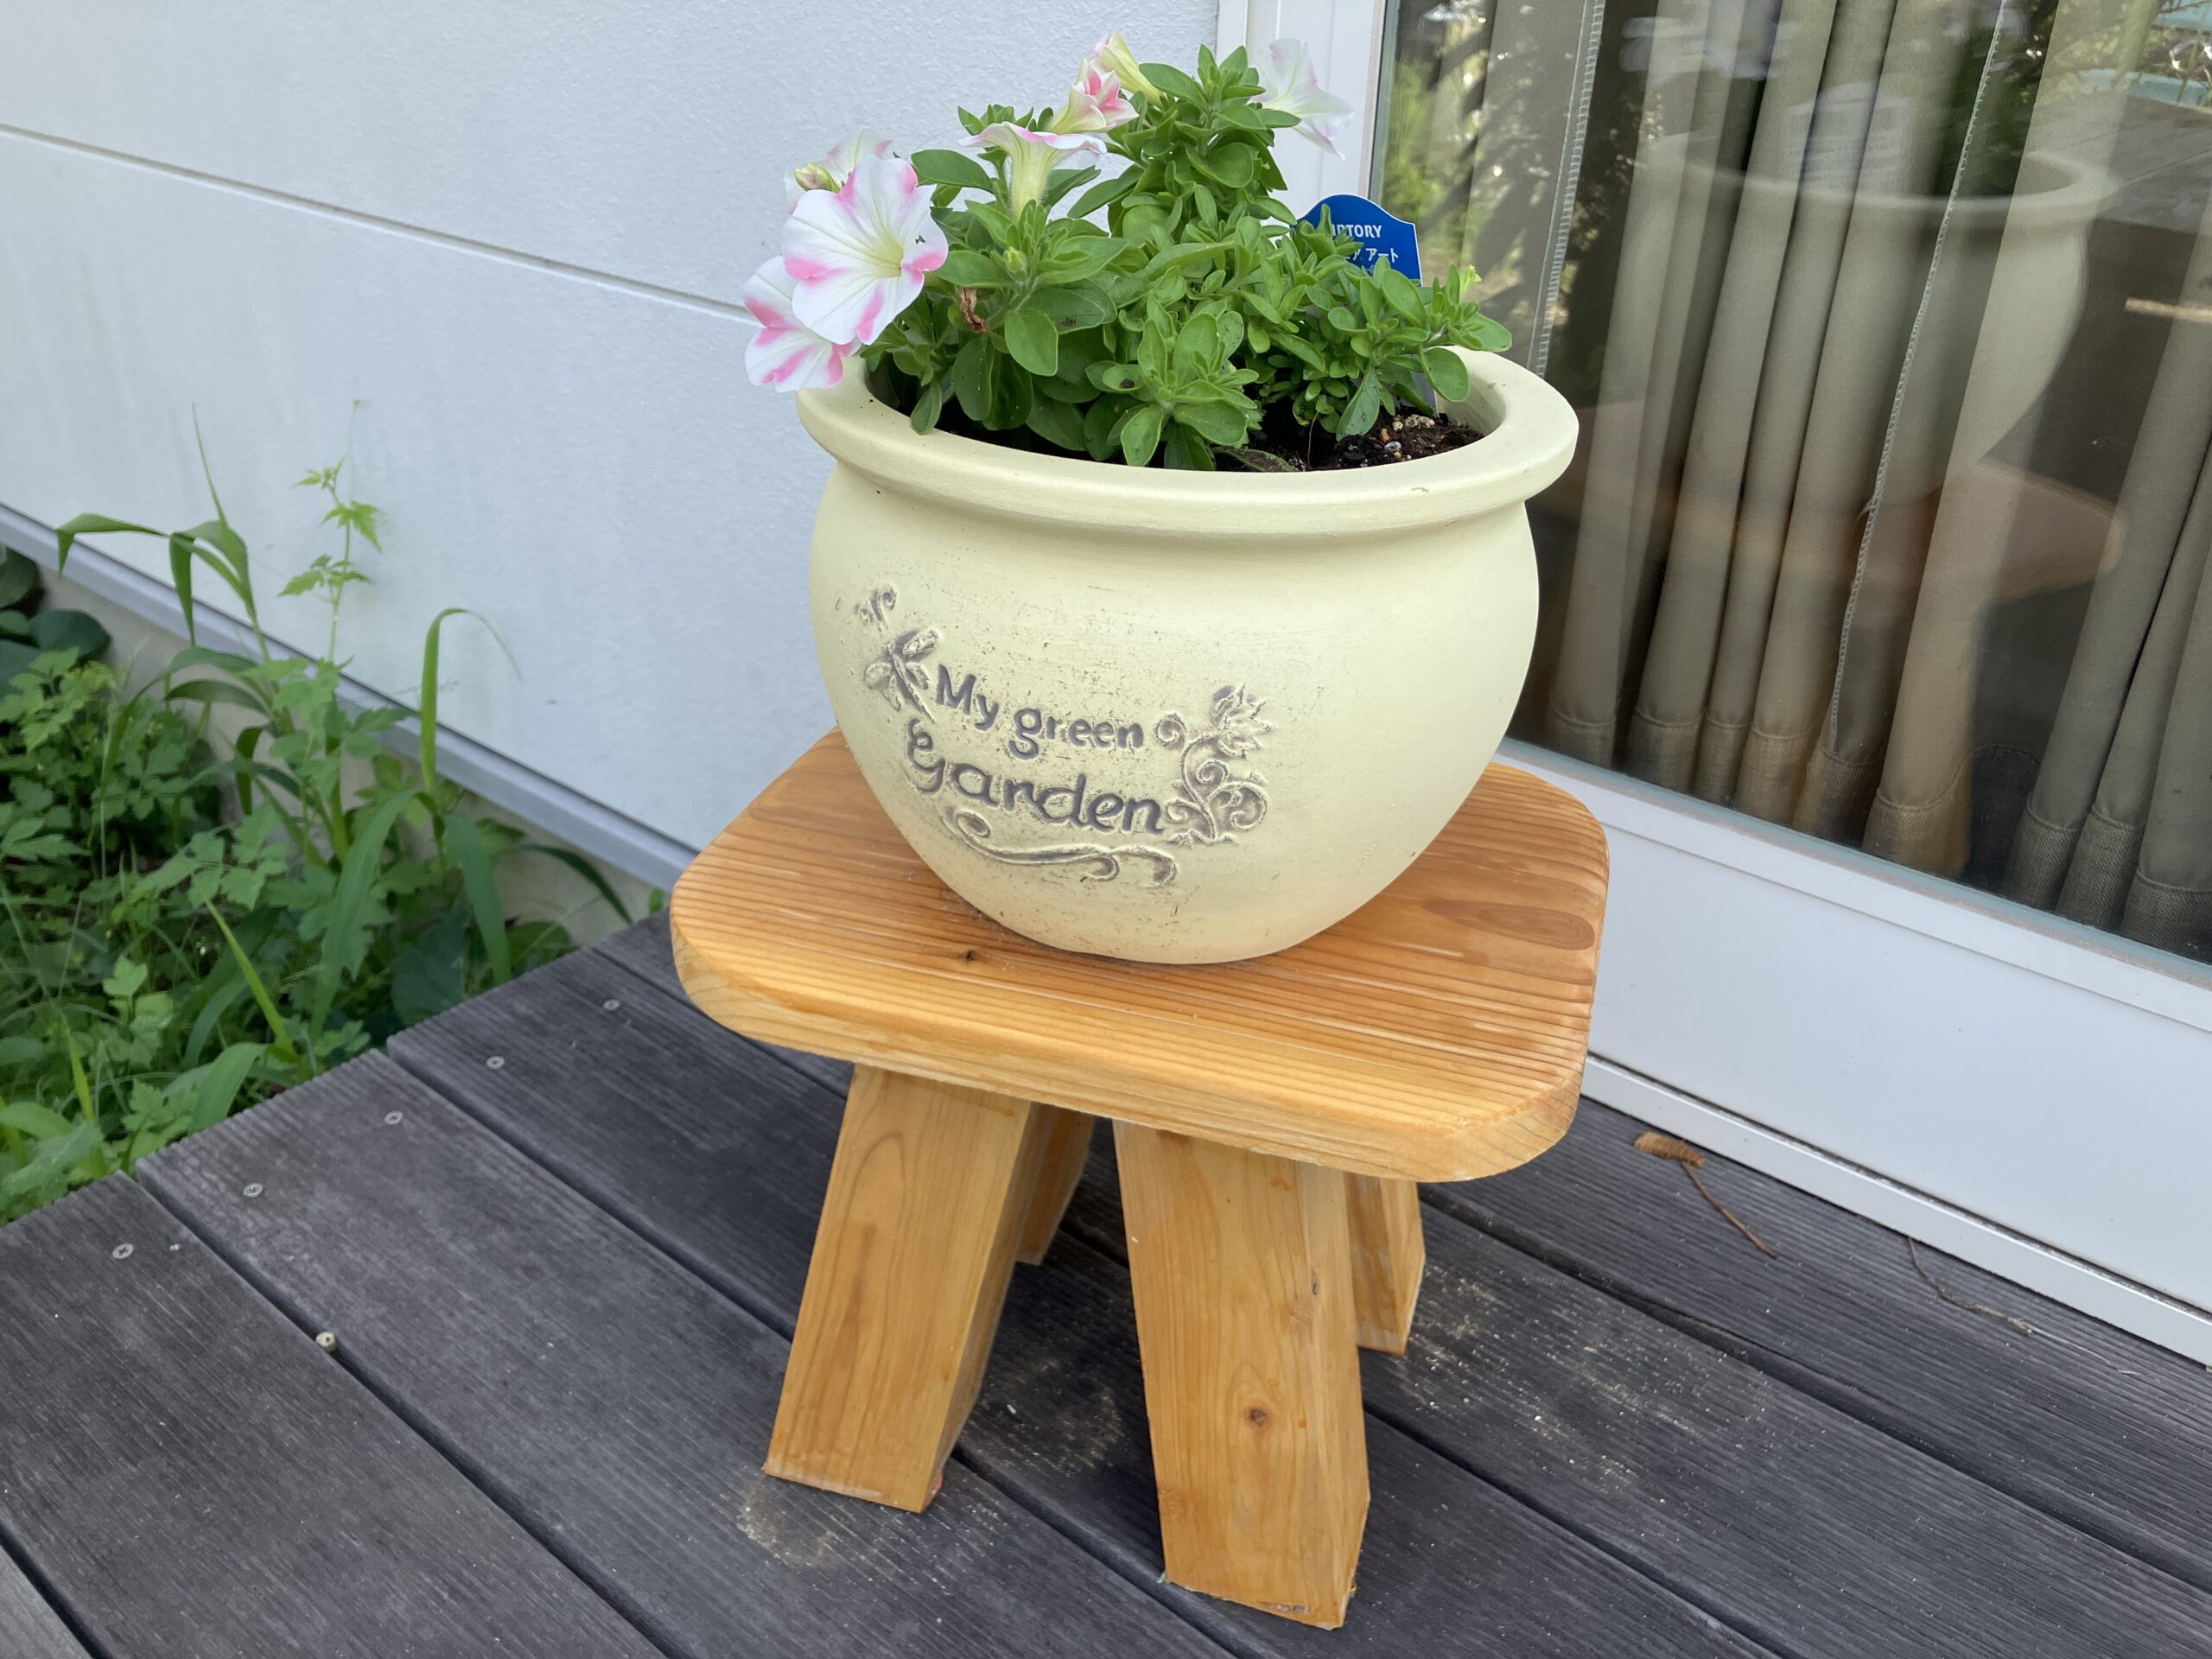
前回で、スライド丸鋸を使った脚の作り方はわかった気がします。今回は、全体の見た目を意識して作ろうと思います。
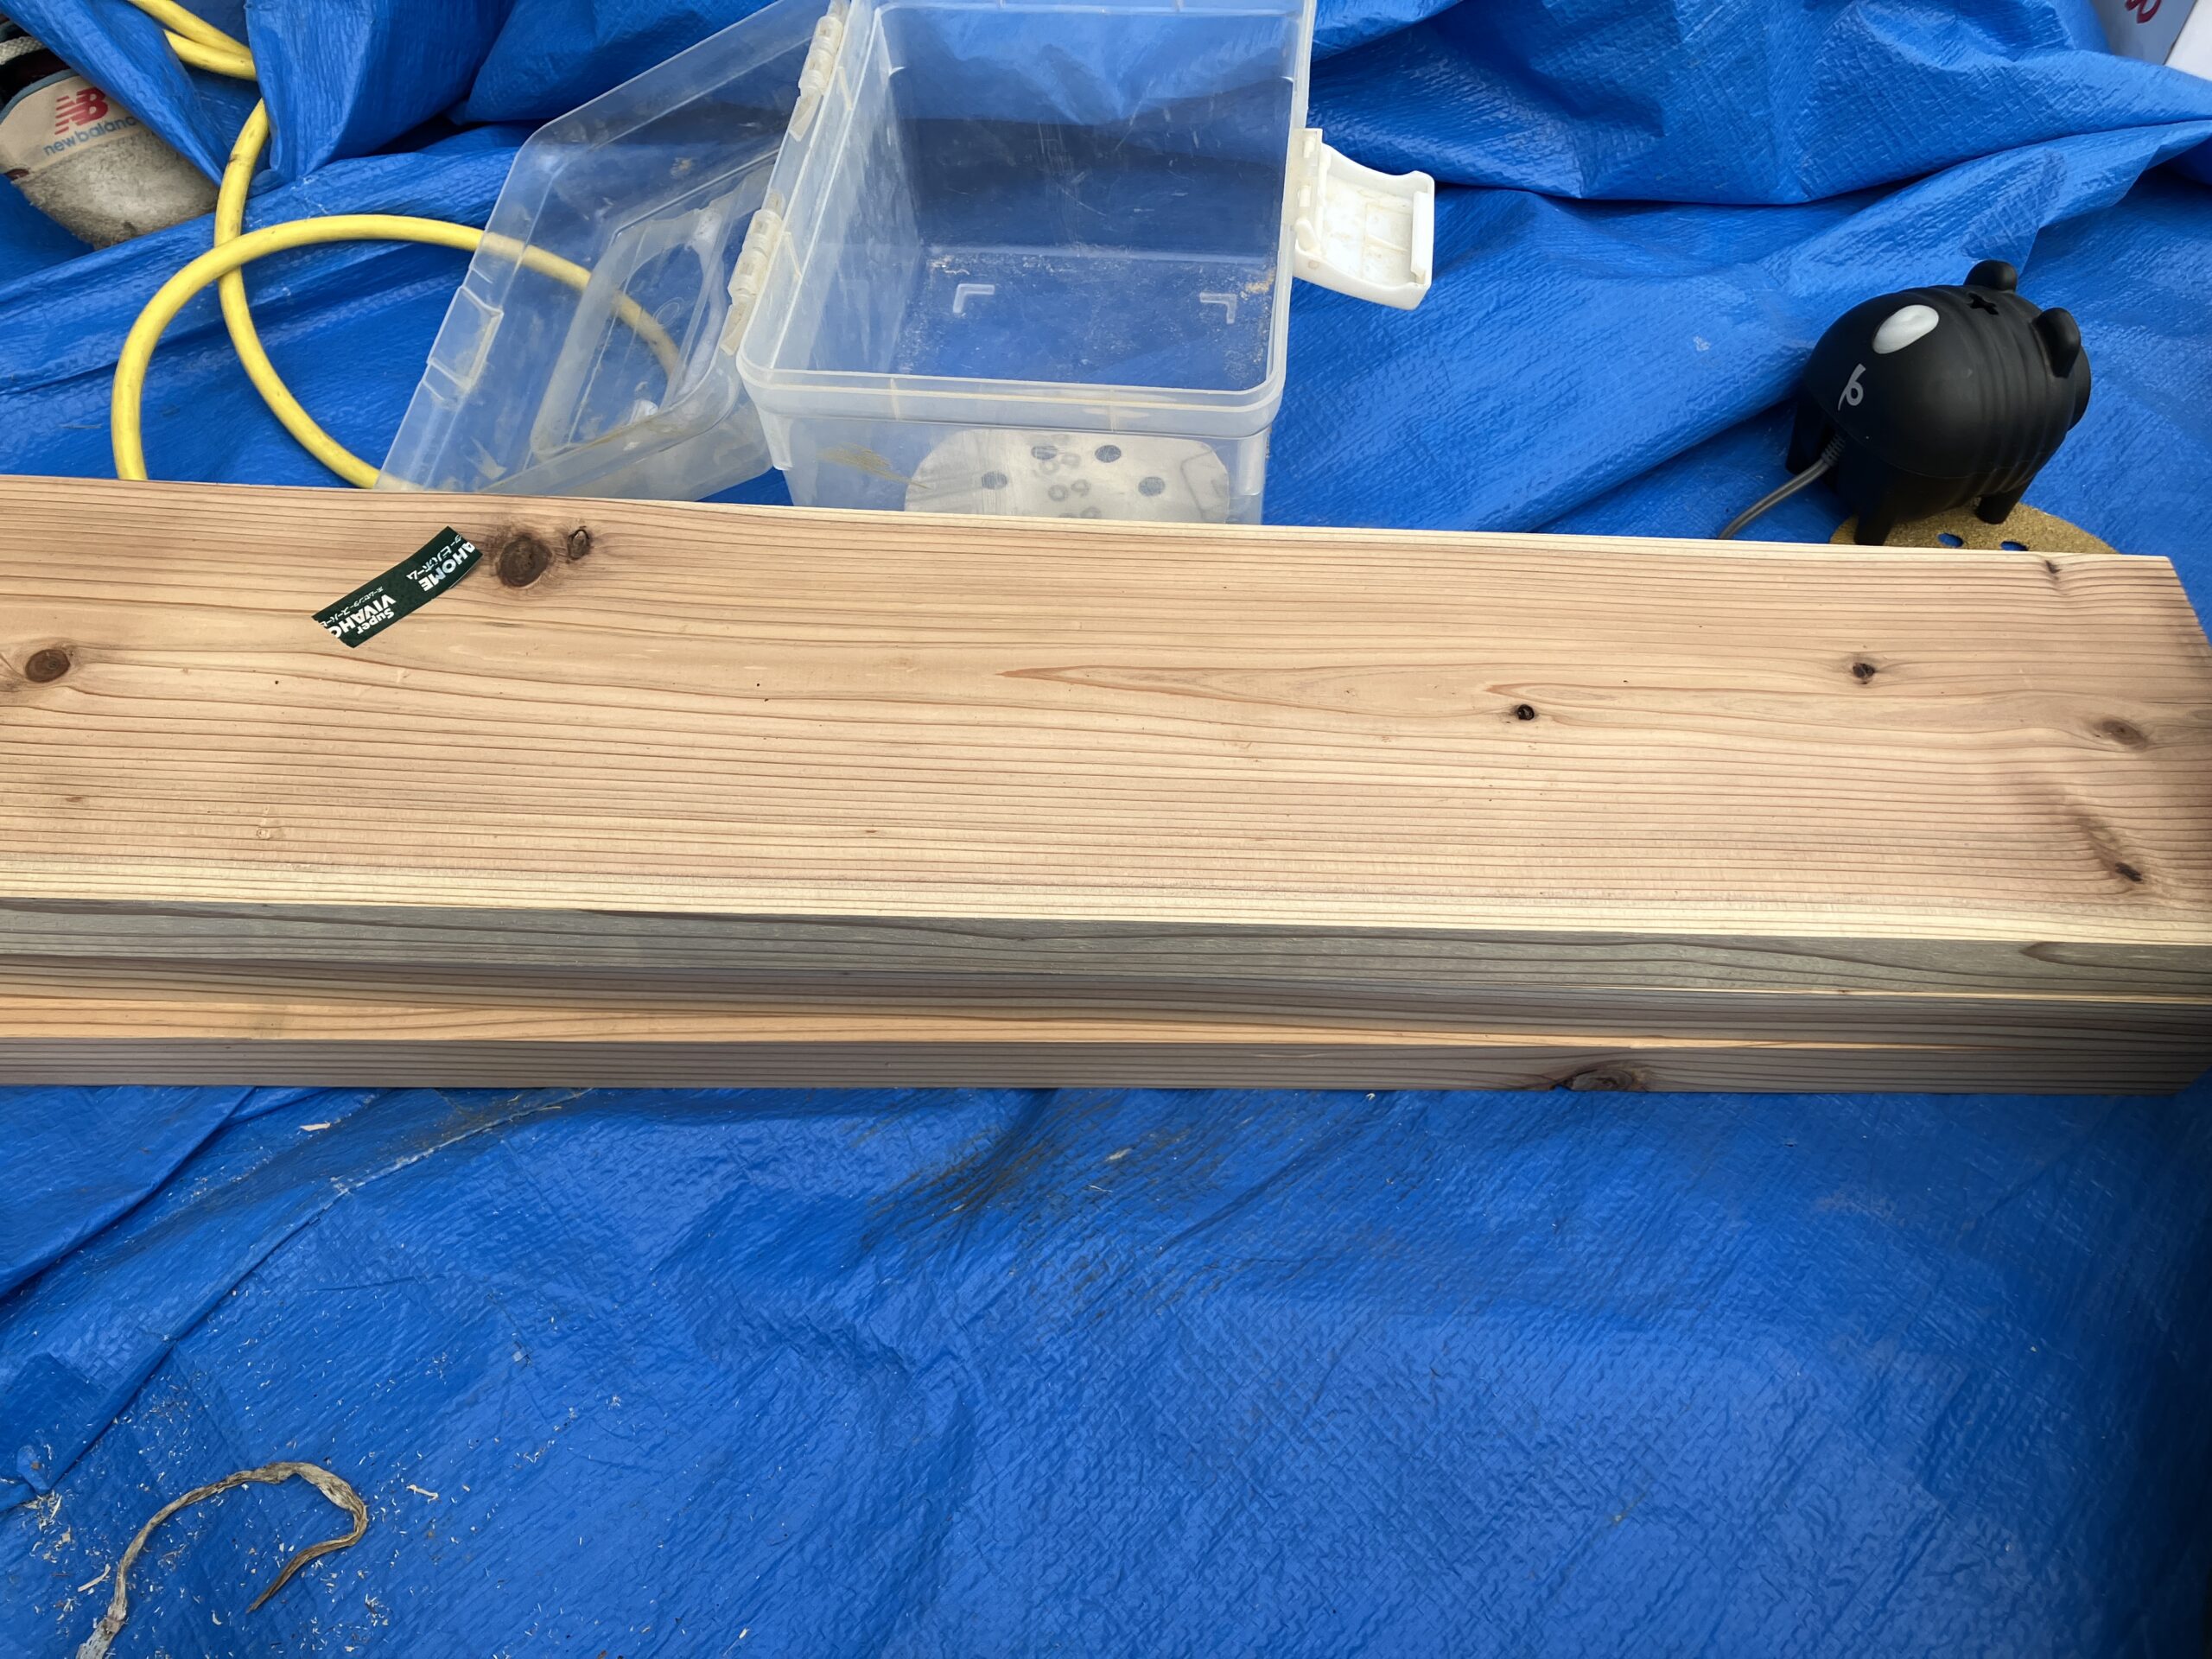
必要な材料
板(厚さ2〜3㎝、幅8〜15㎝、長さ20〜30㎝)2枚
角材(30〜50㎜、長さ20㎝)4本
材料は、大体のサイズで構いません。残っている材料があるなら有効活用しましょう。
![](https://kantan-diy.com/wp-content/uploads/2024/06/IMG_9566-1024x768.jpg)
![](https://kantan-diy.com/wp-content/uploads/2024/06/IMG_0542-1024x768.jpg)
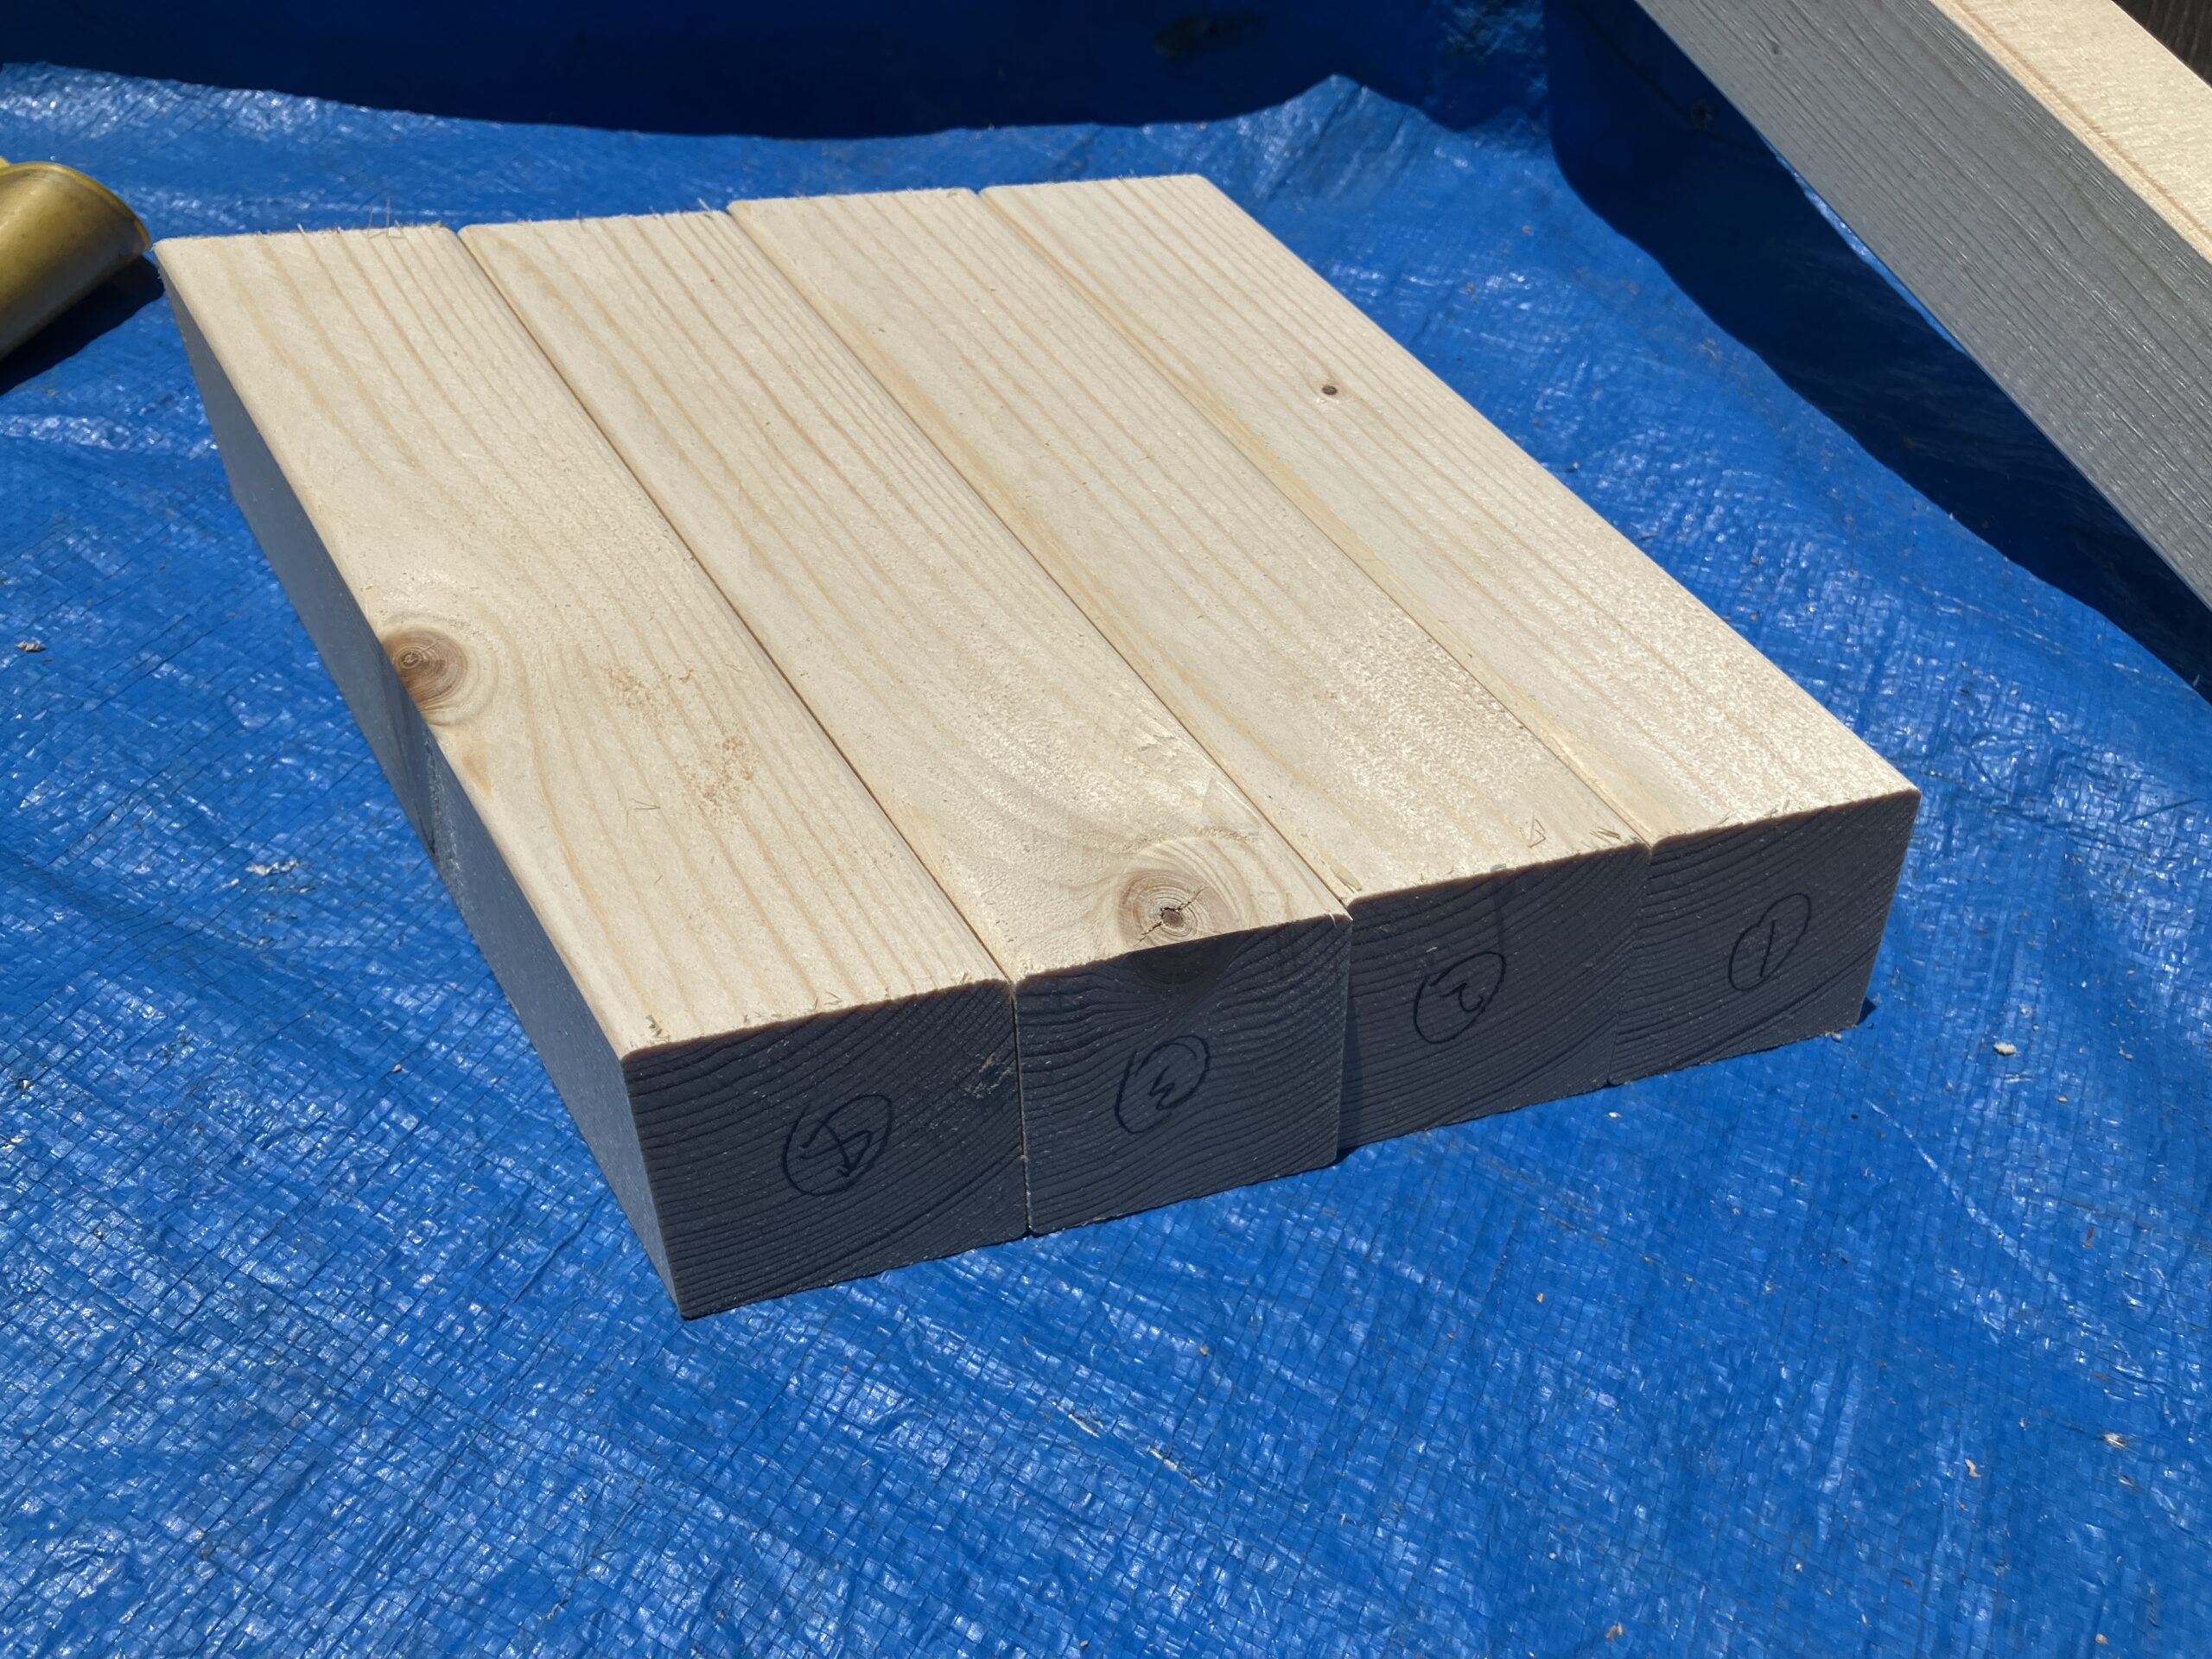
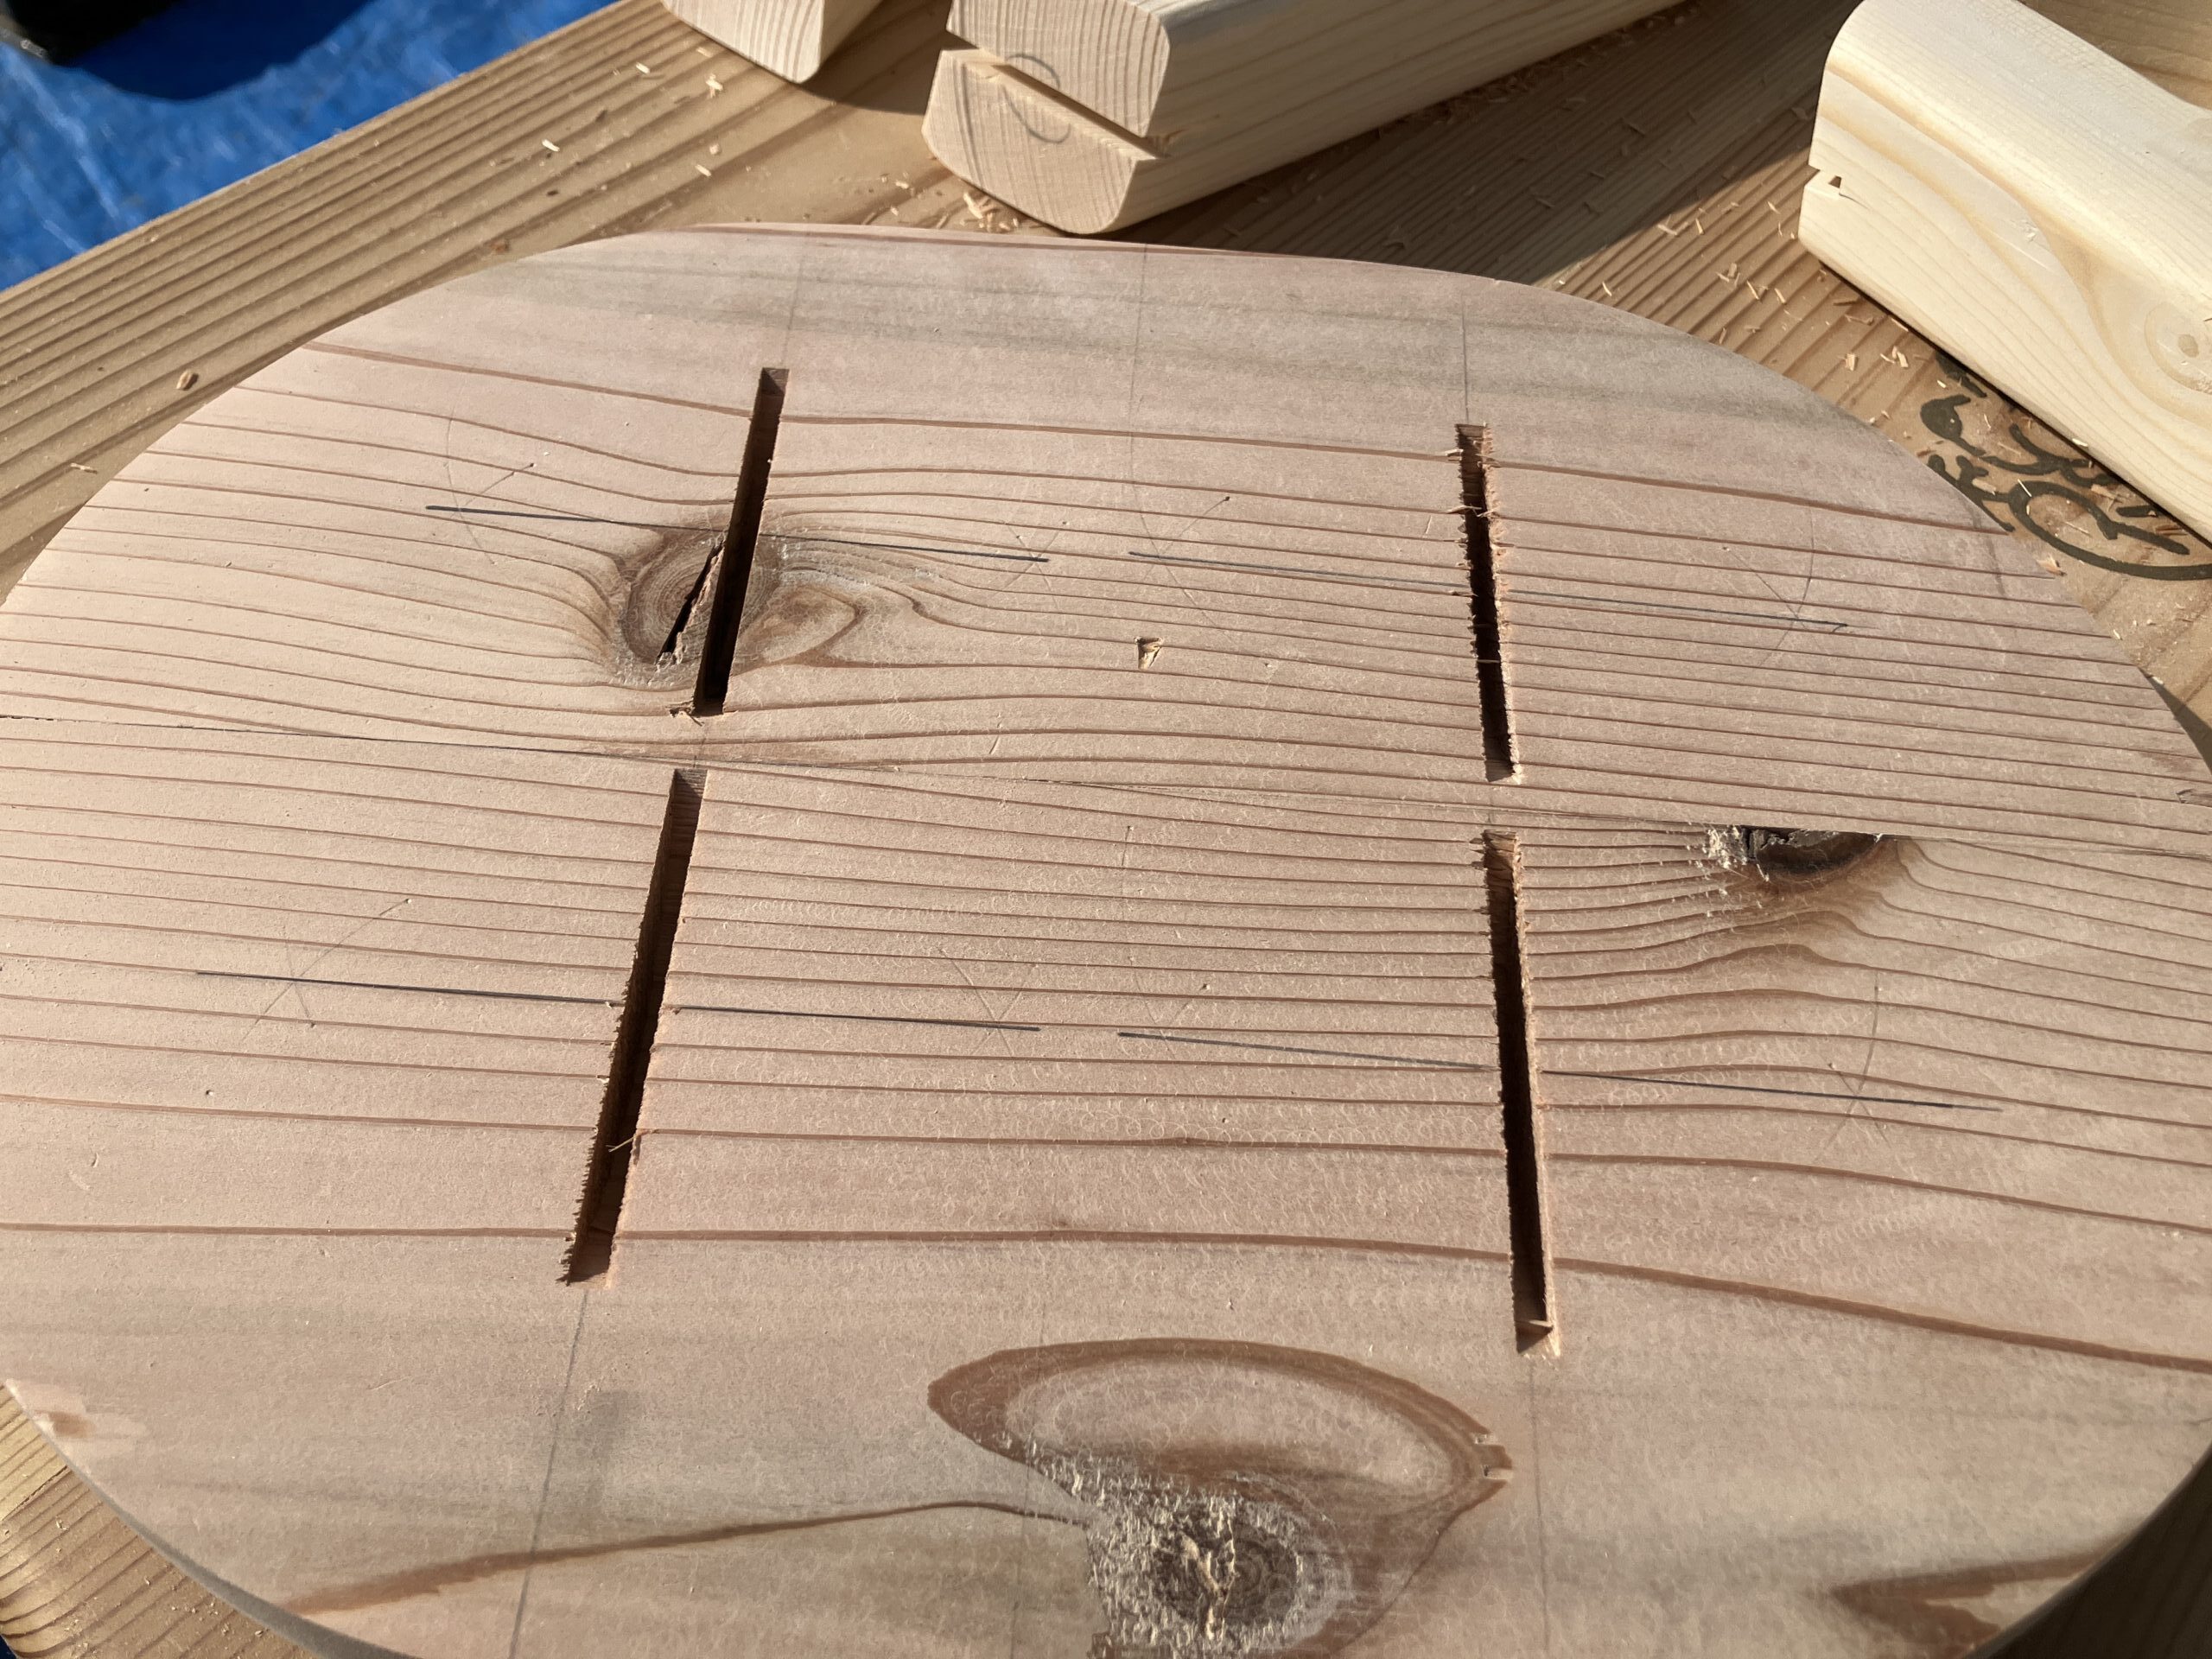
まずは、植木鉢を載せる台の部分を作ります。板をつなげて台にします。ジョイントカッターを使って、ビスケットジョイントします。
![](https://kantan-diy.com/wp-content/uploads/2024/06/IMG_0538-1024x768.jpg)
![](https://kantan-diy.com/wp-content/uploads/2024/06/IMG_0539-768x1024.jpg)
![](https://kantan-diy.com/wp-content/uploads/2024/06/IMG_0540-768x1024.jpg)
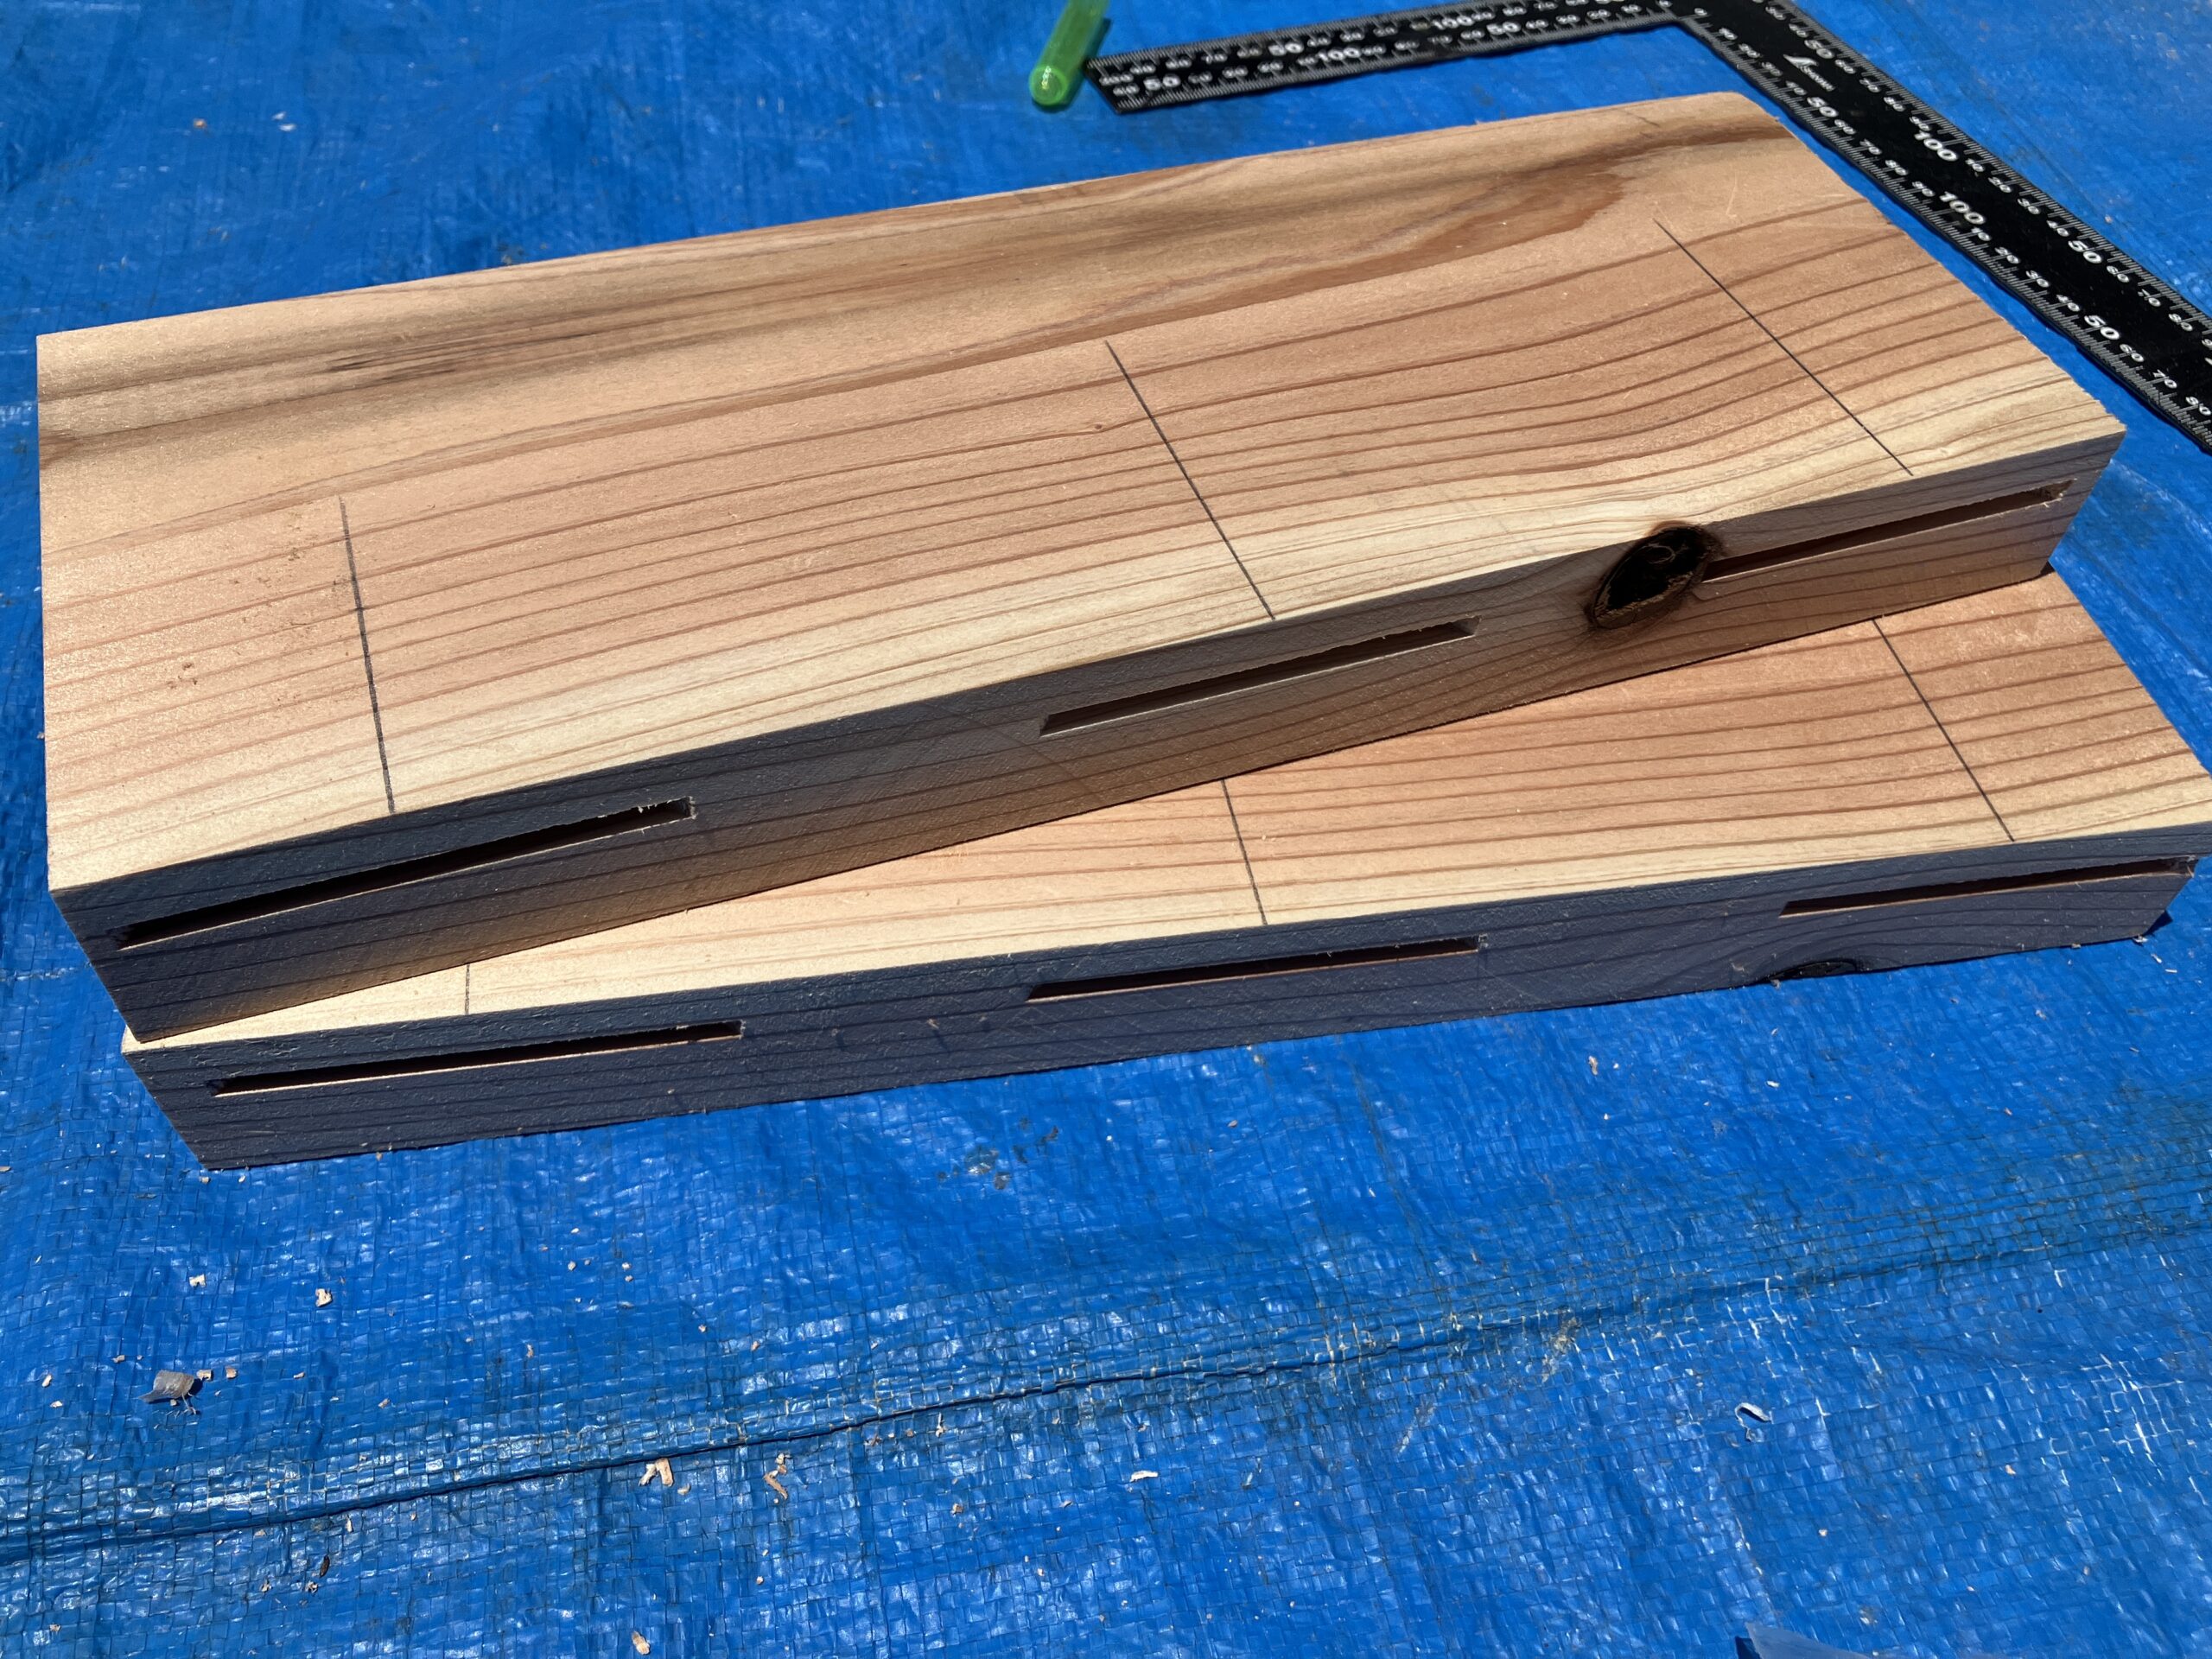
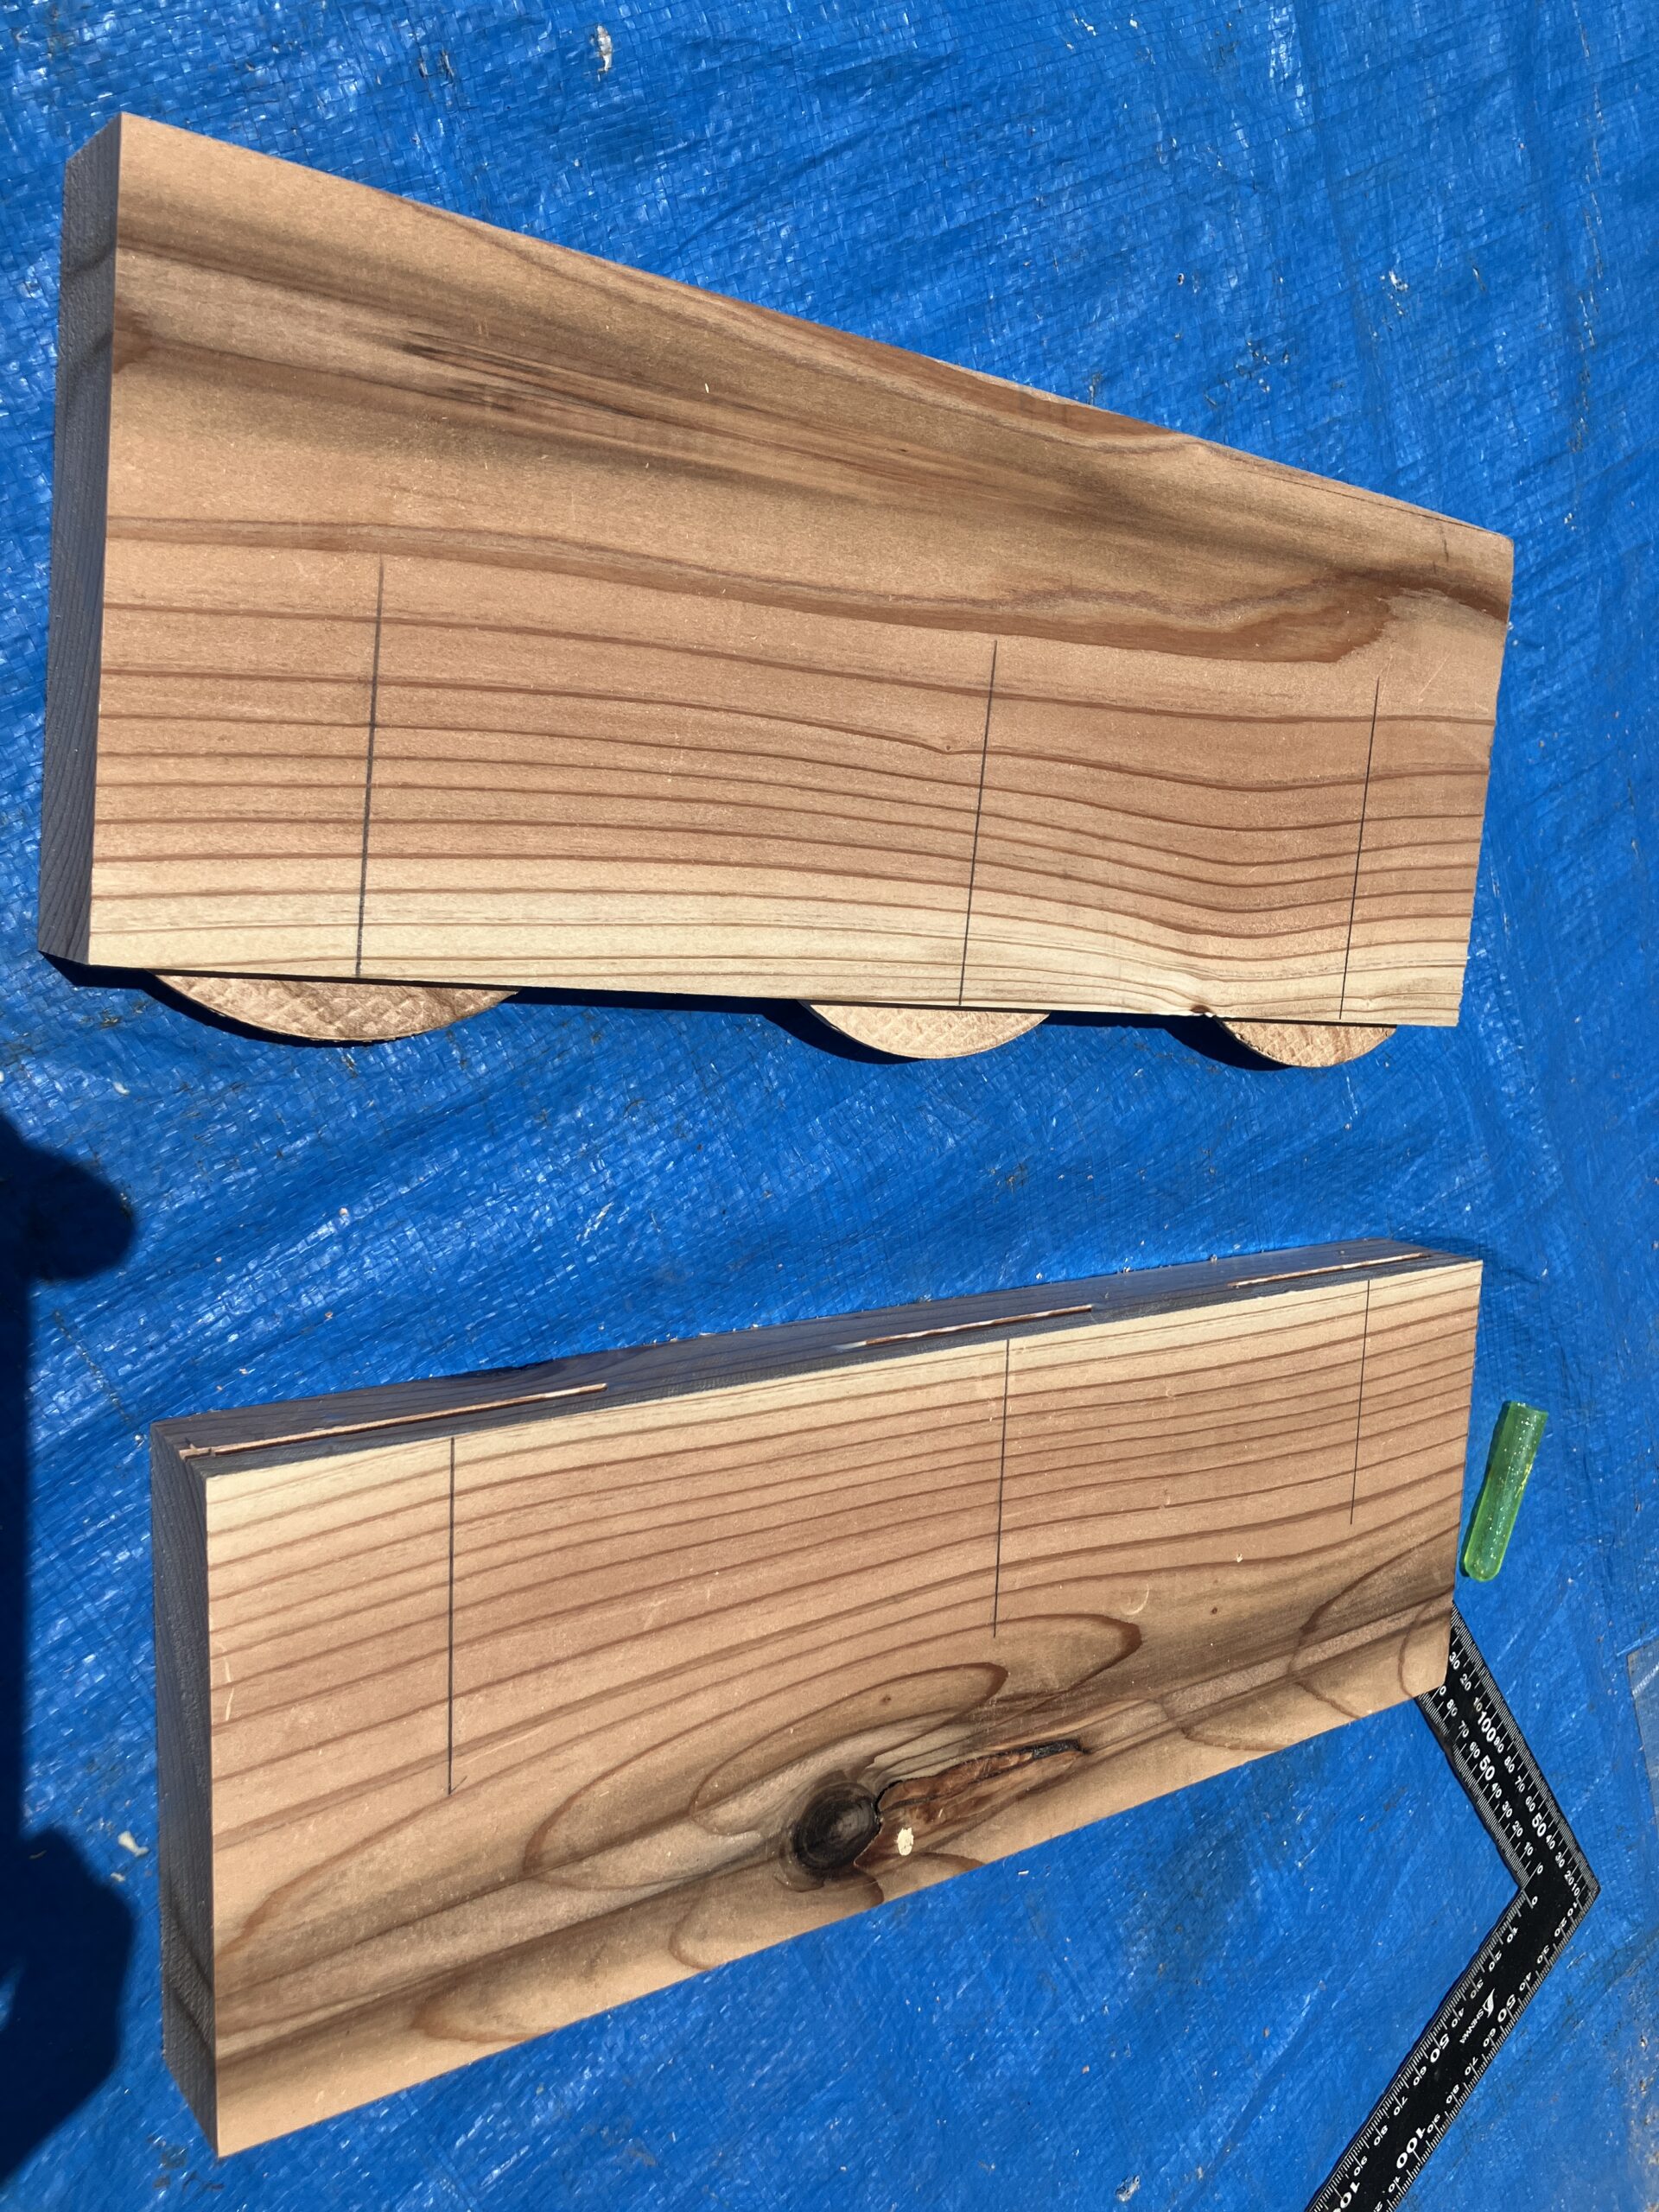
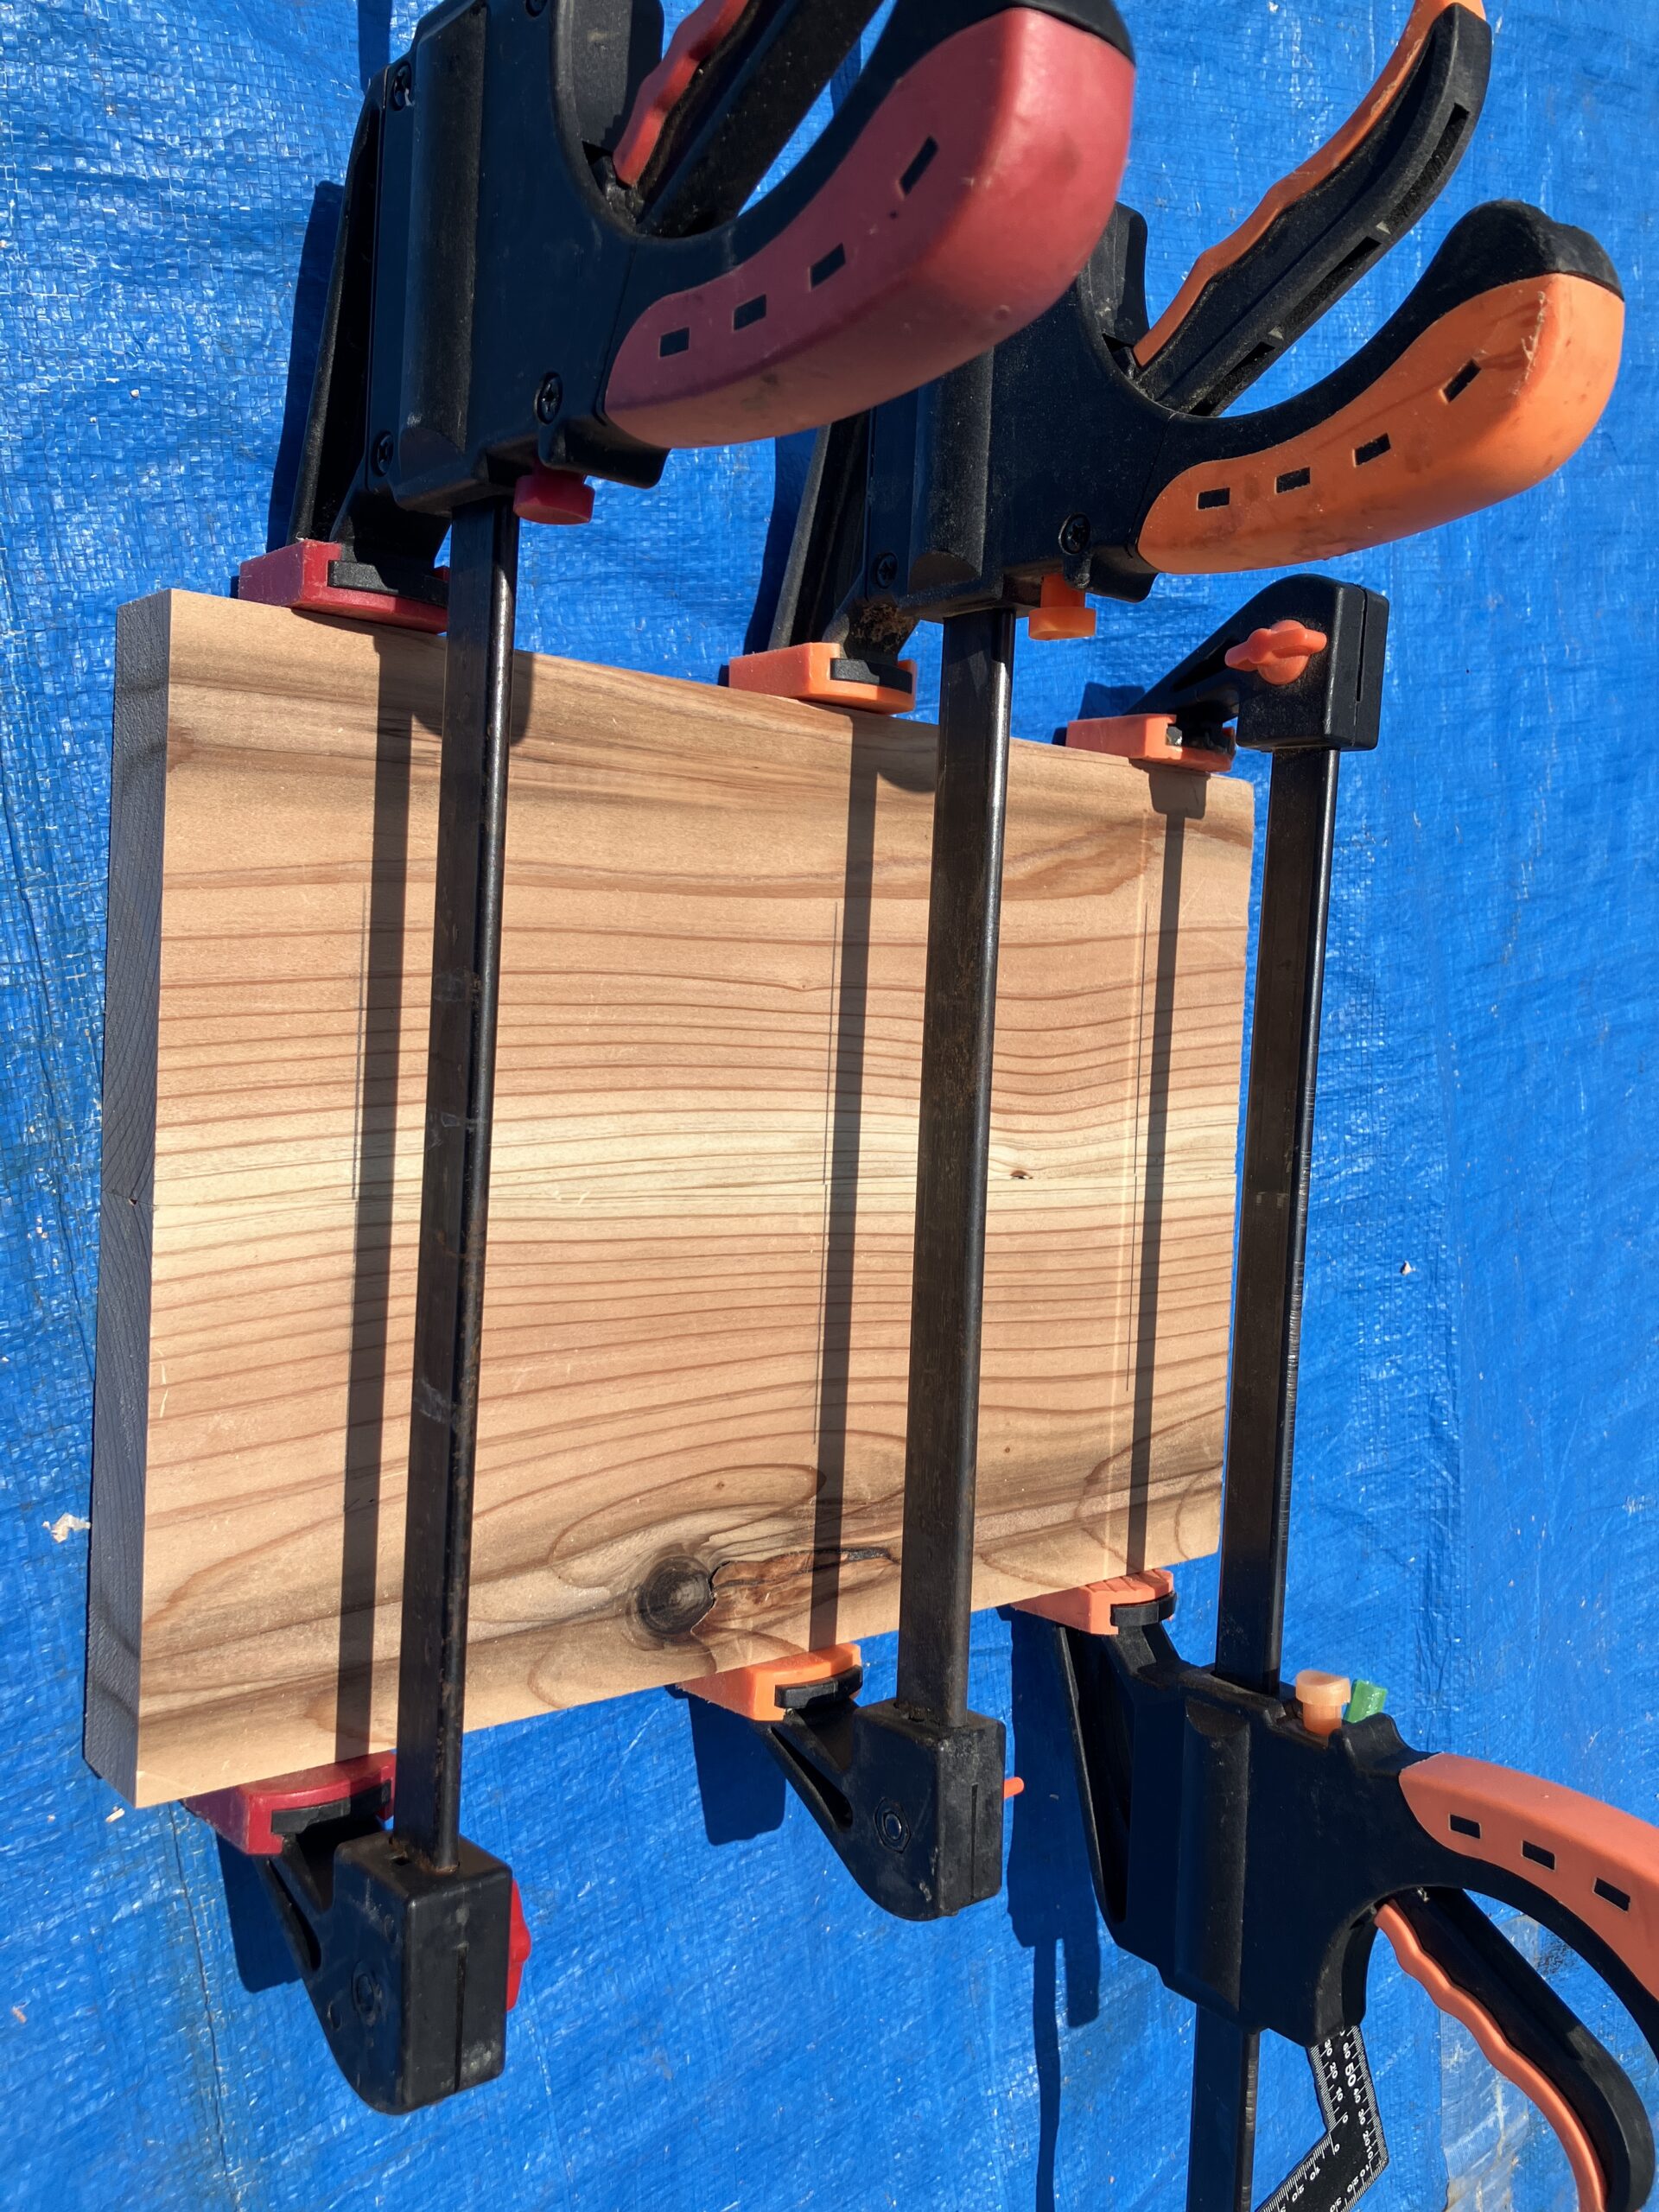
板をキレイに継ぐには、ビスケットジョイントを使うとカンタン、キレイにできます。
マキタ(Makita)
¥27,526 (2024/06/03 21:19時点 | Amazon調べ)
![](https://kantan-diy.com/wp-content/plugins/pochipp/assets/img/pochipp-logo-t1.png)
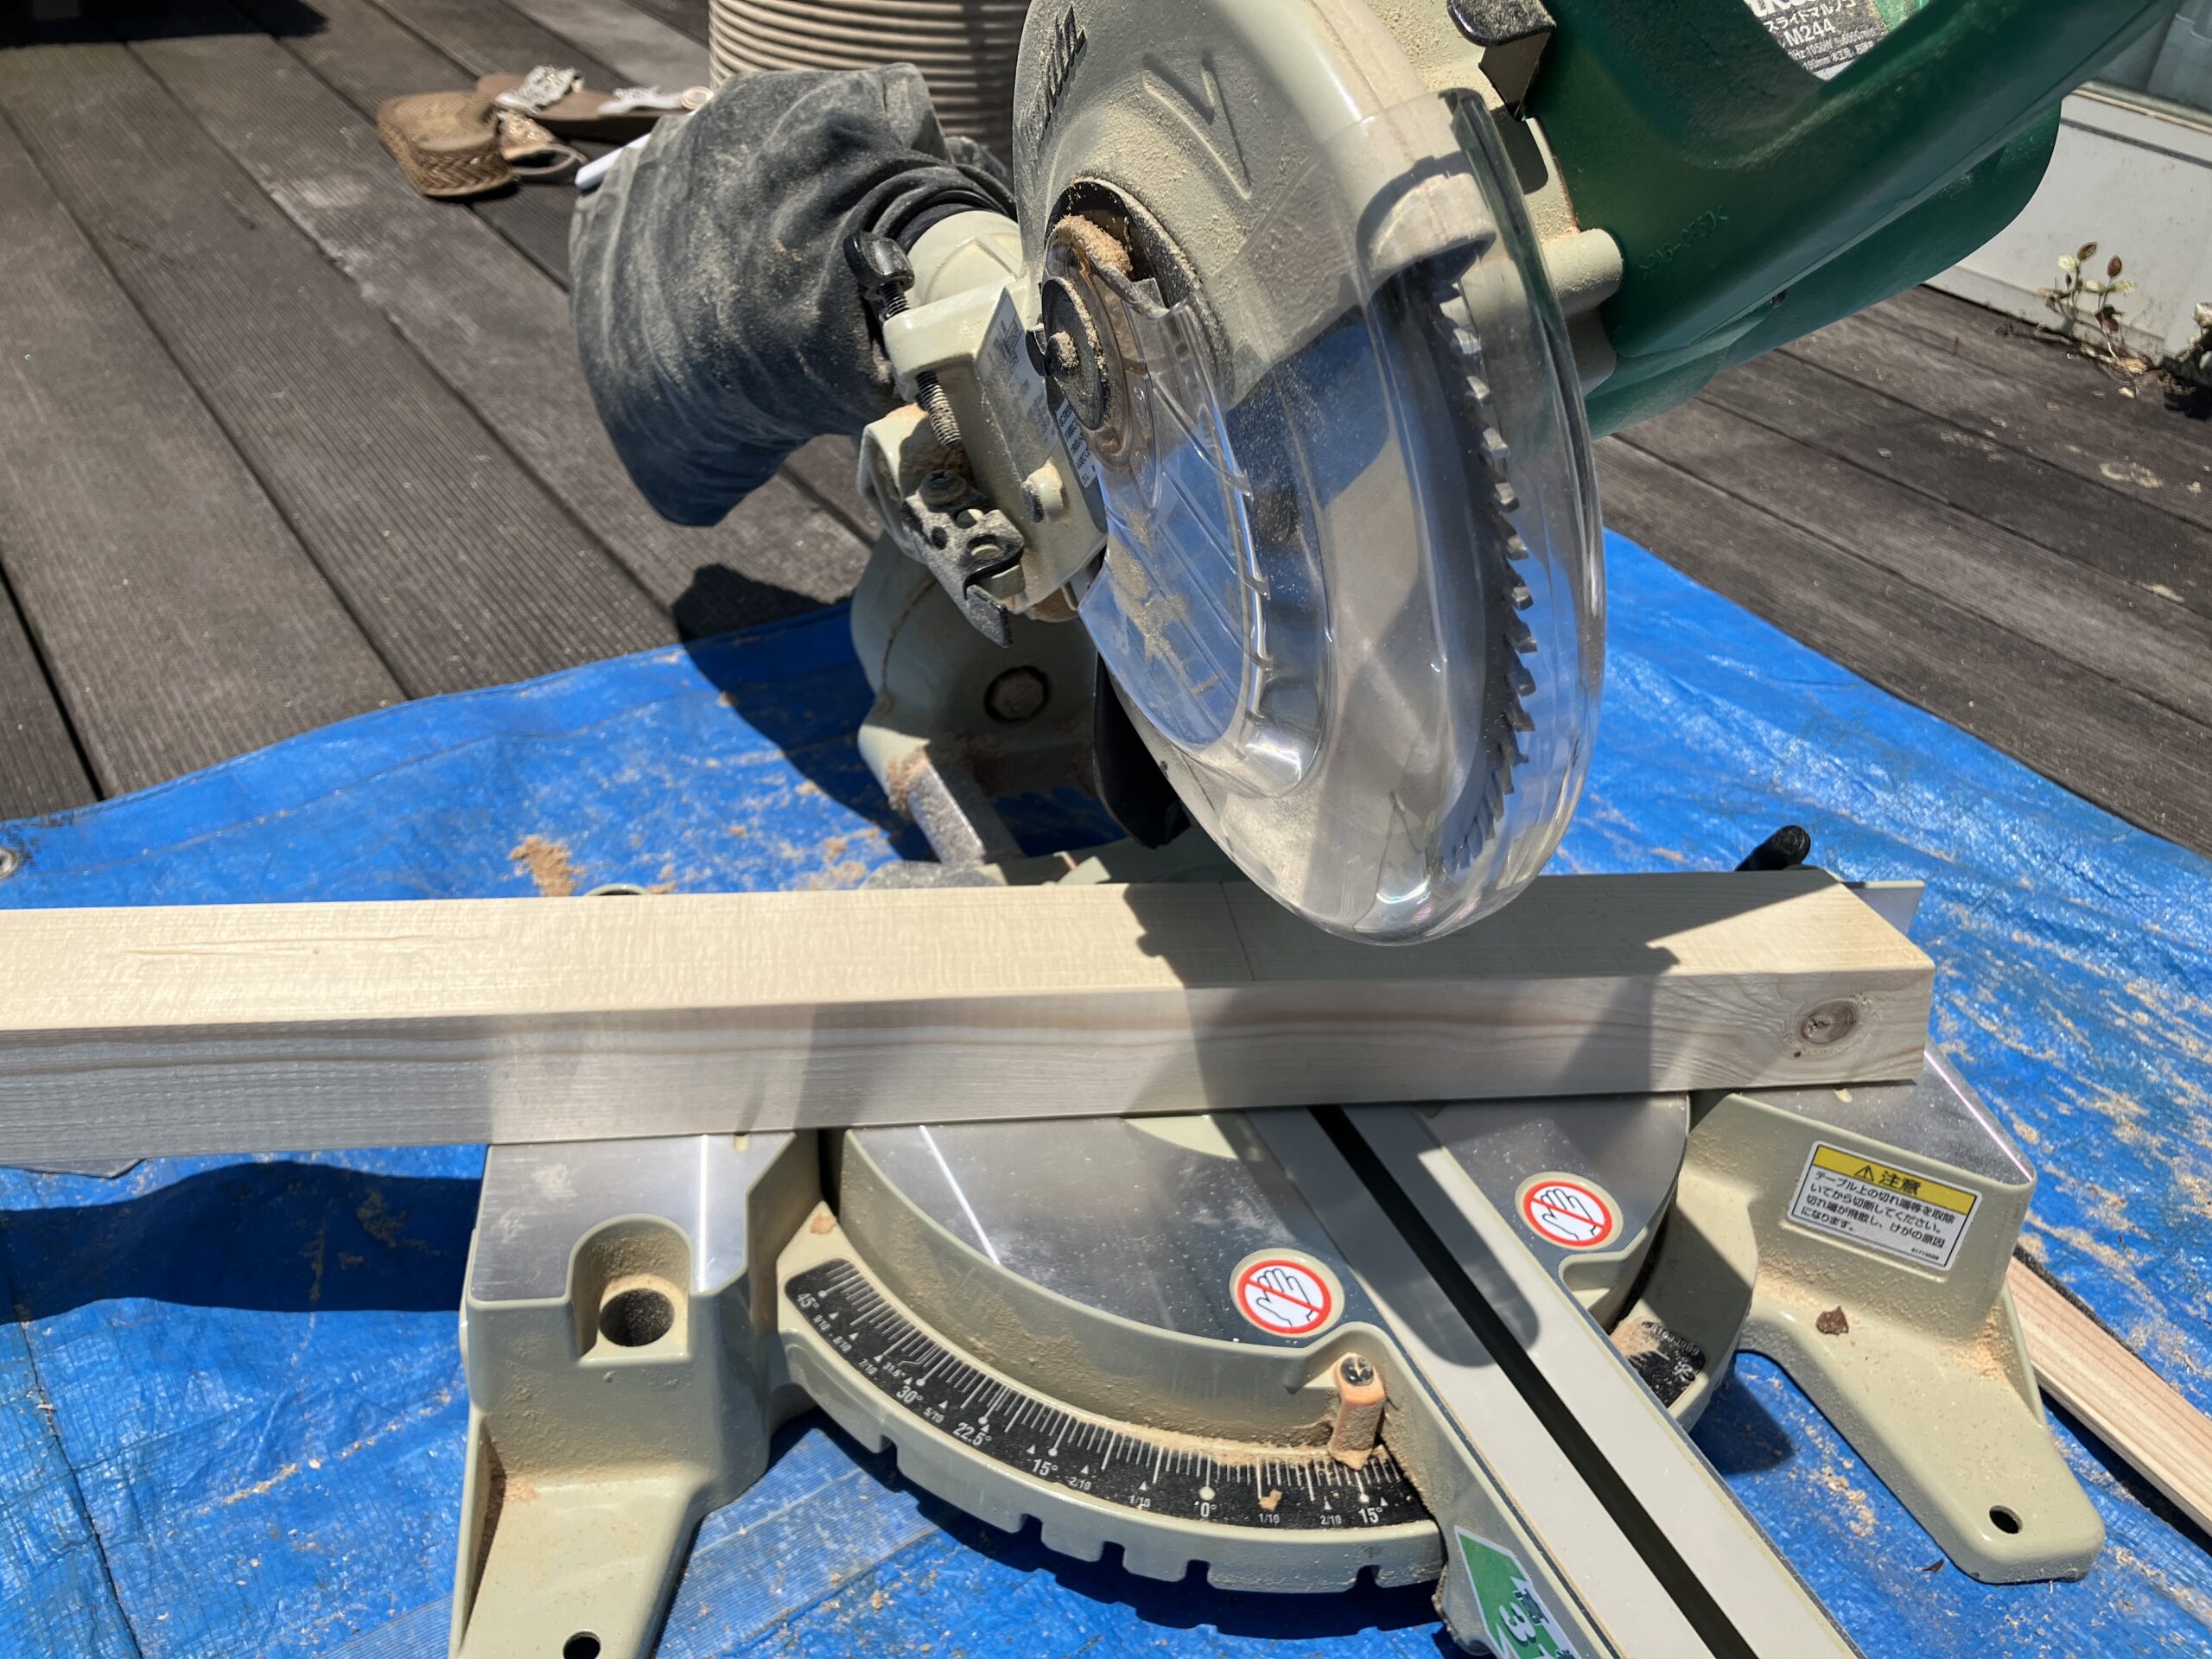
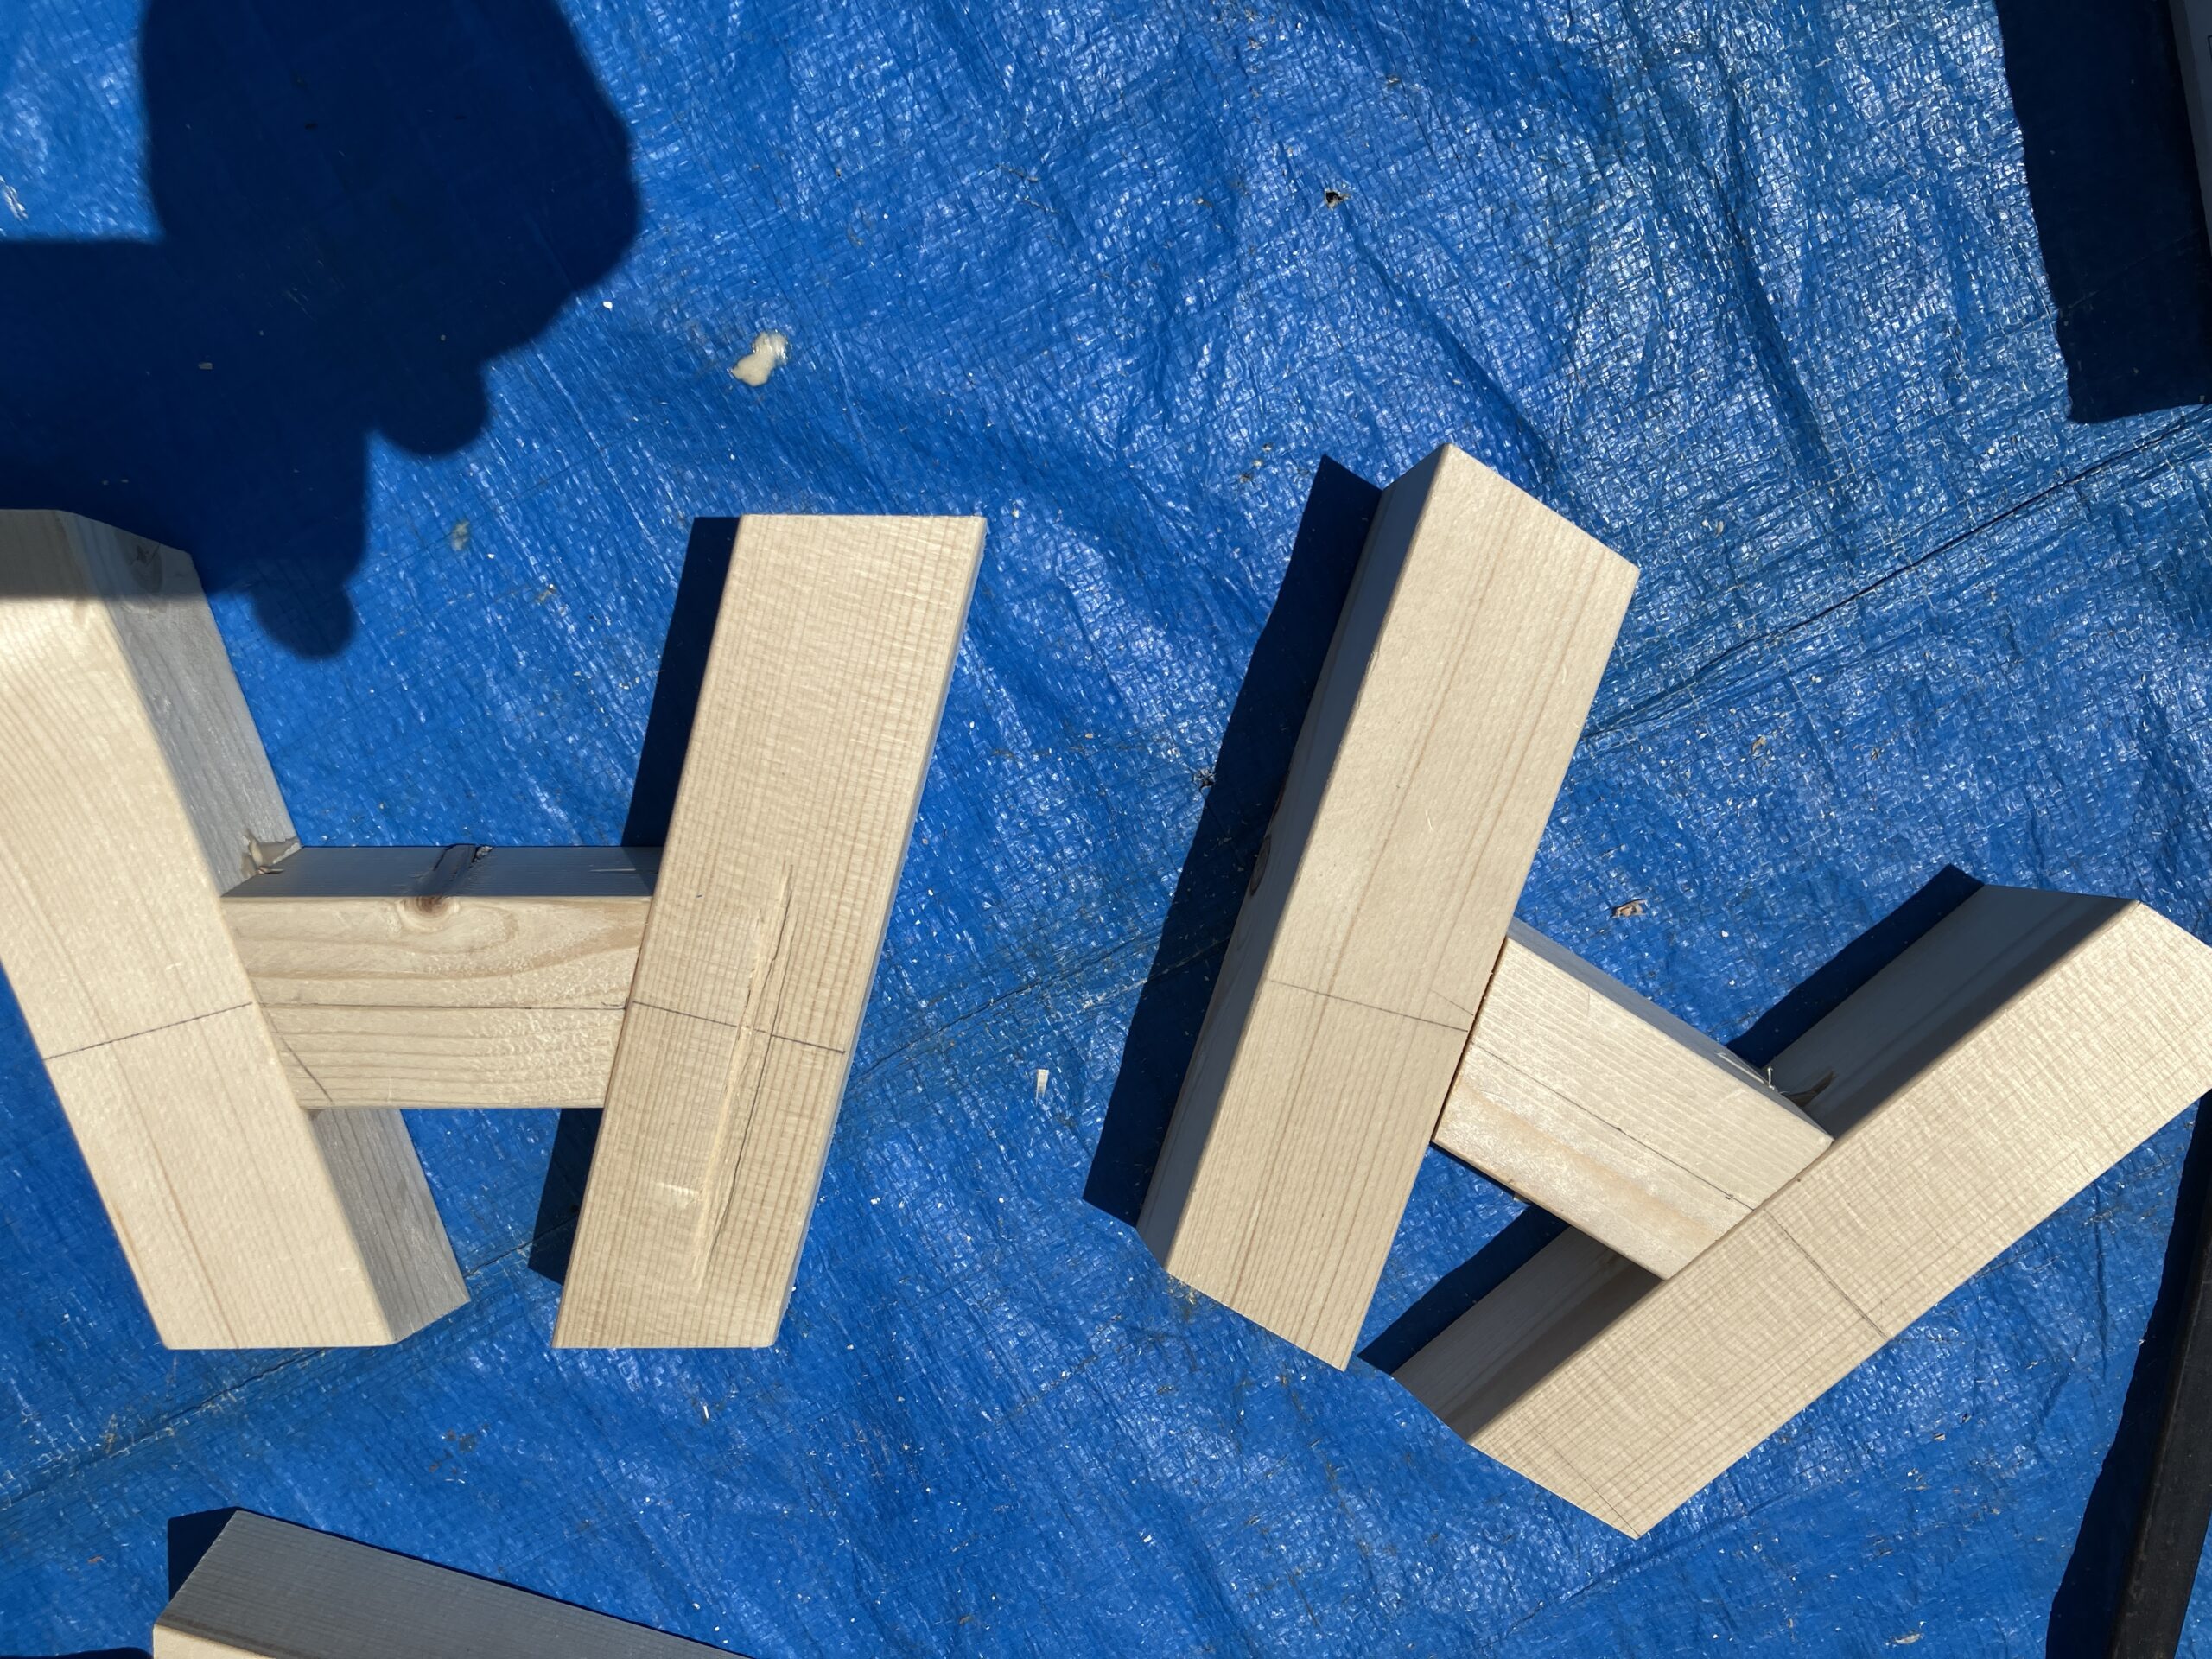
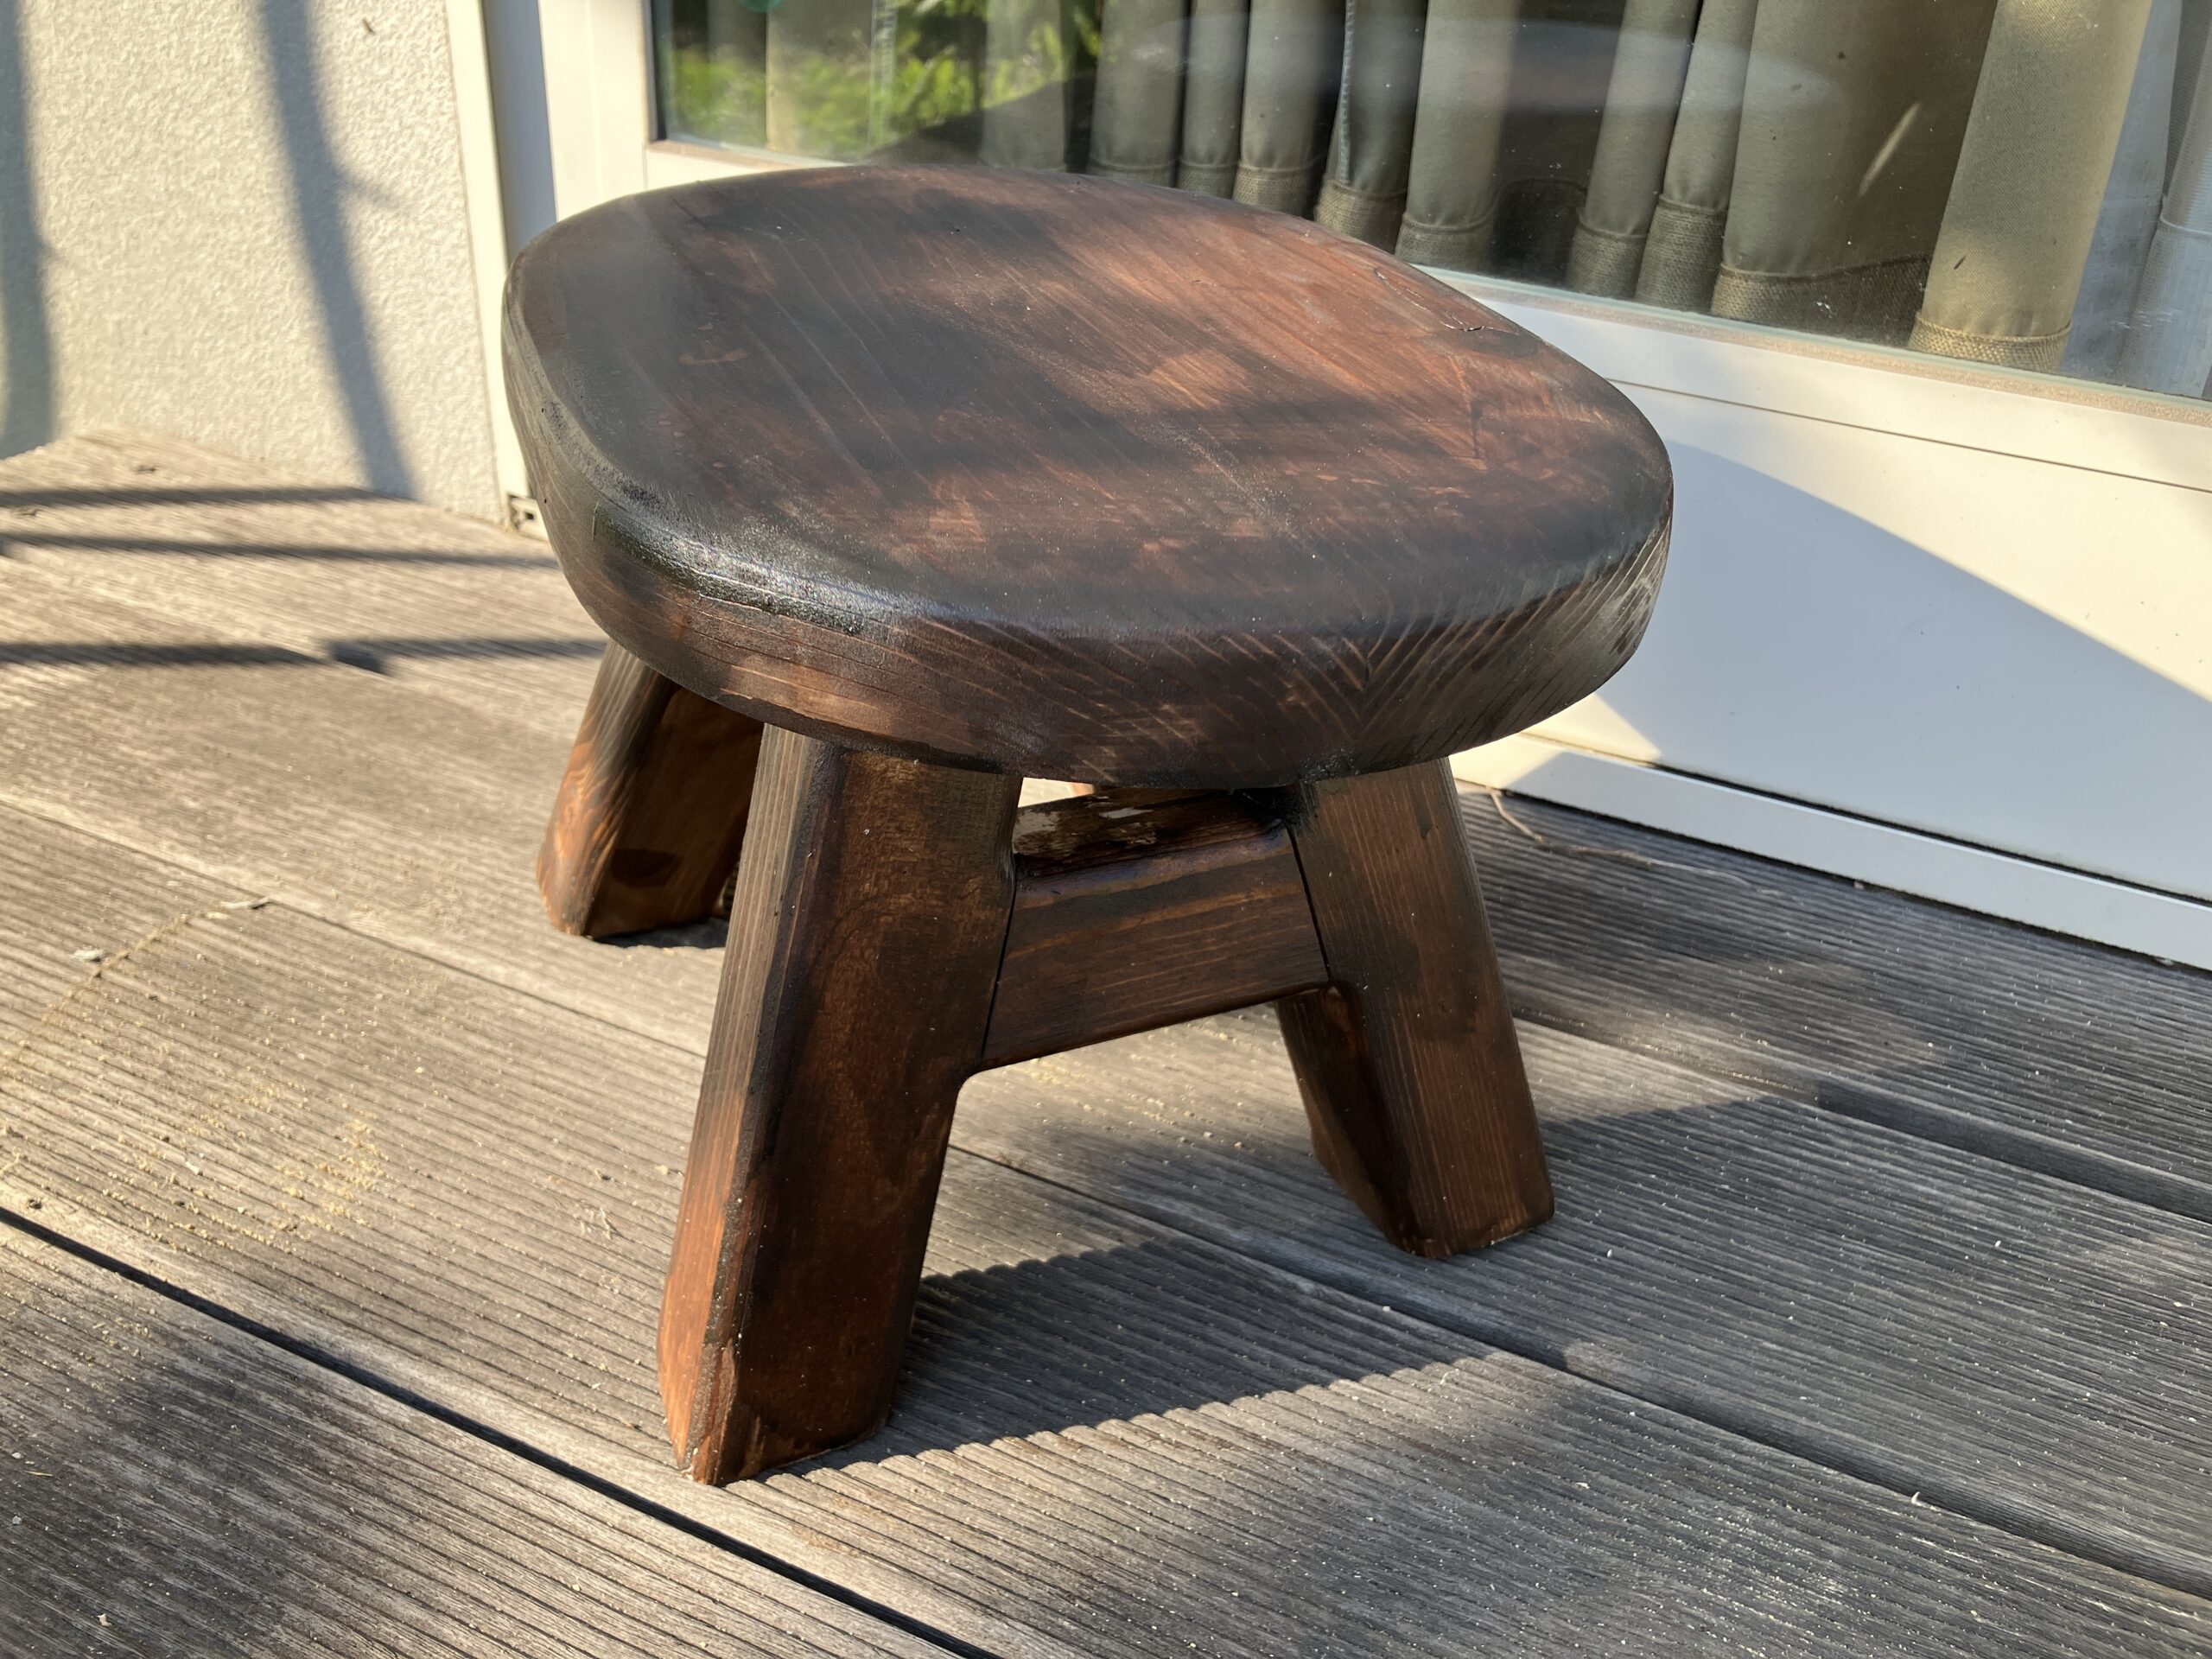
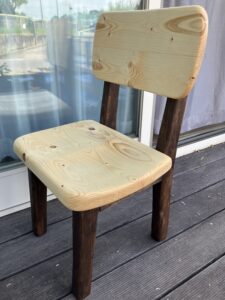
脚は角度をつけて切ることで、斜めになる脚を作ります。スライド丸鋸で二方向に角度をつけます。
![](https://kantan-diy.com/wp-content/uploads/2024/06/IMG_0541-1024x768.jpg)
![](https://kantan-diy.com/wp-content/uploads/2024/06/IMG_0544-1024x768.jpg)
![](https://kantan-diy.com/wp-content/plugins/pochipp/assets/img/pochipp-logo-t1.png)
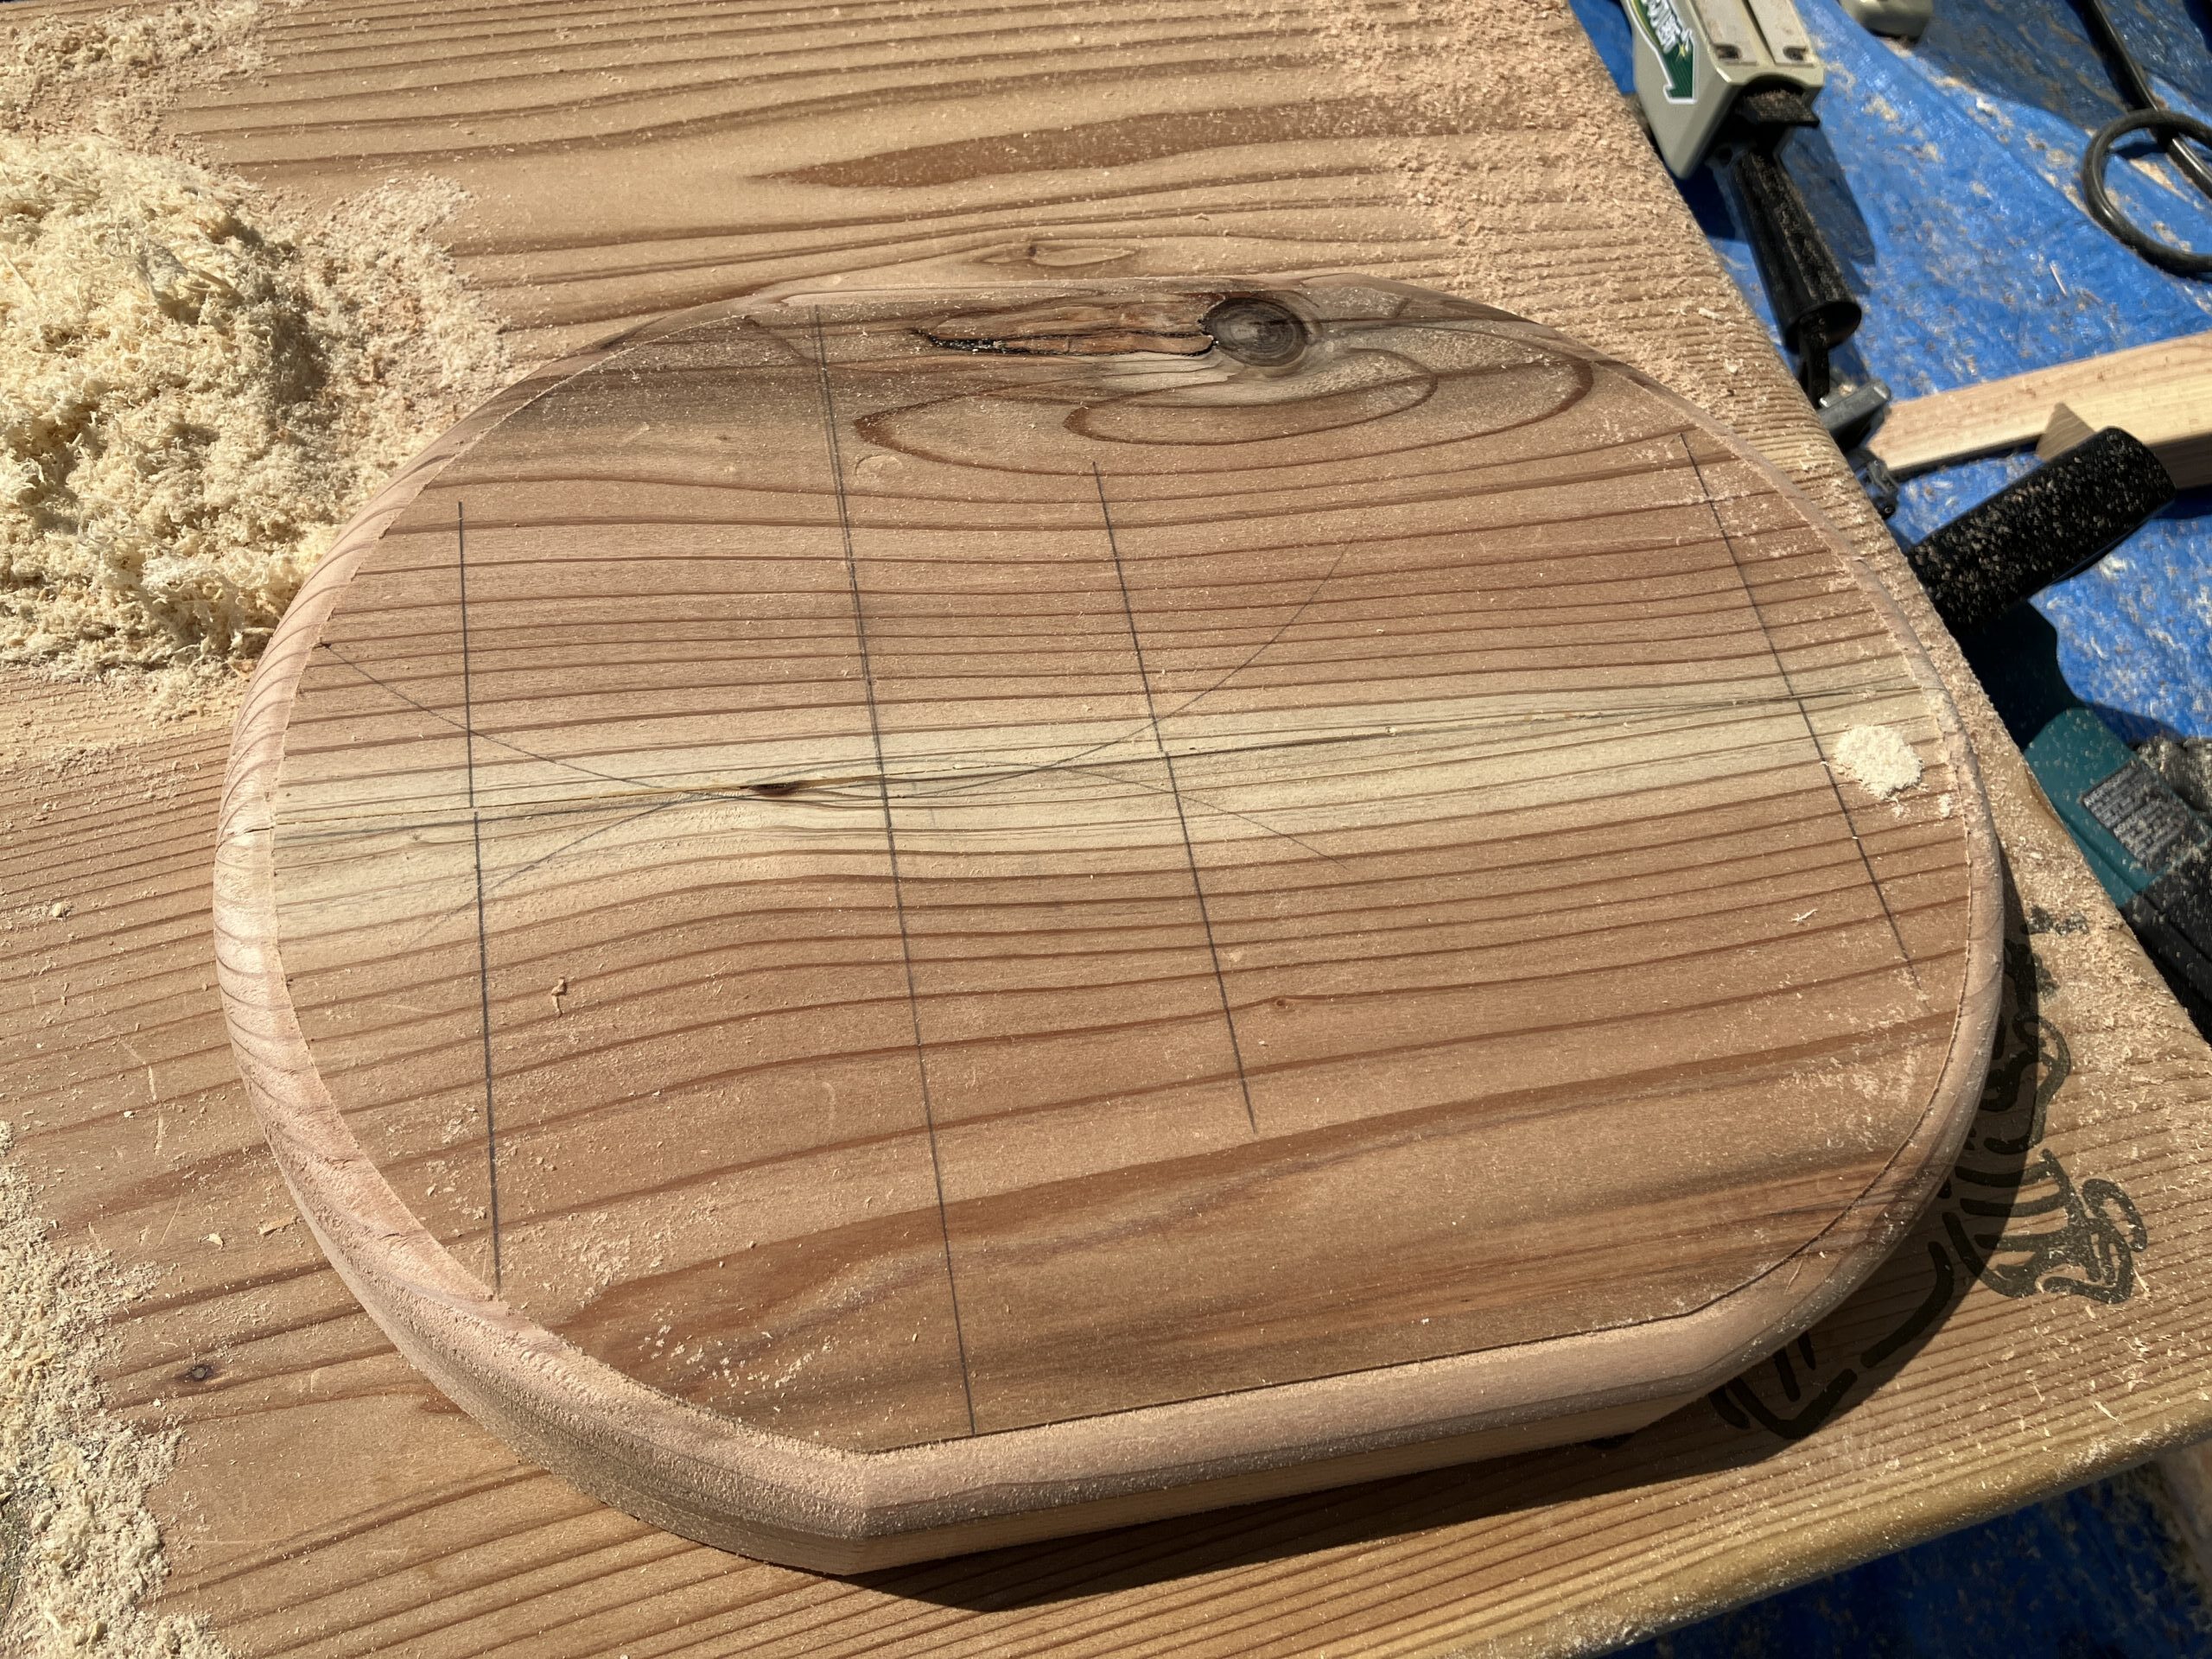
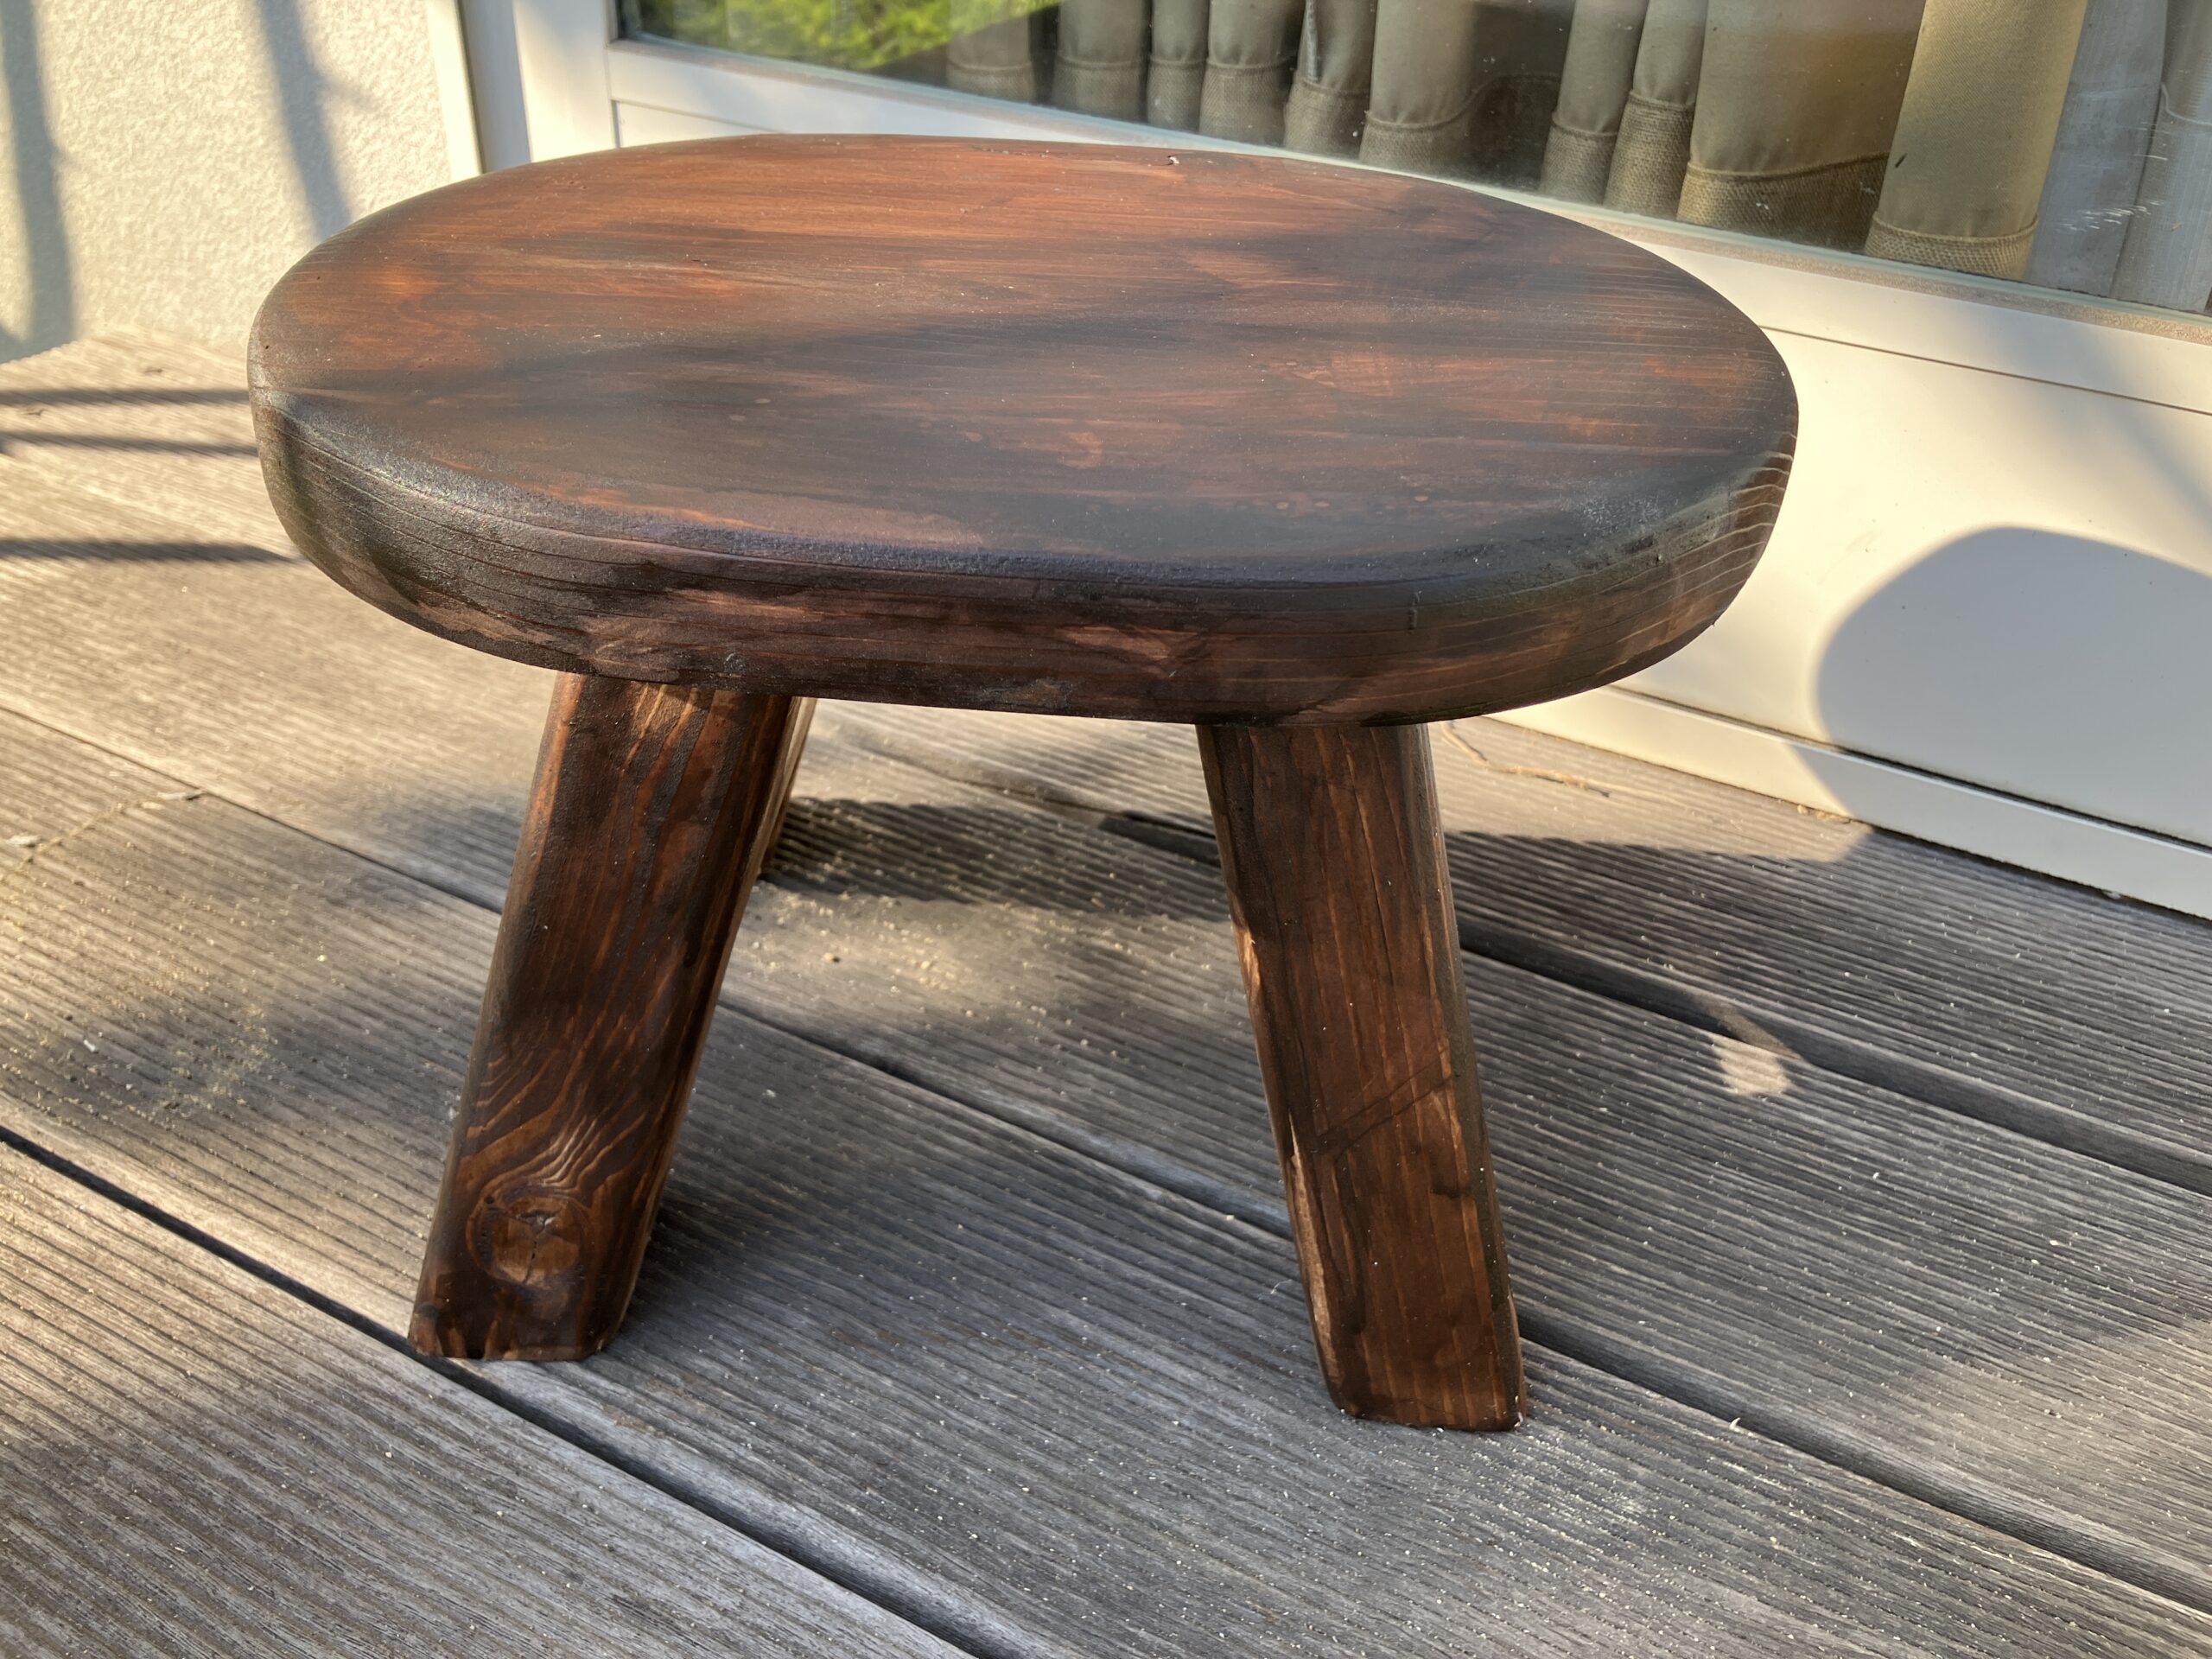
台の部分は、ジグソーで丸みを帯びさせて、雰囲気を柔らかくします。
![](https://kantan-diy.com/wp-content/uploads/2024/06/IMG_0547-scaled-e1717417696216-1024x768.jpg)
![](https://kantan-diy.com/wp-content/uploads/2024/06/IMG_0548-scaled-e1717417663300-1024x768.jpg)
![](https://kantan-diy.com/wp-content/plugins/pochipp/assets/img/pochipp-logo-t1.png)
脚や台が角張っていると強めな感じになるので、角を取って丸めます。トリマーで角を削ります。
![](https://kantan-diy.com/wp-content/uploads/2024/06/IMG_0546-scaled-e1717417884594-1024x768.jpg)
![](https://kantan-diy.com/wp-content/uploads/2024/06/IMG_0549-scaled-e1717417850626-1024x768.jpg)
![](https://kantan-diy.com/wp-content/plugins/pochipp/assets/img/pochipp-logo-t1.png)
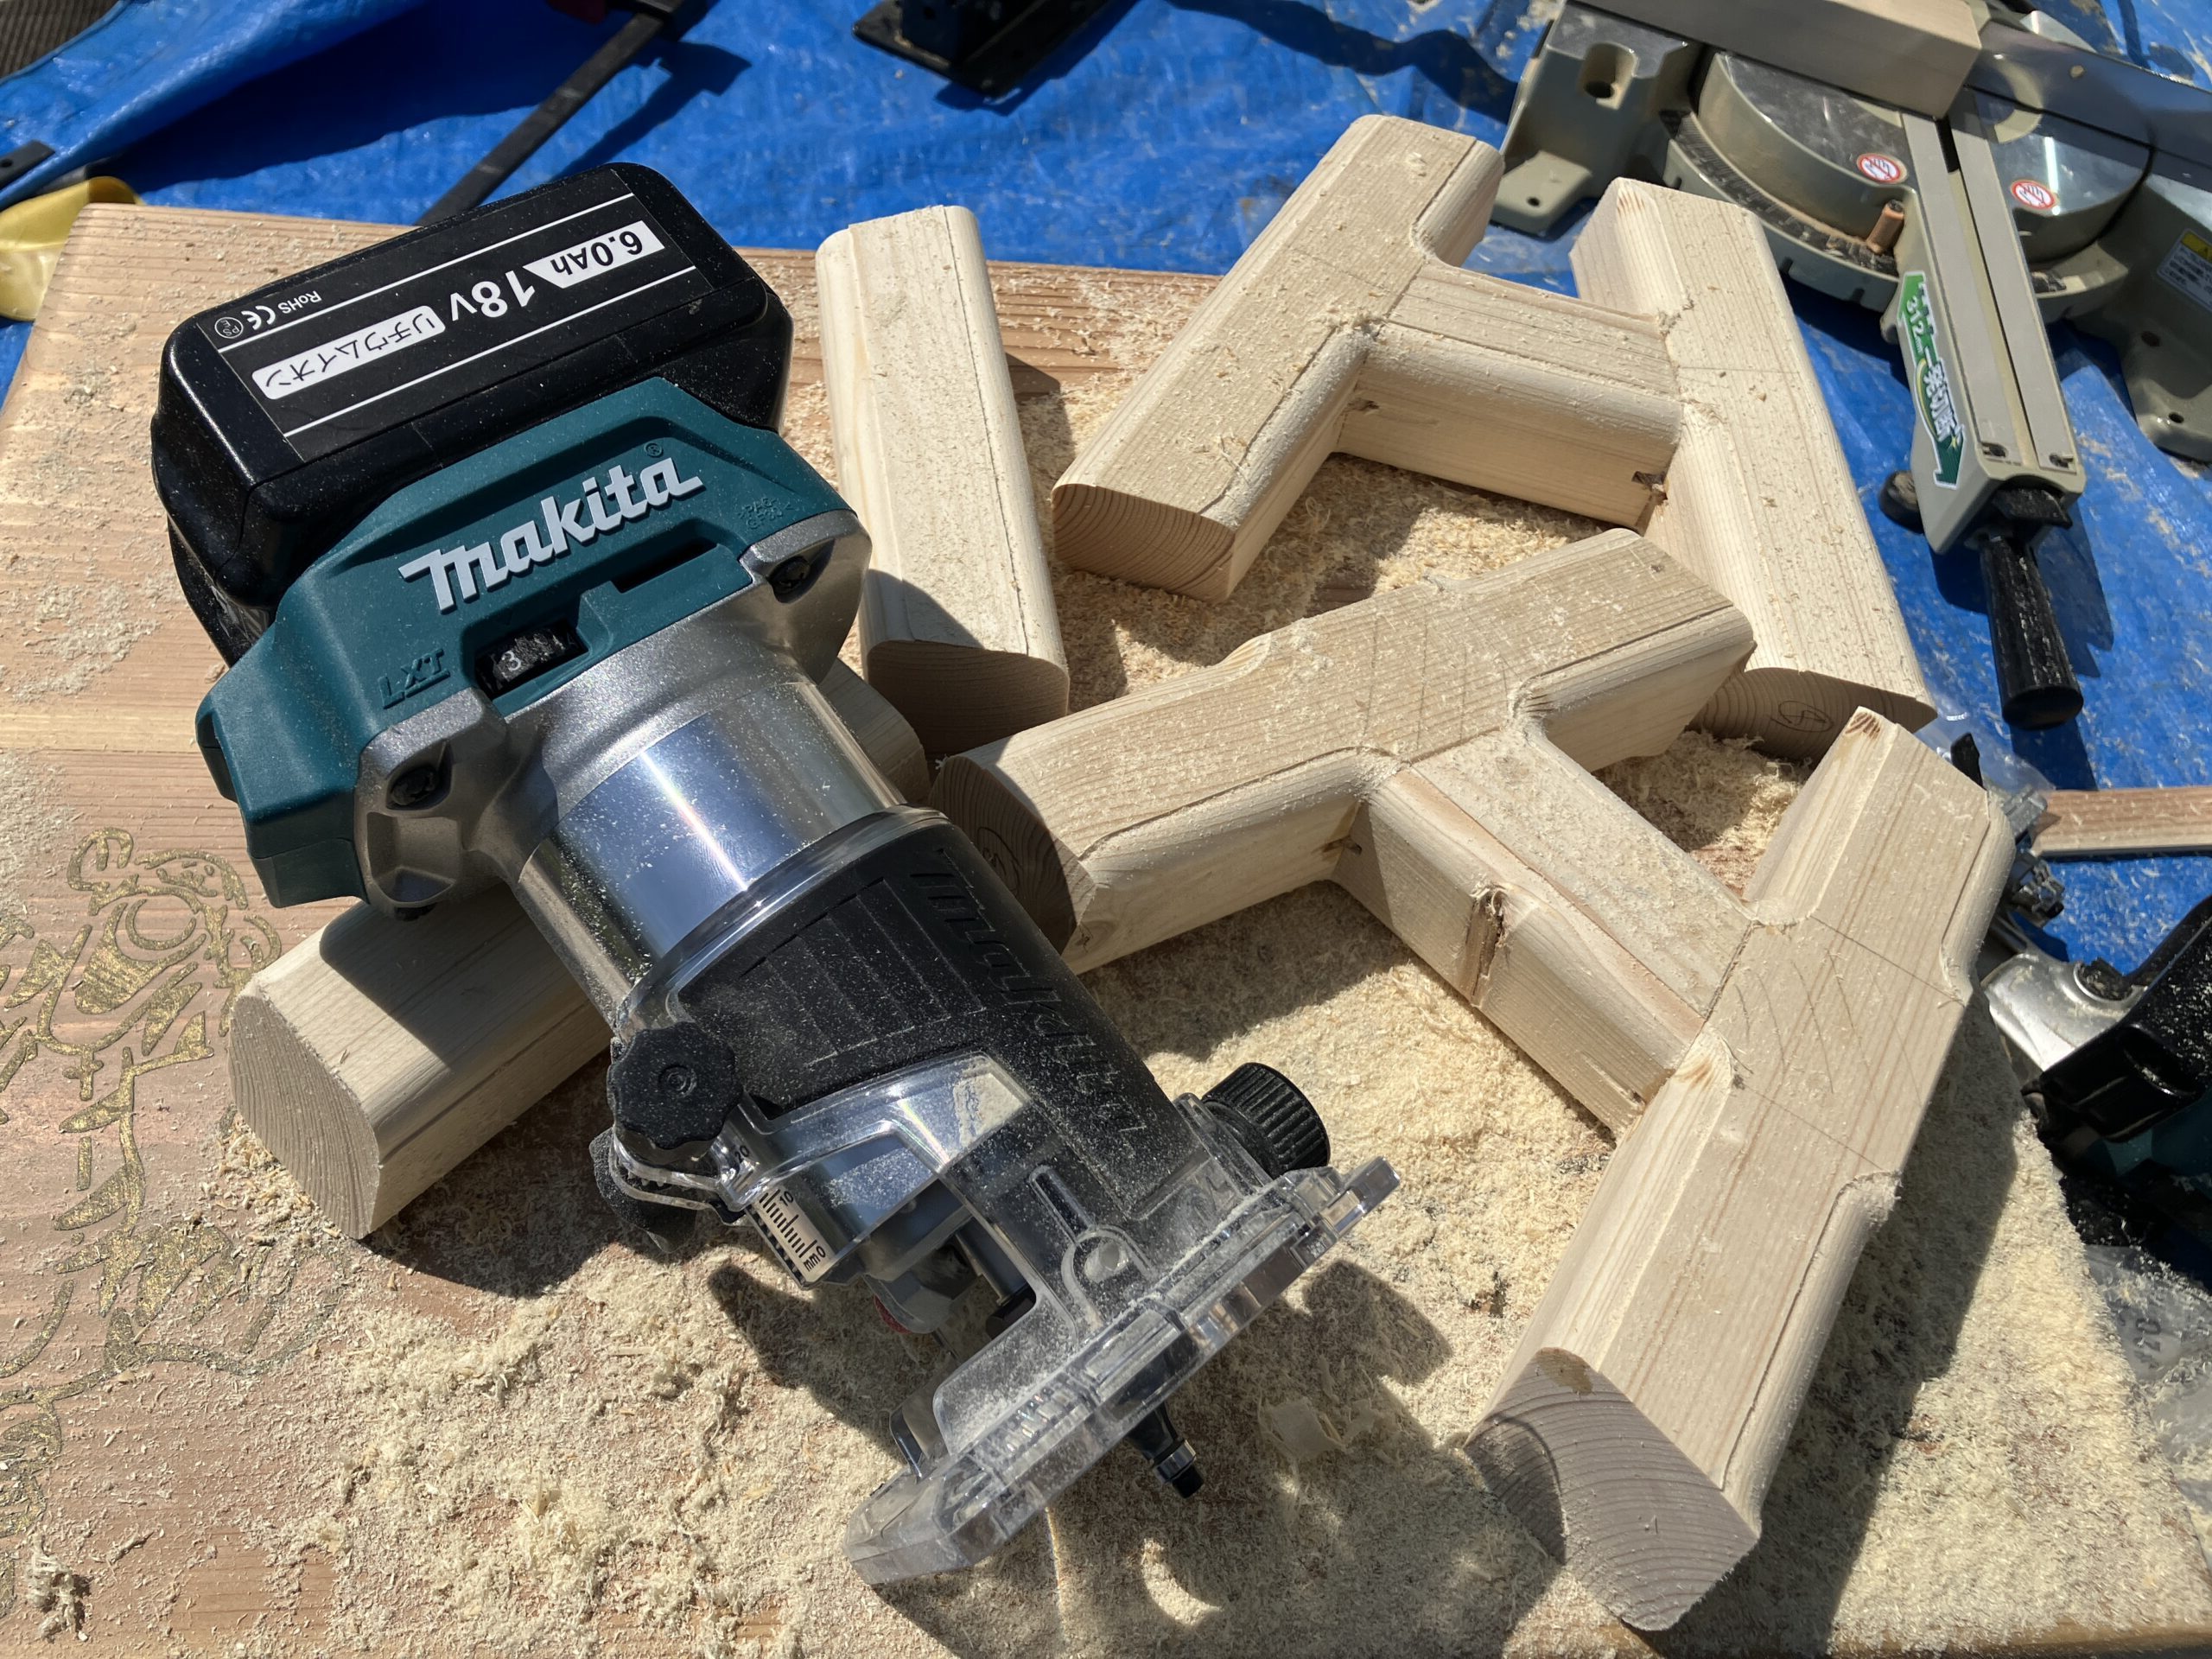
これらの道具を使えば、キレイな加工をカンタンにできます。一度に全部を持っていなくても、一つずつ揃えていくのがいいですね。
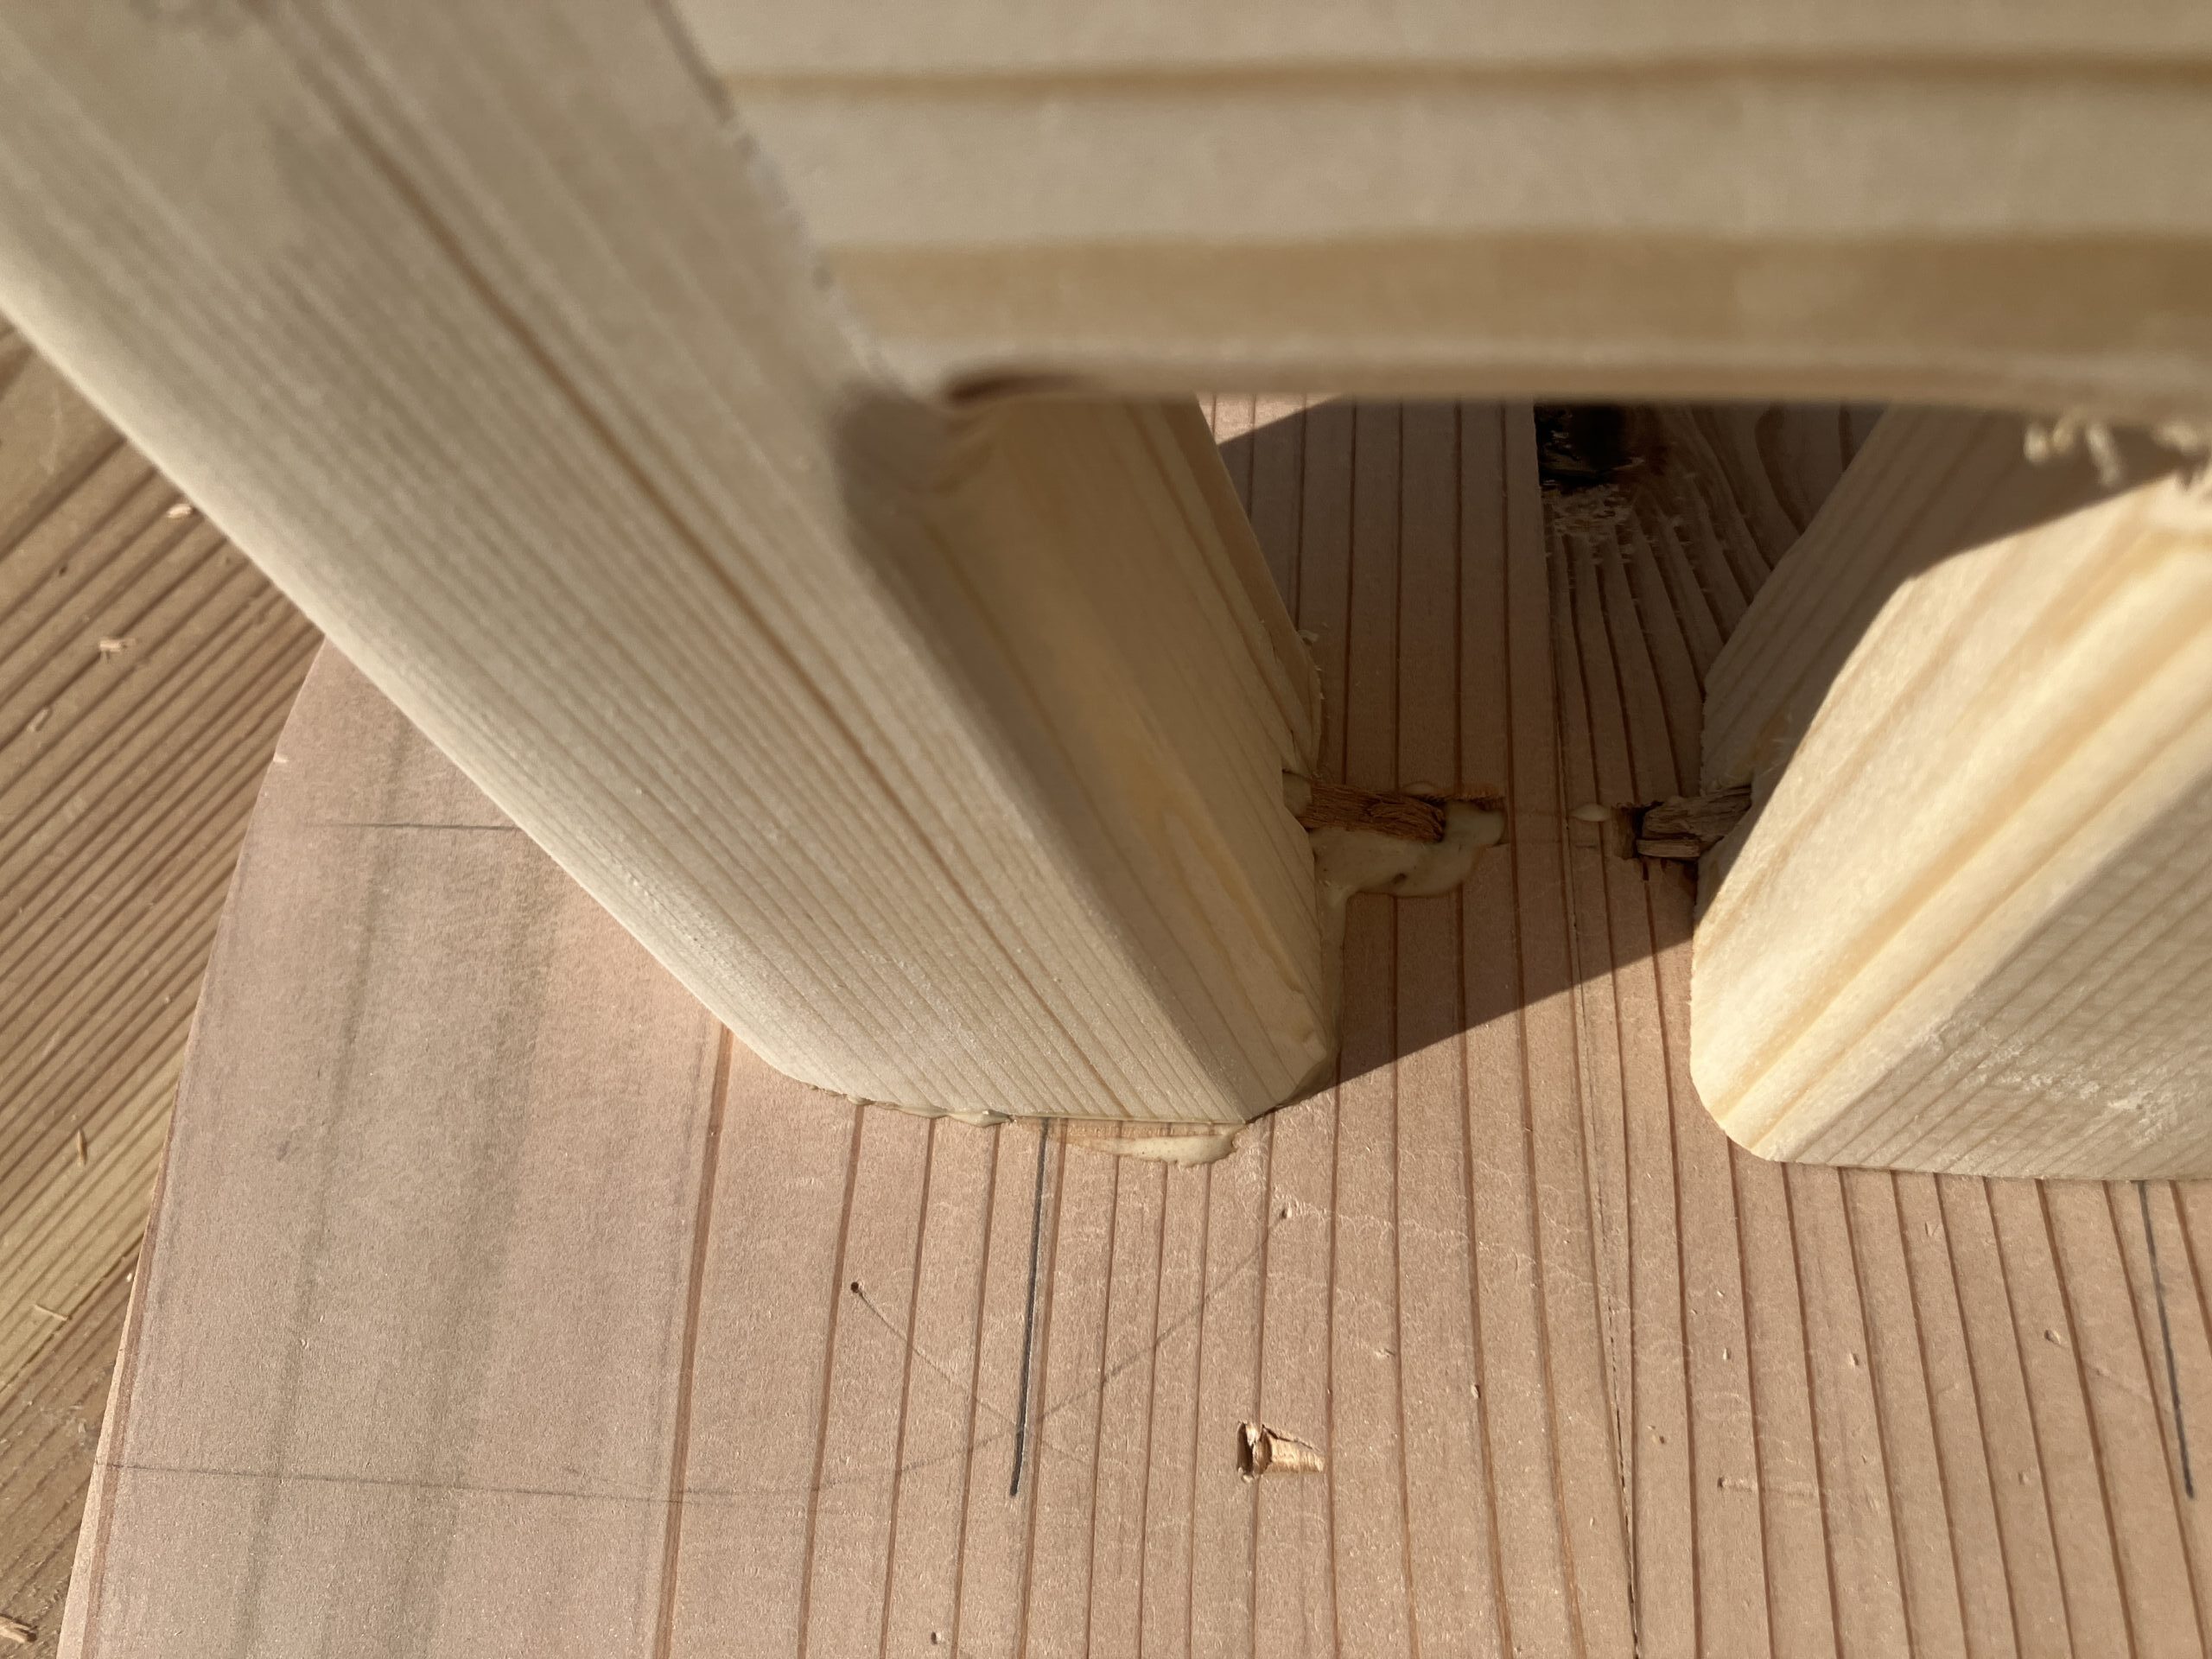
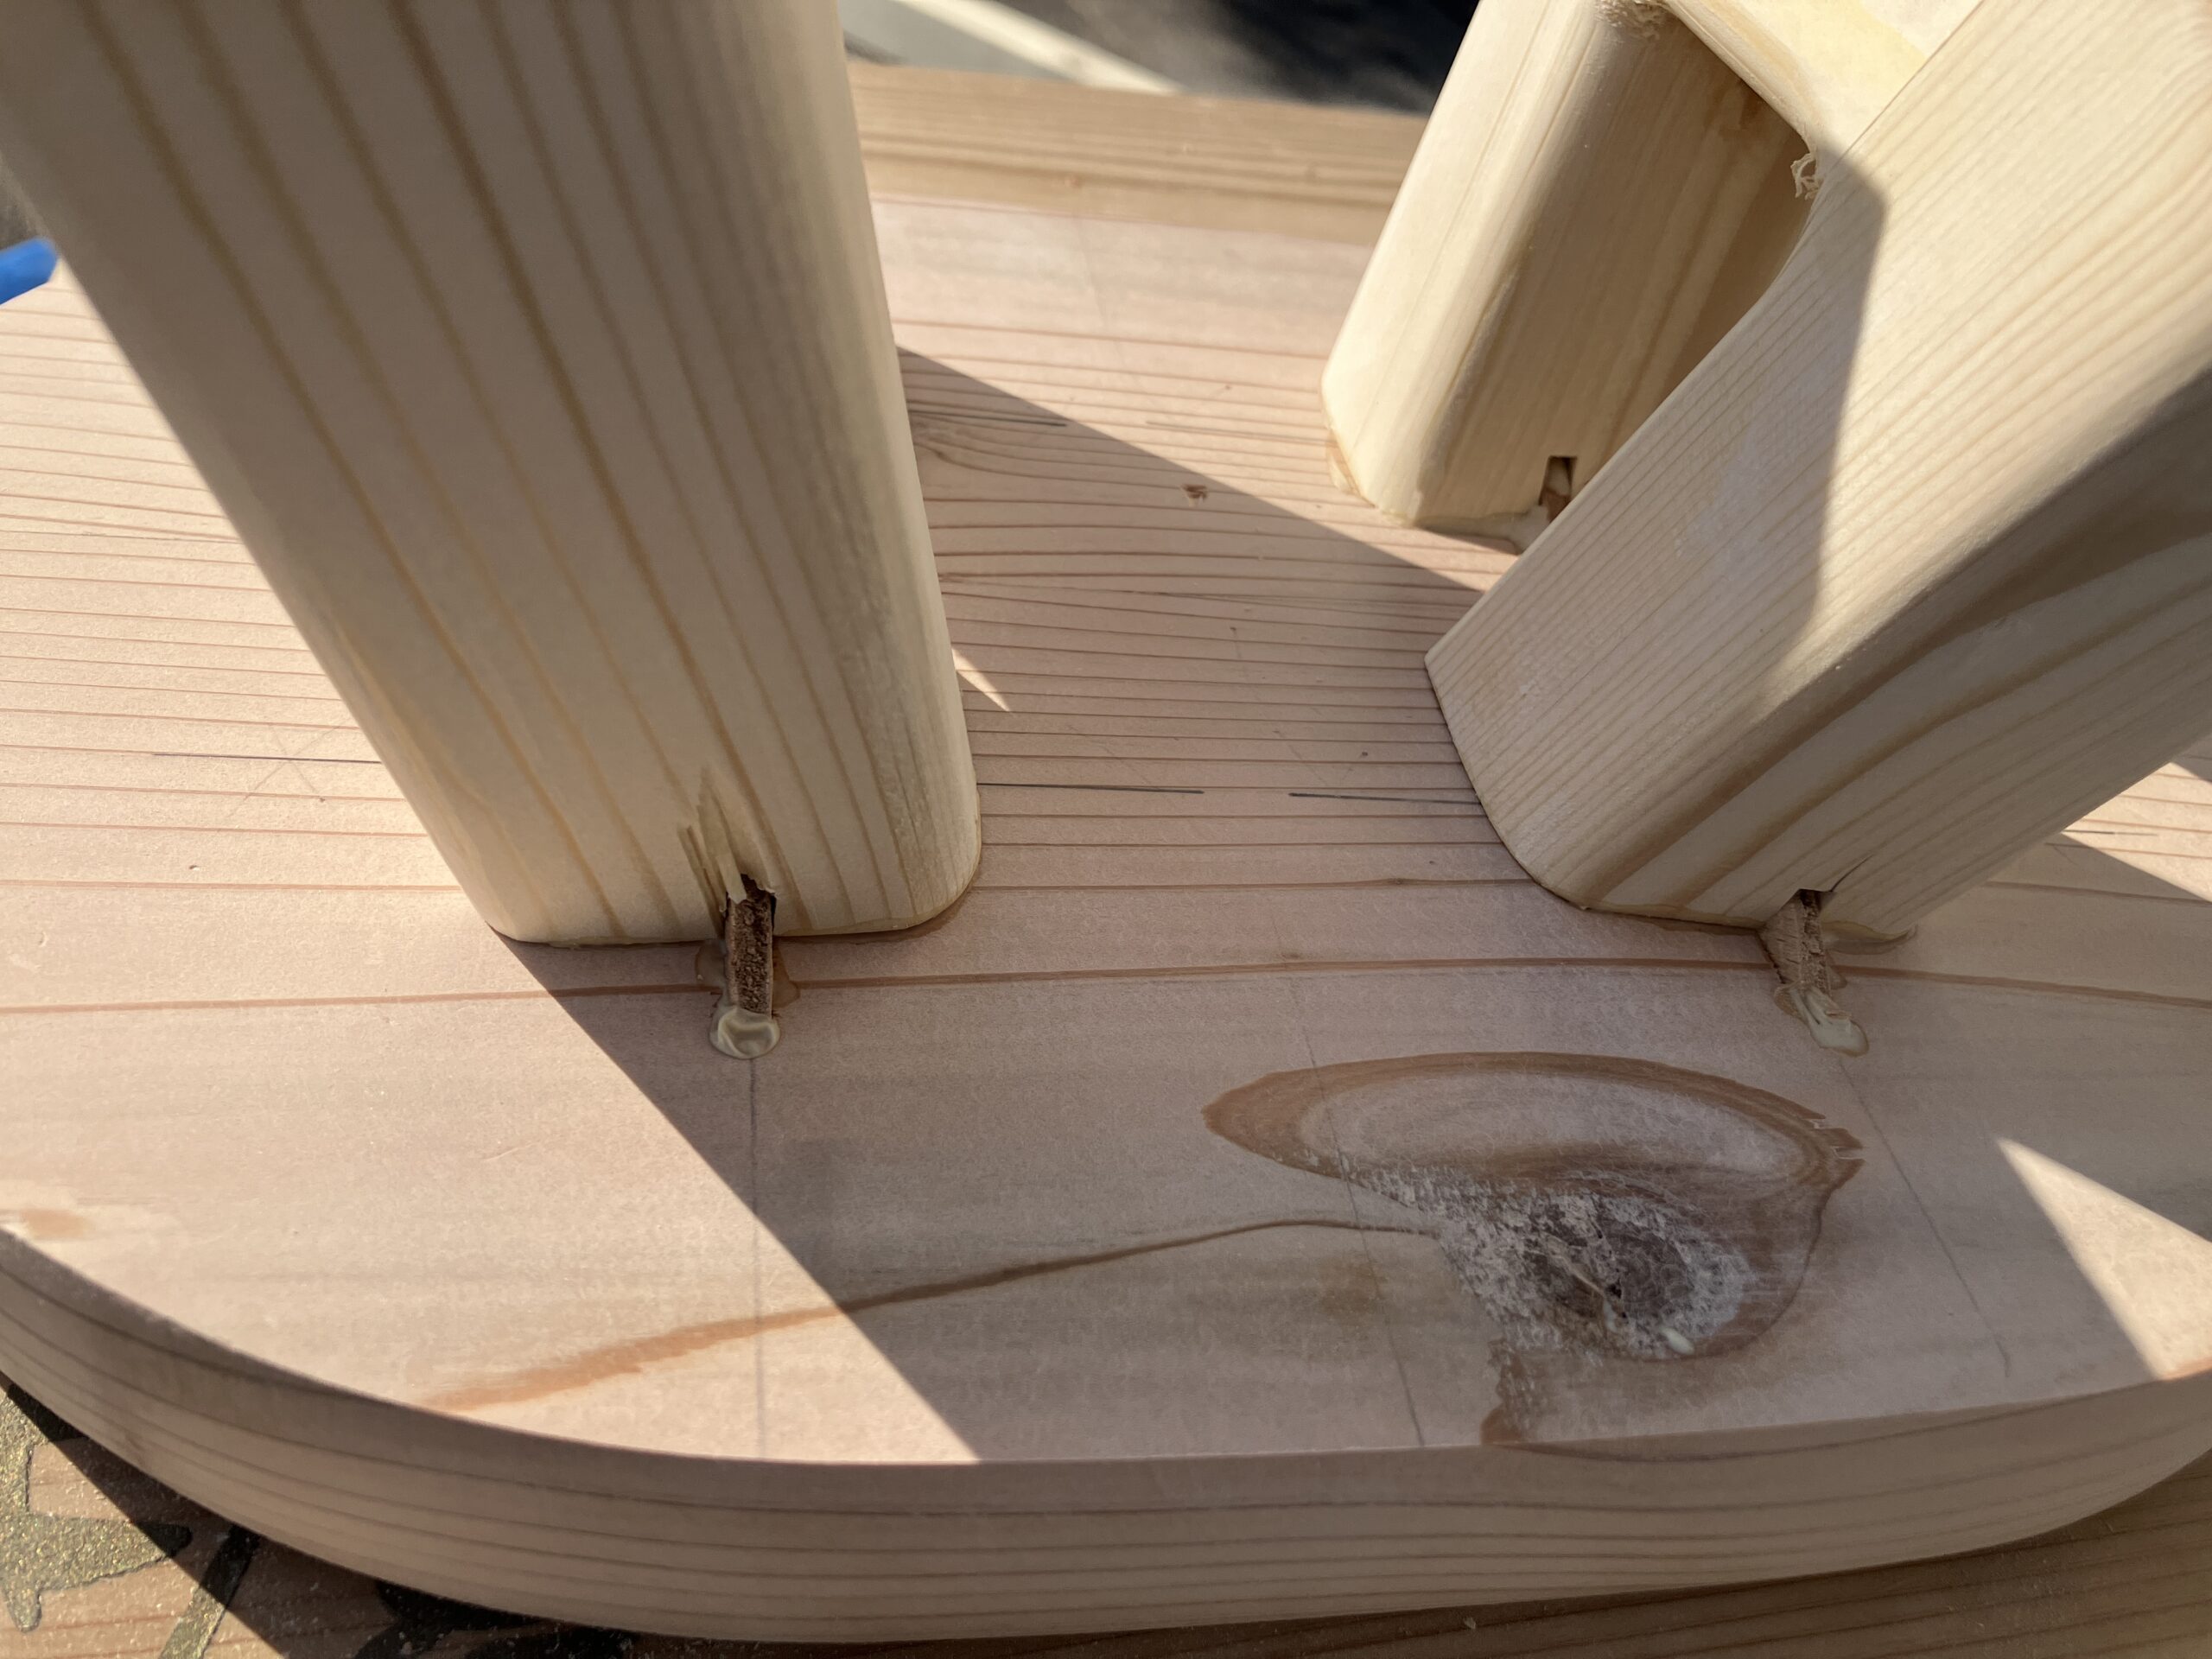
最後にビスケットジョイントで脚と台をつなげて完成です。ビスは一切使わずに、ビスケットと木工用ボンドだけで完成できます。
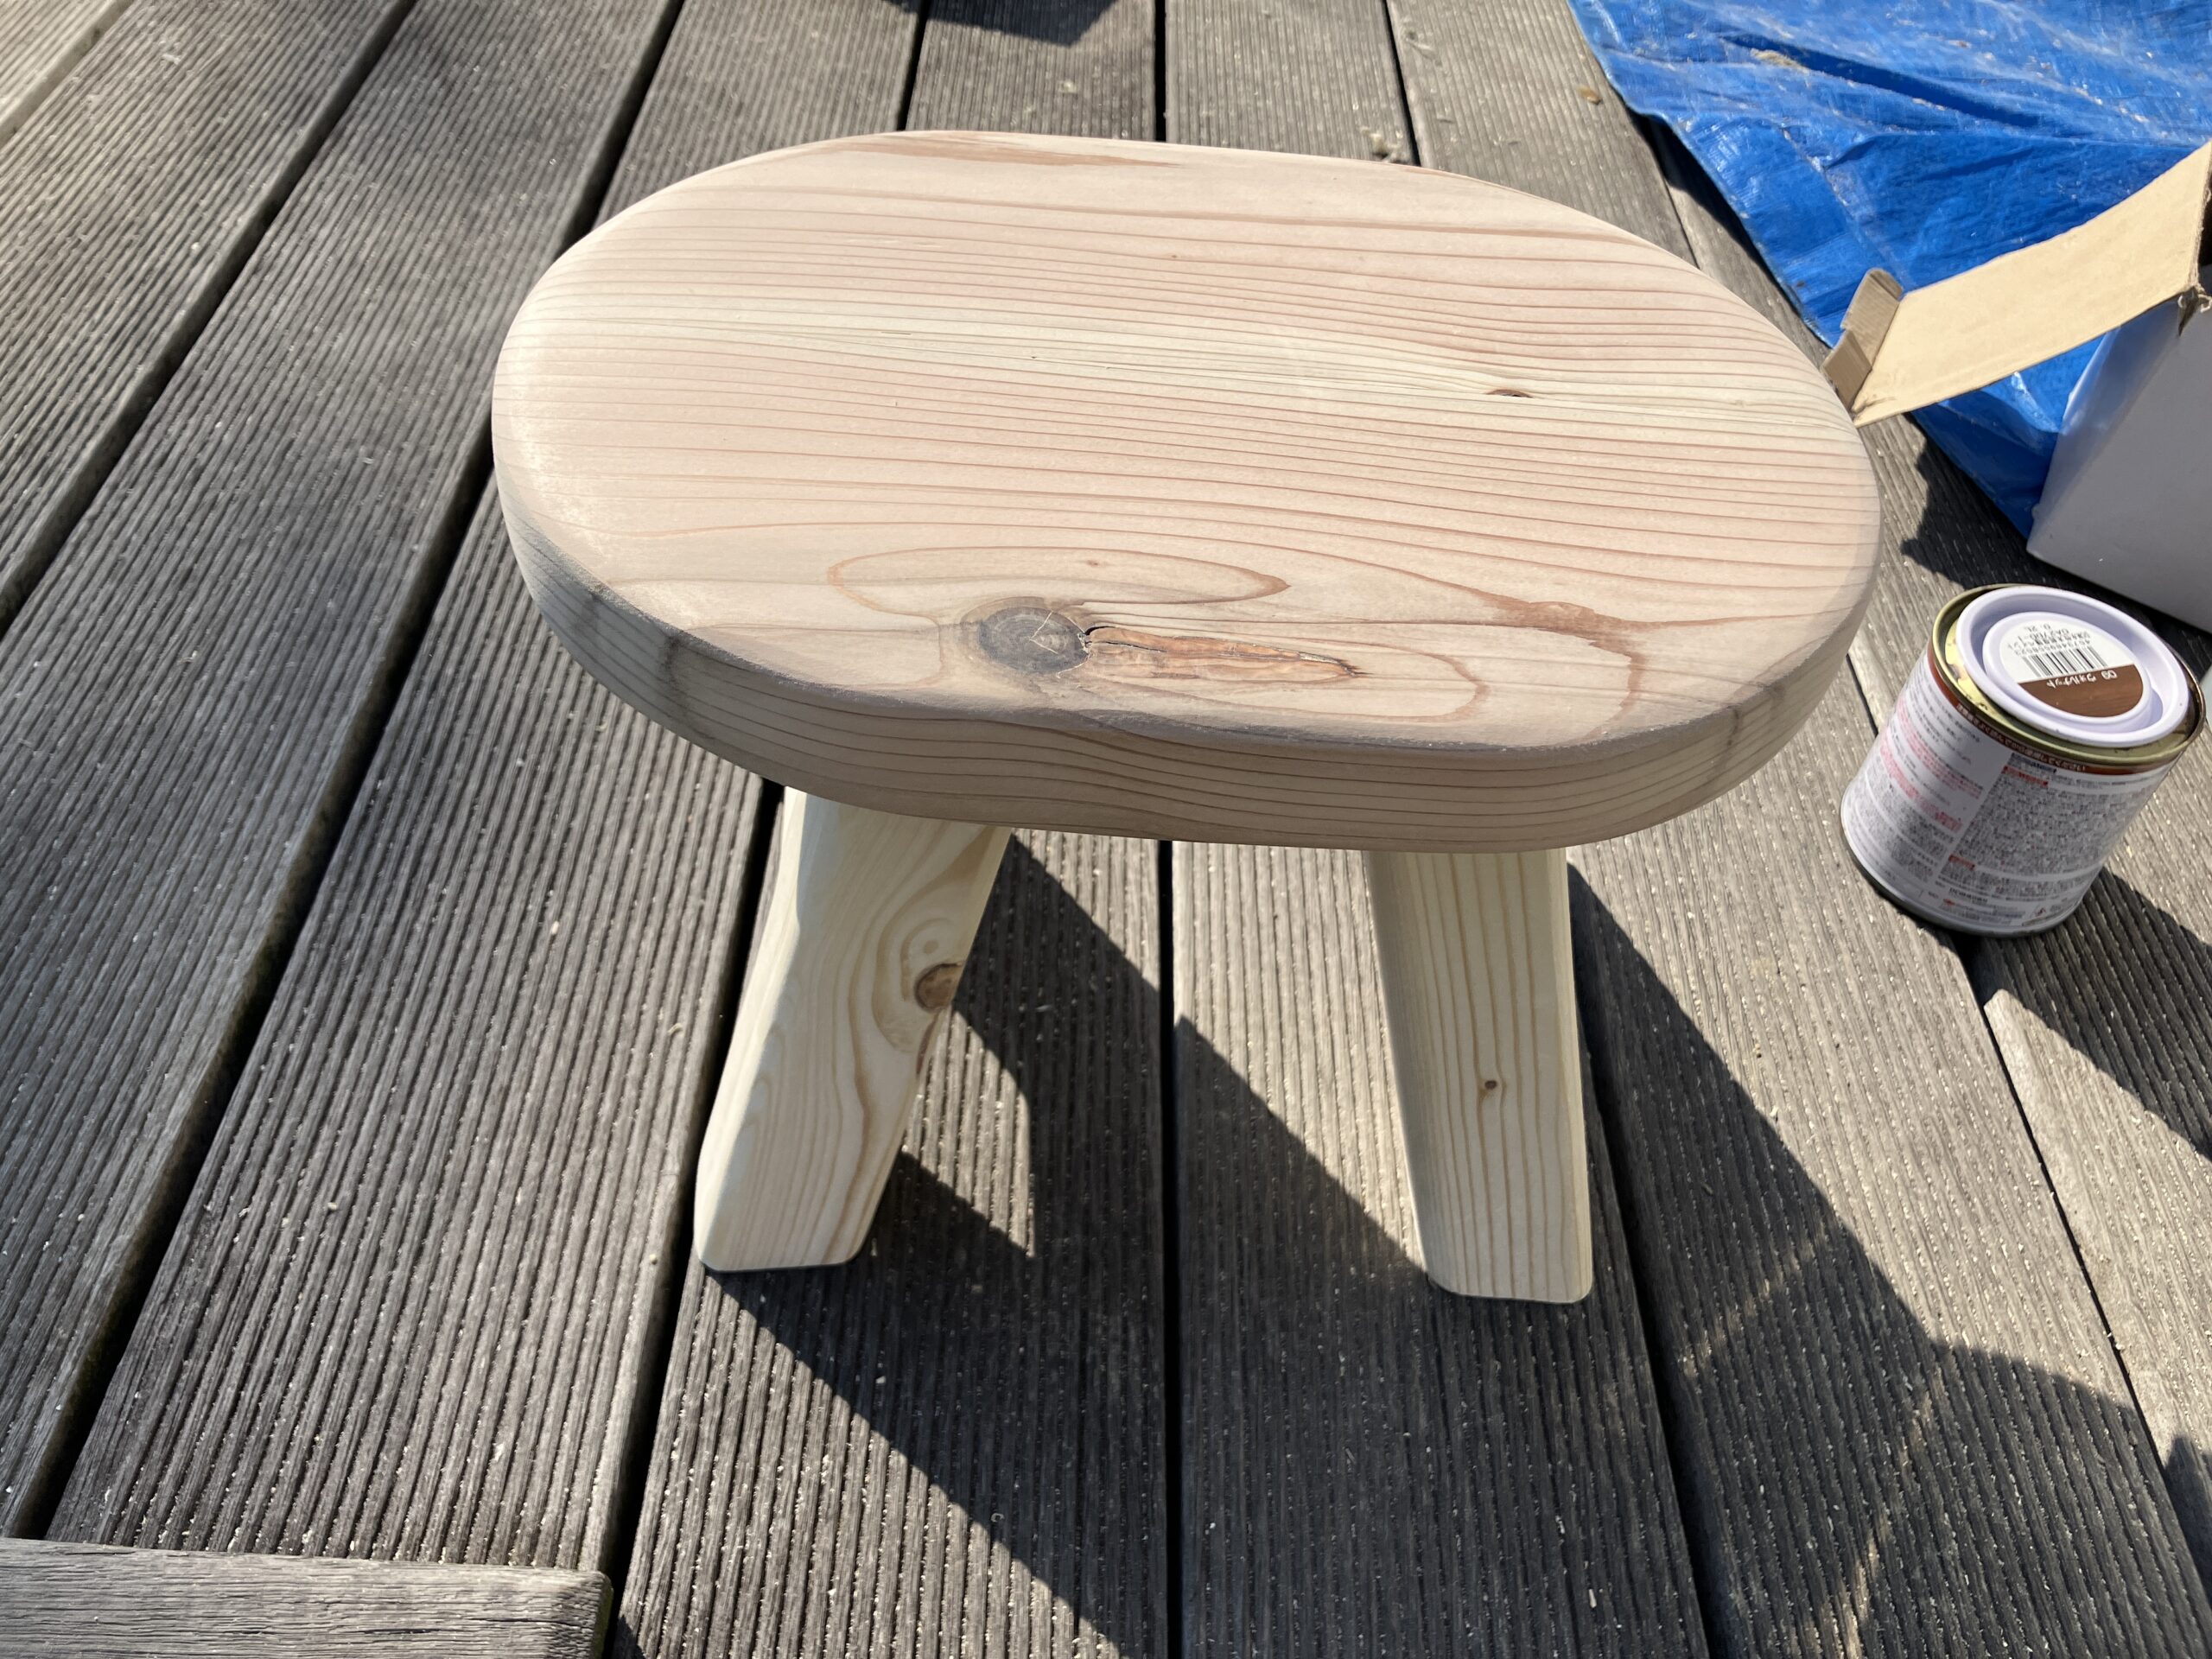
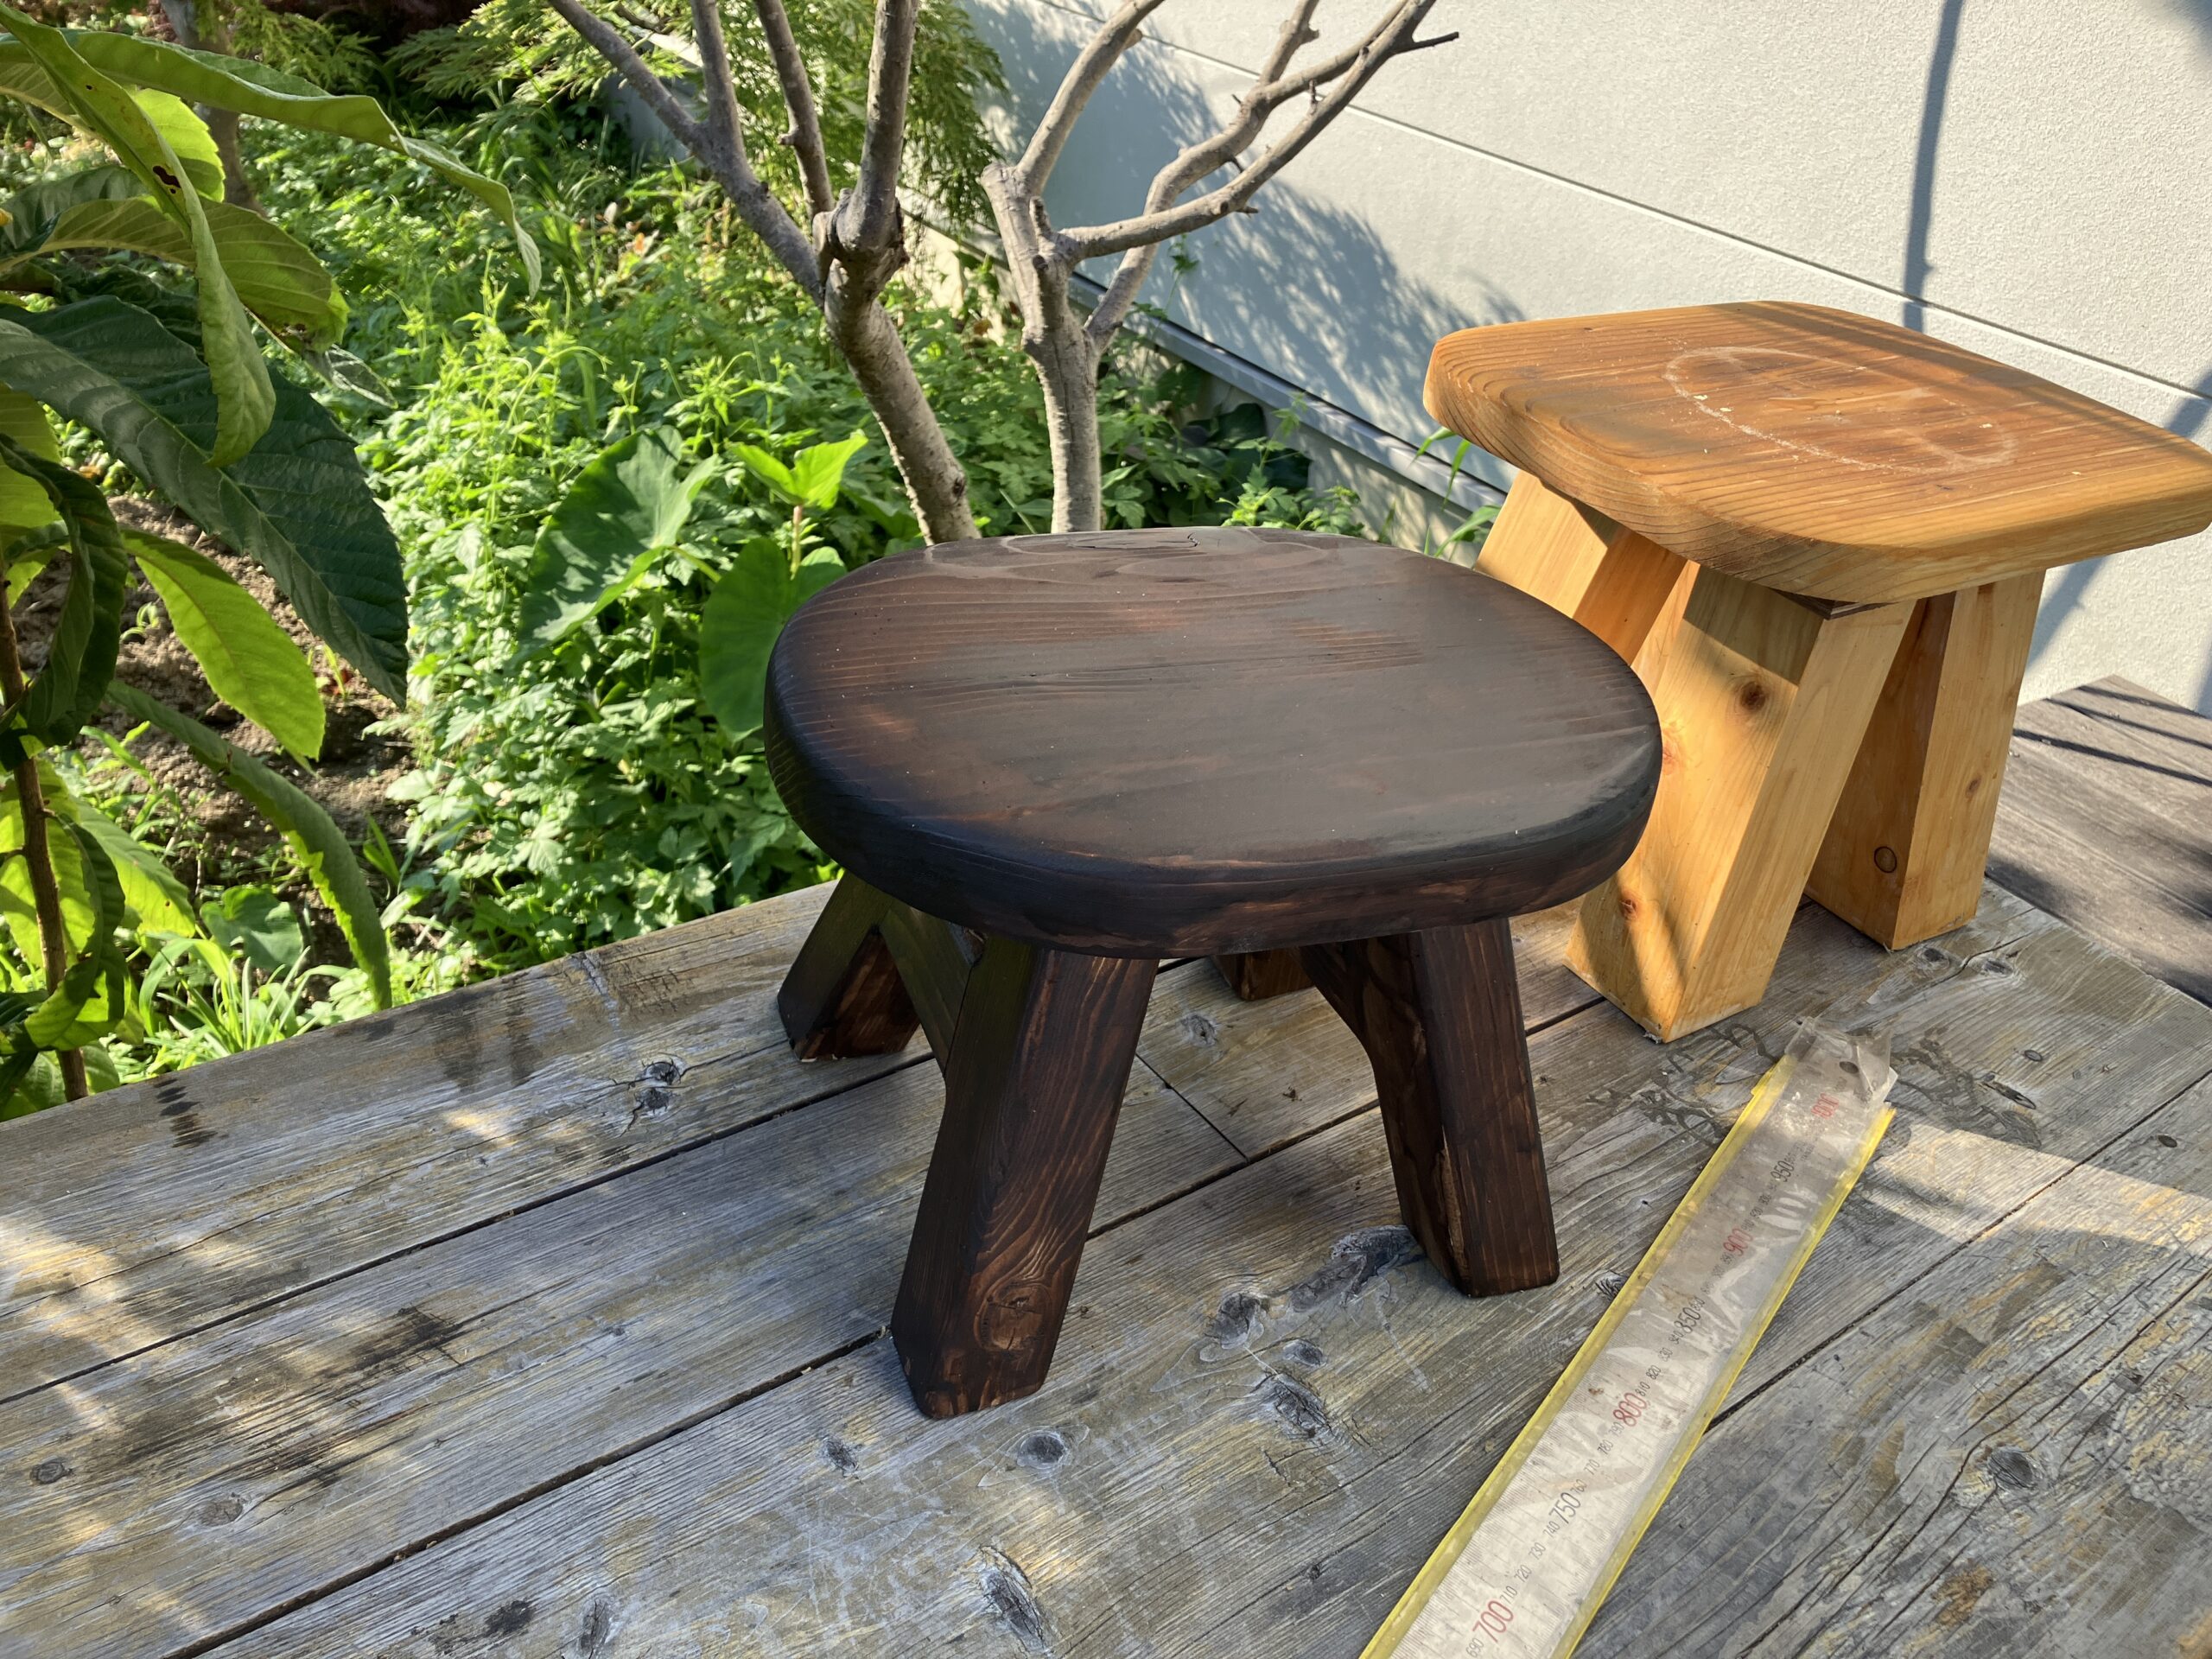
![](https://kantan-diy.com/wp-content/uploads/2024/06/IMG_0550-scaled-e1717418194904-1024x768.jpg)
![](https://kantan-diy.com/wp-content/uploads/2024/06/IMG_0551-scaled-e1717418214958-1024x768.jpg)
![](https://kantan-diy.com/wp-content/plugins/pochipp/assets/img/pochipp-logo-t1.png)
![](https://kantan-diy.com/wp-content/uploads/2024/06/IMG_0552-1024x768.jpg)
![](https://kantan-diy.com/wp-content/uploads/2024/06/IMG_0553-1024x768.jpg)
最後に、色を塗って完成です。
![](https://kantan-diy.com/wp-content/uploads/2024/06/IMG_0555-1024x768.jpg)
![](https://kantan-diy.com/wp-content/uploads/2024/06/IMG_0556-1024x768.jpg)
![](https://kantan-diy.com/wp-content/uploads/2024/06/IMG_0554-1024x768.jpg)
![](https://kantan-diy.com/wp-content/uploads/2024/06/IMG_0557-1024x768.jpg)
最後まで読んでいただきありがとうございます。
コメント