こんにちは、源です。
 げん
げん子供用のイスをかわいく作るコツを教えるよ!
木で子供用の家具を作る時は、やっぱり可愛さやオシャレを意識しますよね。でも、どうやったらいいのかわからない方に、私が試行錯誤してきた結果を踏まえてお伝えします。
かわいく作るコツ
- 丸みを意識しよう
- アンバランスもかわいい
- 色をつけてみよう
- 奥の手は、絵をつけよう
1.丸みを意識しよう
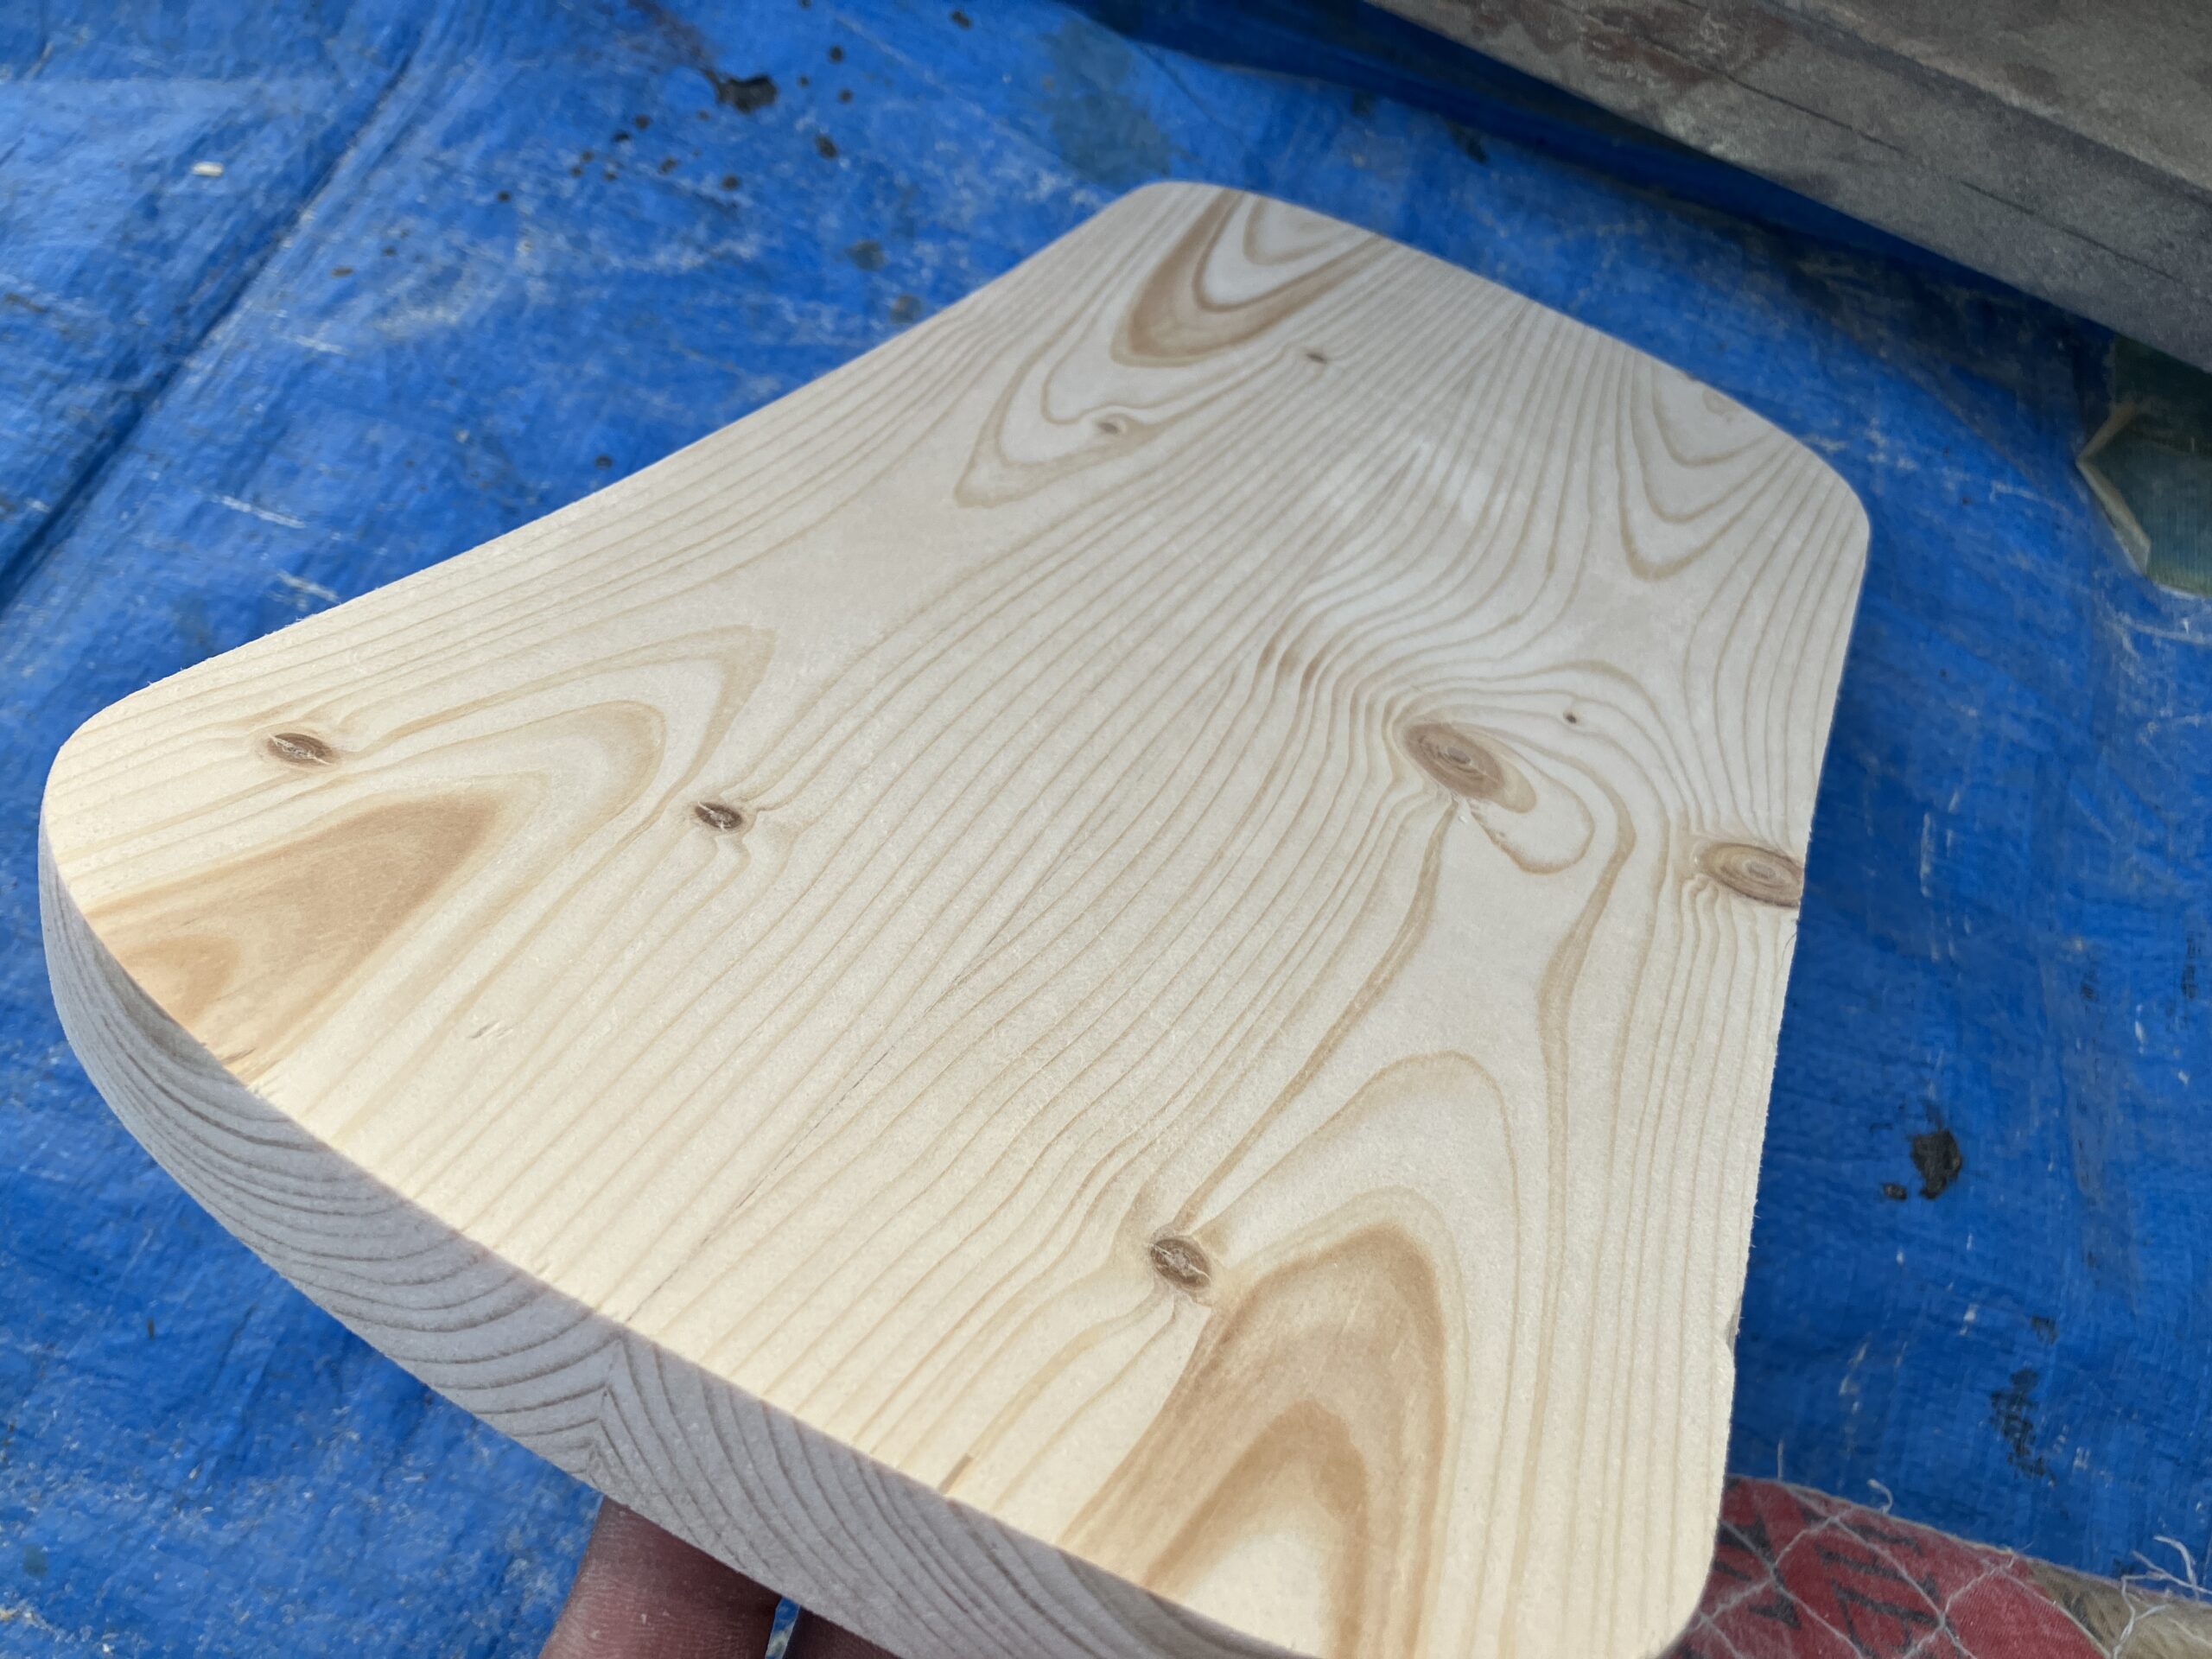
子供用なので、角は丸めたほうが安全ですね。あと、平面的にも丸まっていたほうがデザイン的に温かみがあります。
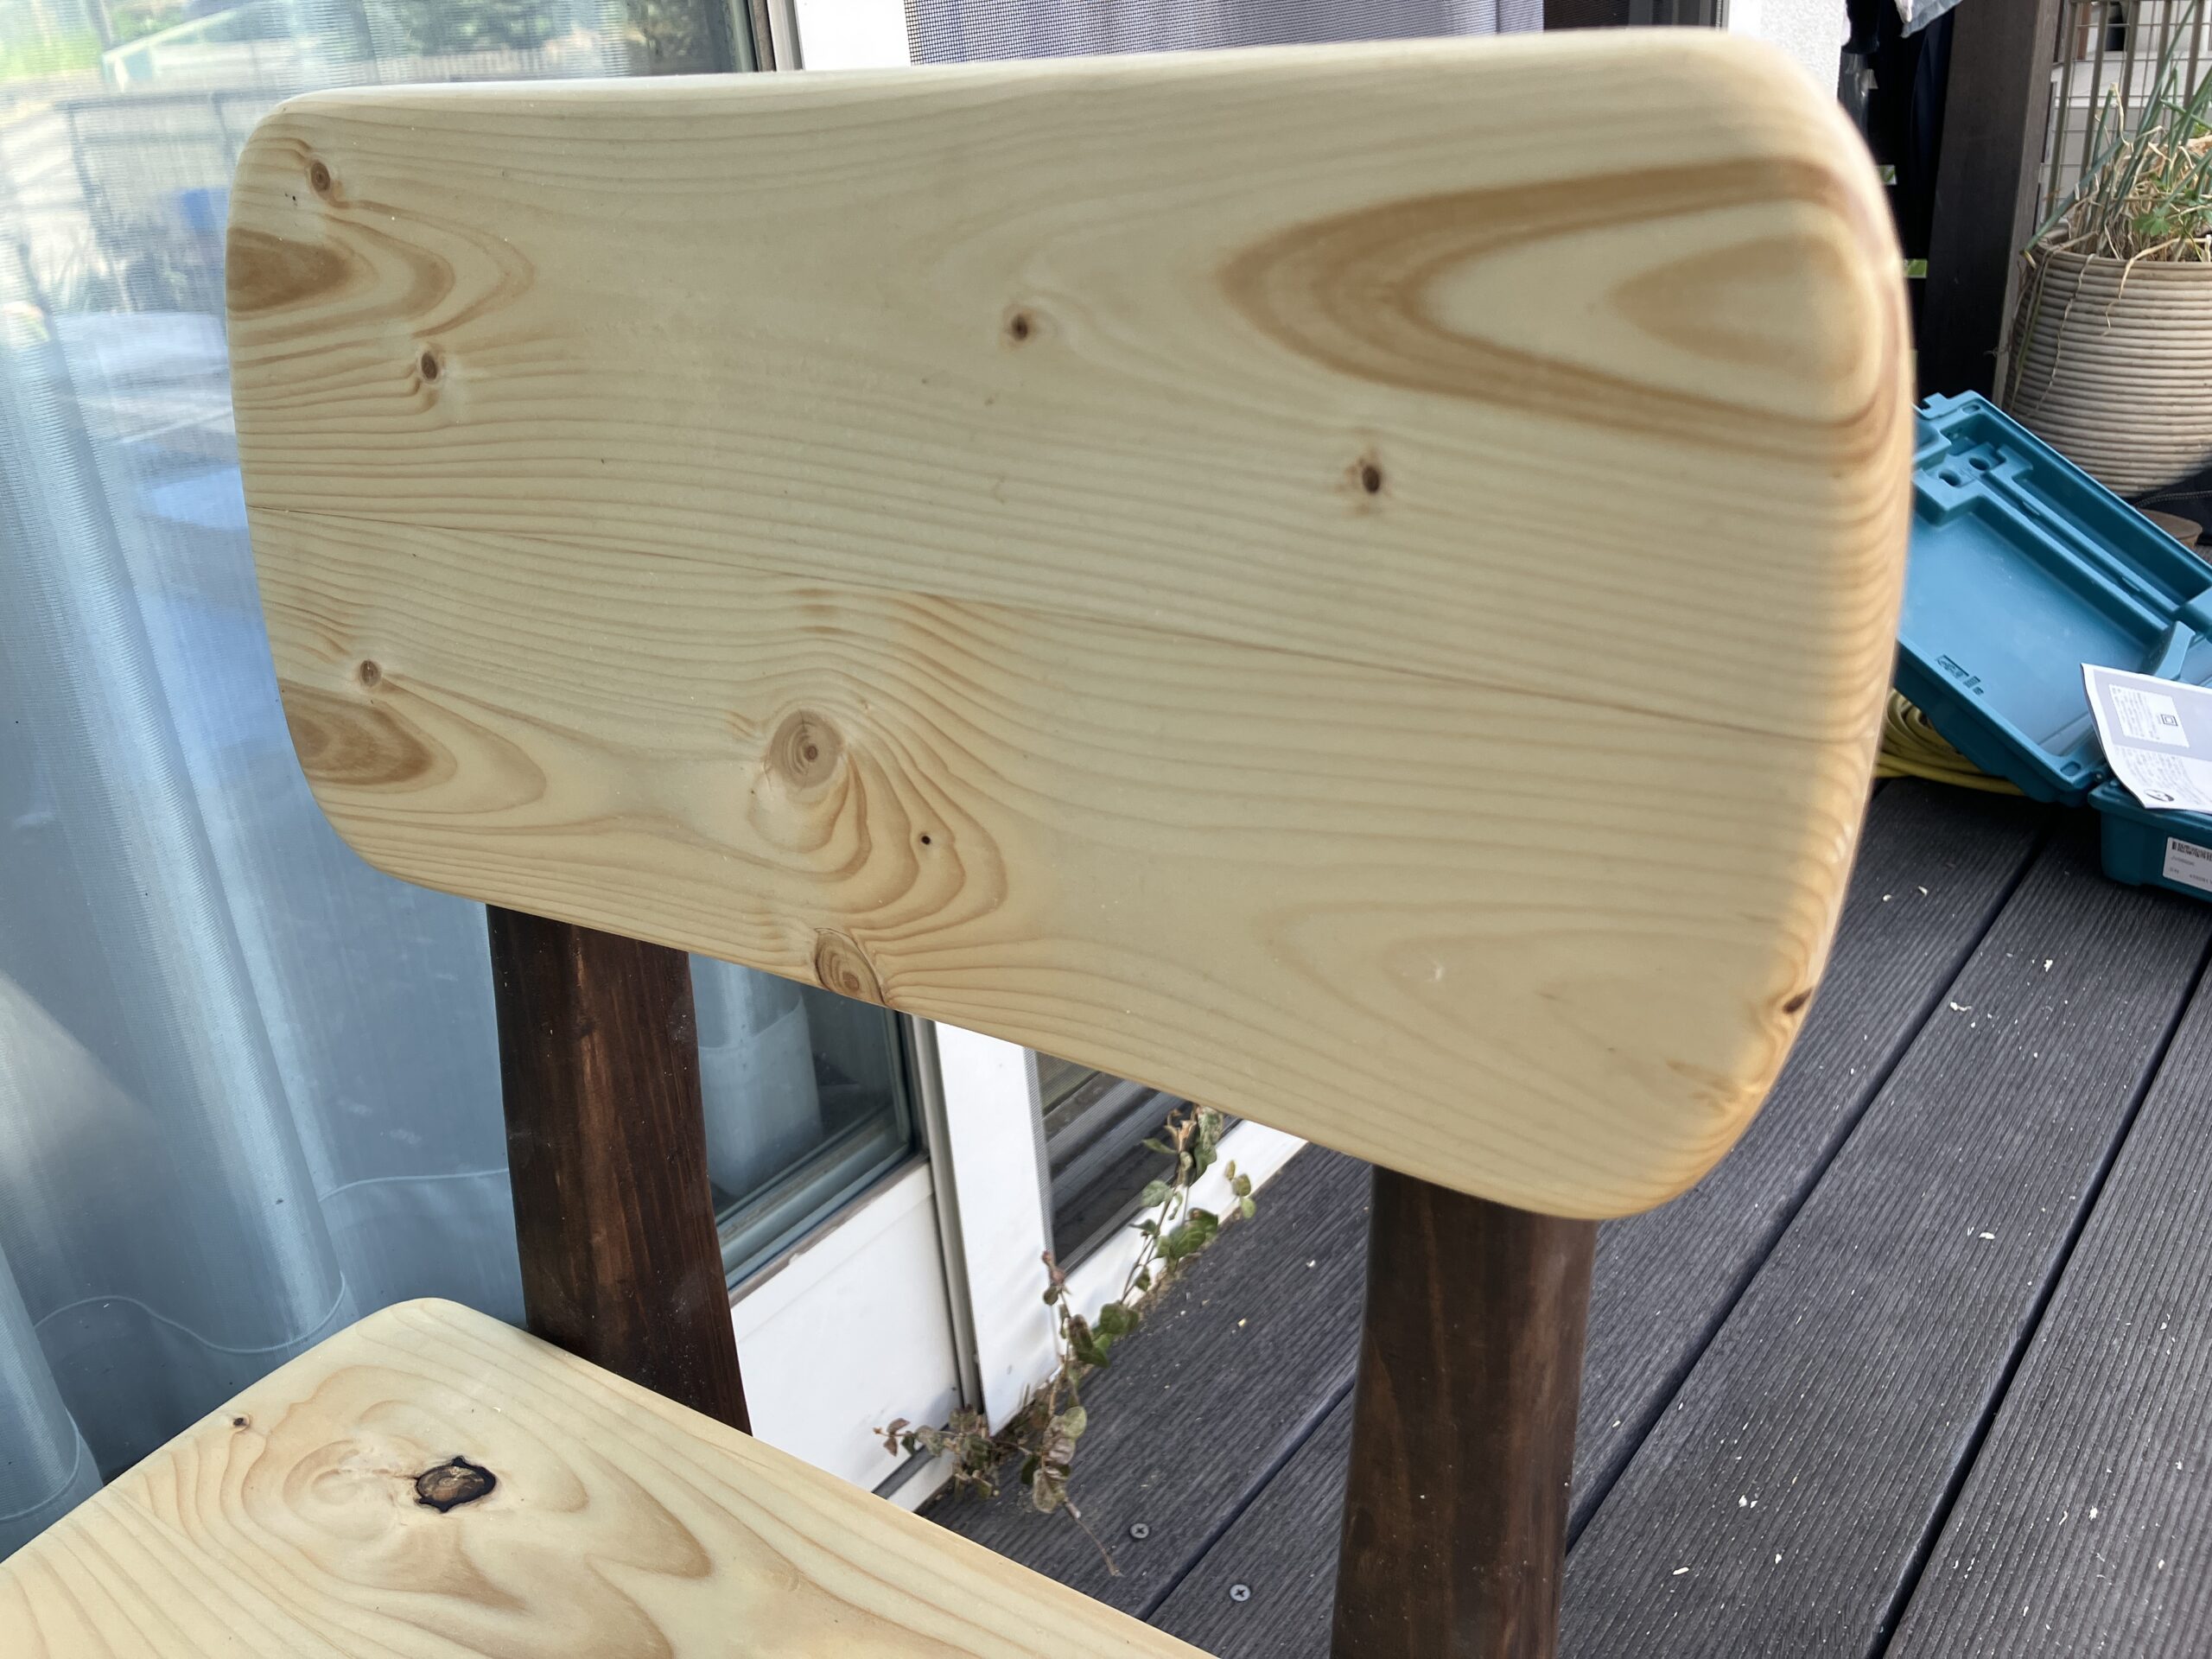
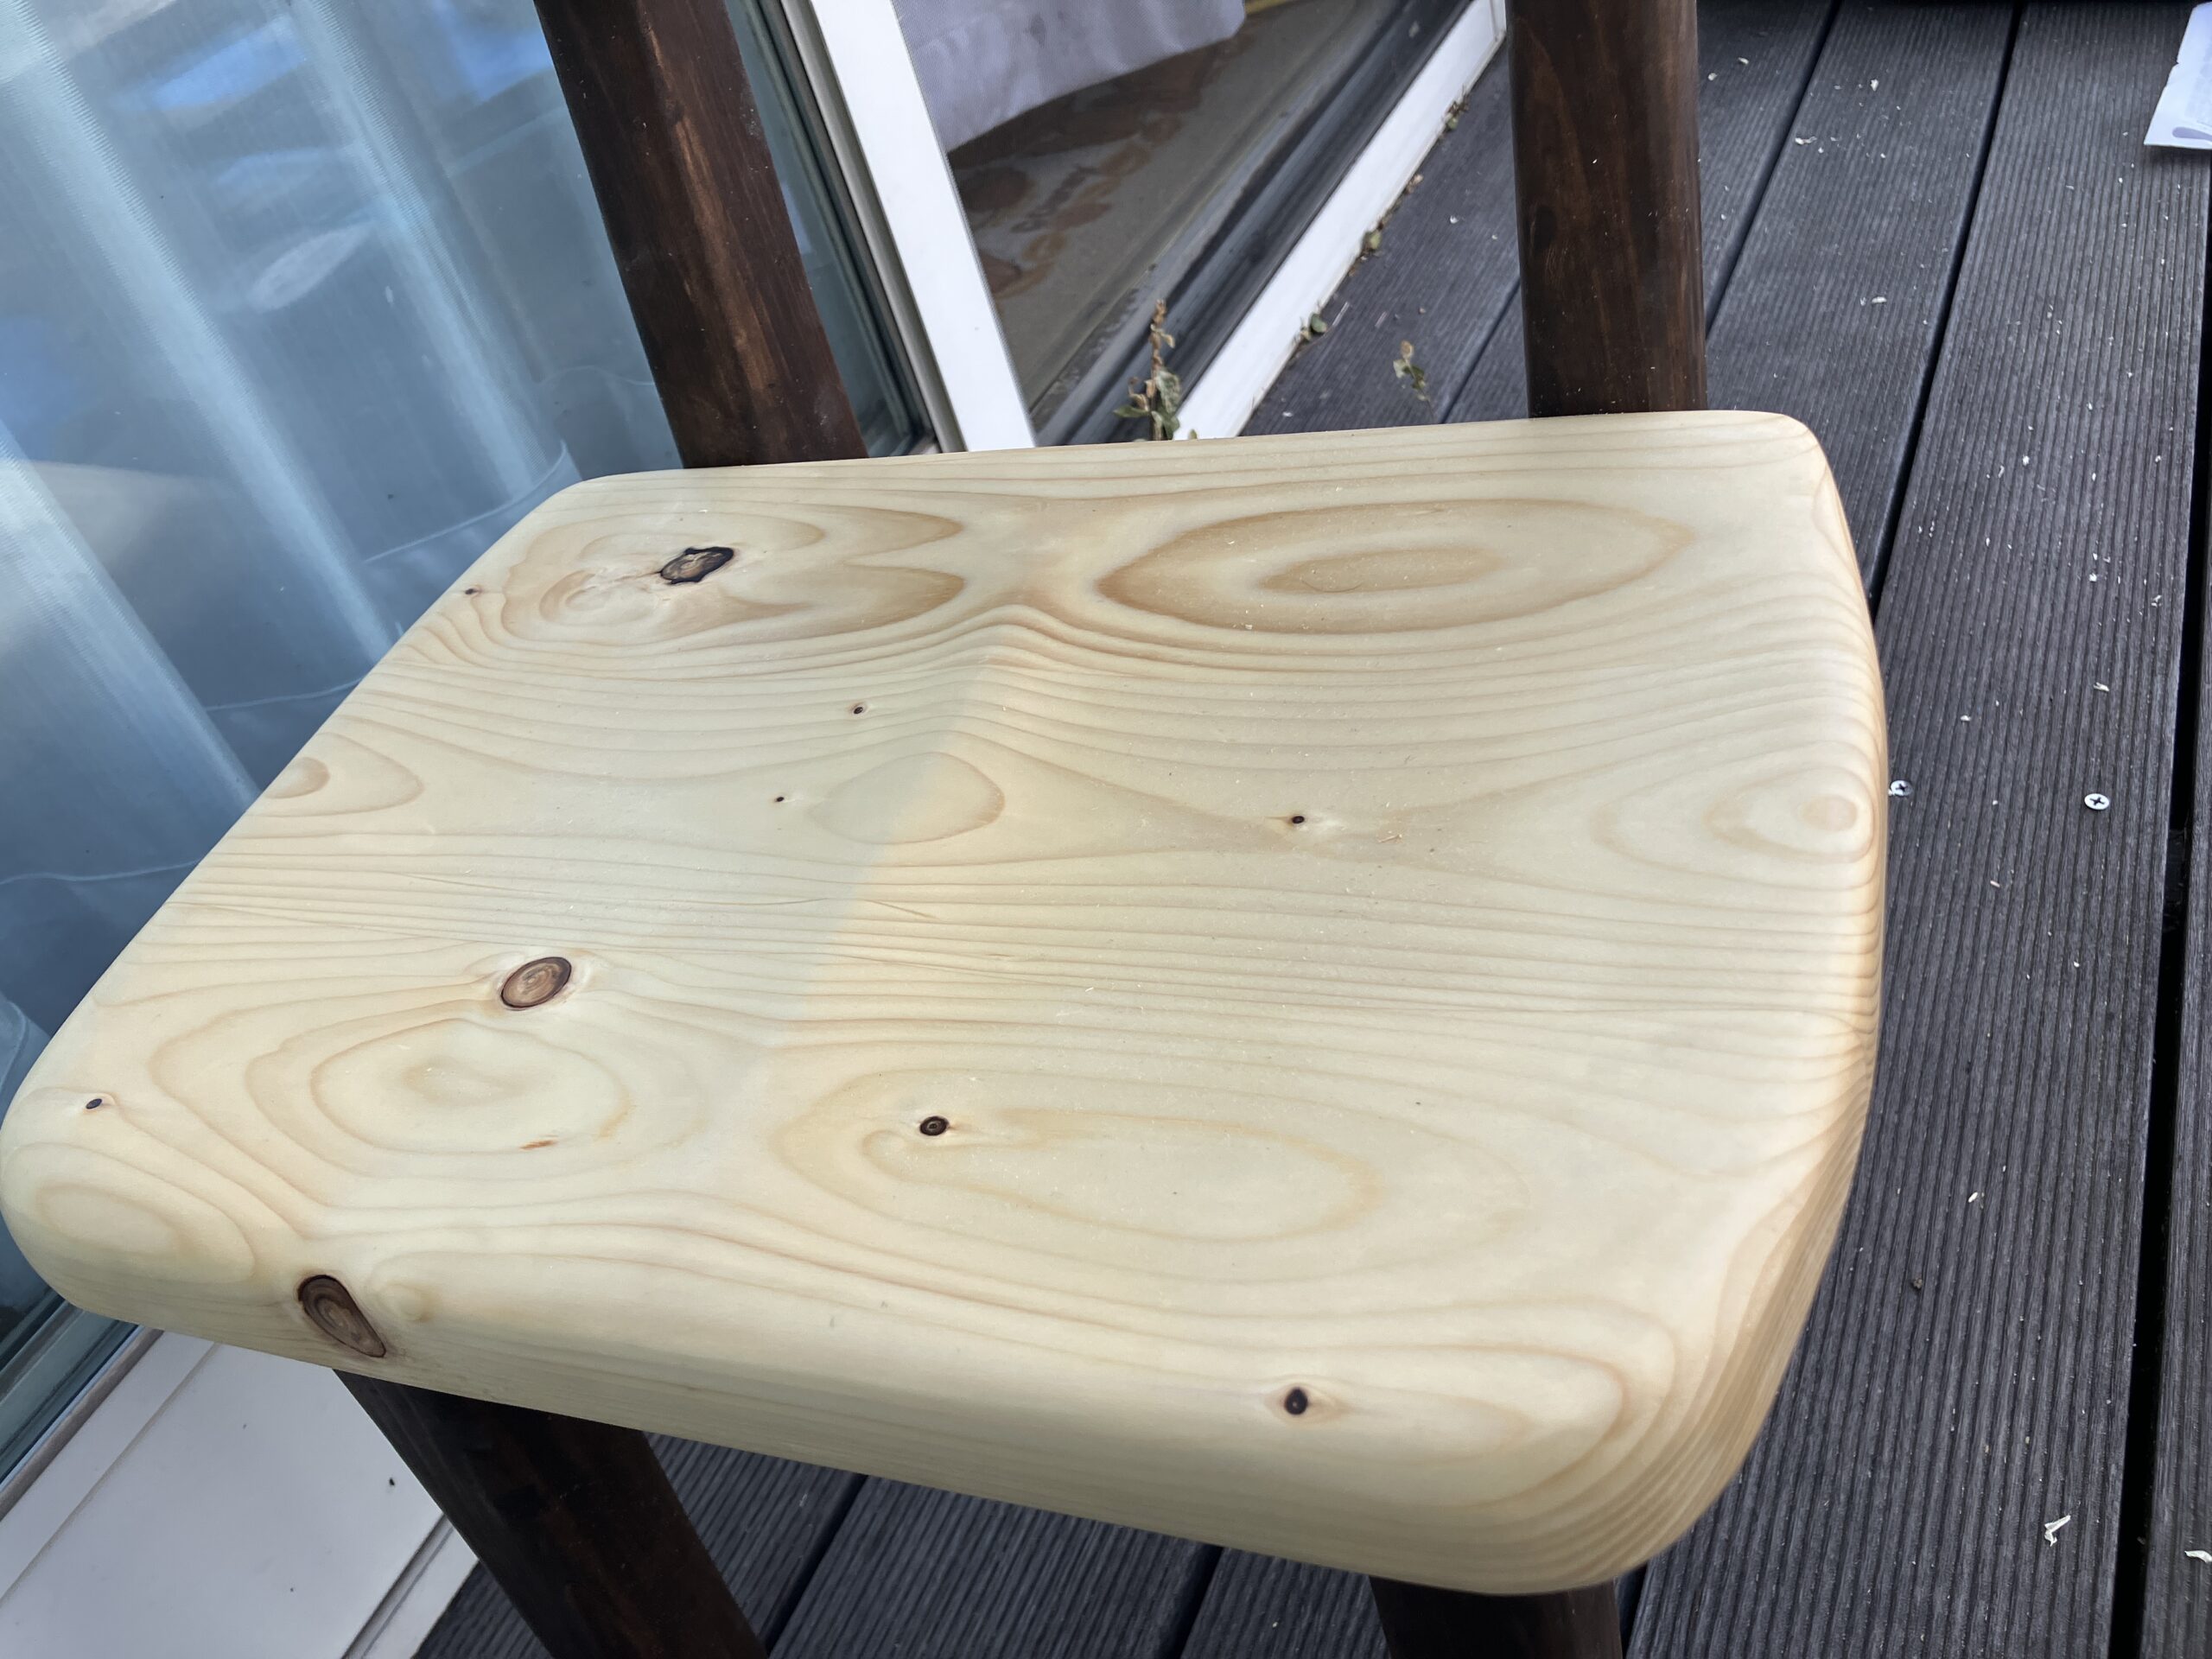
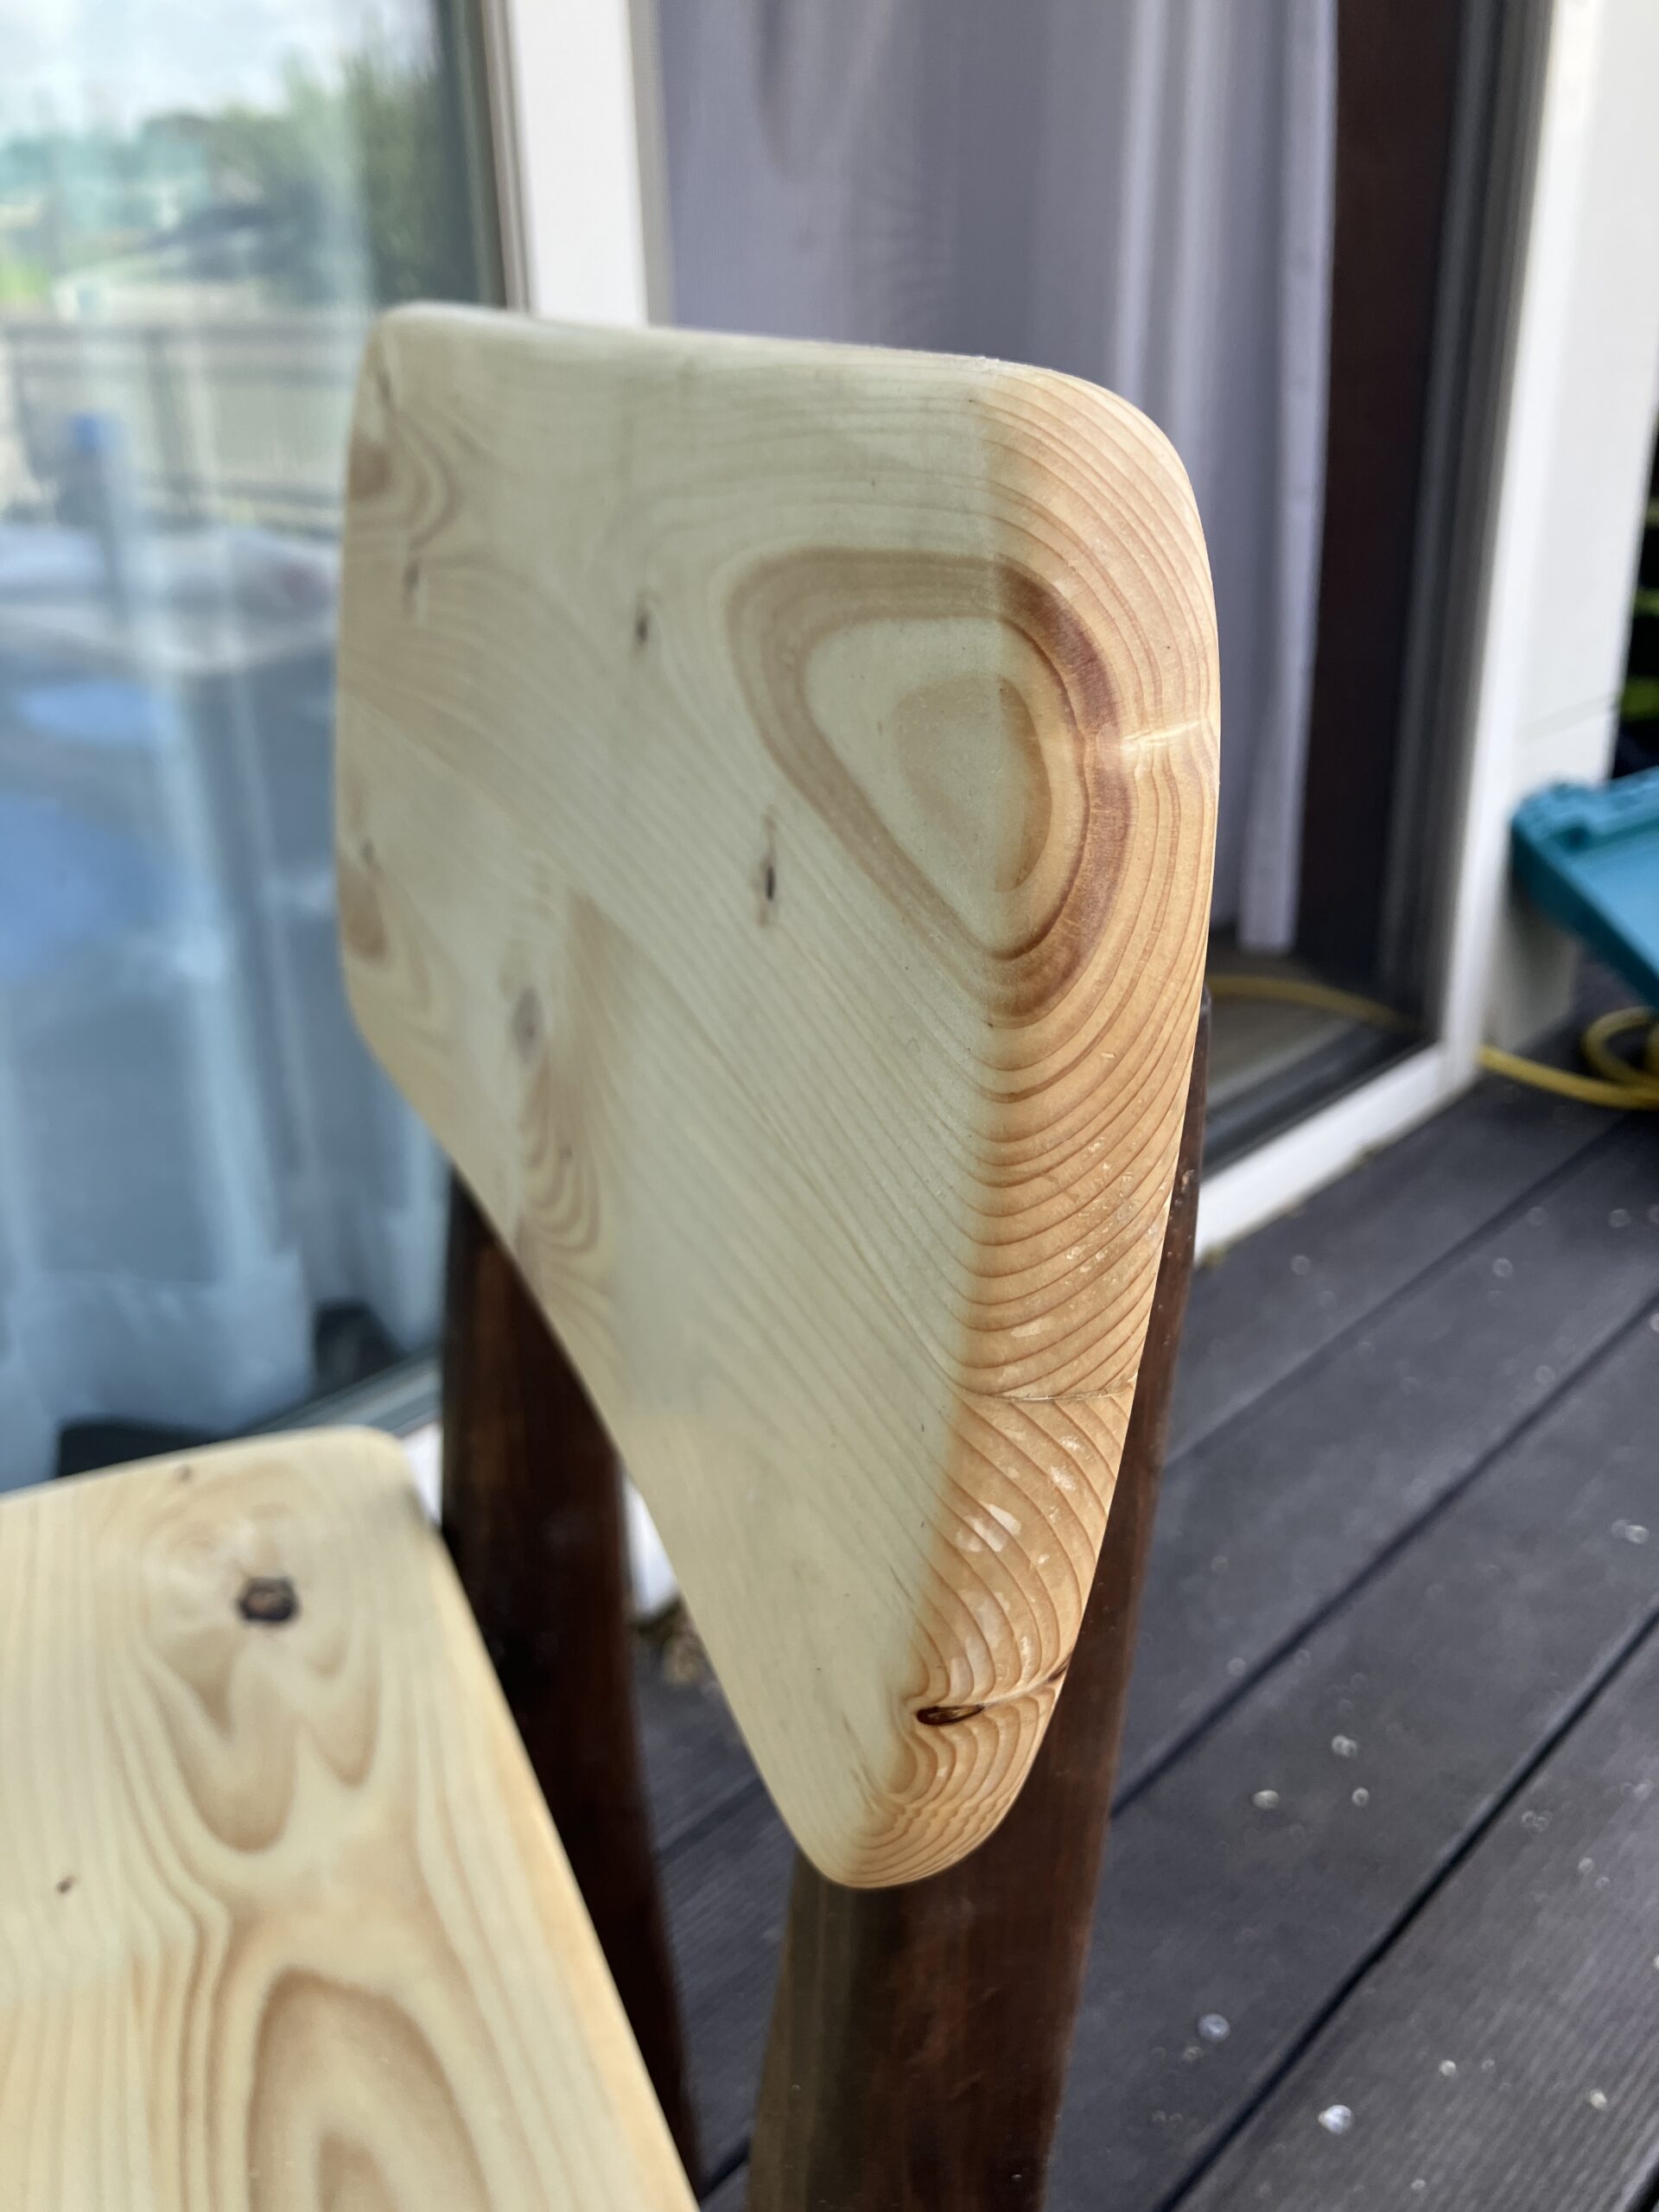
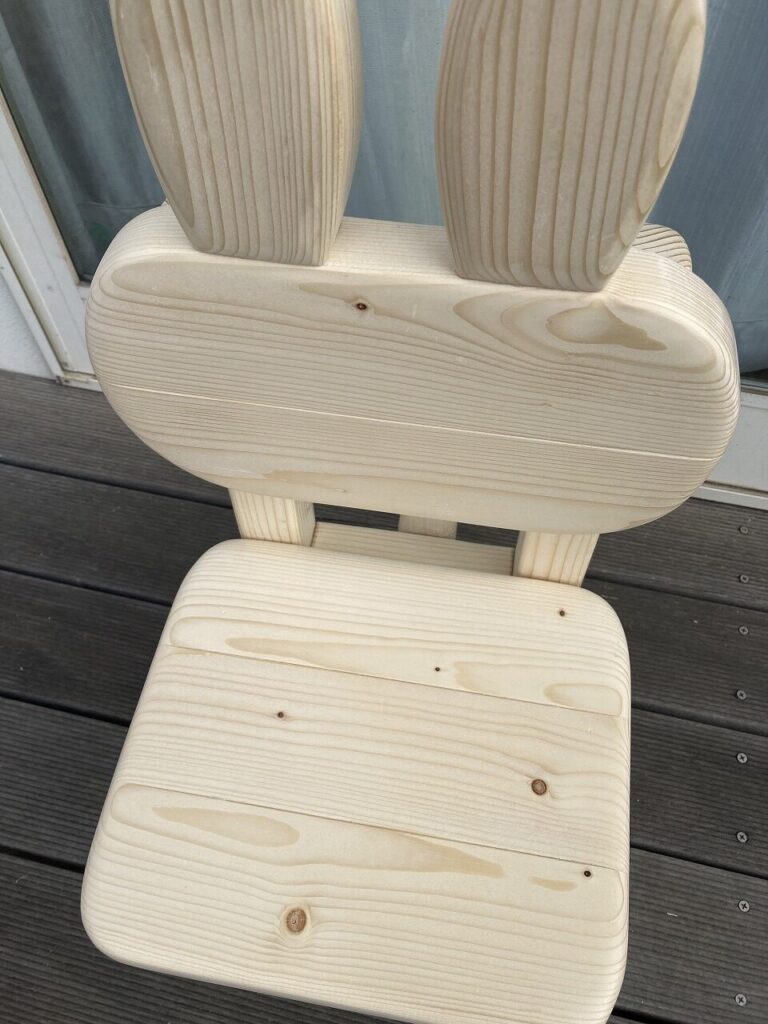
背板は背中のカーブに合わせて丸く、また、座面はお尻の形に合わせて丸くしてあります。作り方は後ほど説明します。
2.アンバランスもかわいい
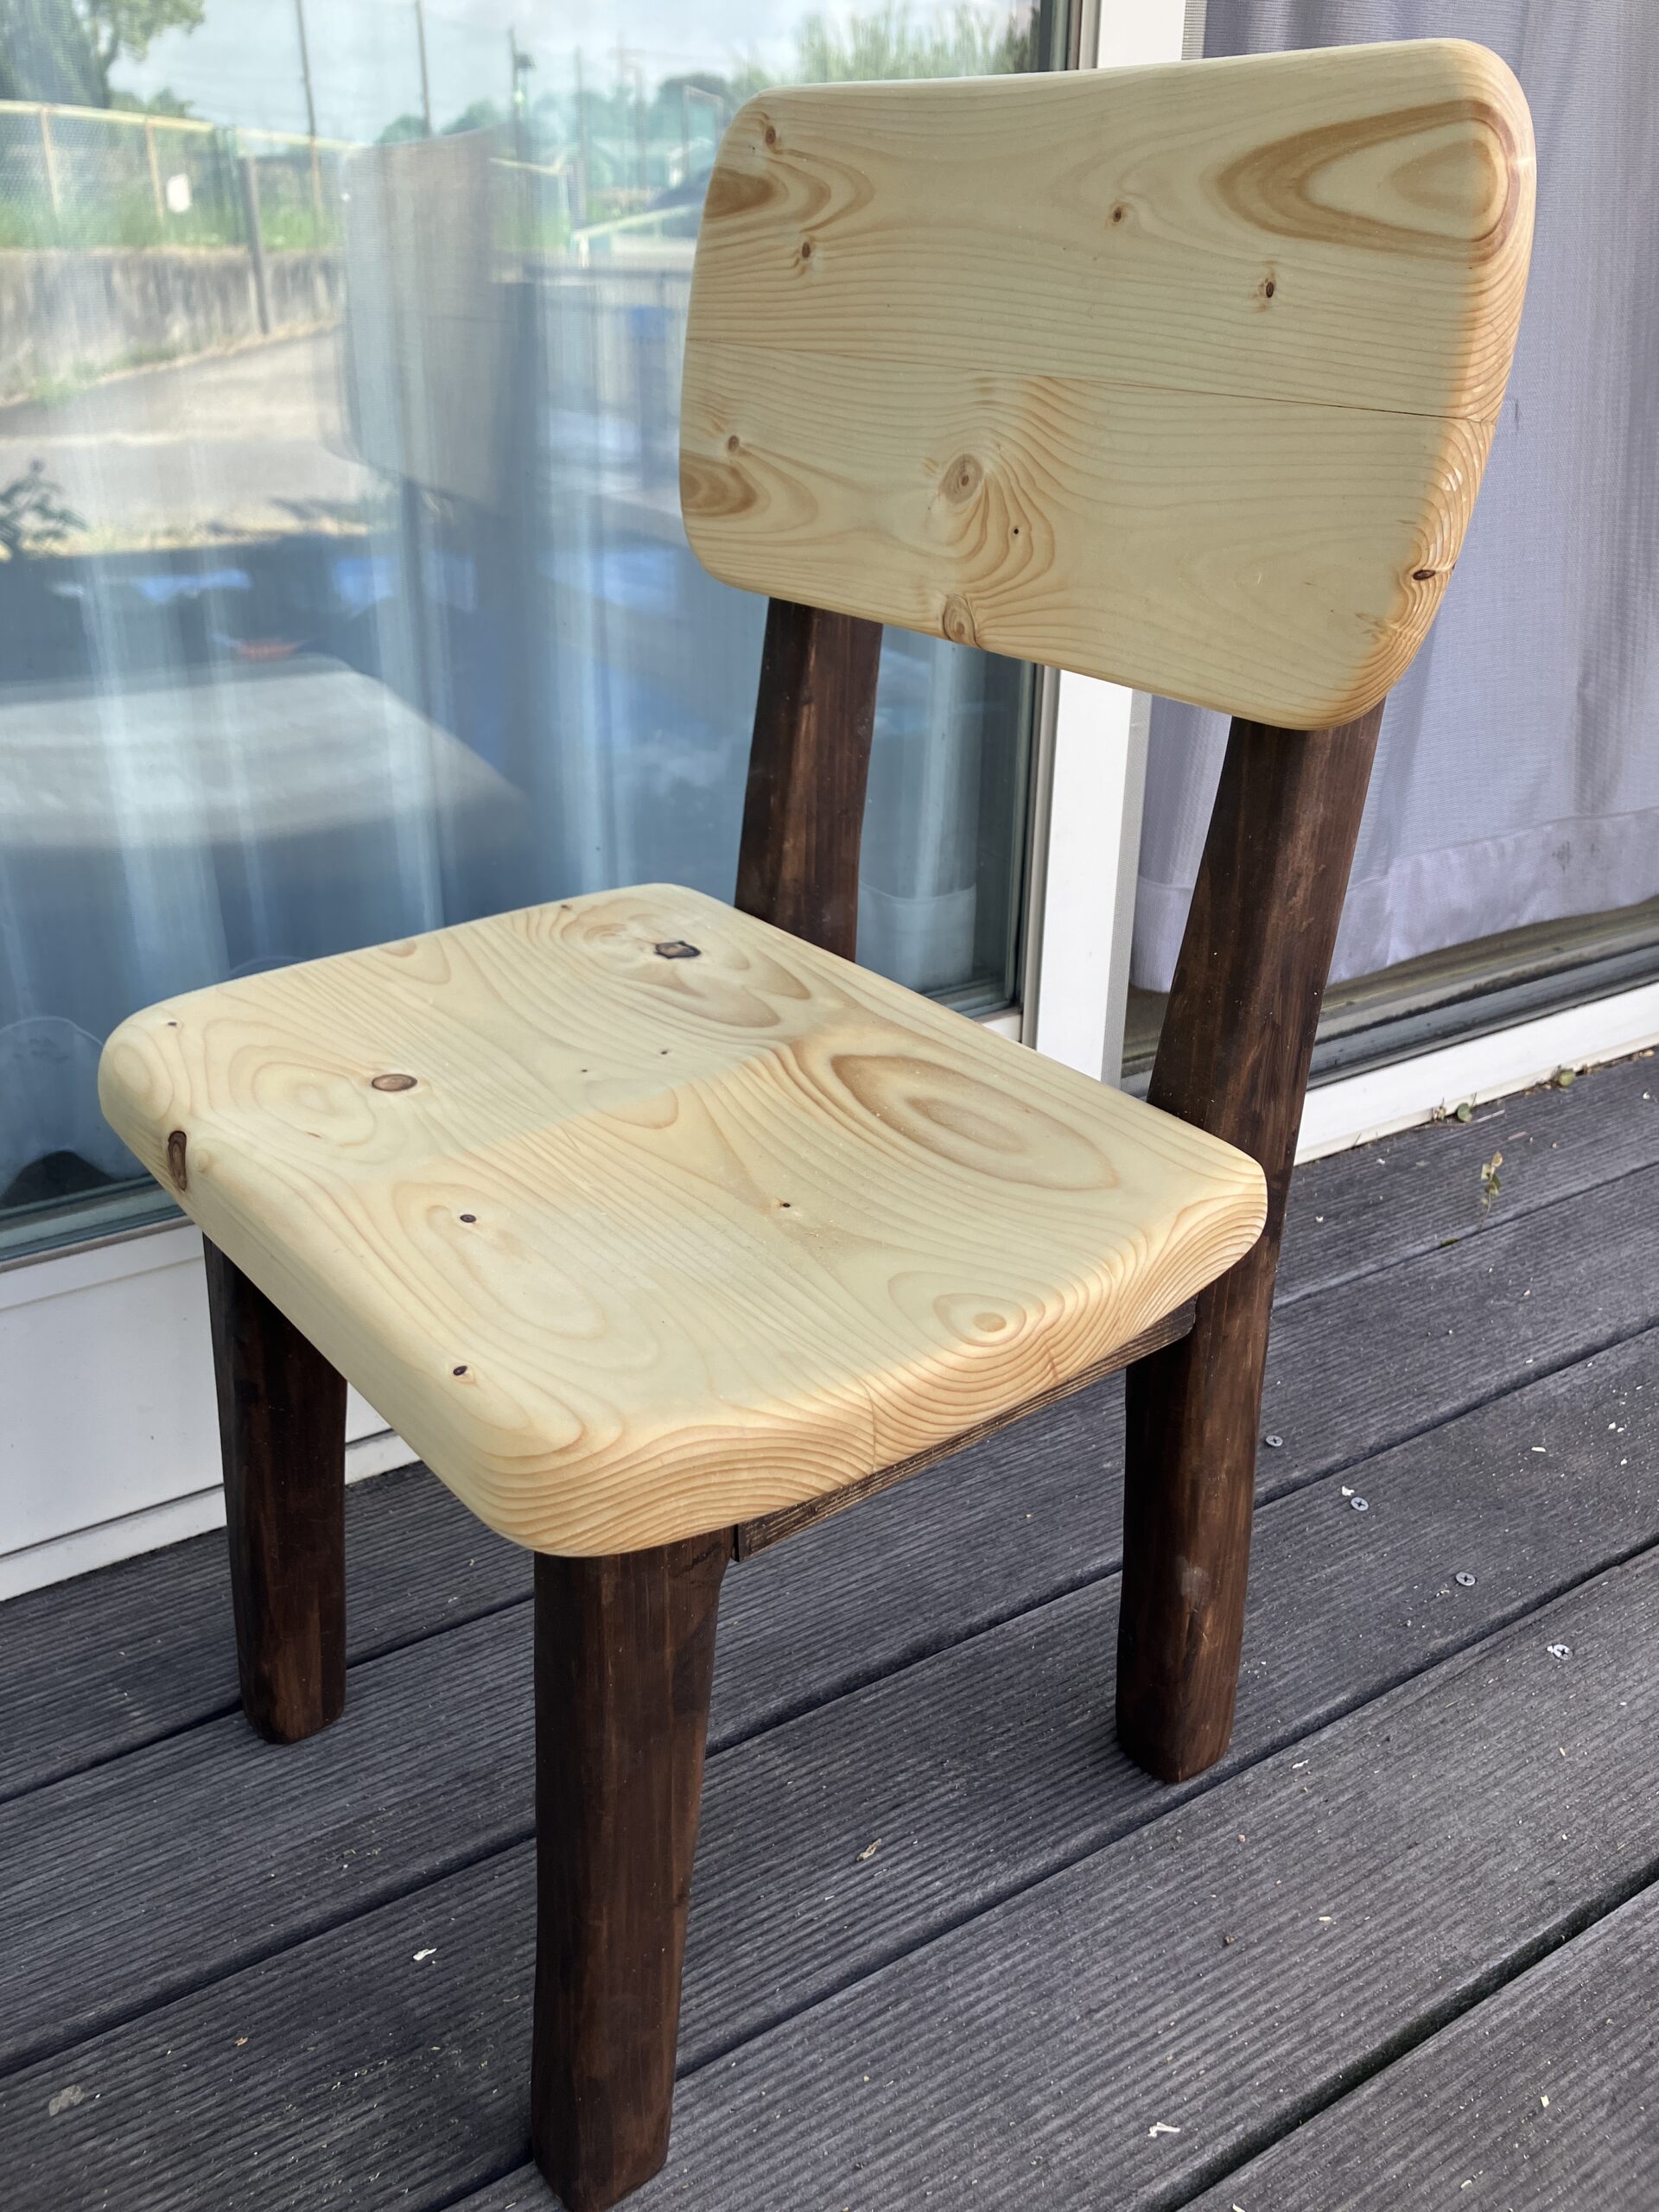
大人用のイスのデザインはシュッとしたものが多いですが、子供用の場合には、頭でっかちであったり、お尻がでっかくなっているようんなアンバランスのデザインが意外と可愛く見えます。
どれほどの大きさがいいのかは、組んでみてからわかることが多いです。とても手間がかかりますが、各パーツを少し大きめに作ってから、バランスを見ながら小さく削っていくようにしています。
3.色をつけてみよう
せっかく木で作るので、木目が見えていたほうが渋い仕上がりになりますよね。でも、渋さは必要ないので、可愛さのために色をつけてみましょう。
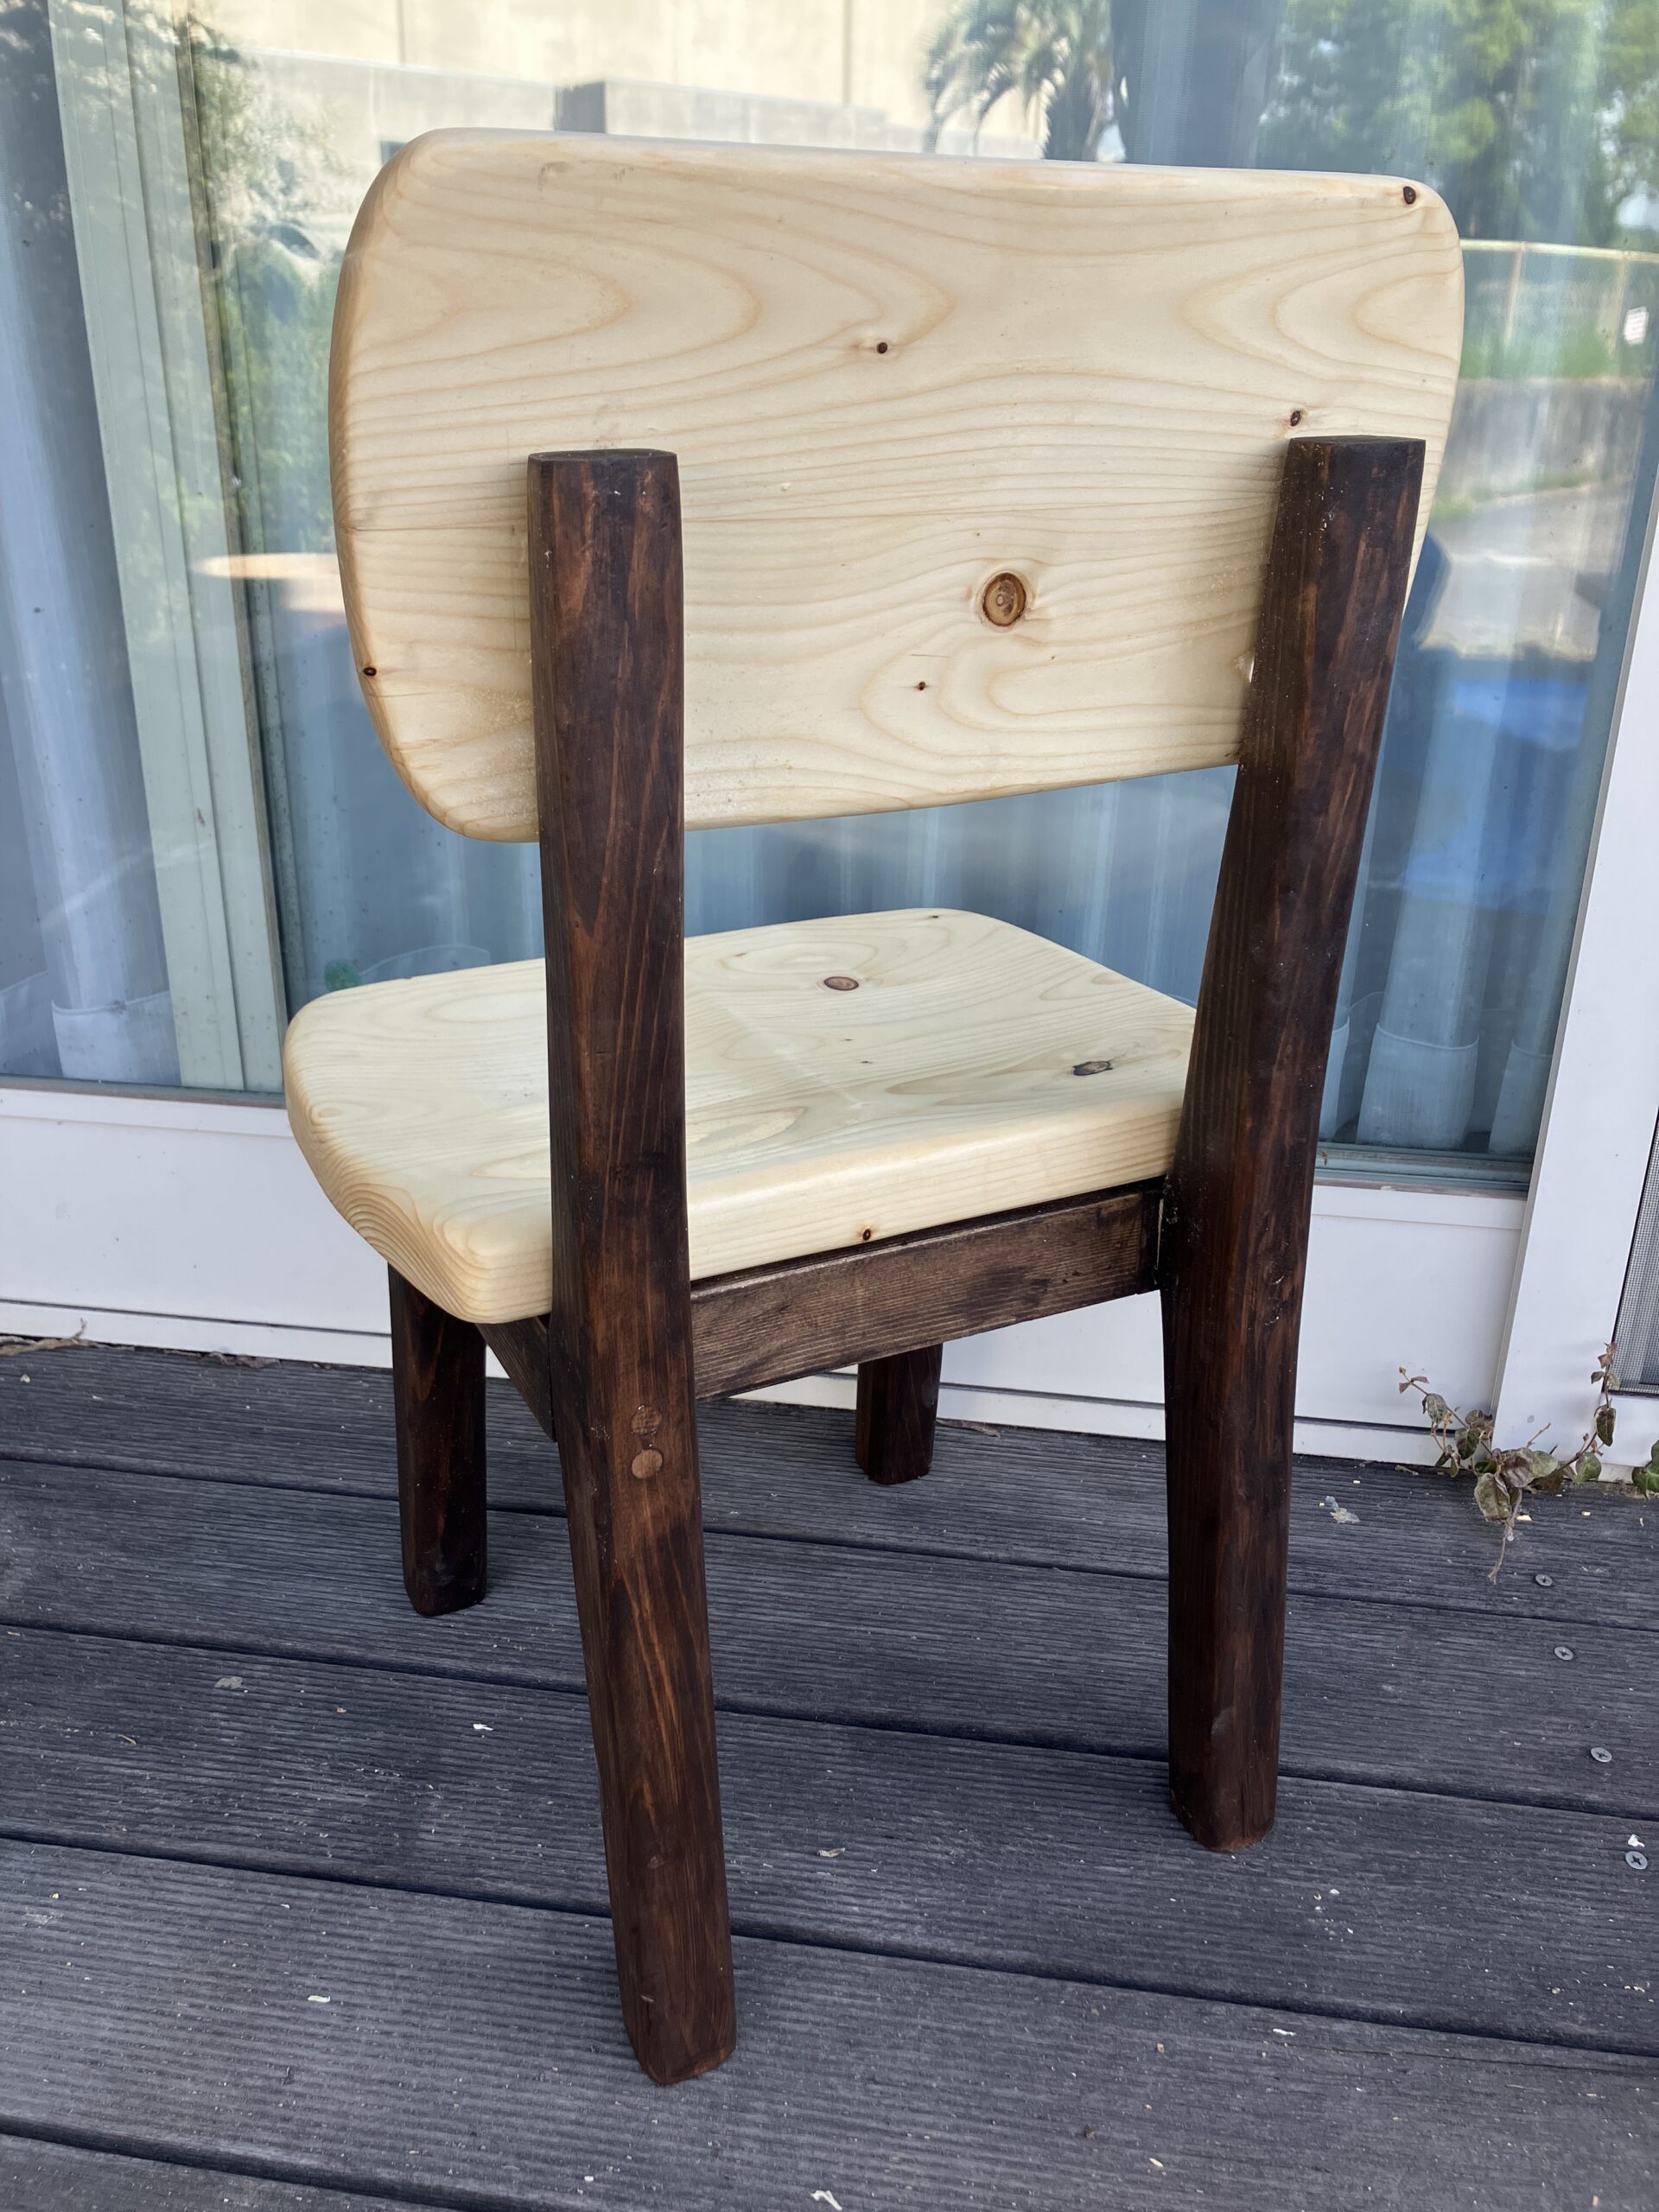
私としては、座面、背板とそれ以外を塗り分けるツートンカラーのパターンがかわいいかと思っています。組み合わせは無限にありますので、いろんなパターンを試してみてください。
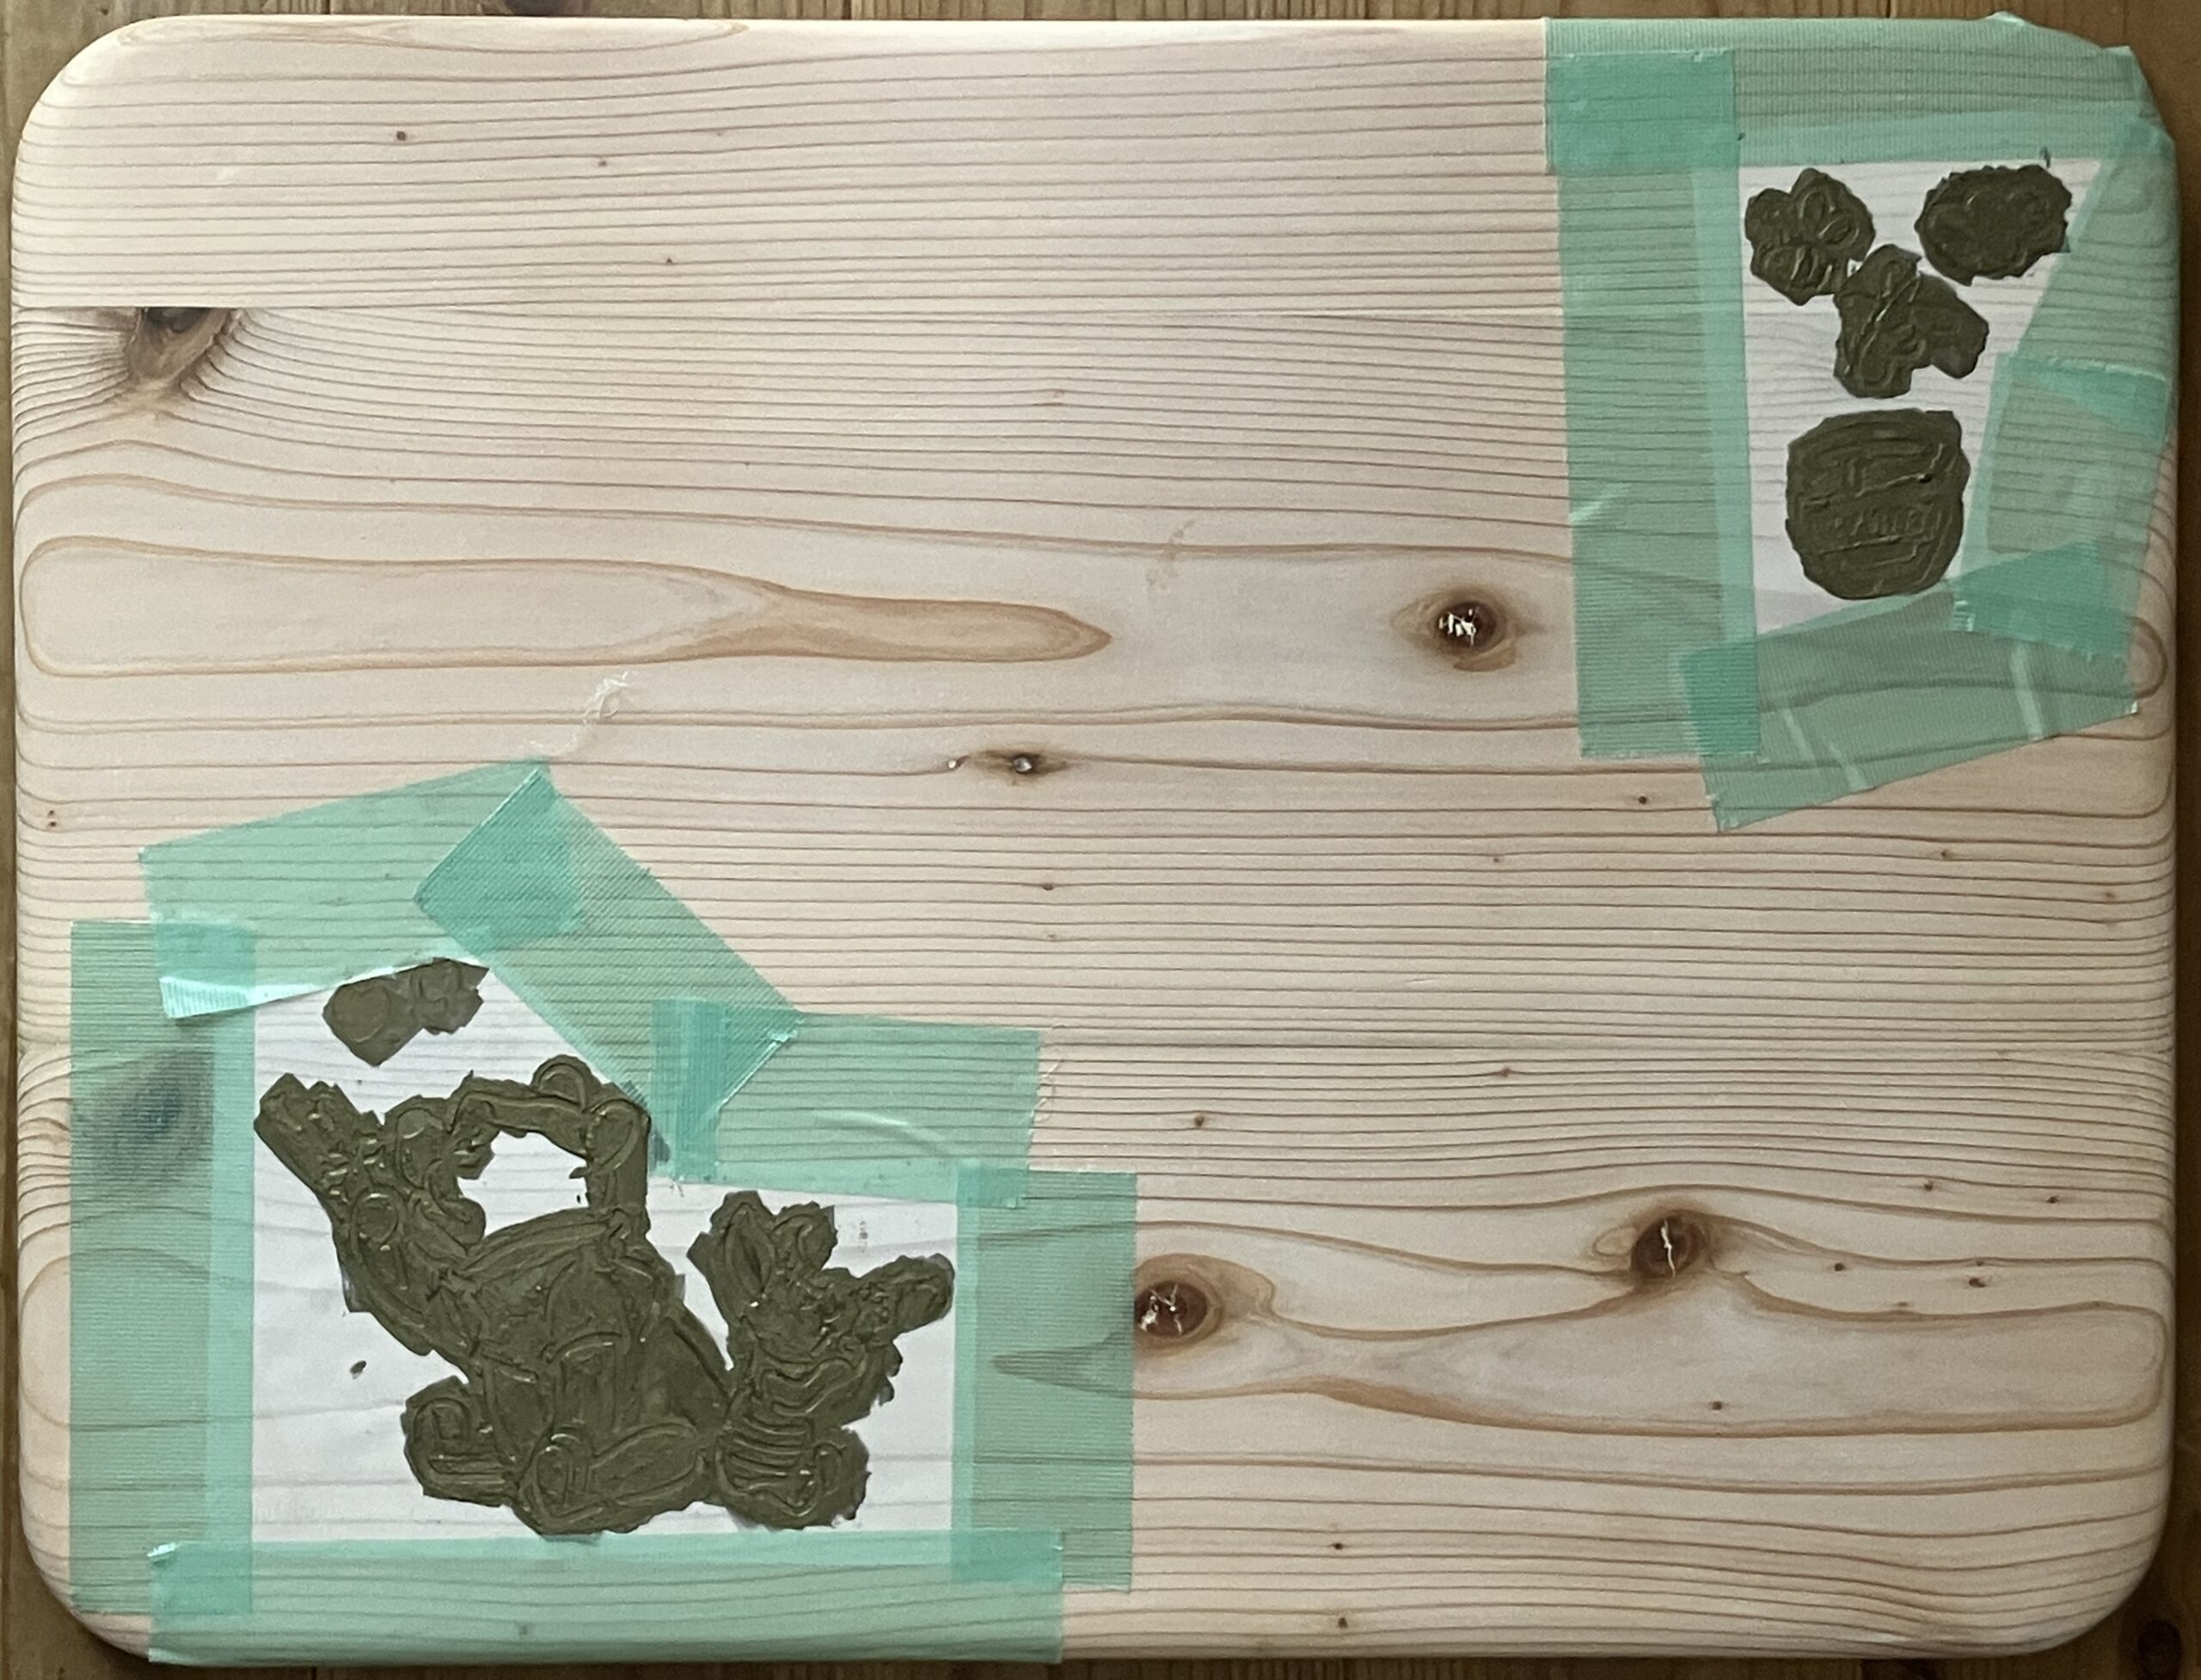
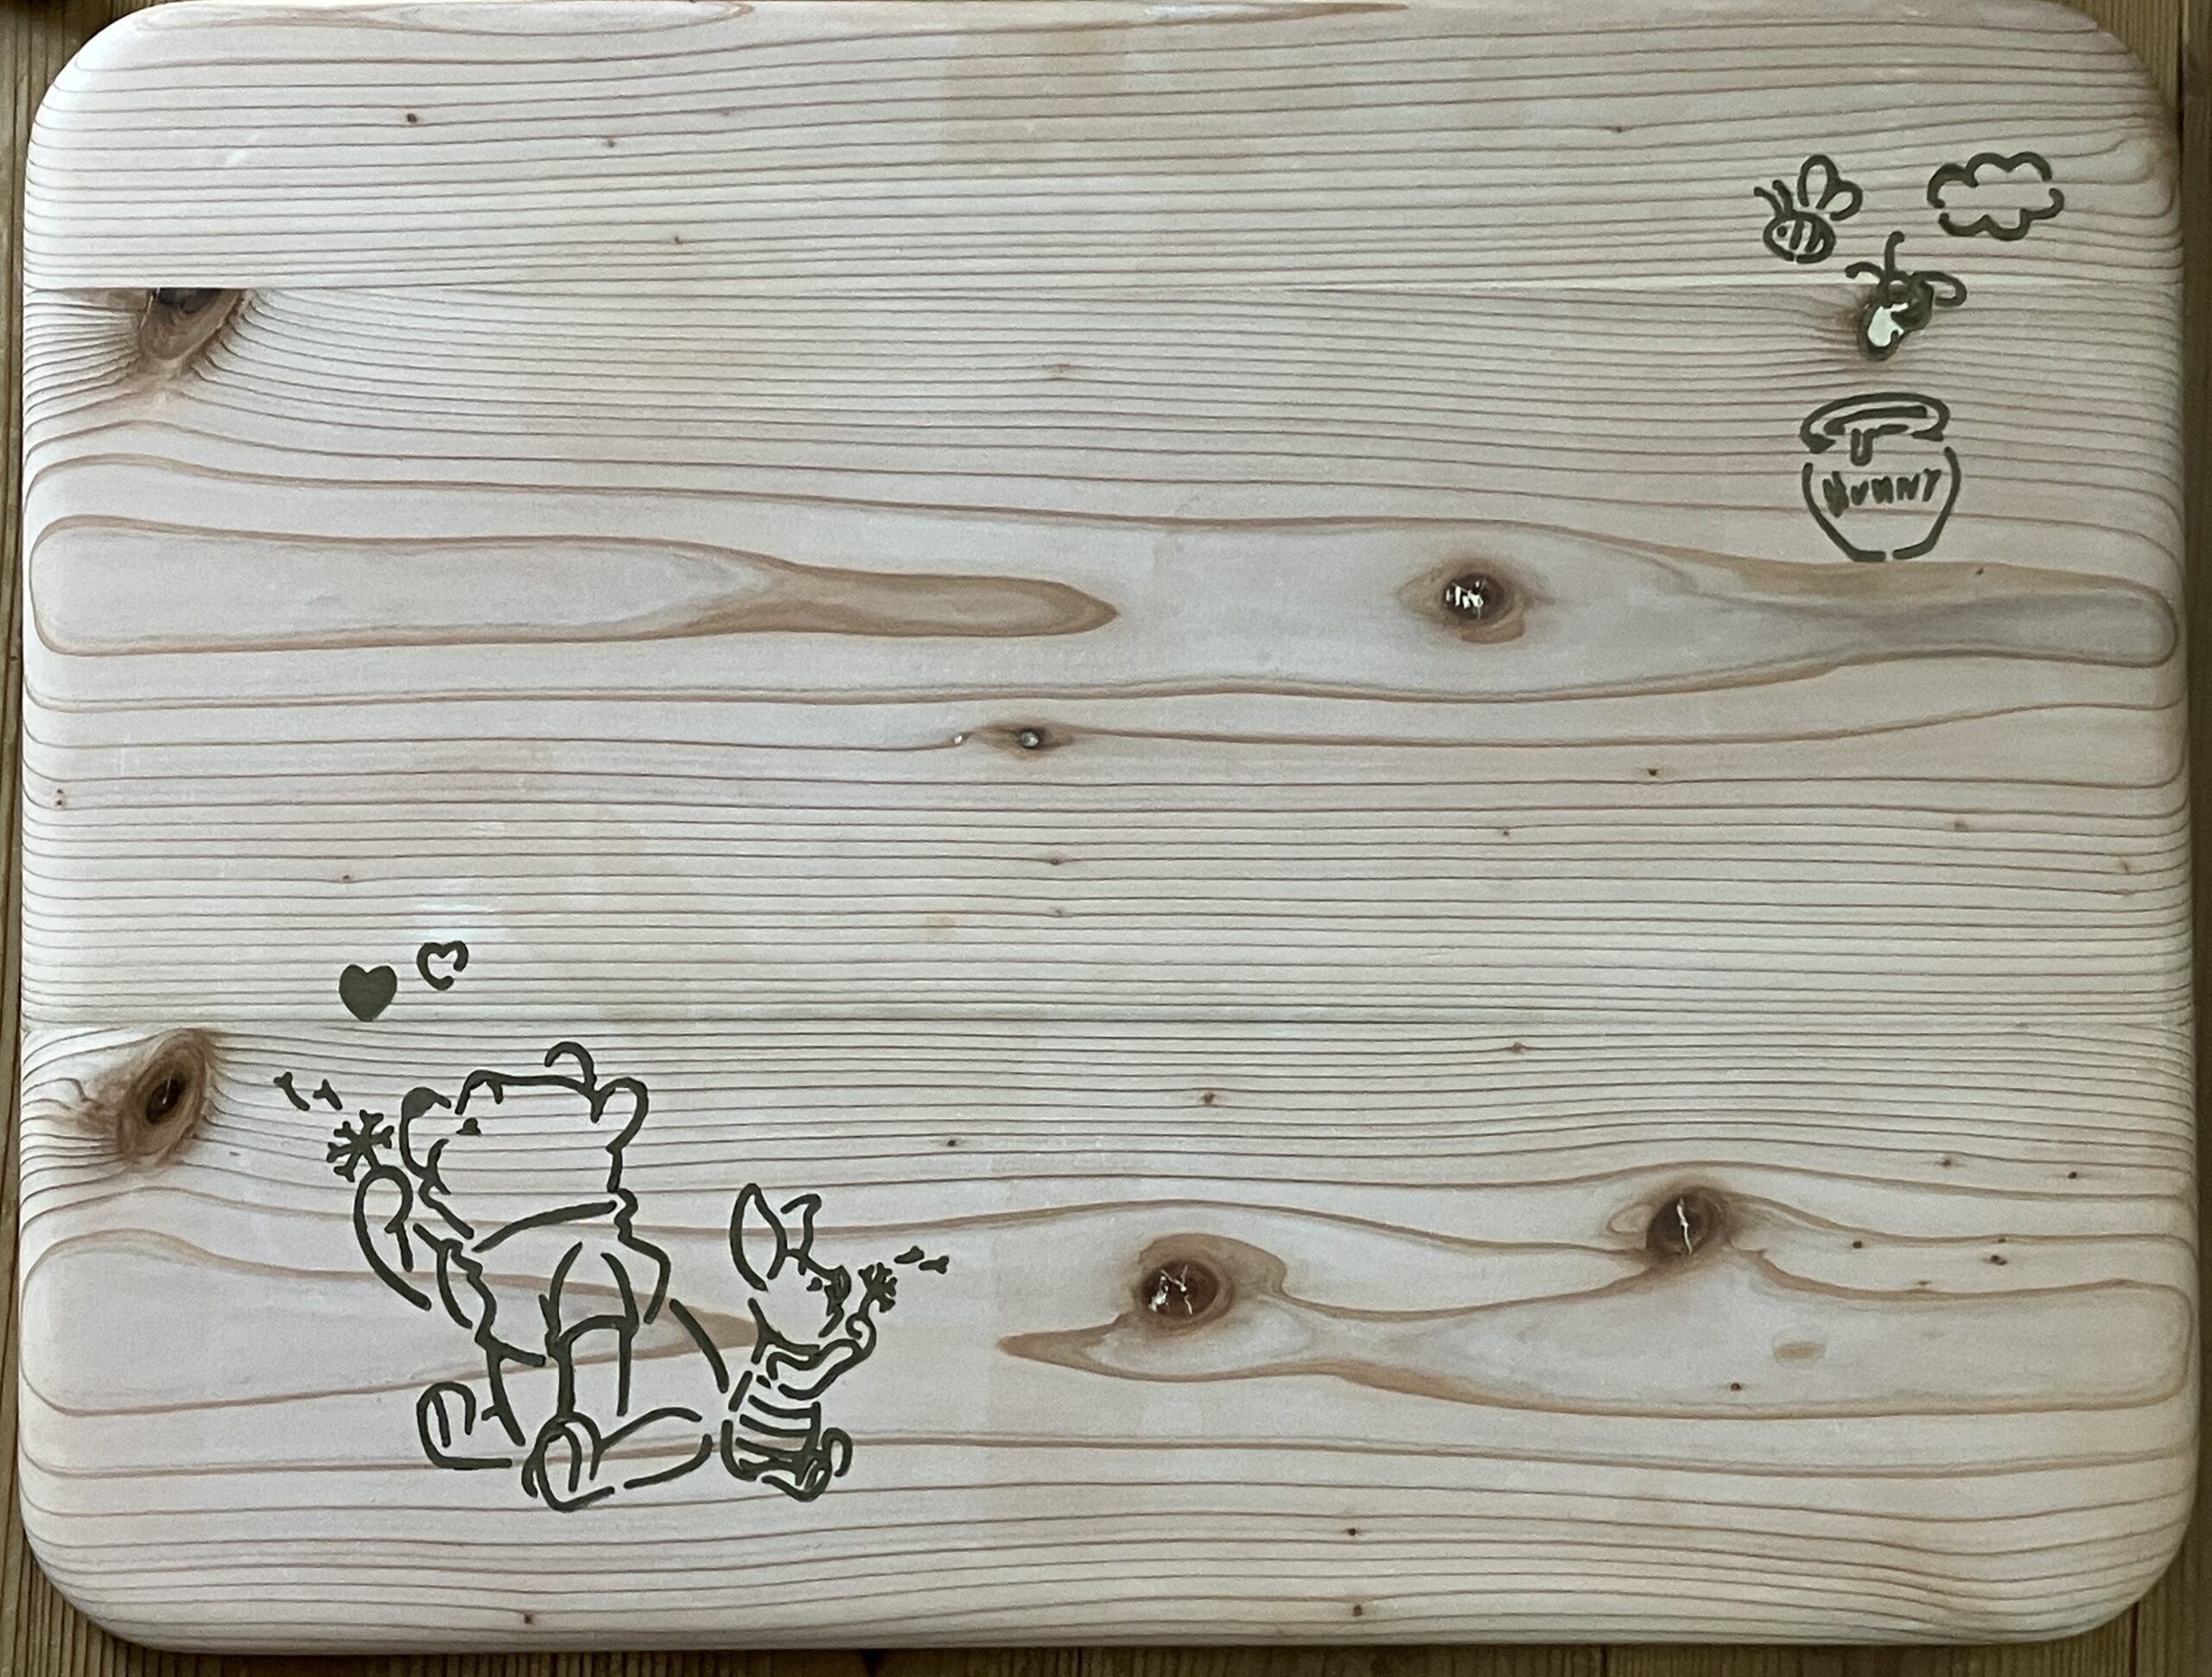
4.奥の手は絵をつけよう
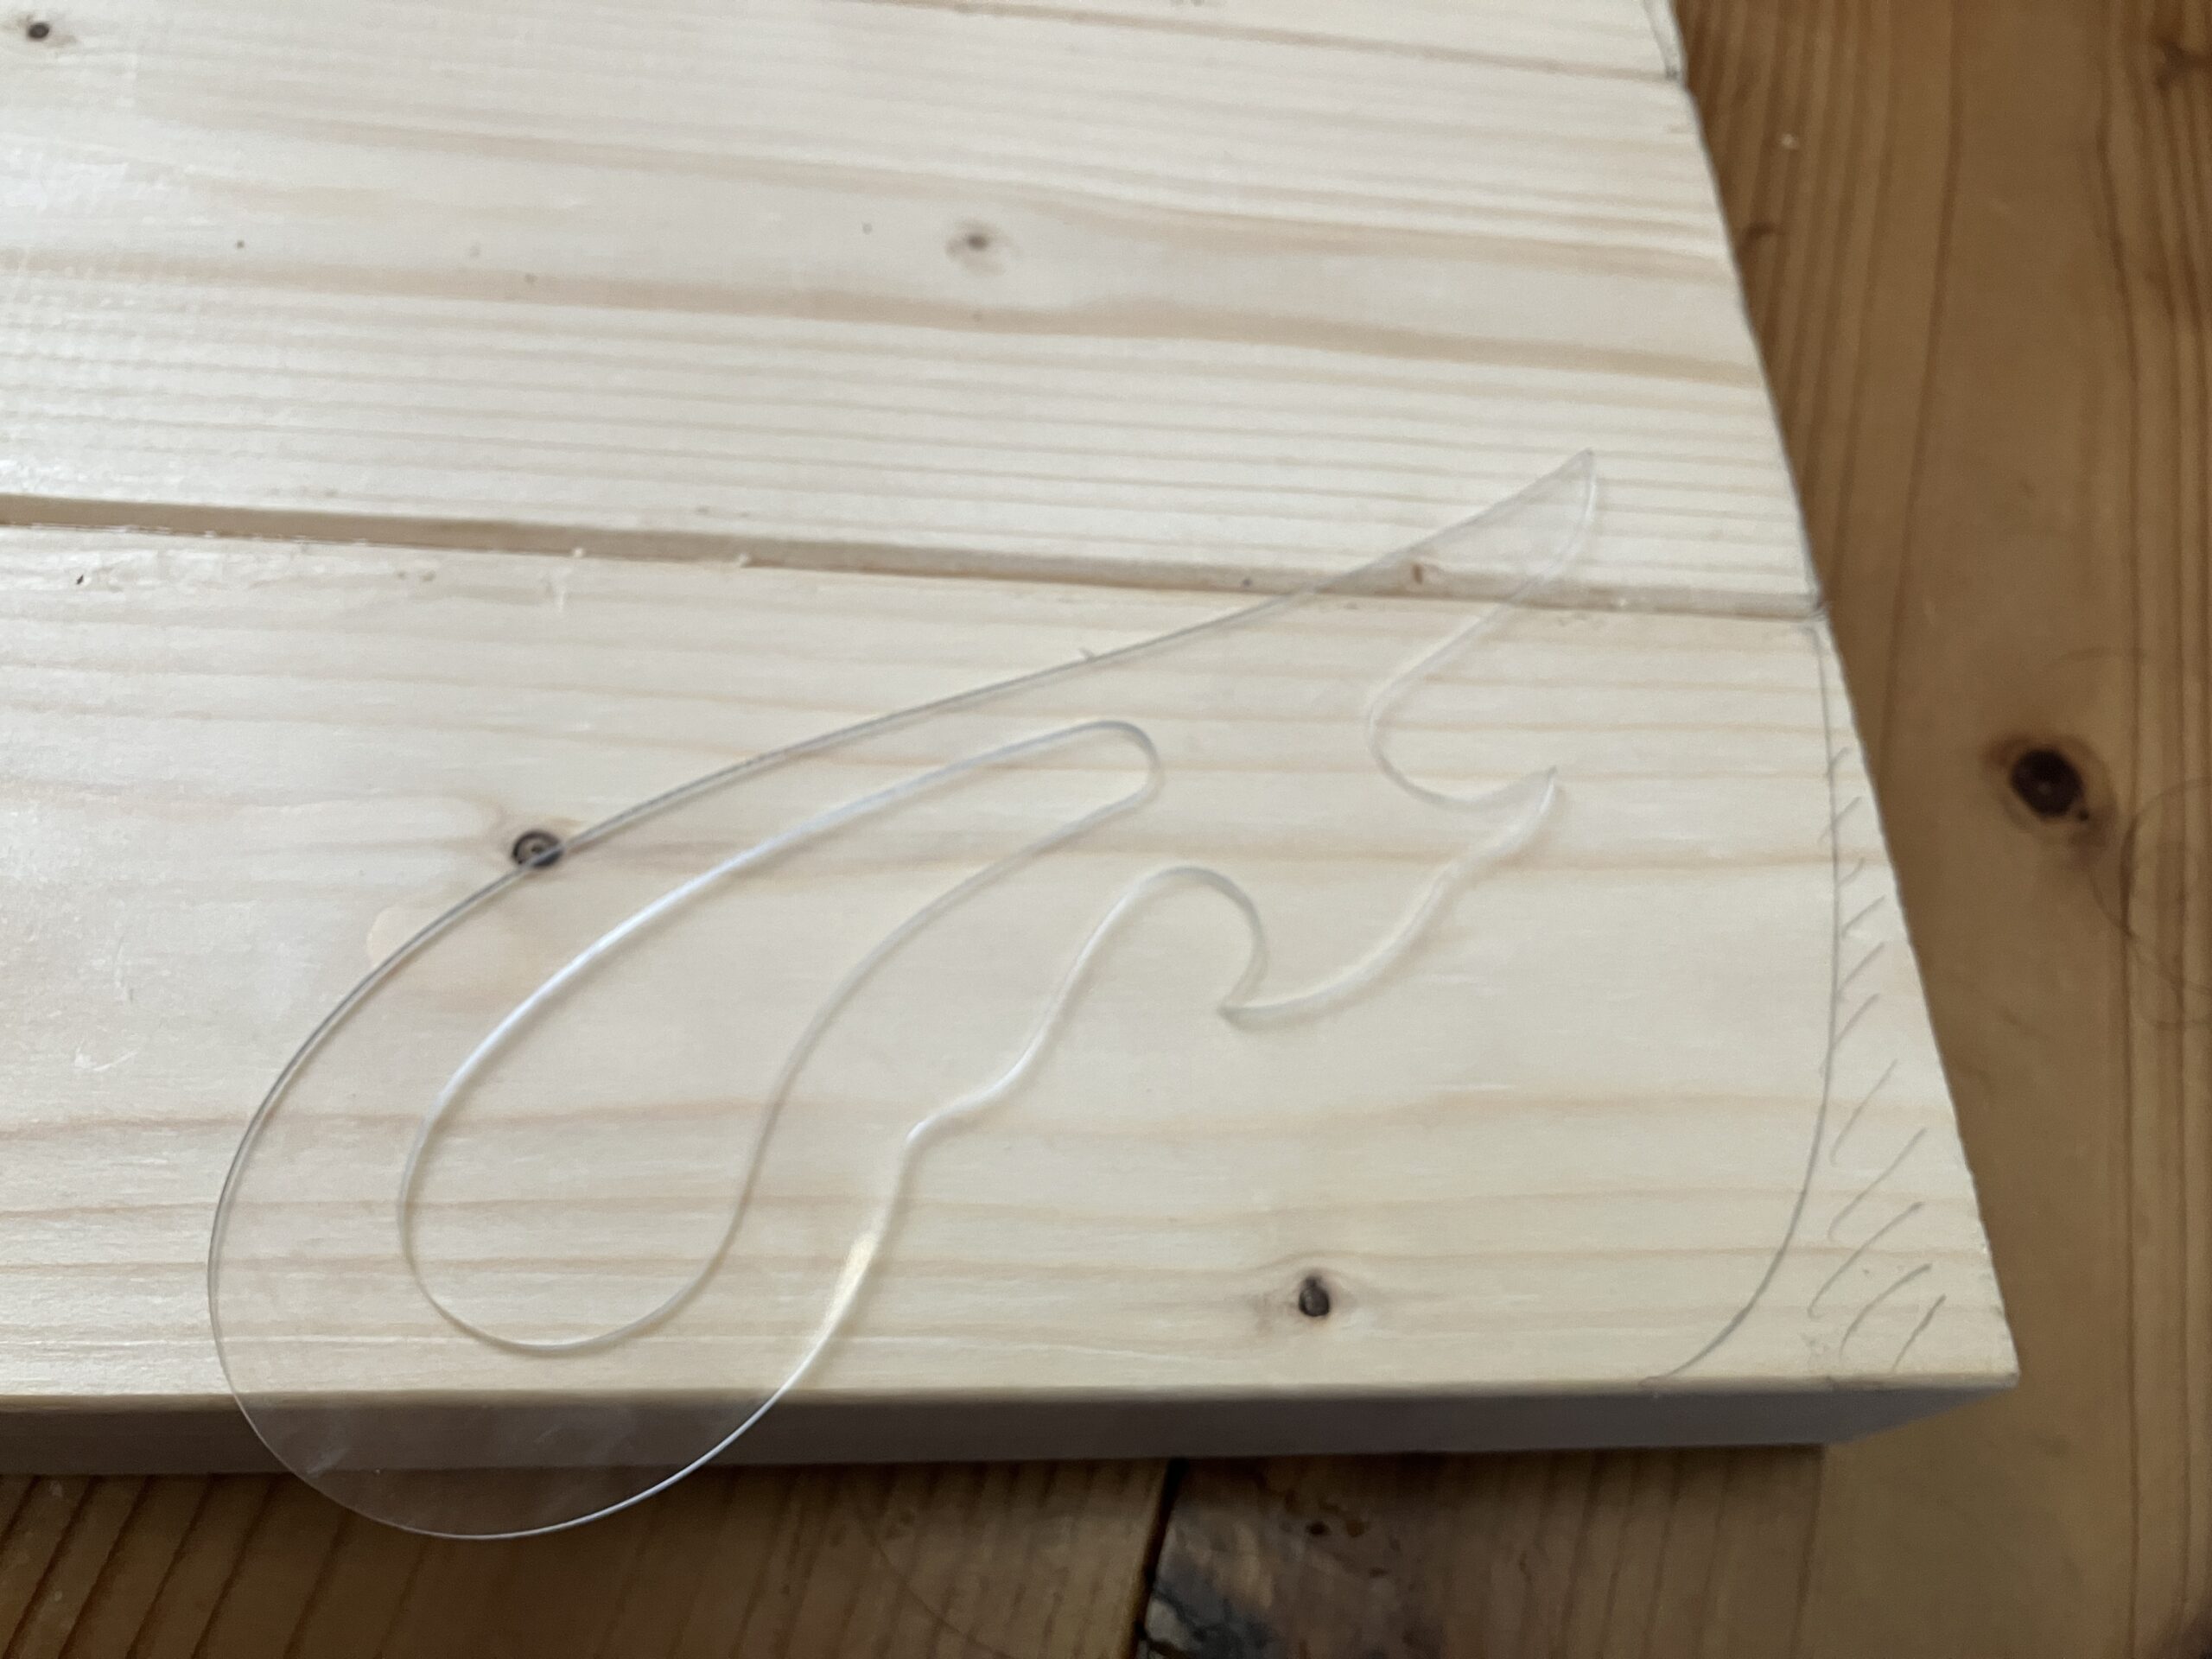
作っていて、どうしようもなく可愛くない出来上がりになってしまうことはよくあります。そんな時は奥の手を出しましょう。ステンシルを使ってかわいい絵を書きます。イラストの可愛さがなんとかしてくれます。
作り方
今回は座面や背板の作り方を説明します。
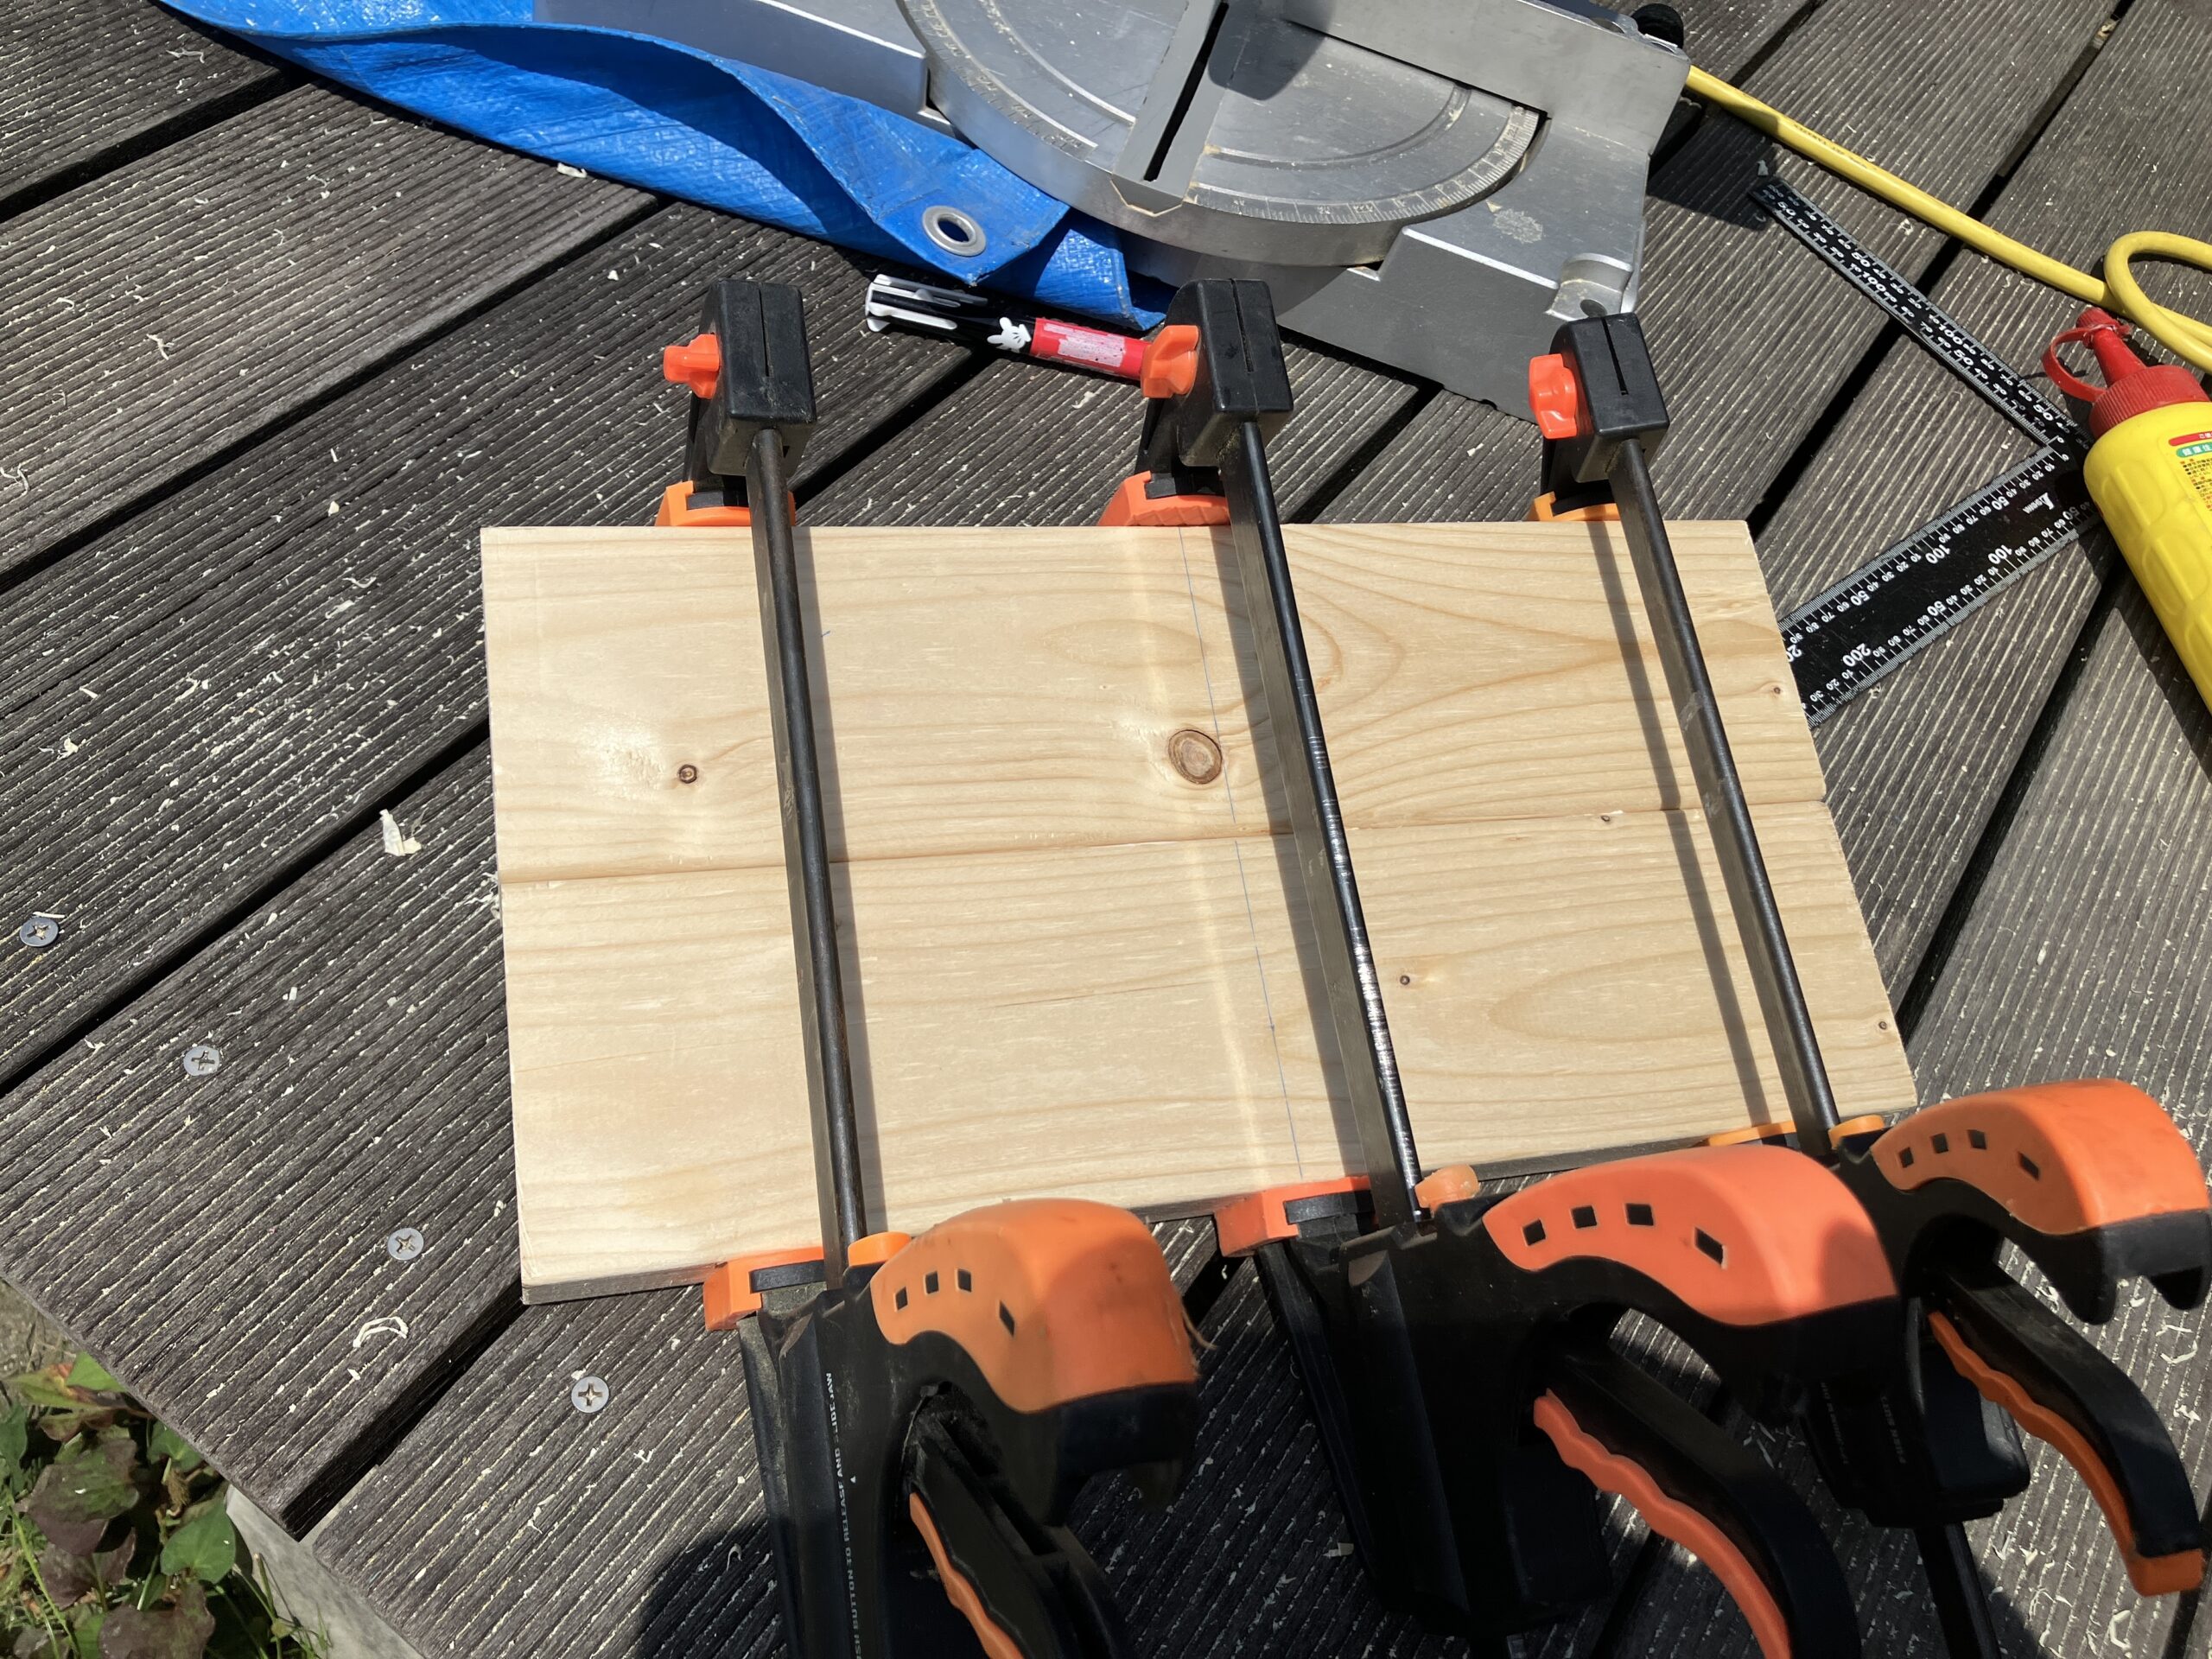
板の接続
今回は2×4材を使用しています。数枚を接続して板の幅を稼ぎます。
接続はジョイントカッターを使いますが、木工用ボンドでくっつけるだけでも、クランプを利用してしっかり乾燥させれば強度がでます。
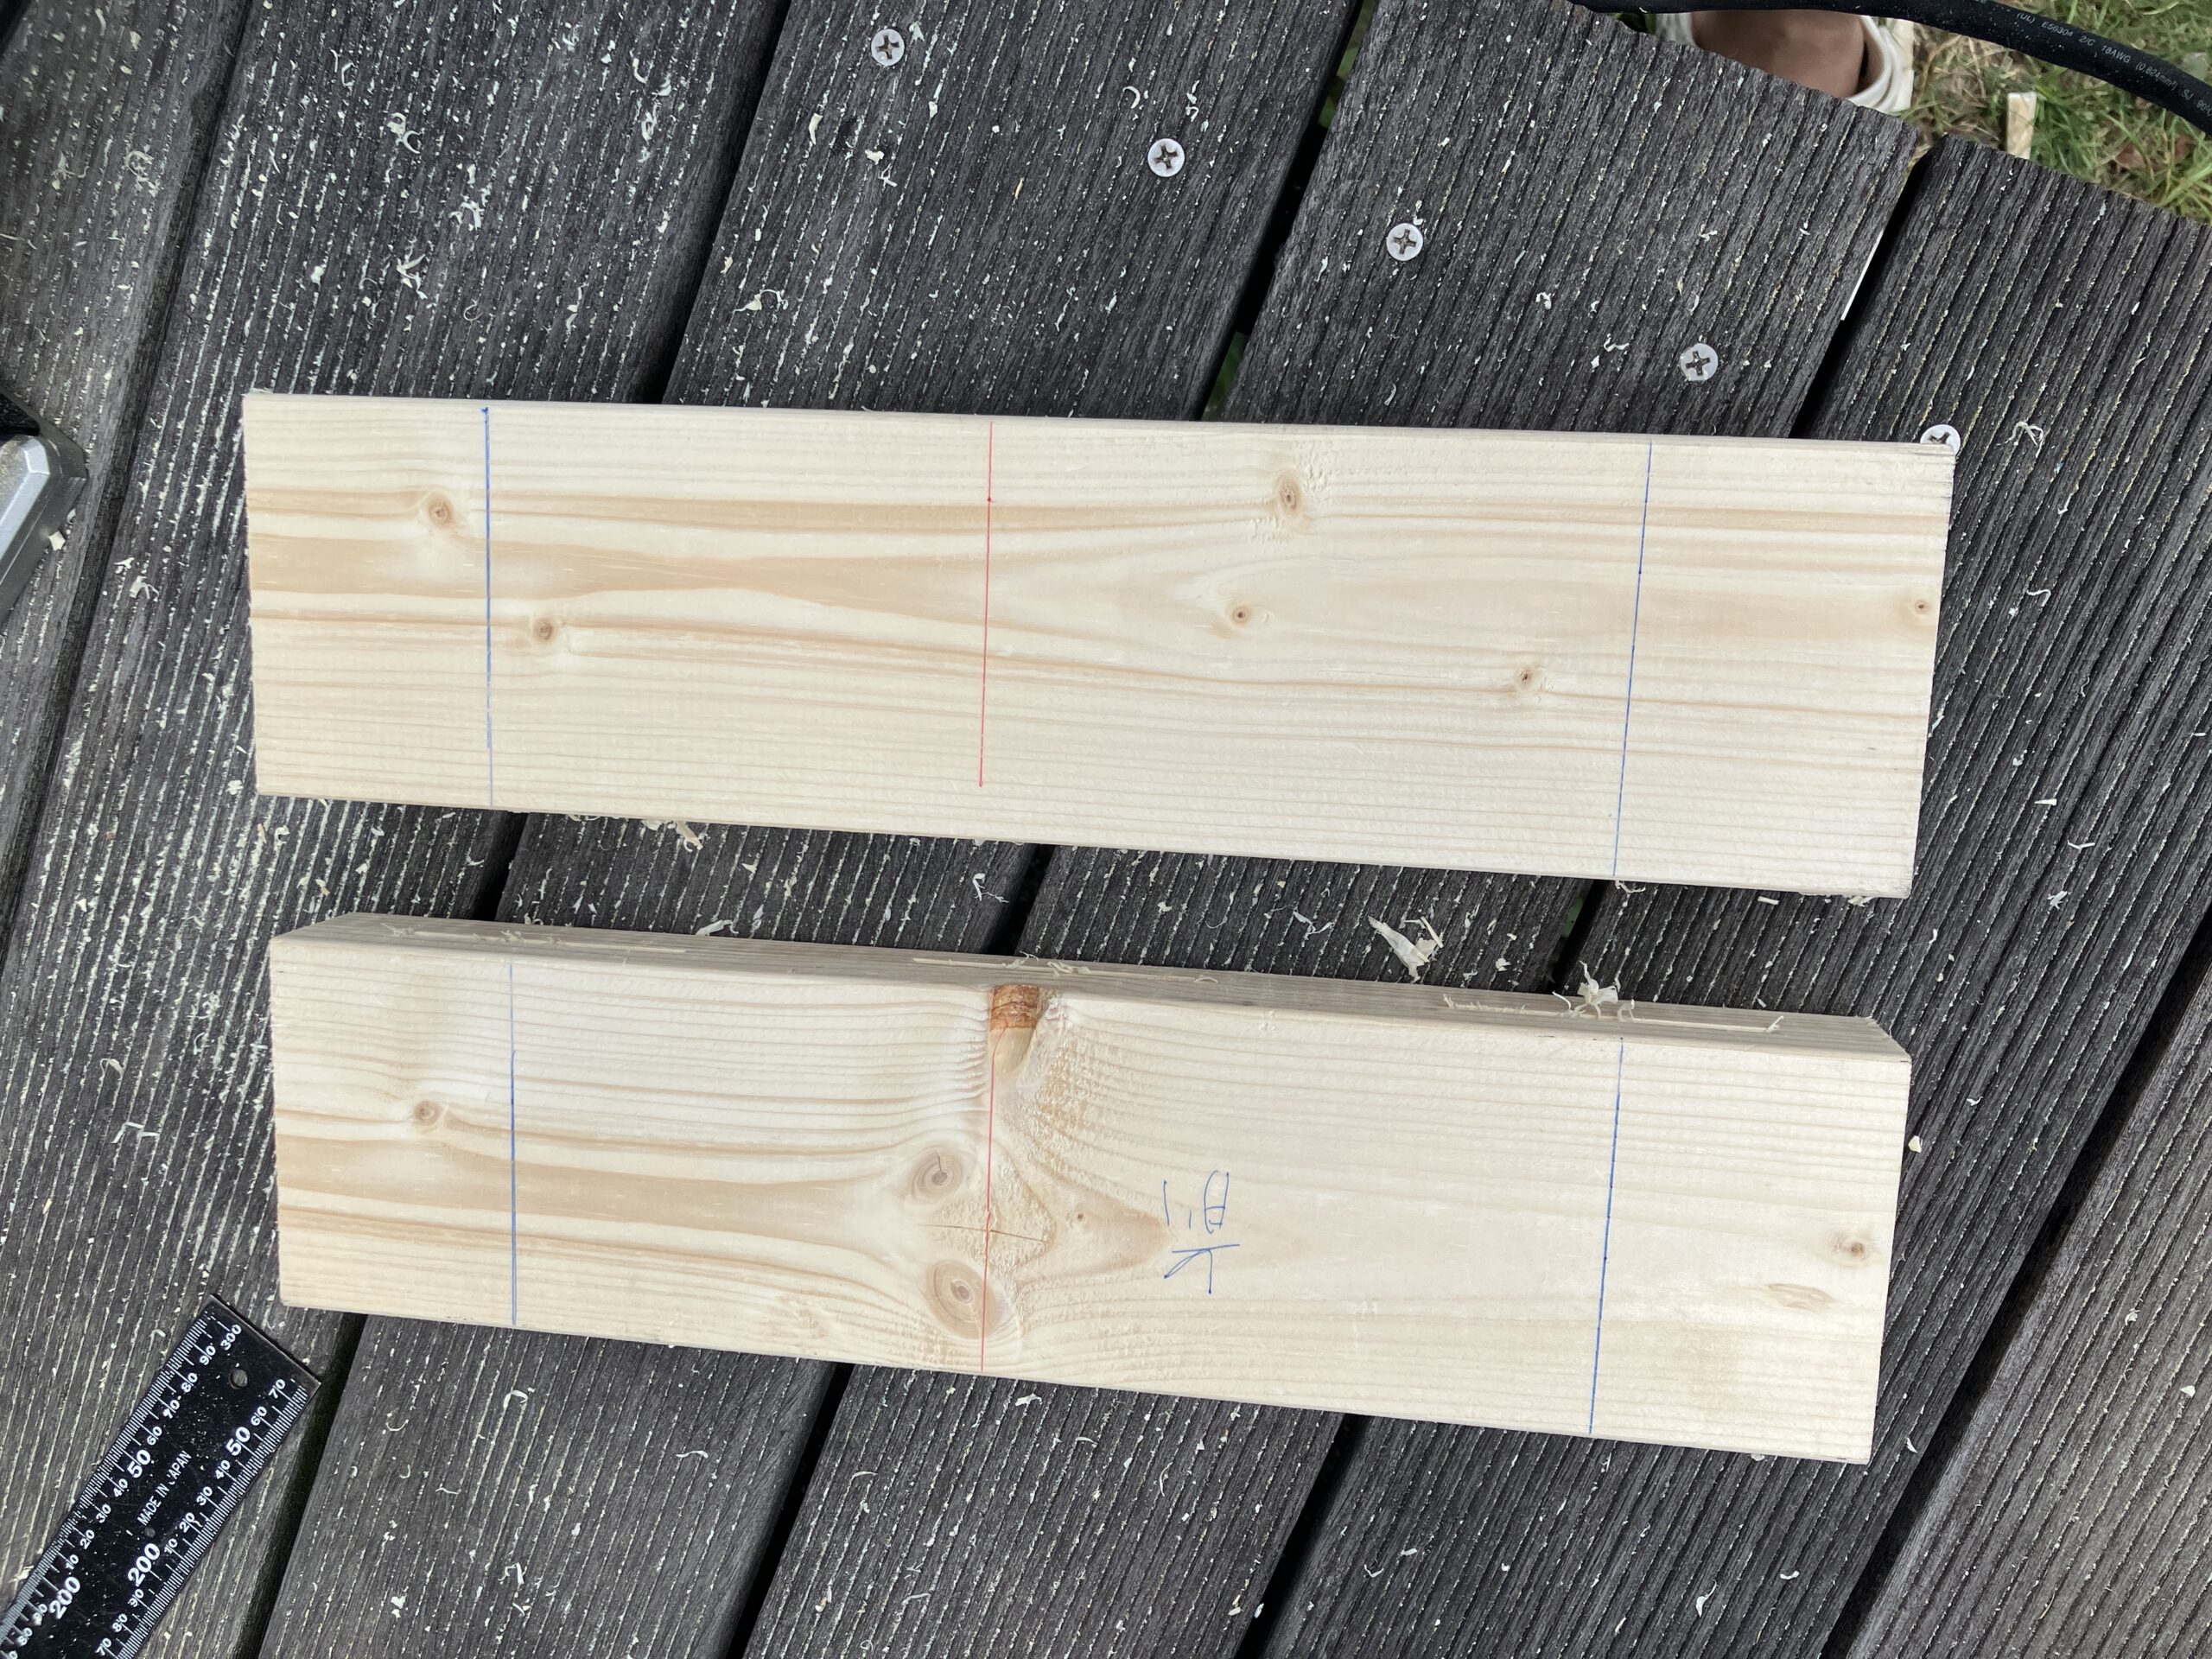


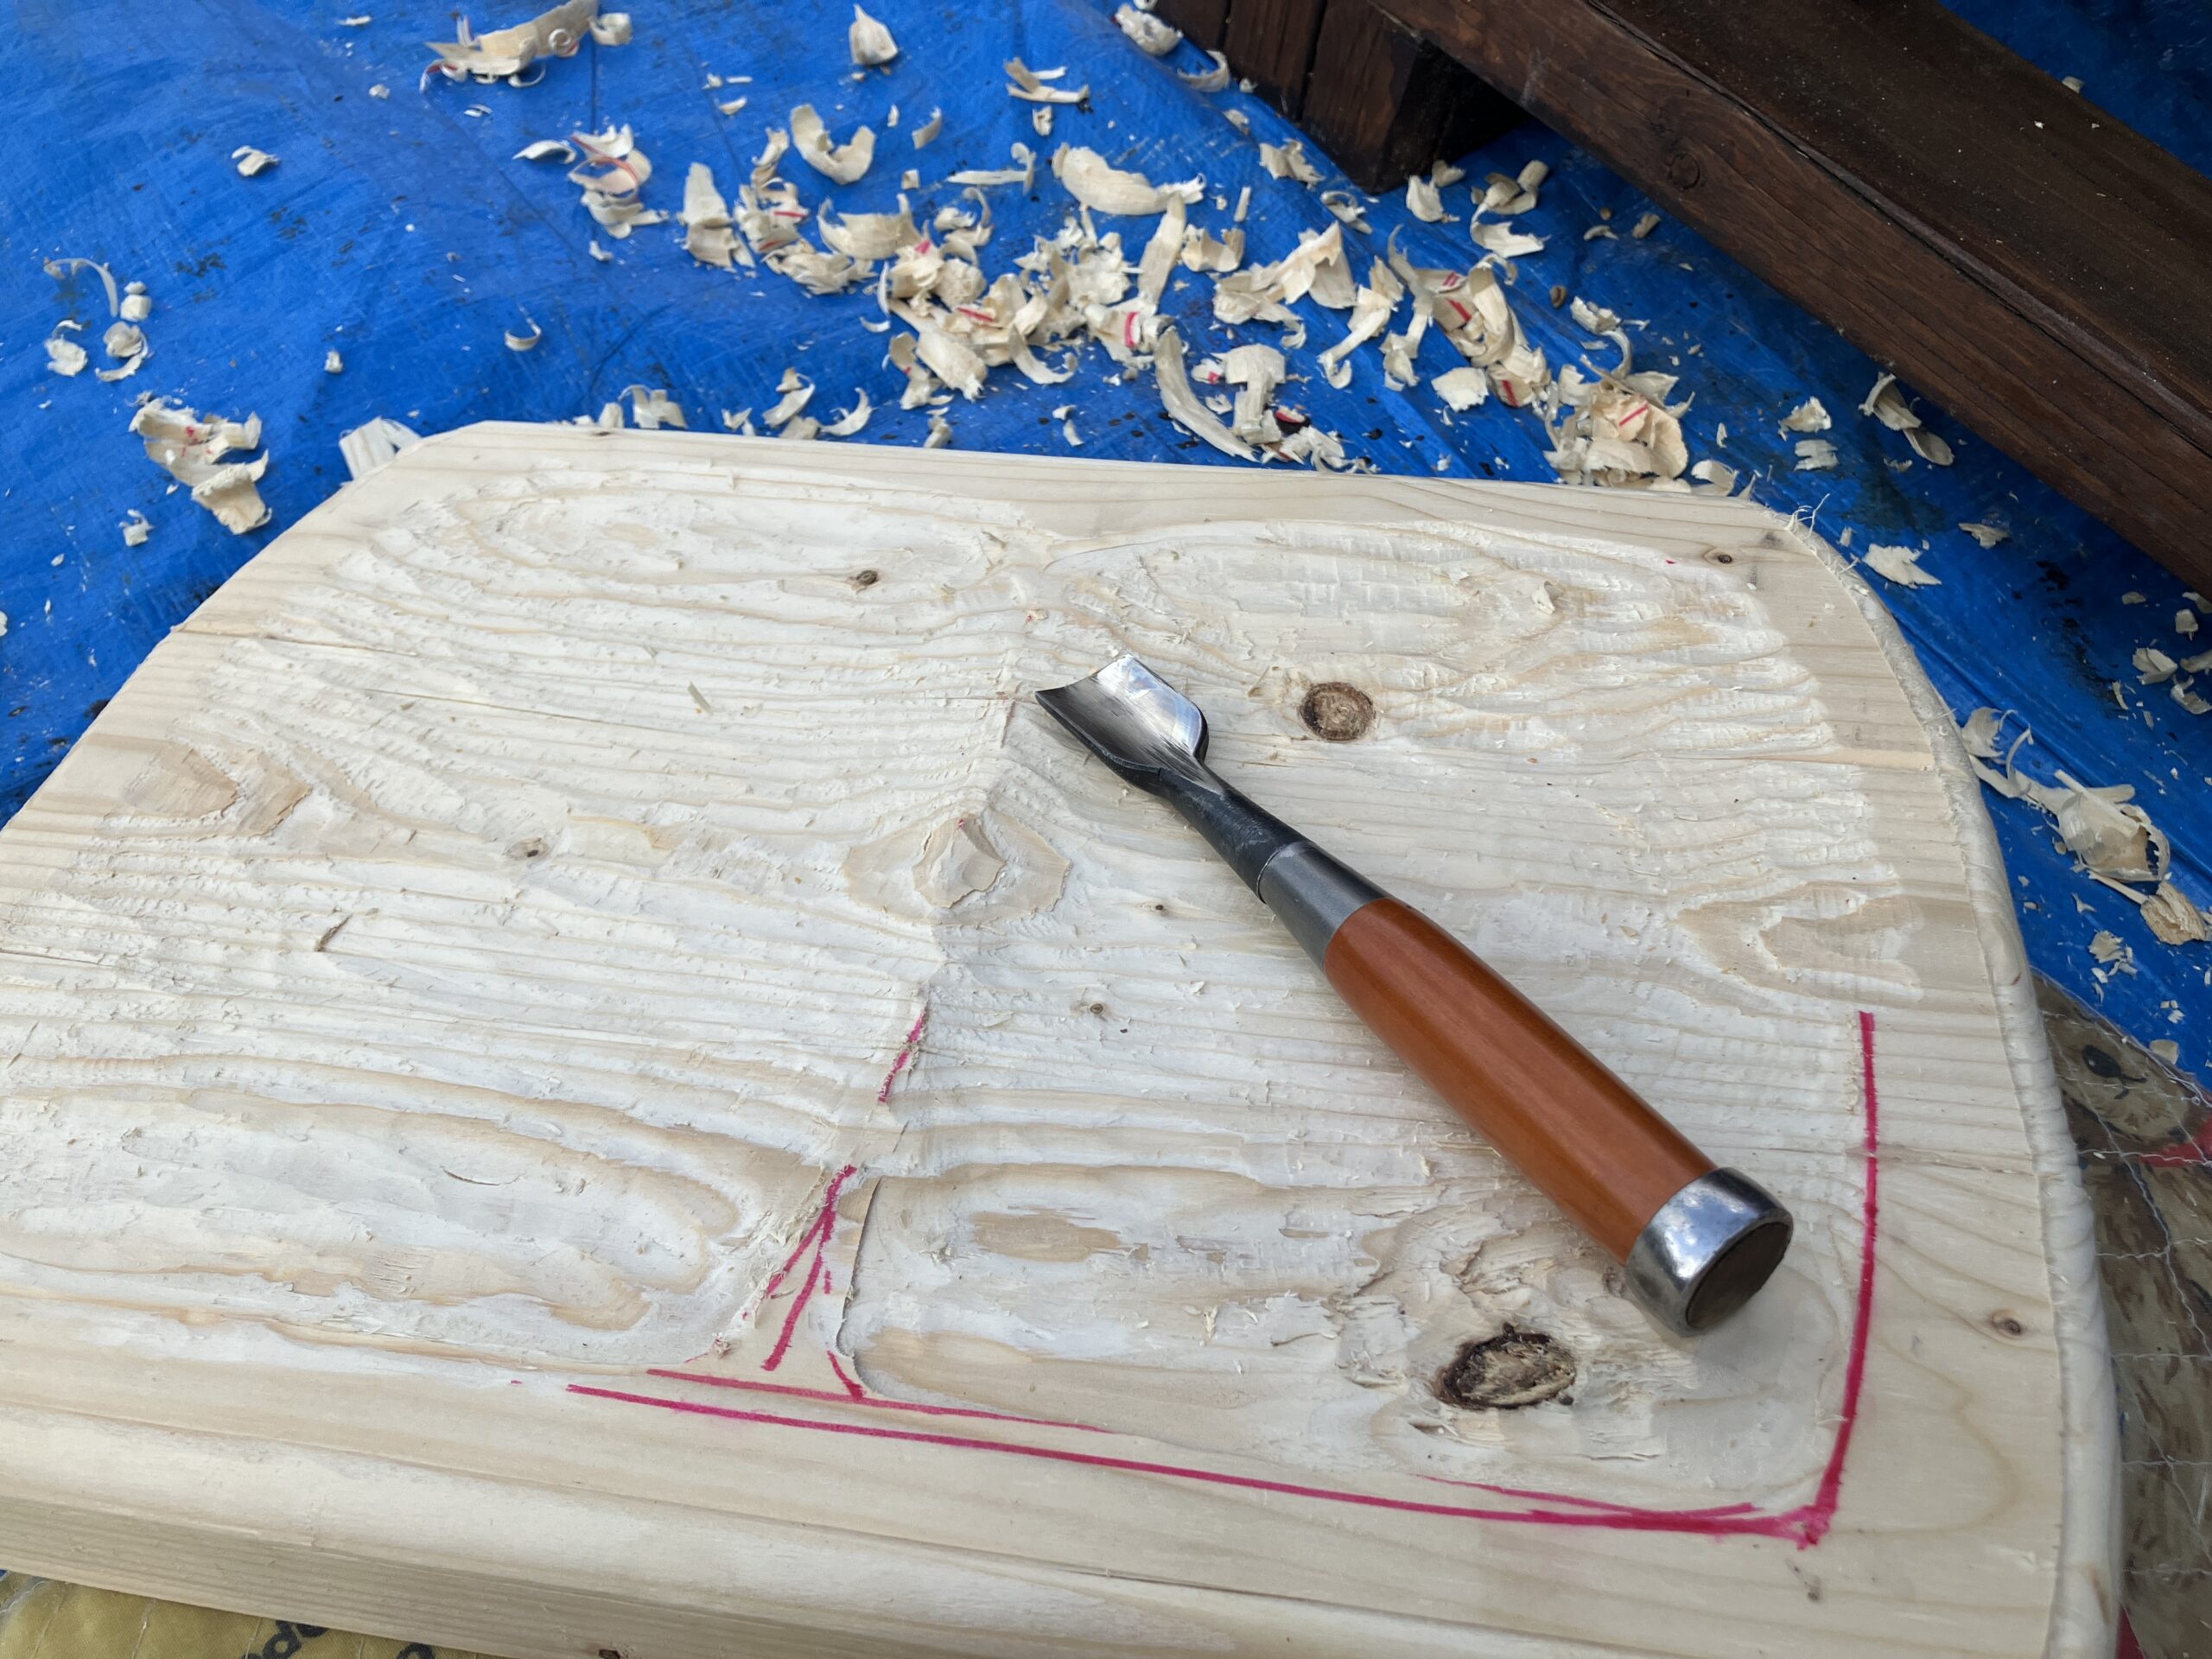
削る範囲のマーキング
座面は周囲をカーブ付けて、お尻の形にくぼませます。
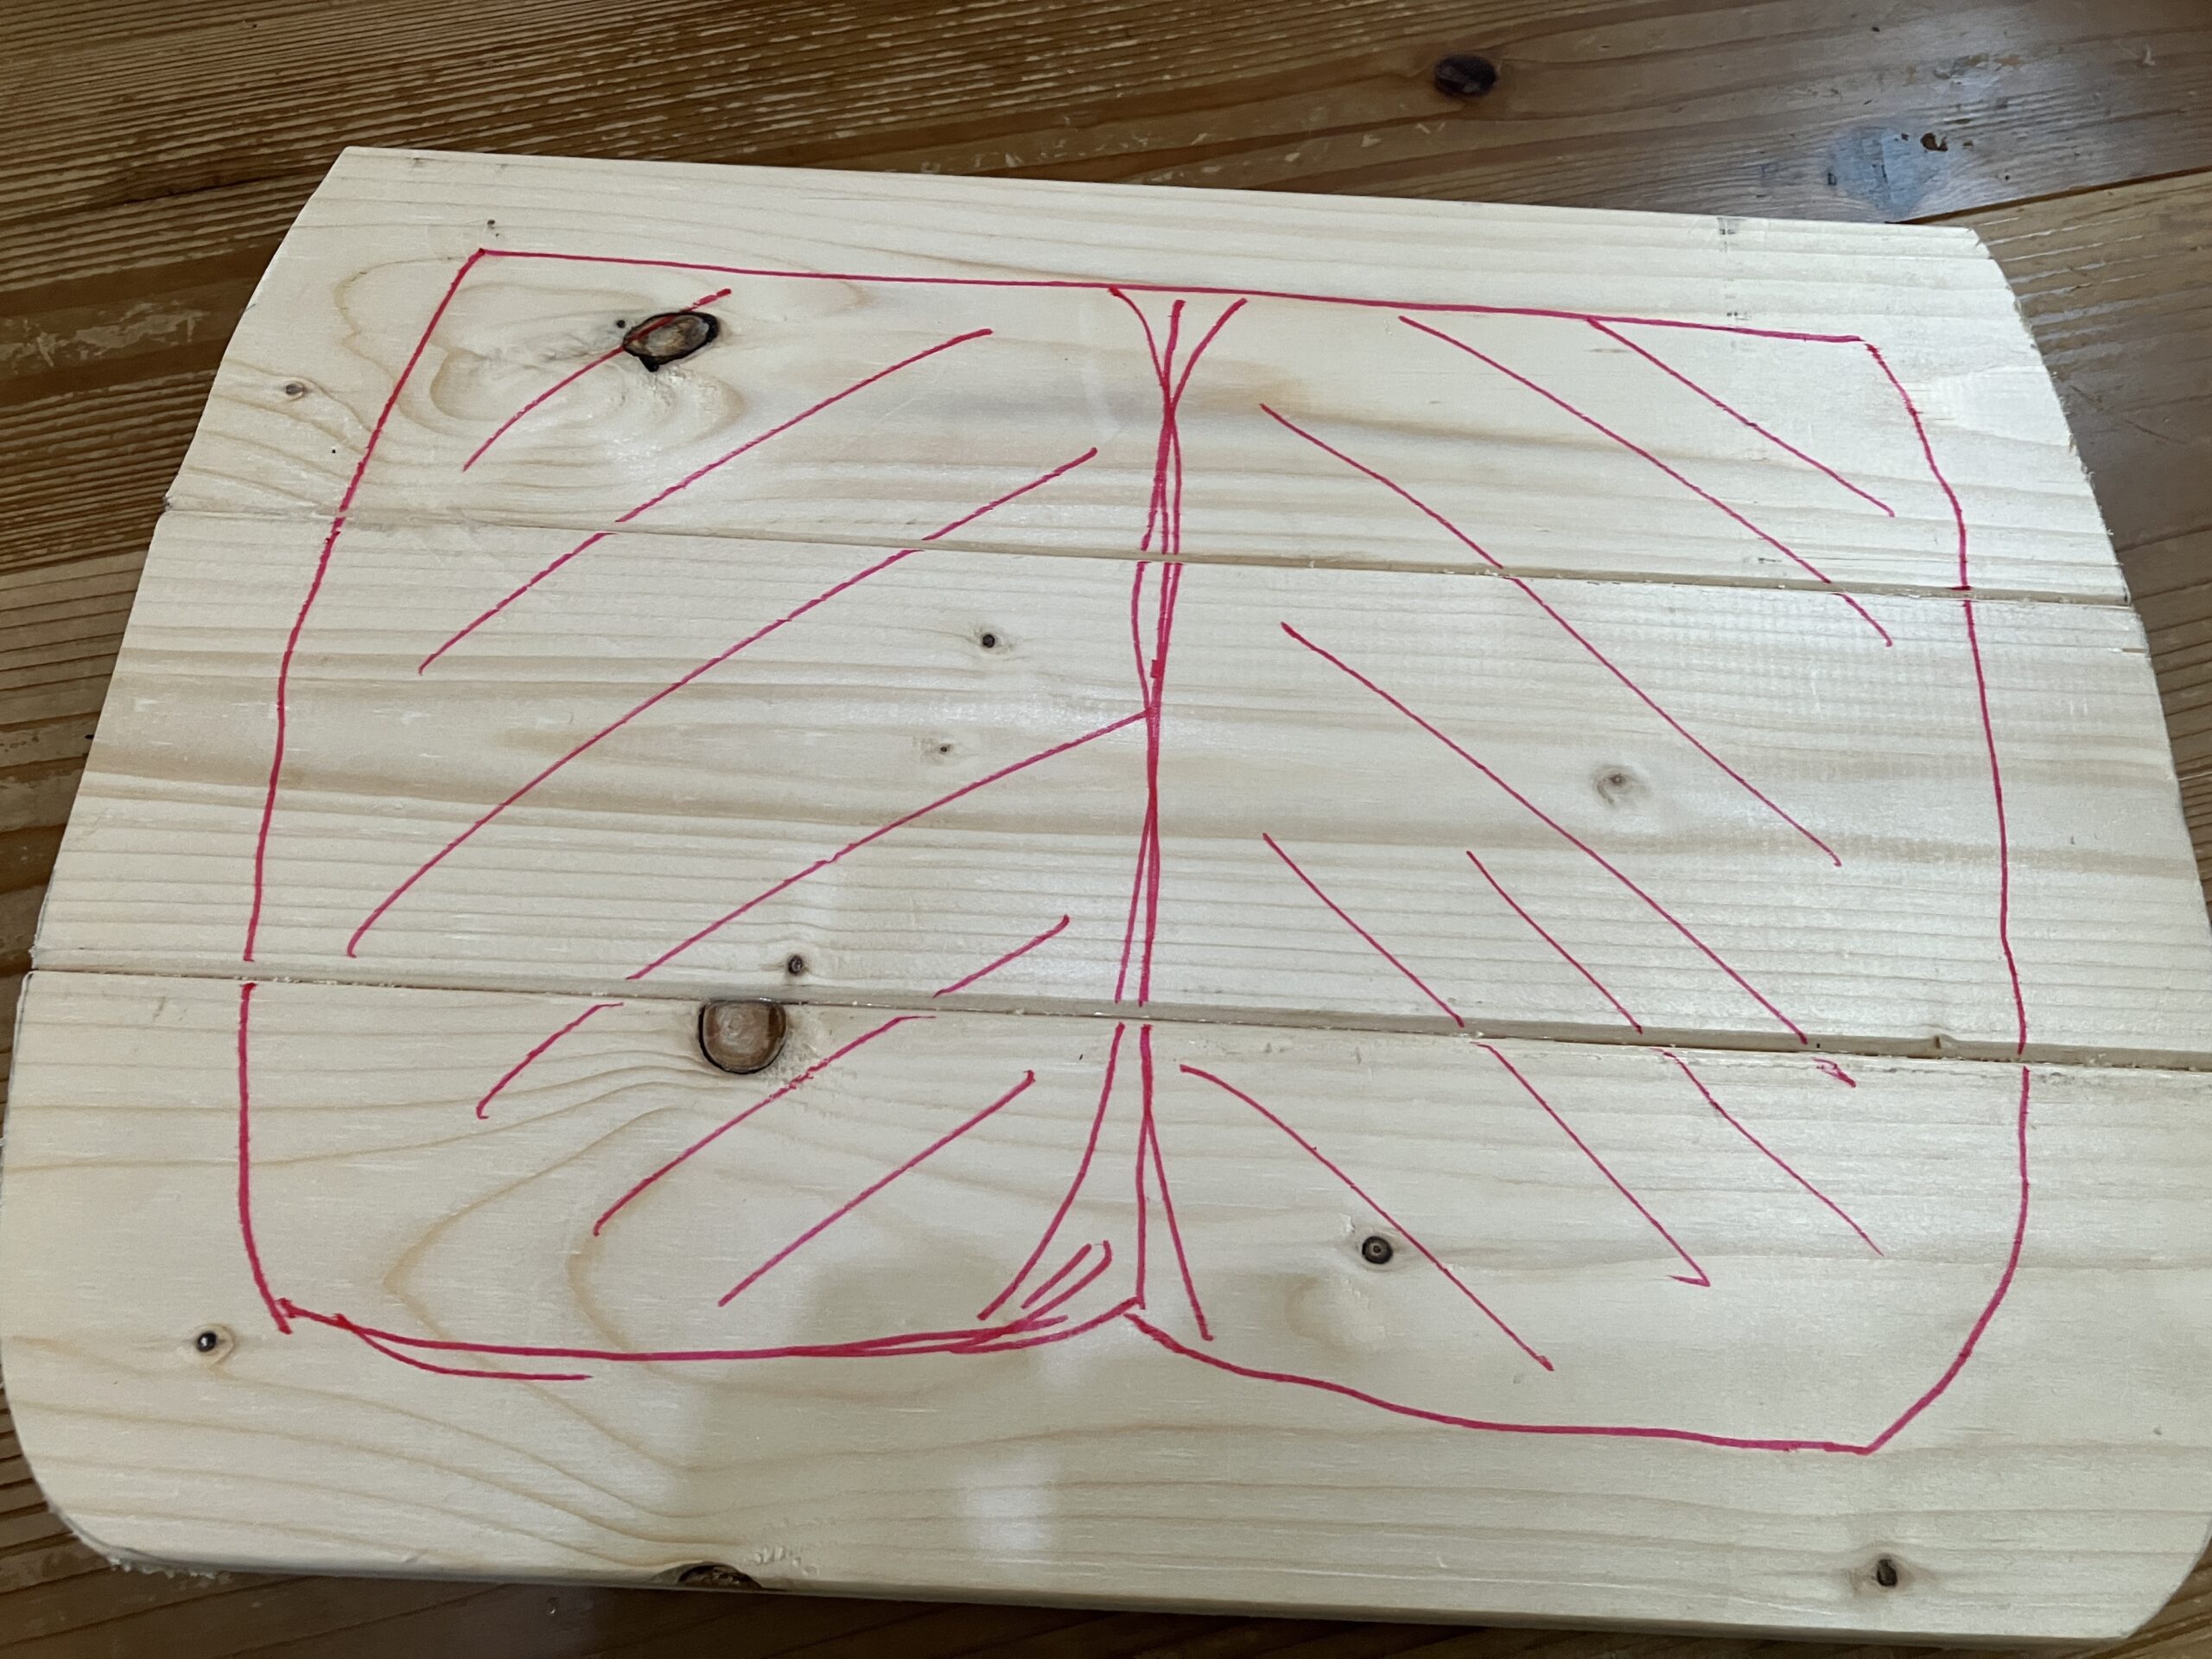
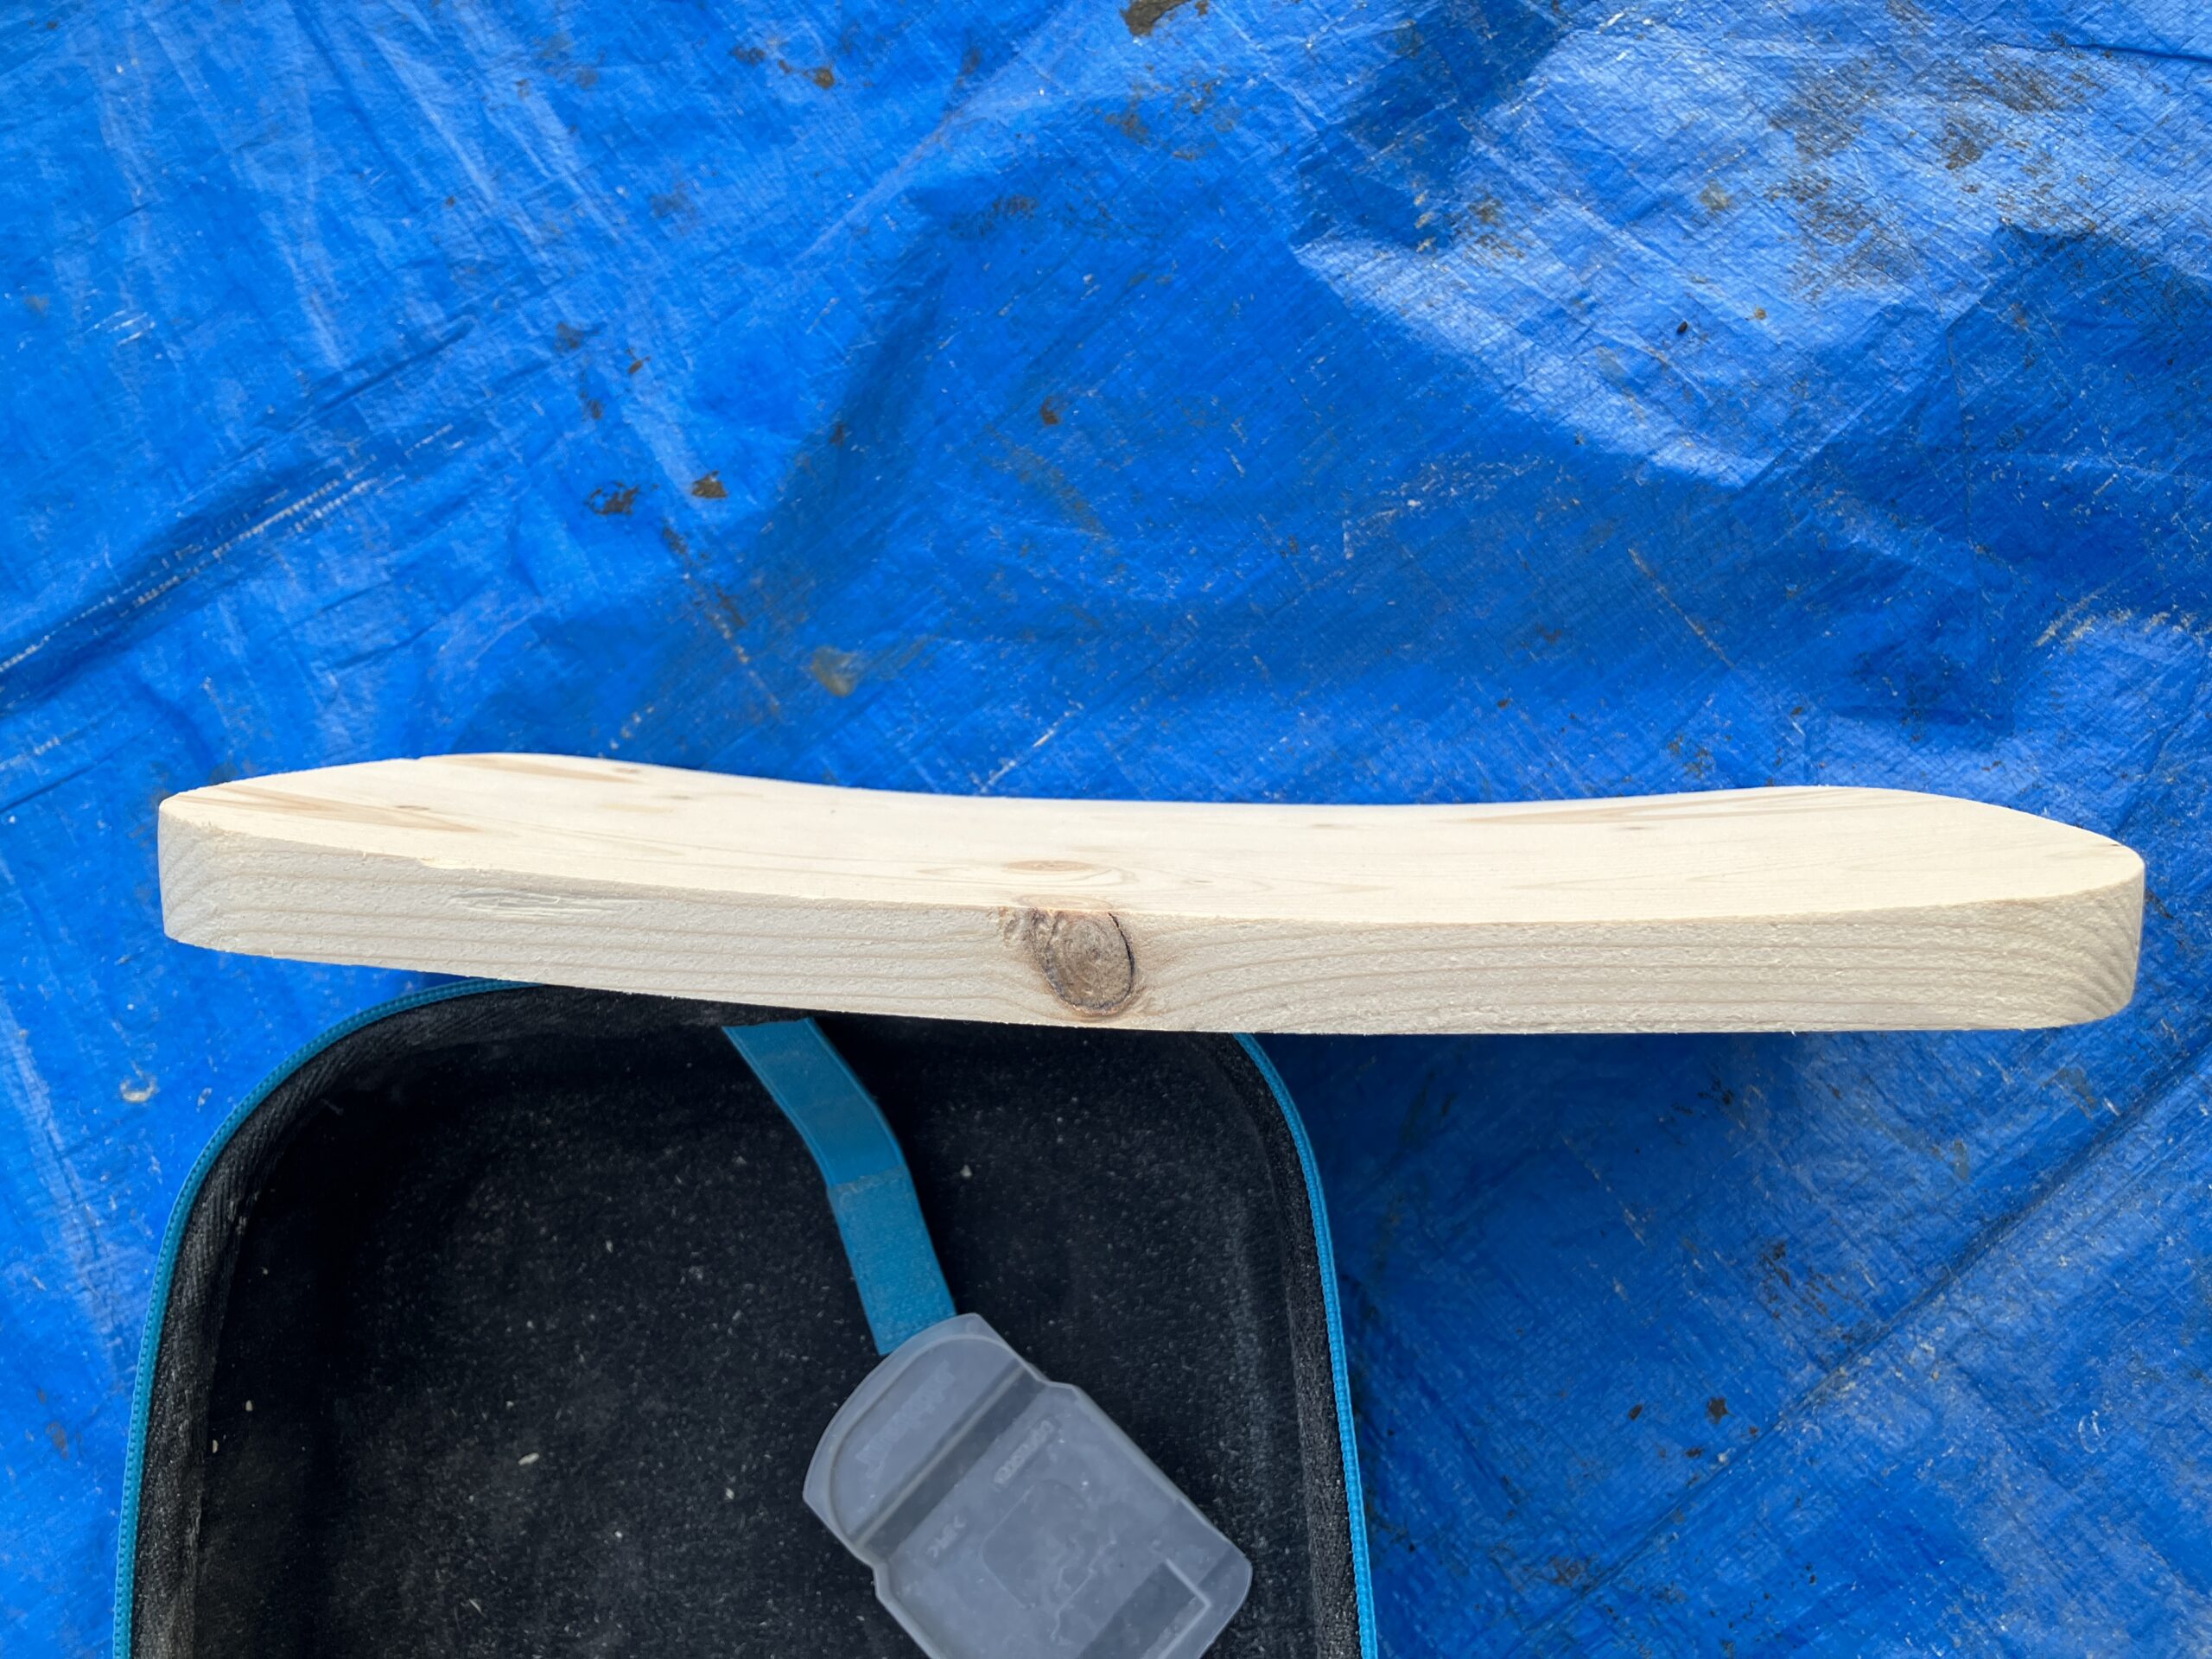
背板はカーブをつけるために、深さを変えて削ります。

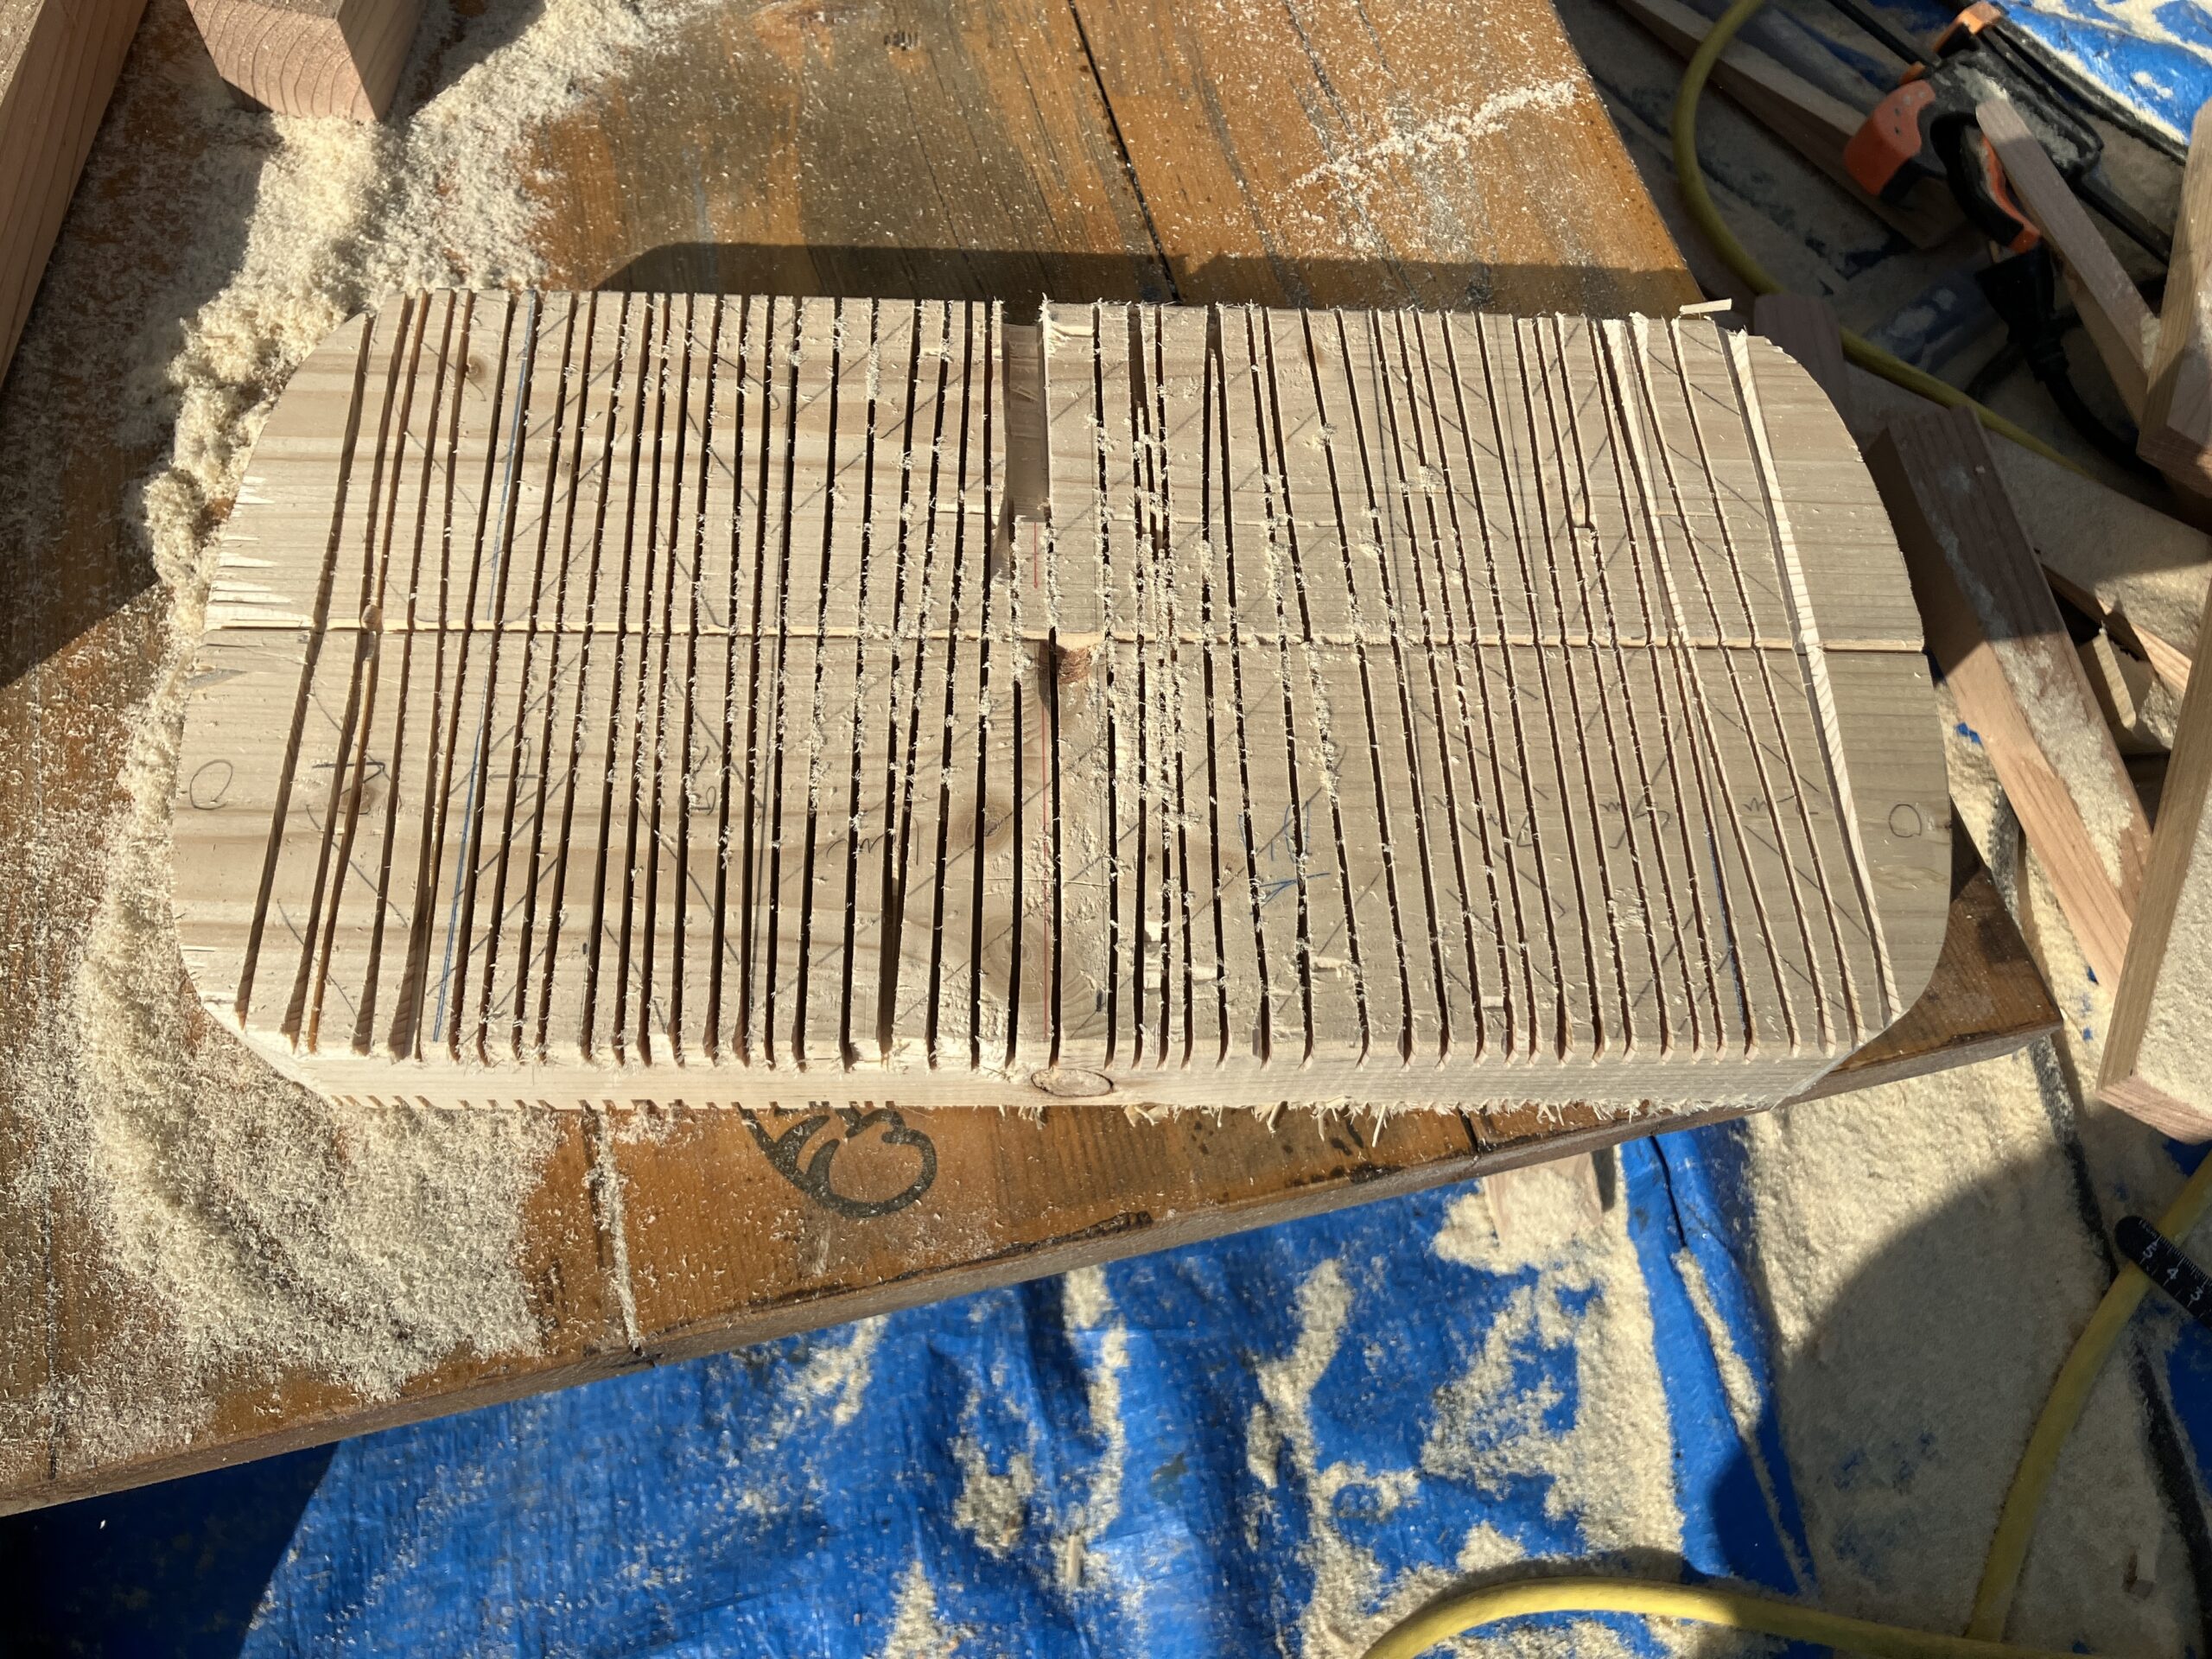
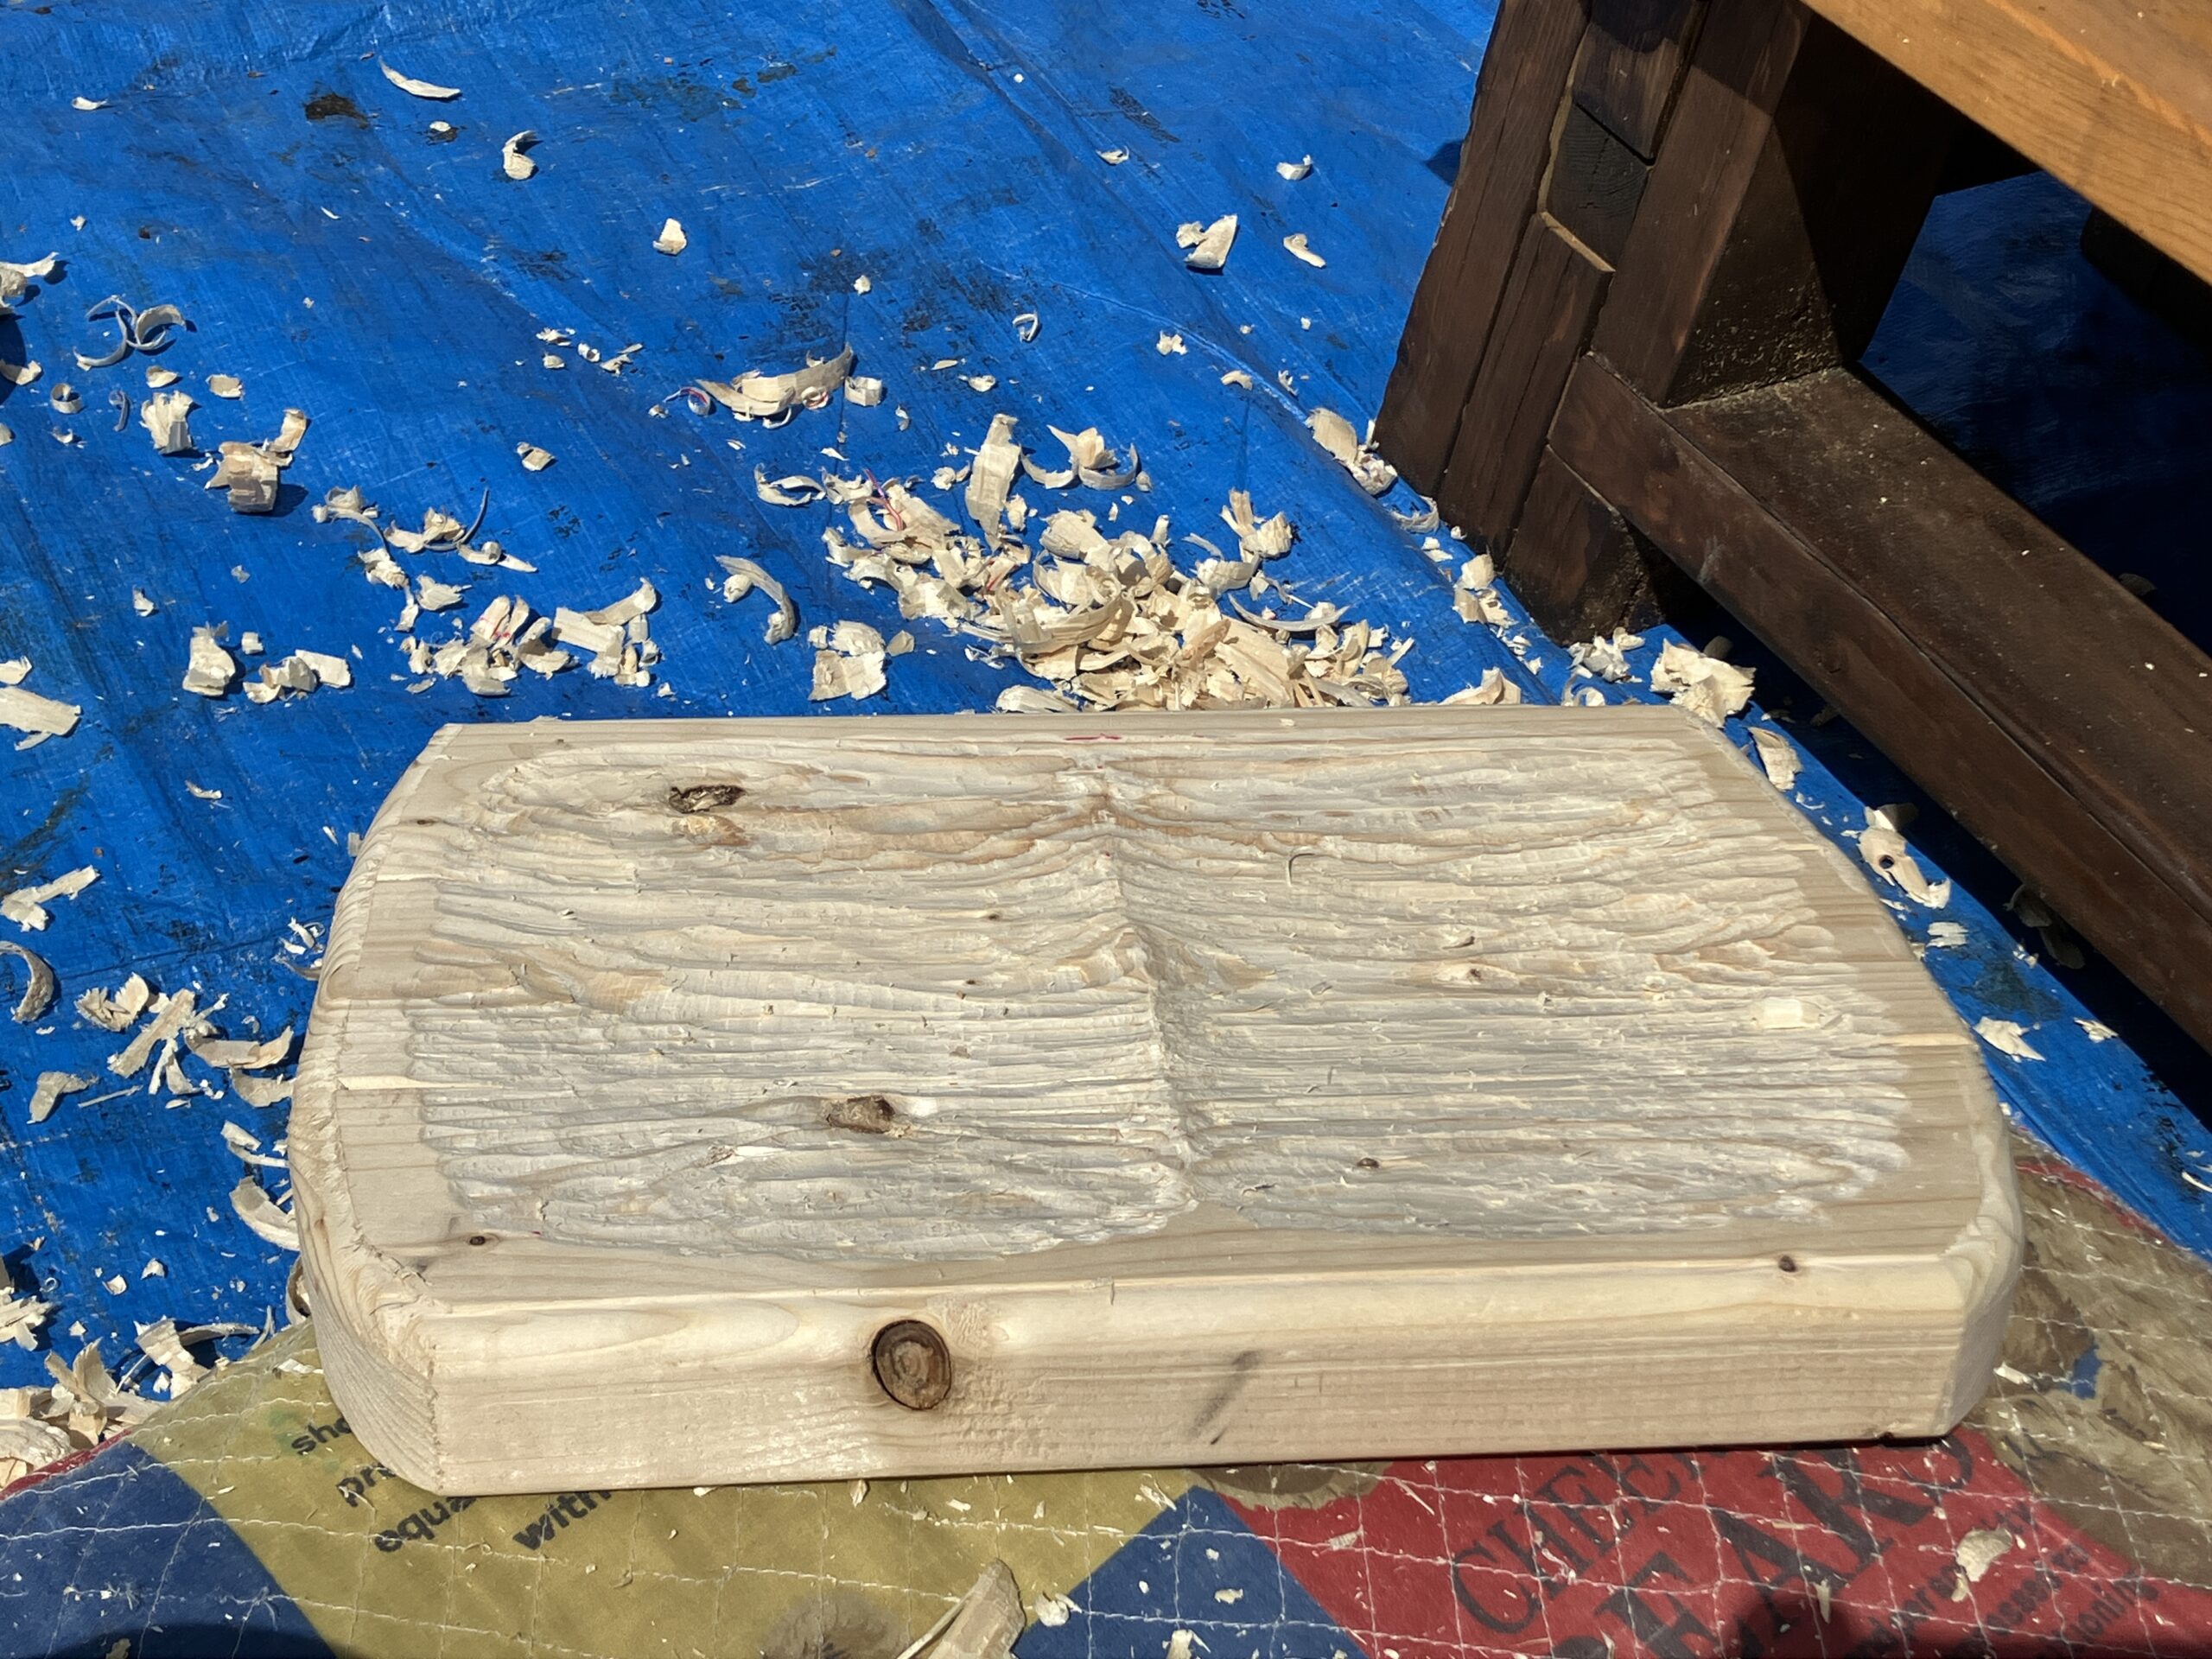
削る
下書きに沿って削ります。座面はノミを使って地道に削ります。

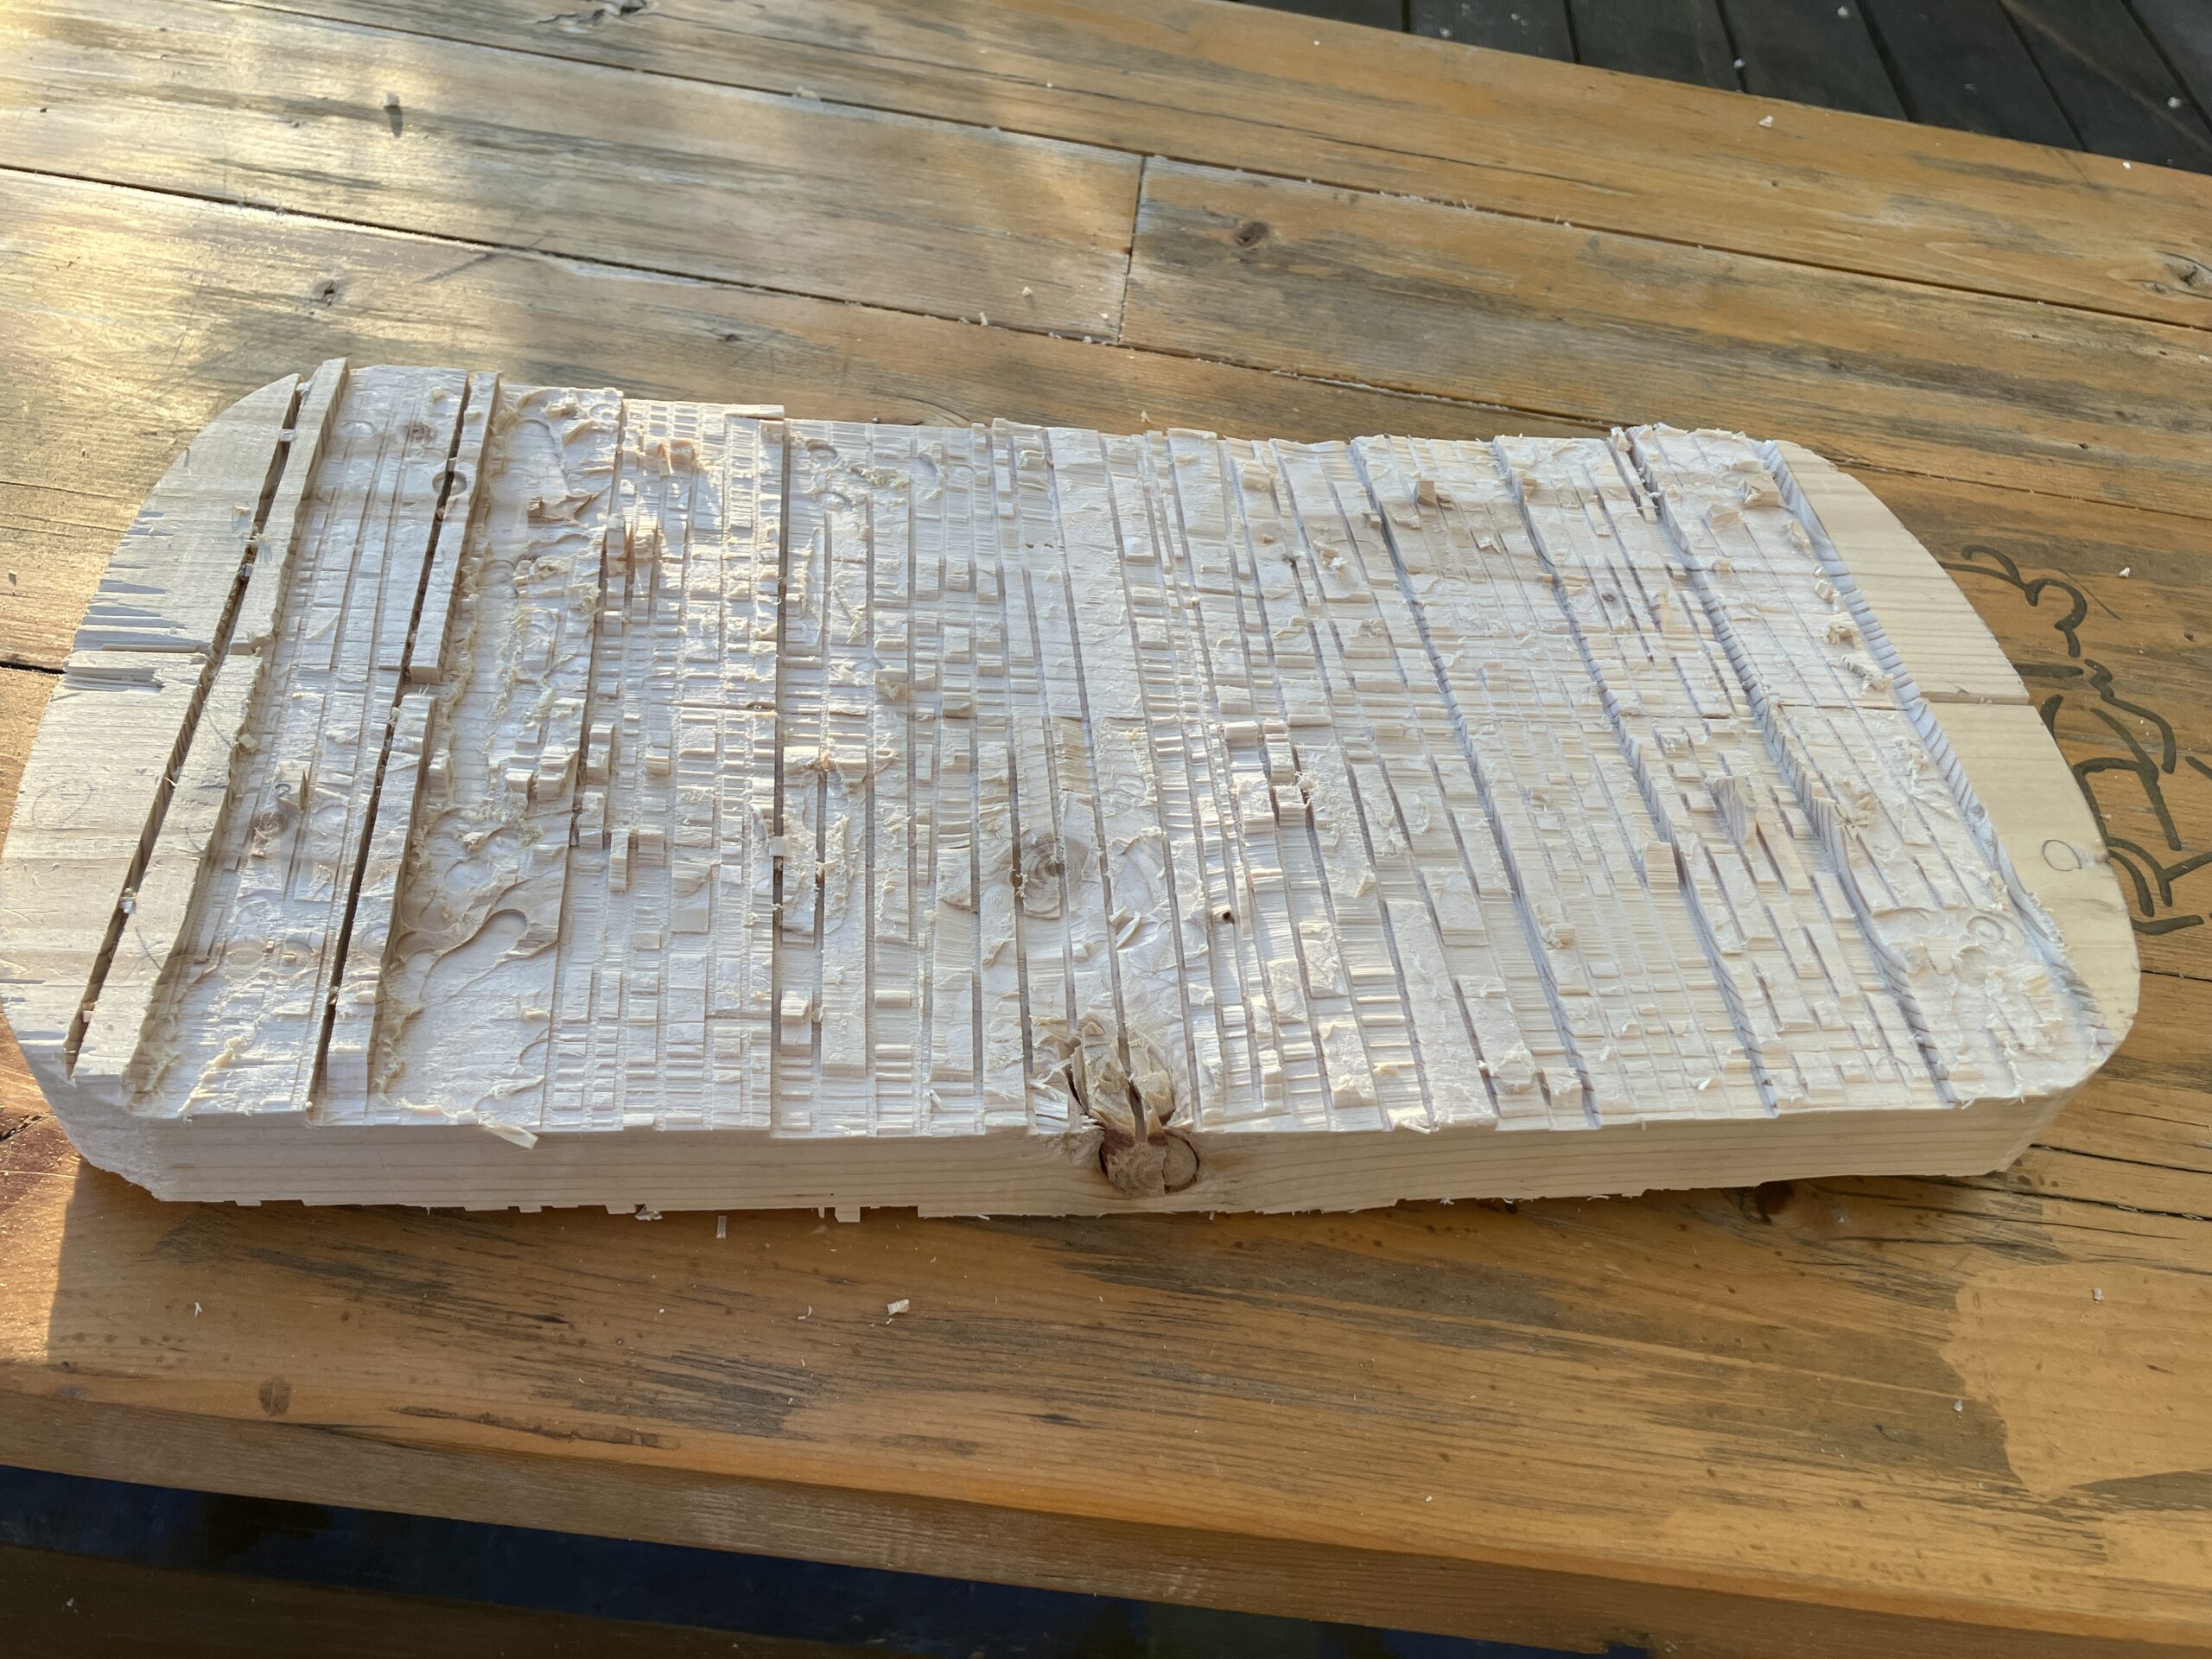
背板は丸ノコの深さを変えて、下書きに沿って切り込みを入れたものを削っていきます。


サンダーで整える
座面は緩やかなカーブでお尻にフィットするようにします。


背板は両面を削り、全体を緩やかなカーブを描くように削ります。
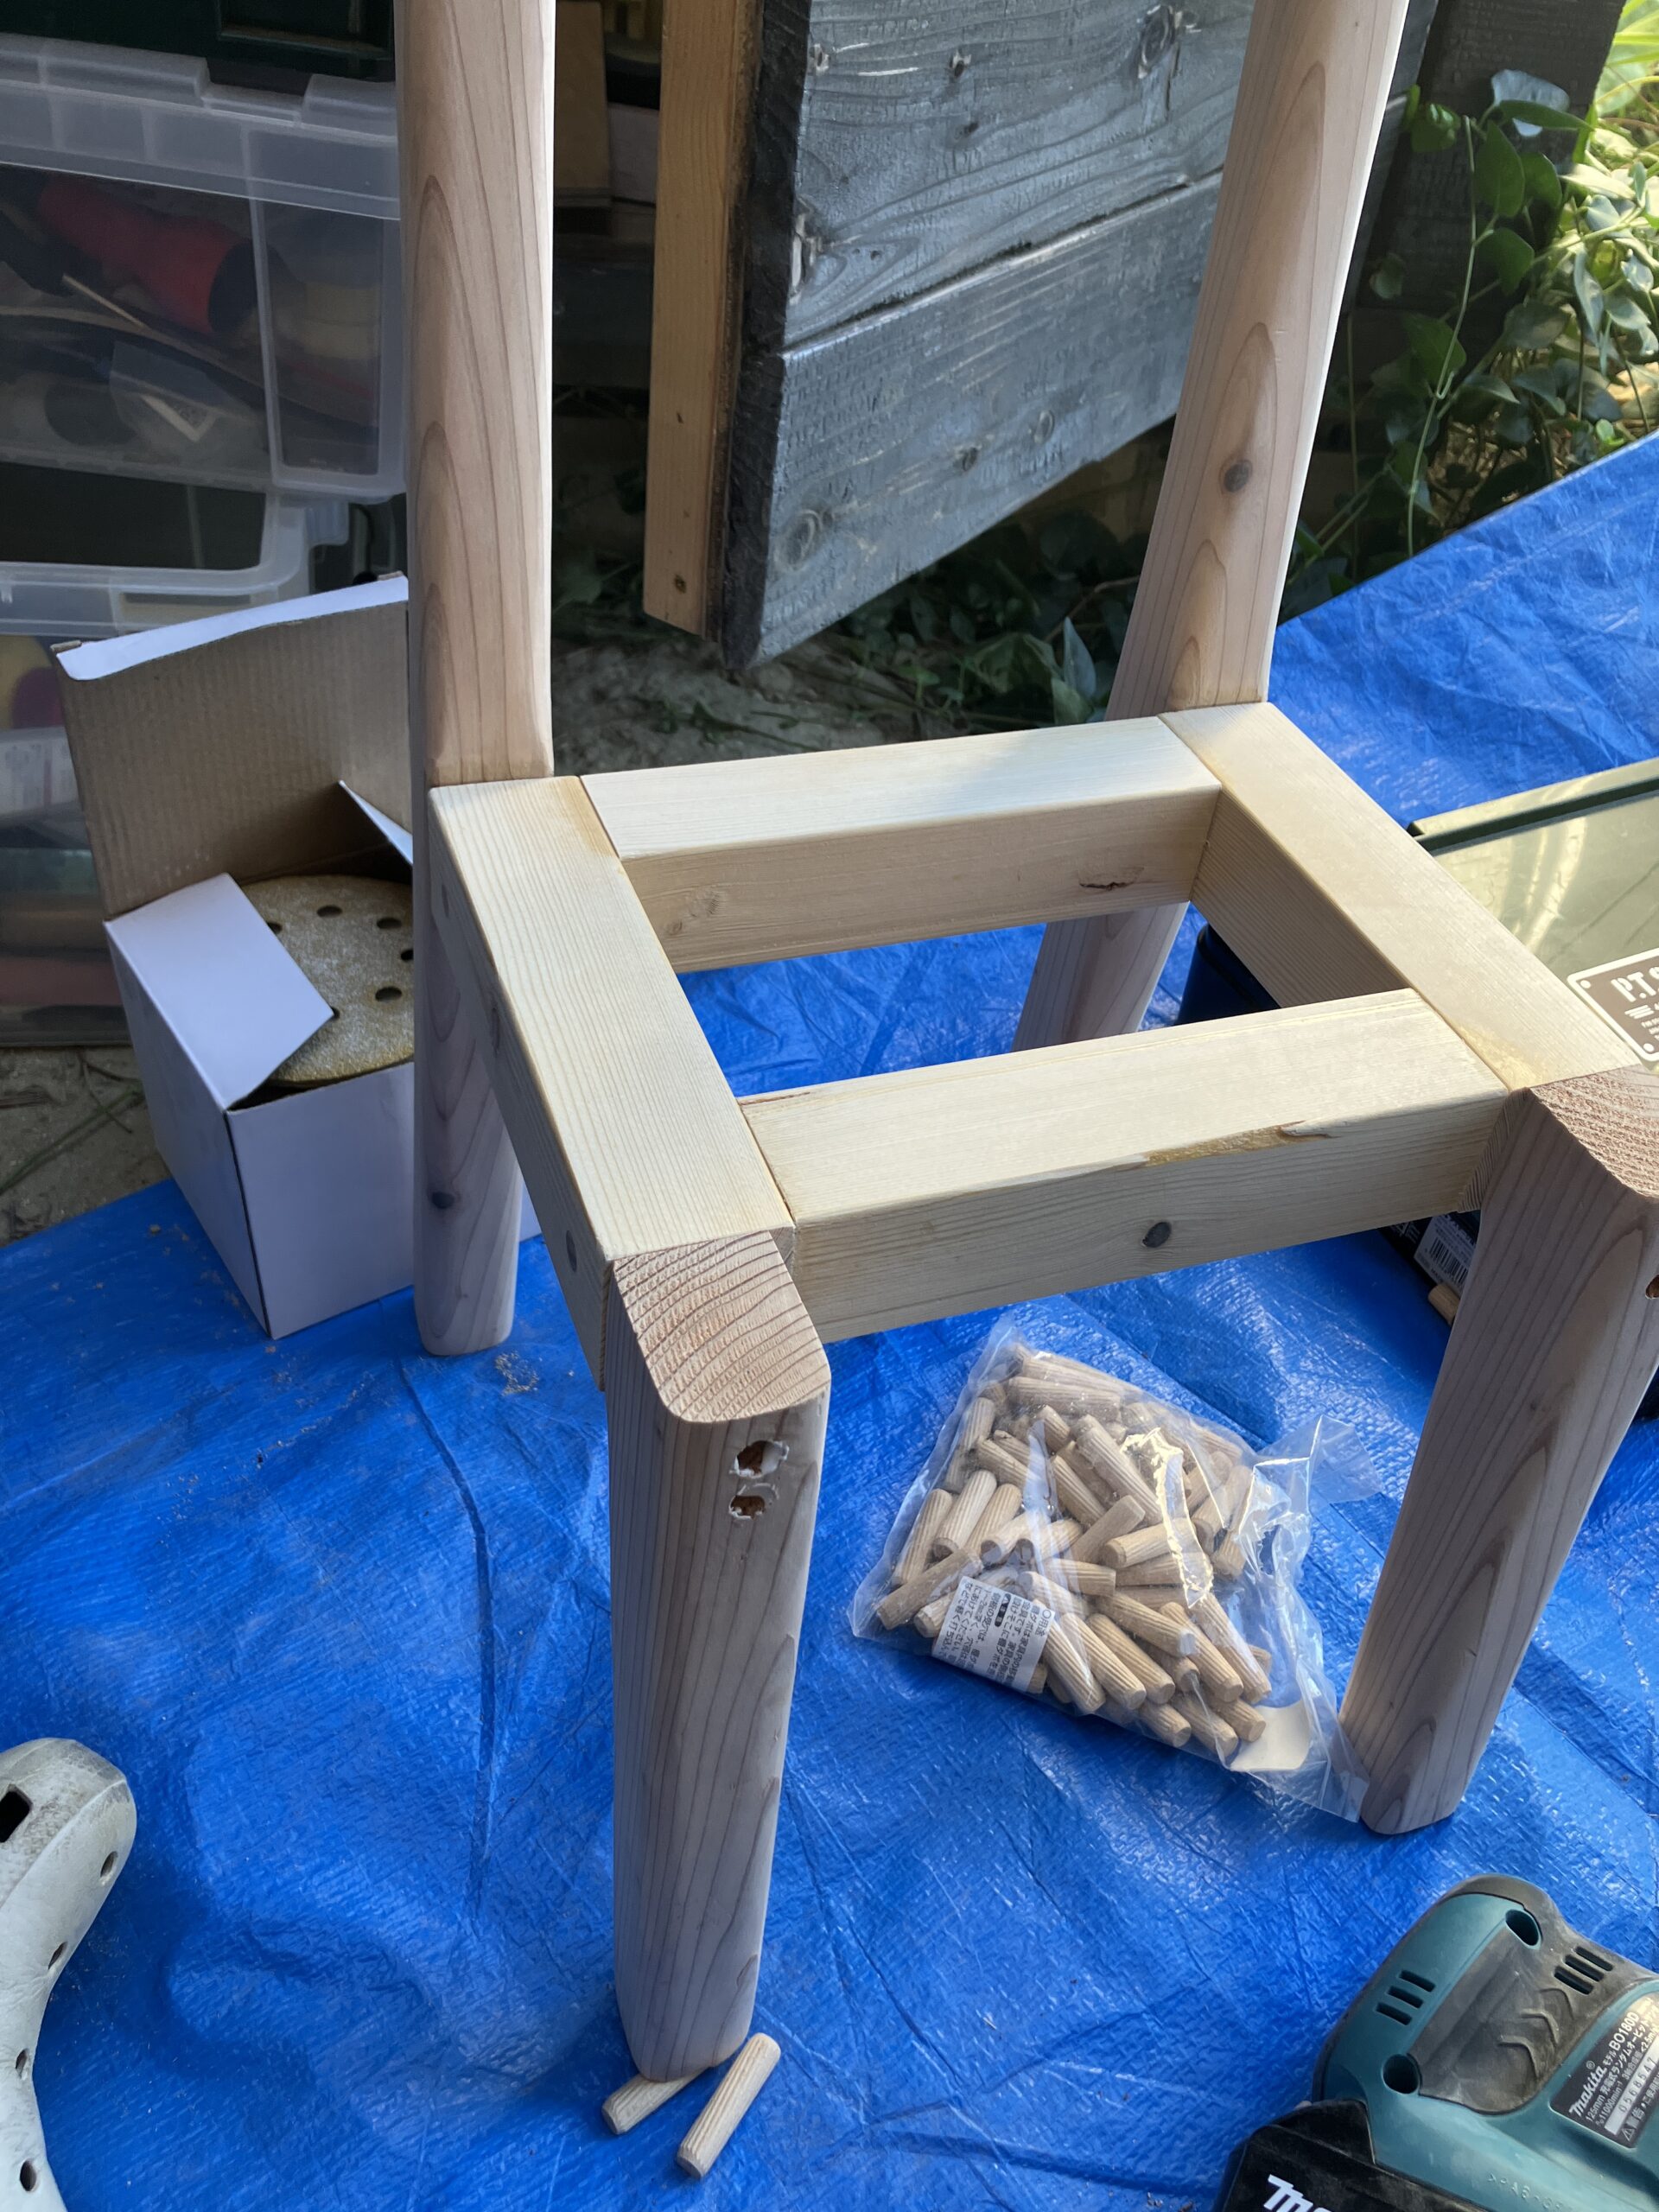
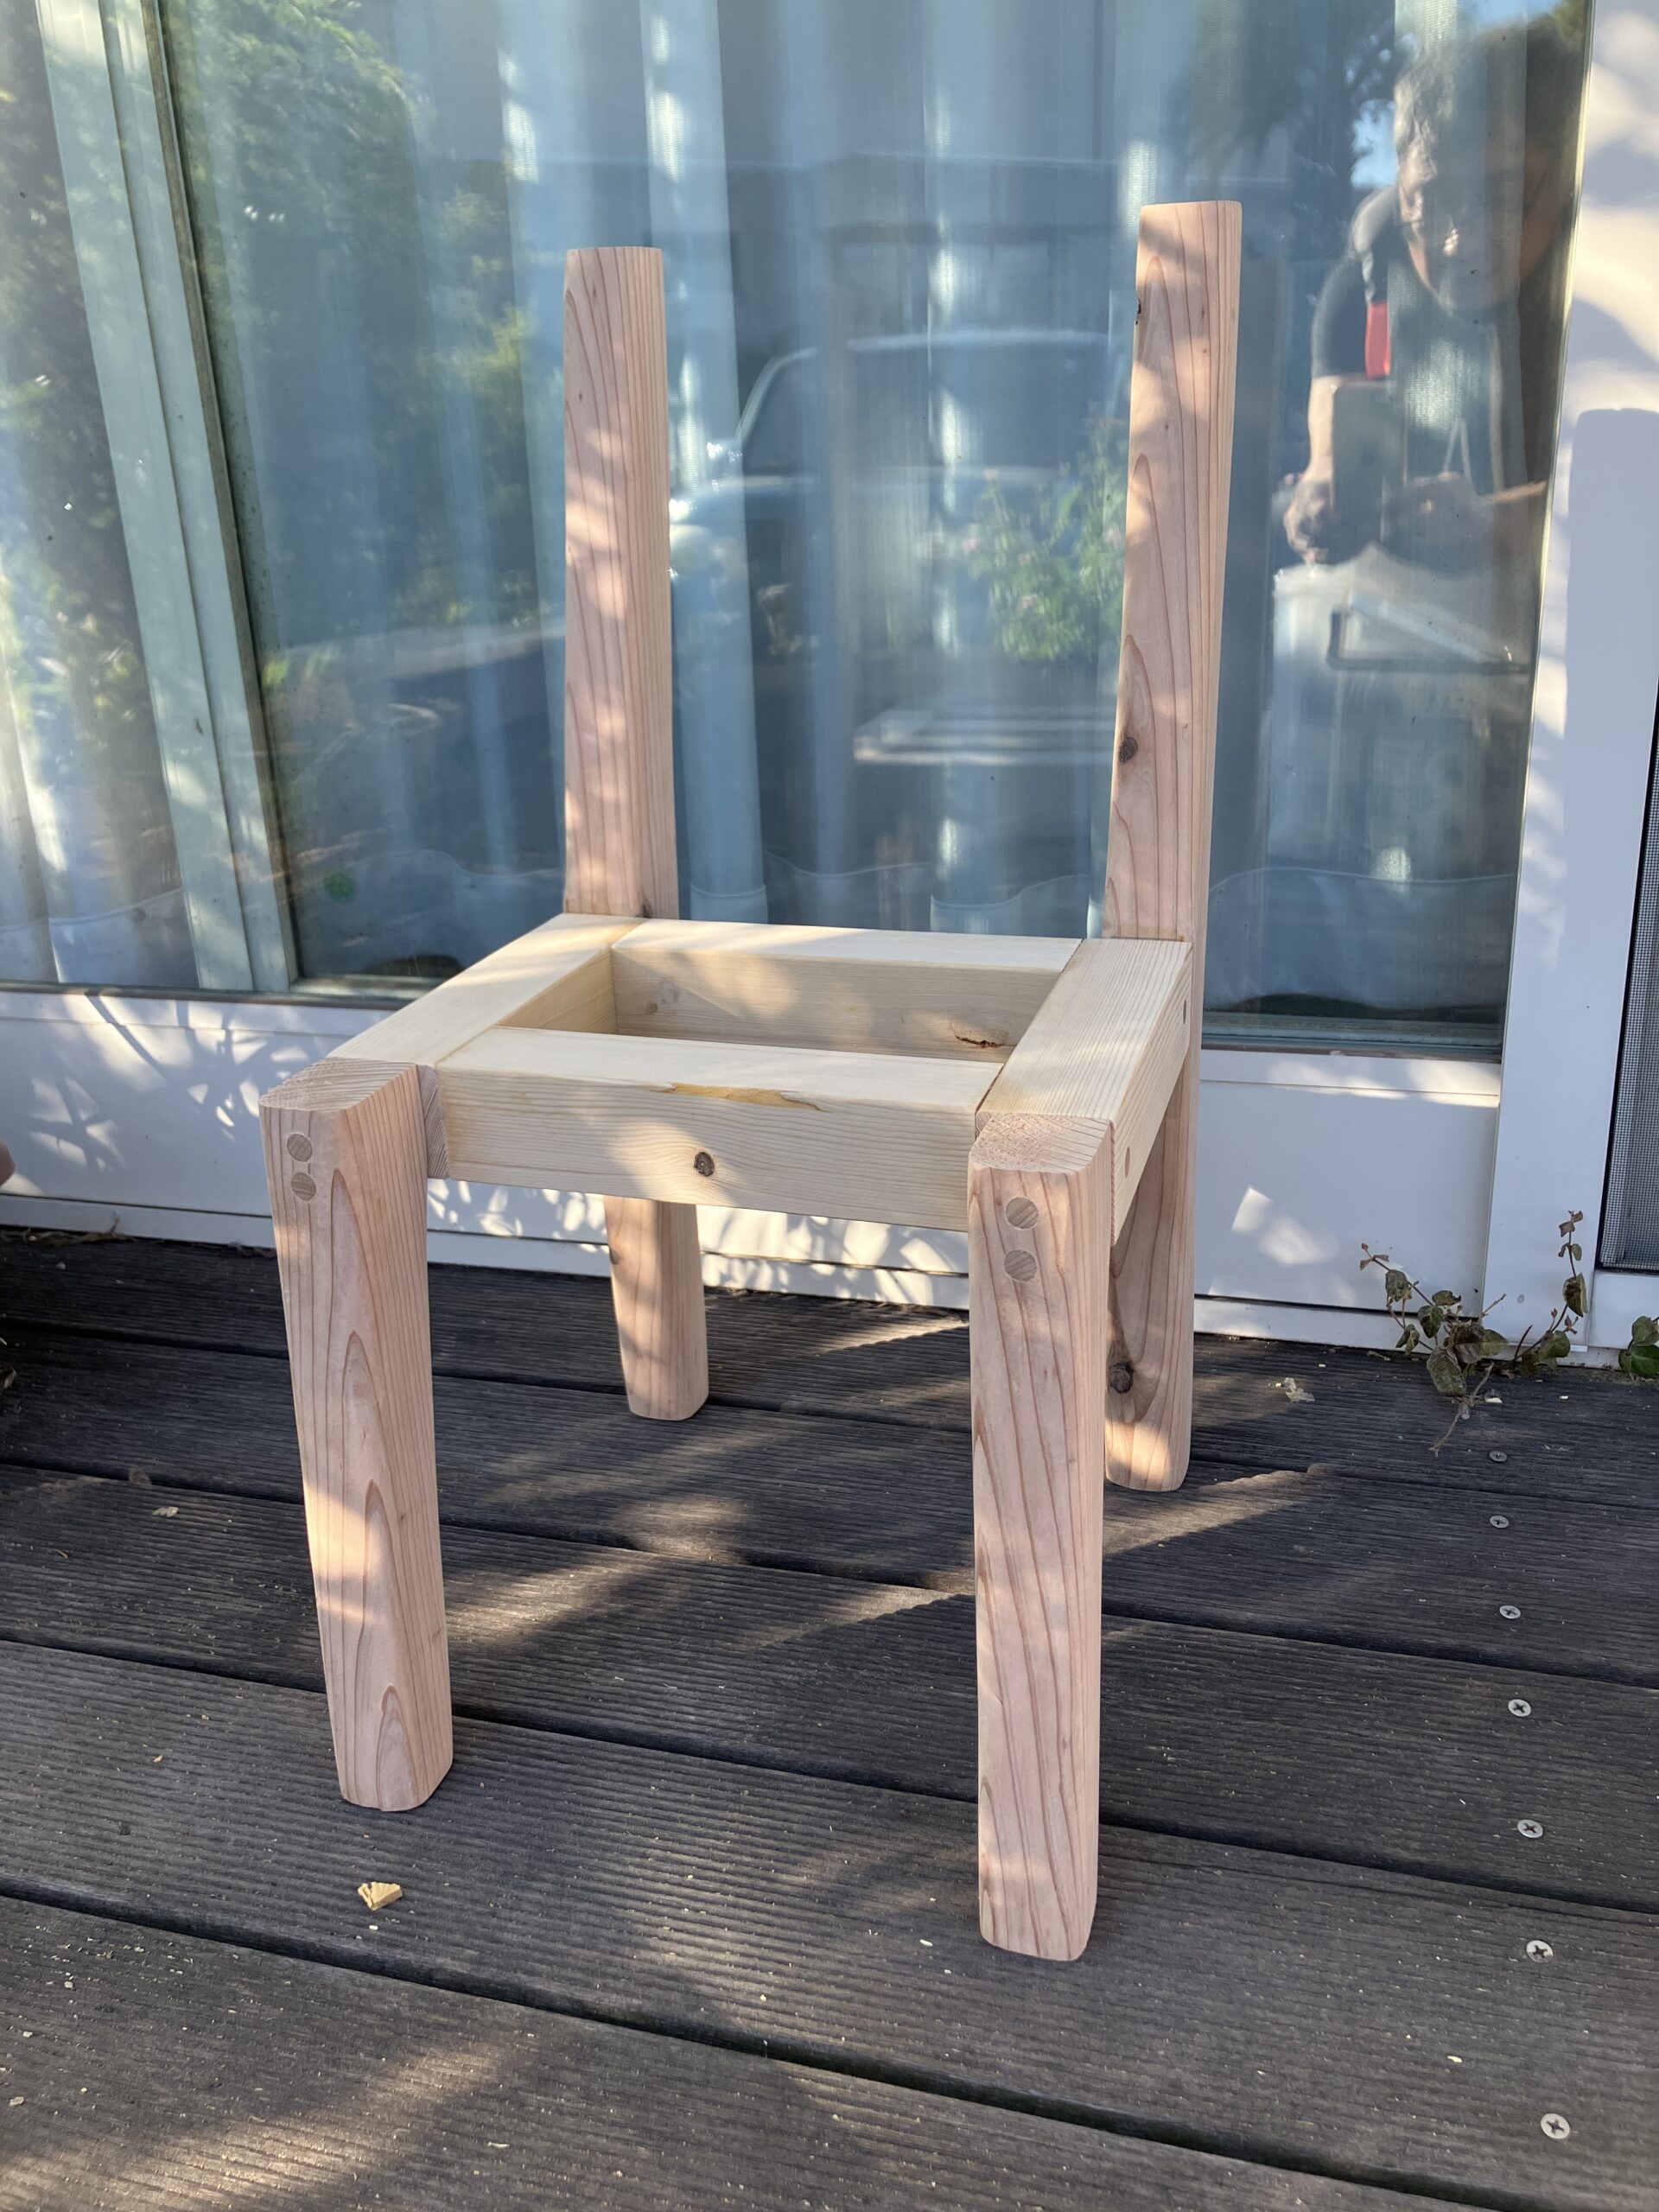
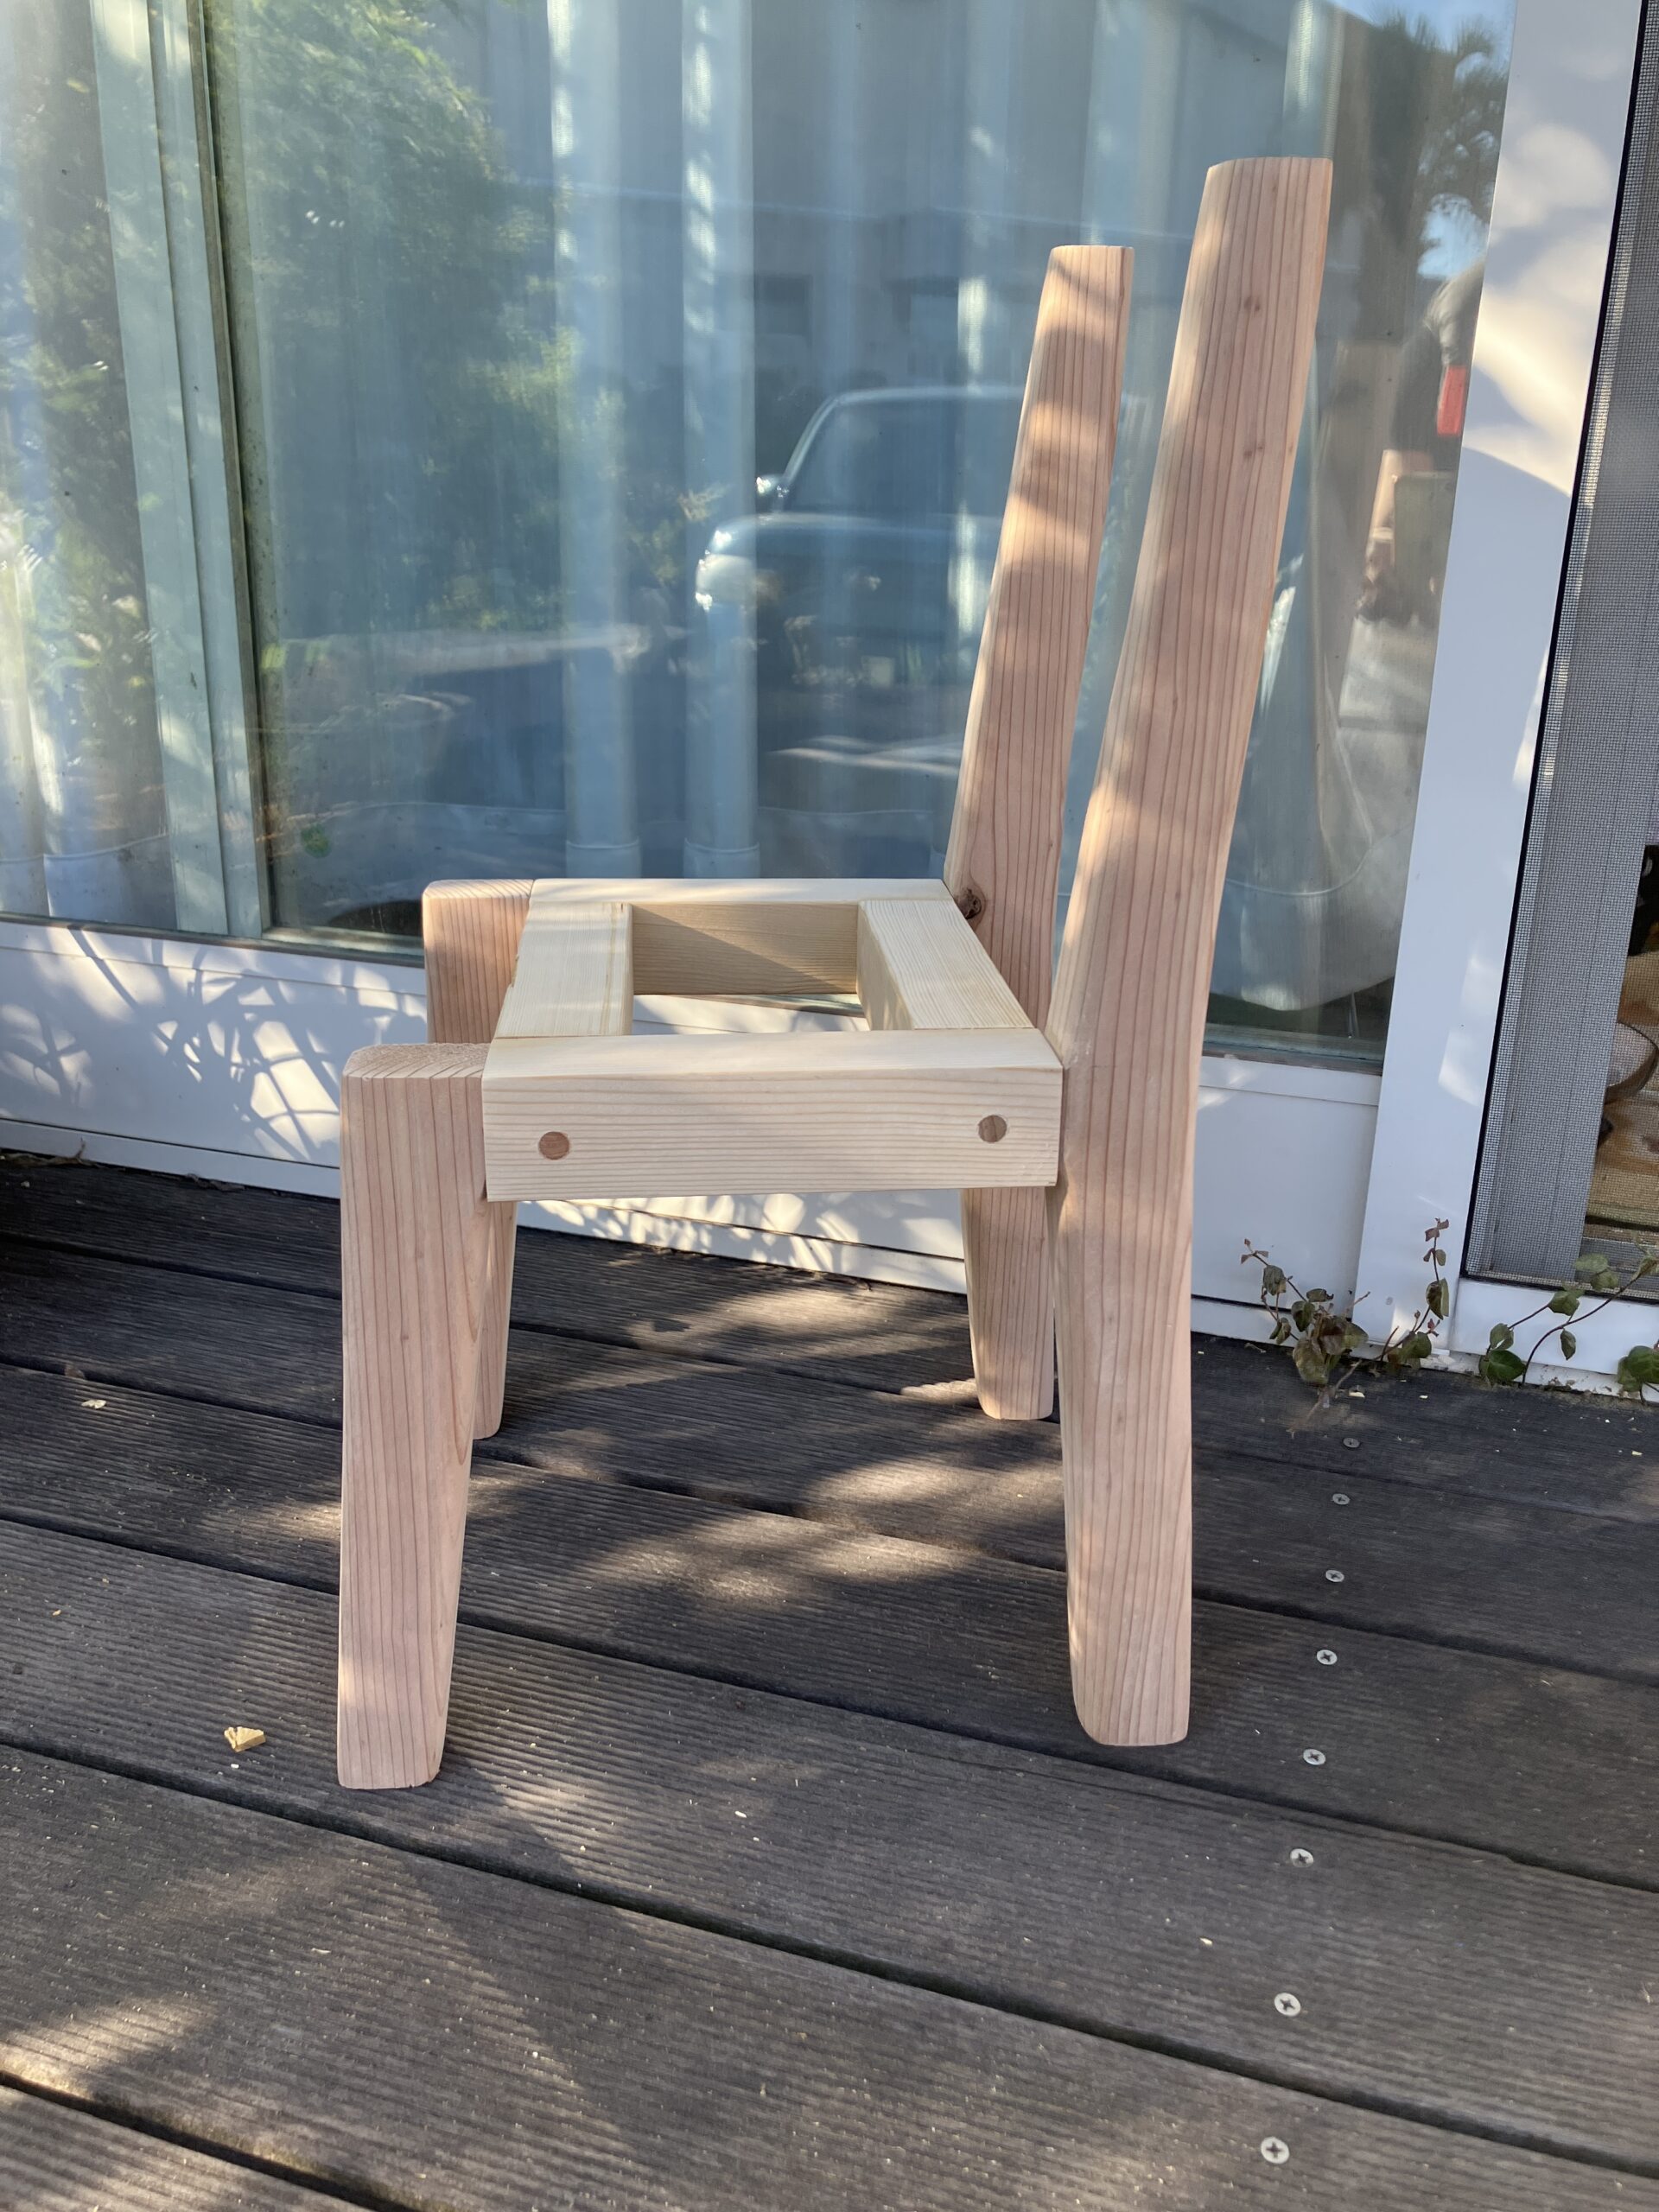
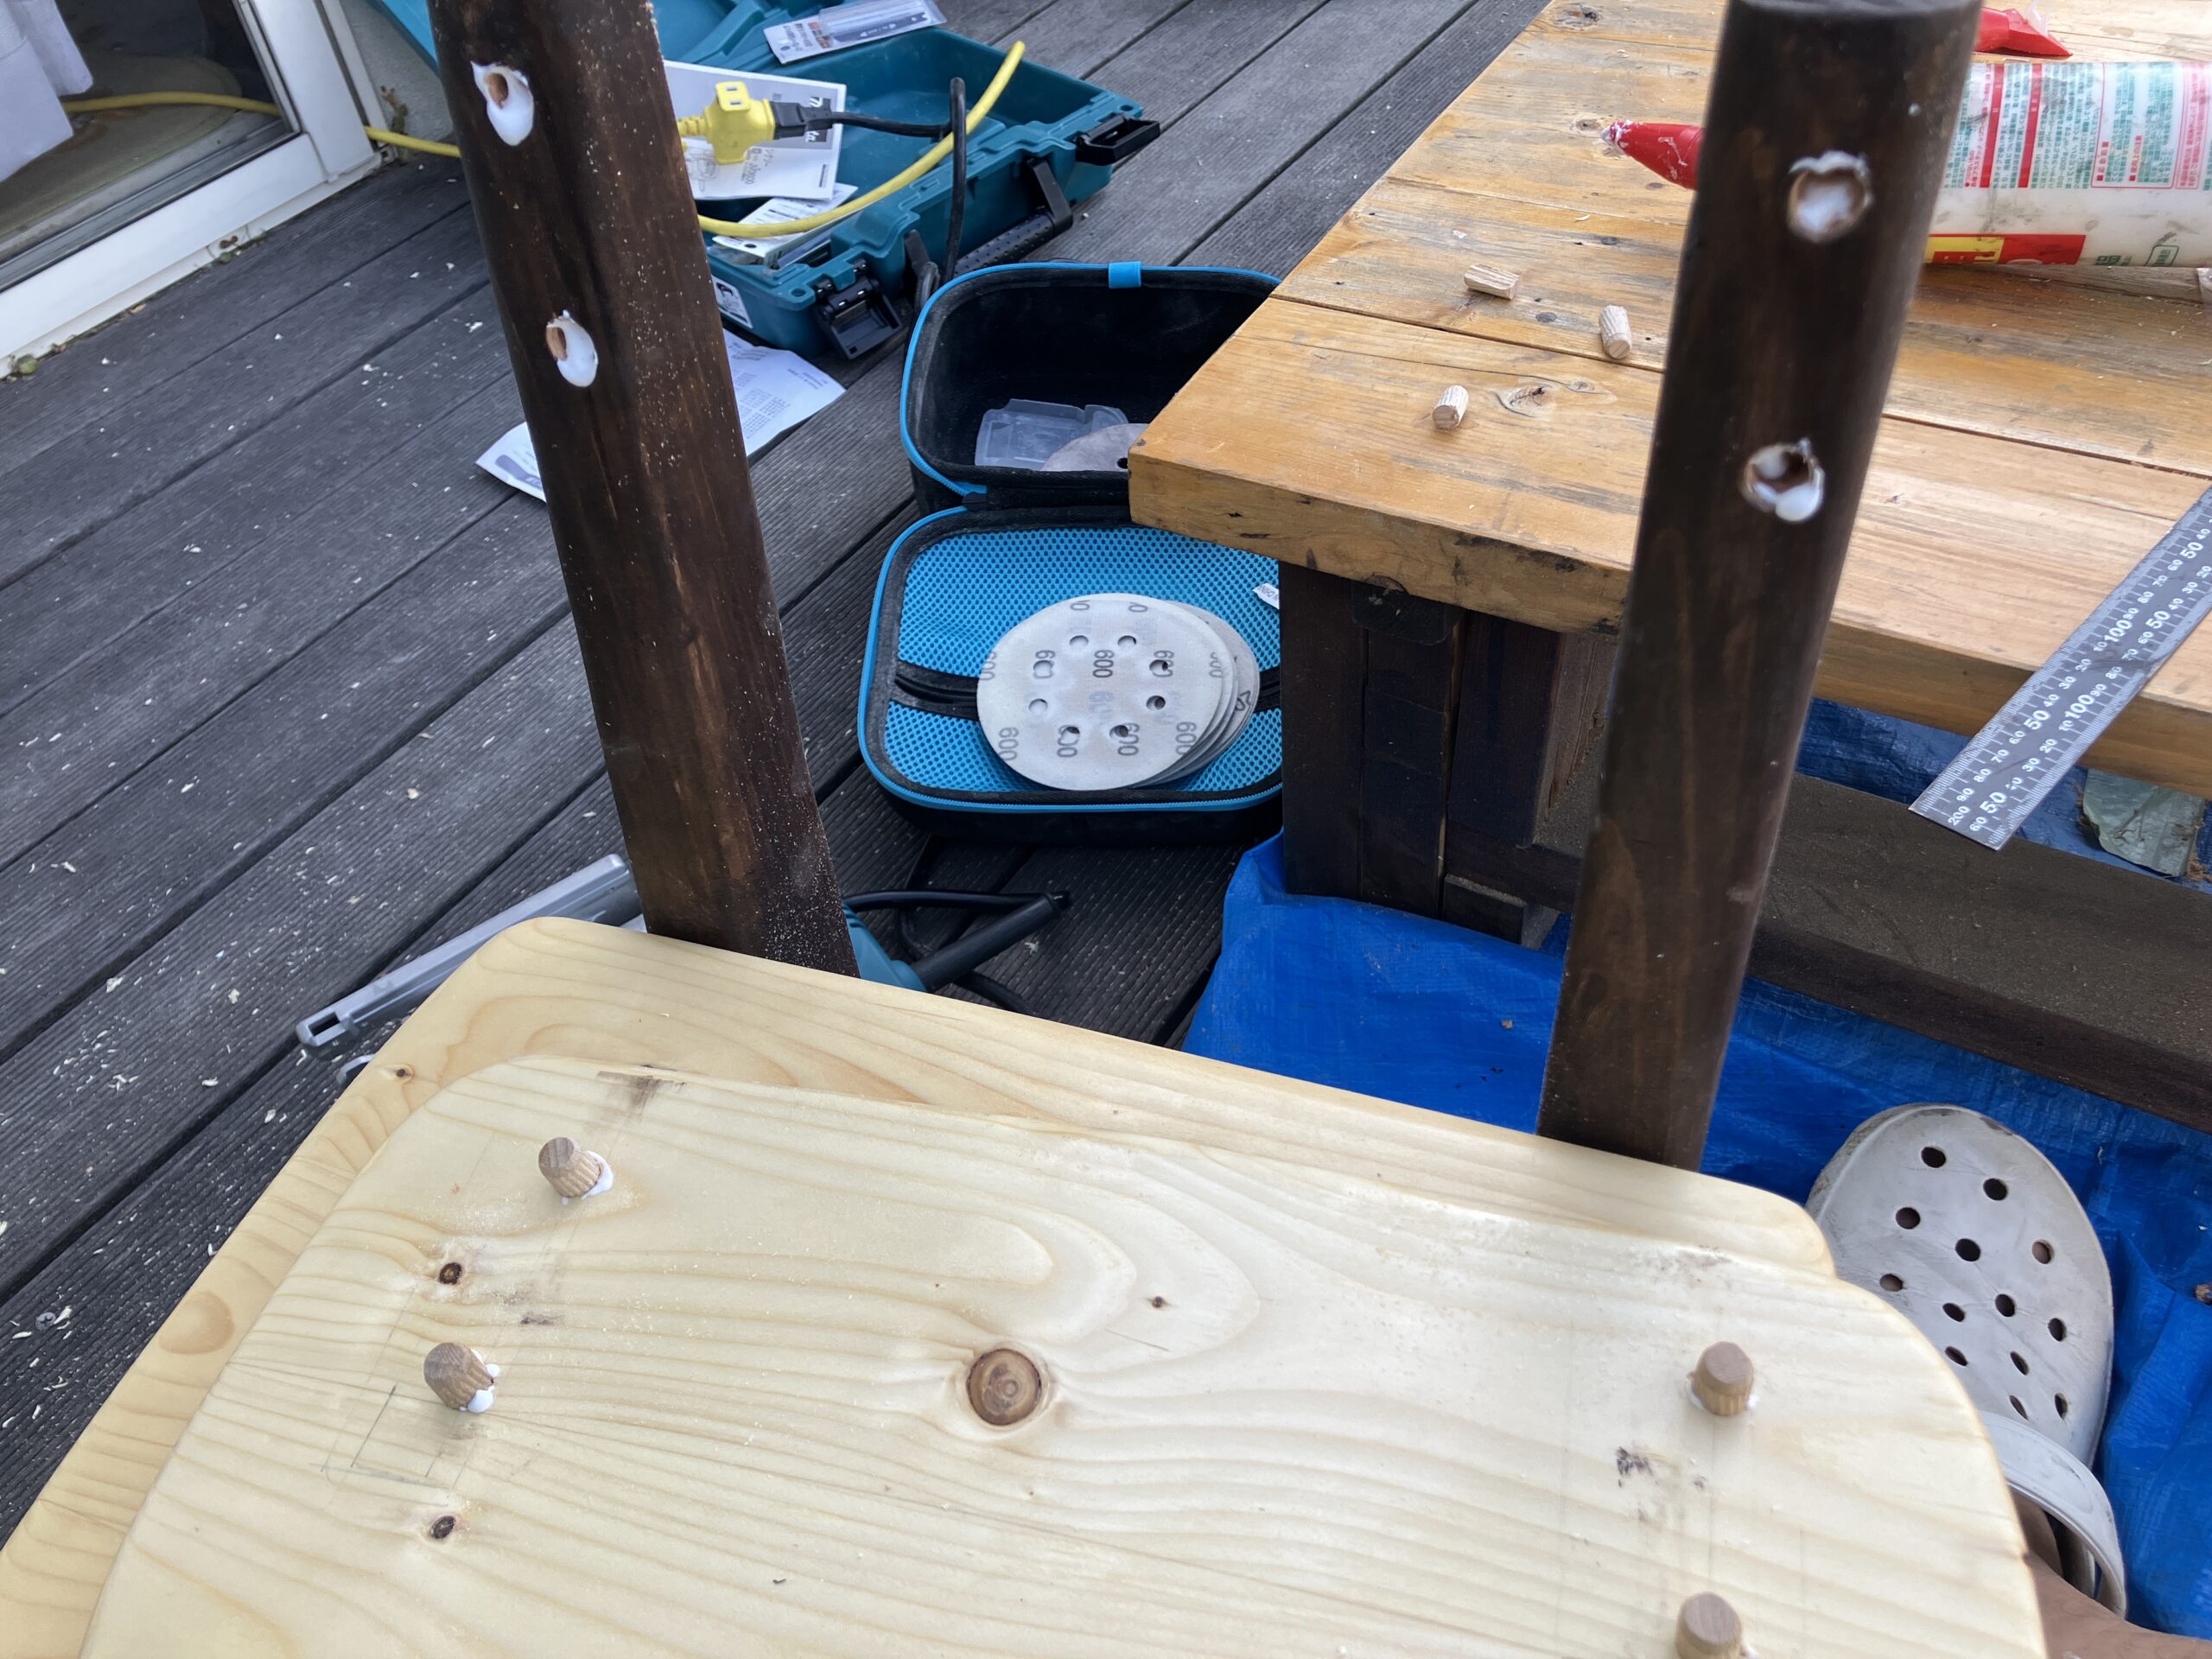
脚を作る
脚の部品を切り出して組み立てます。
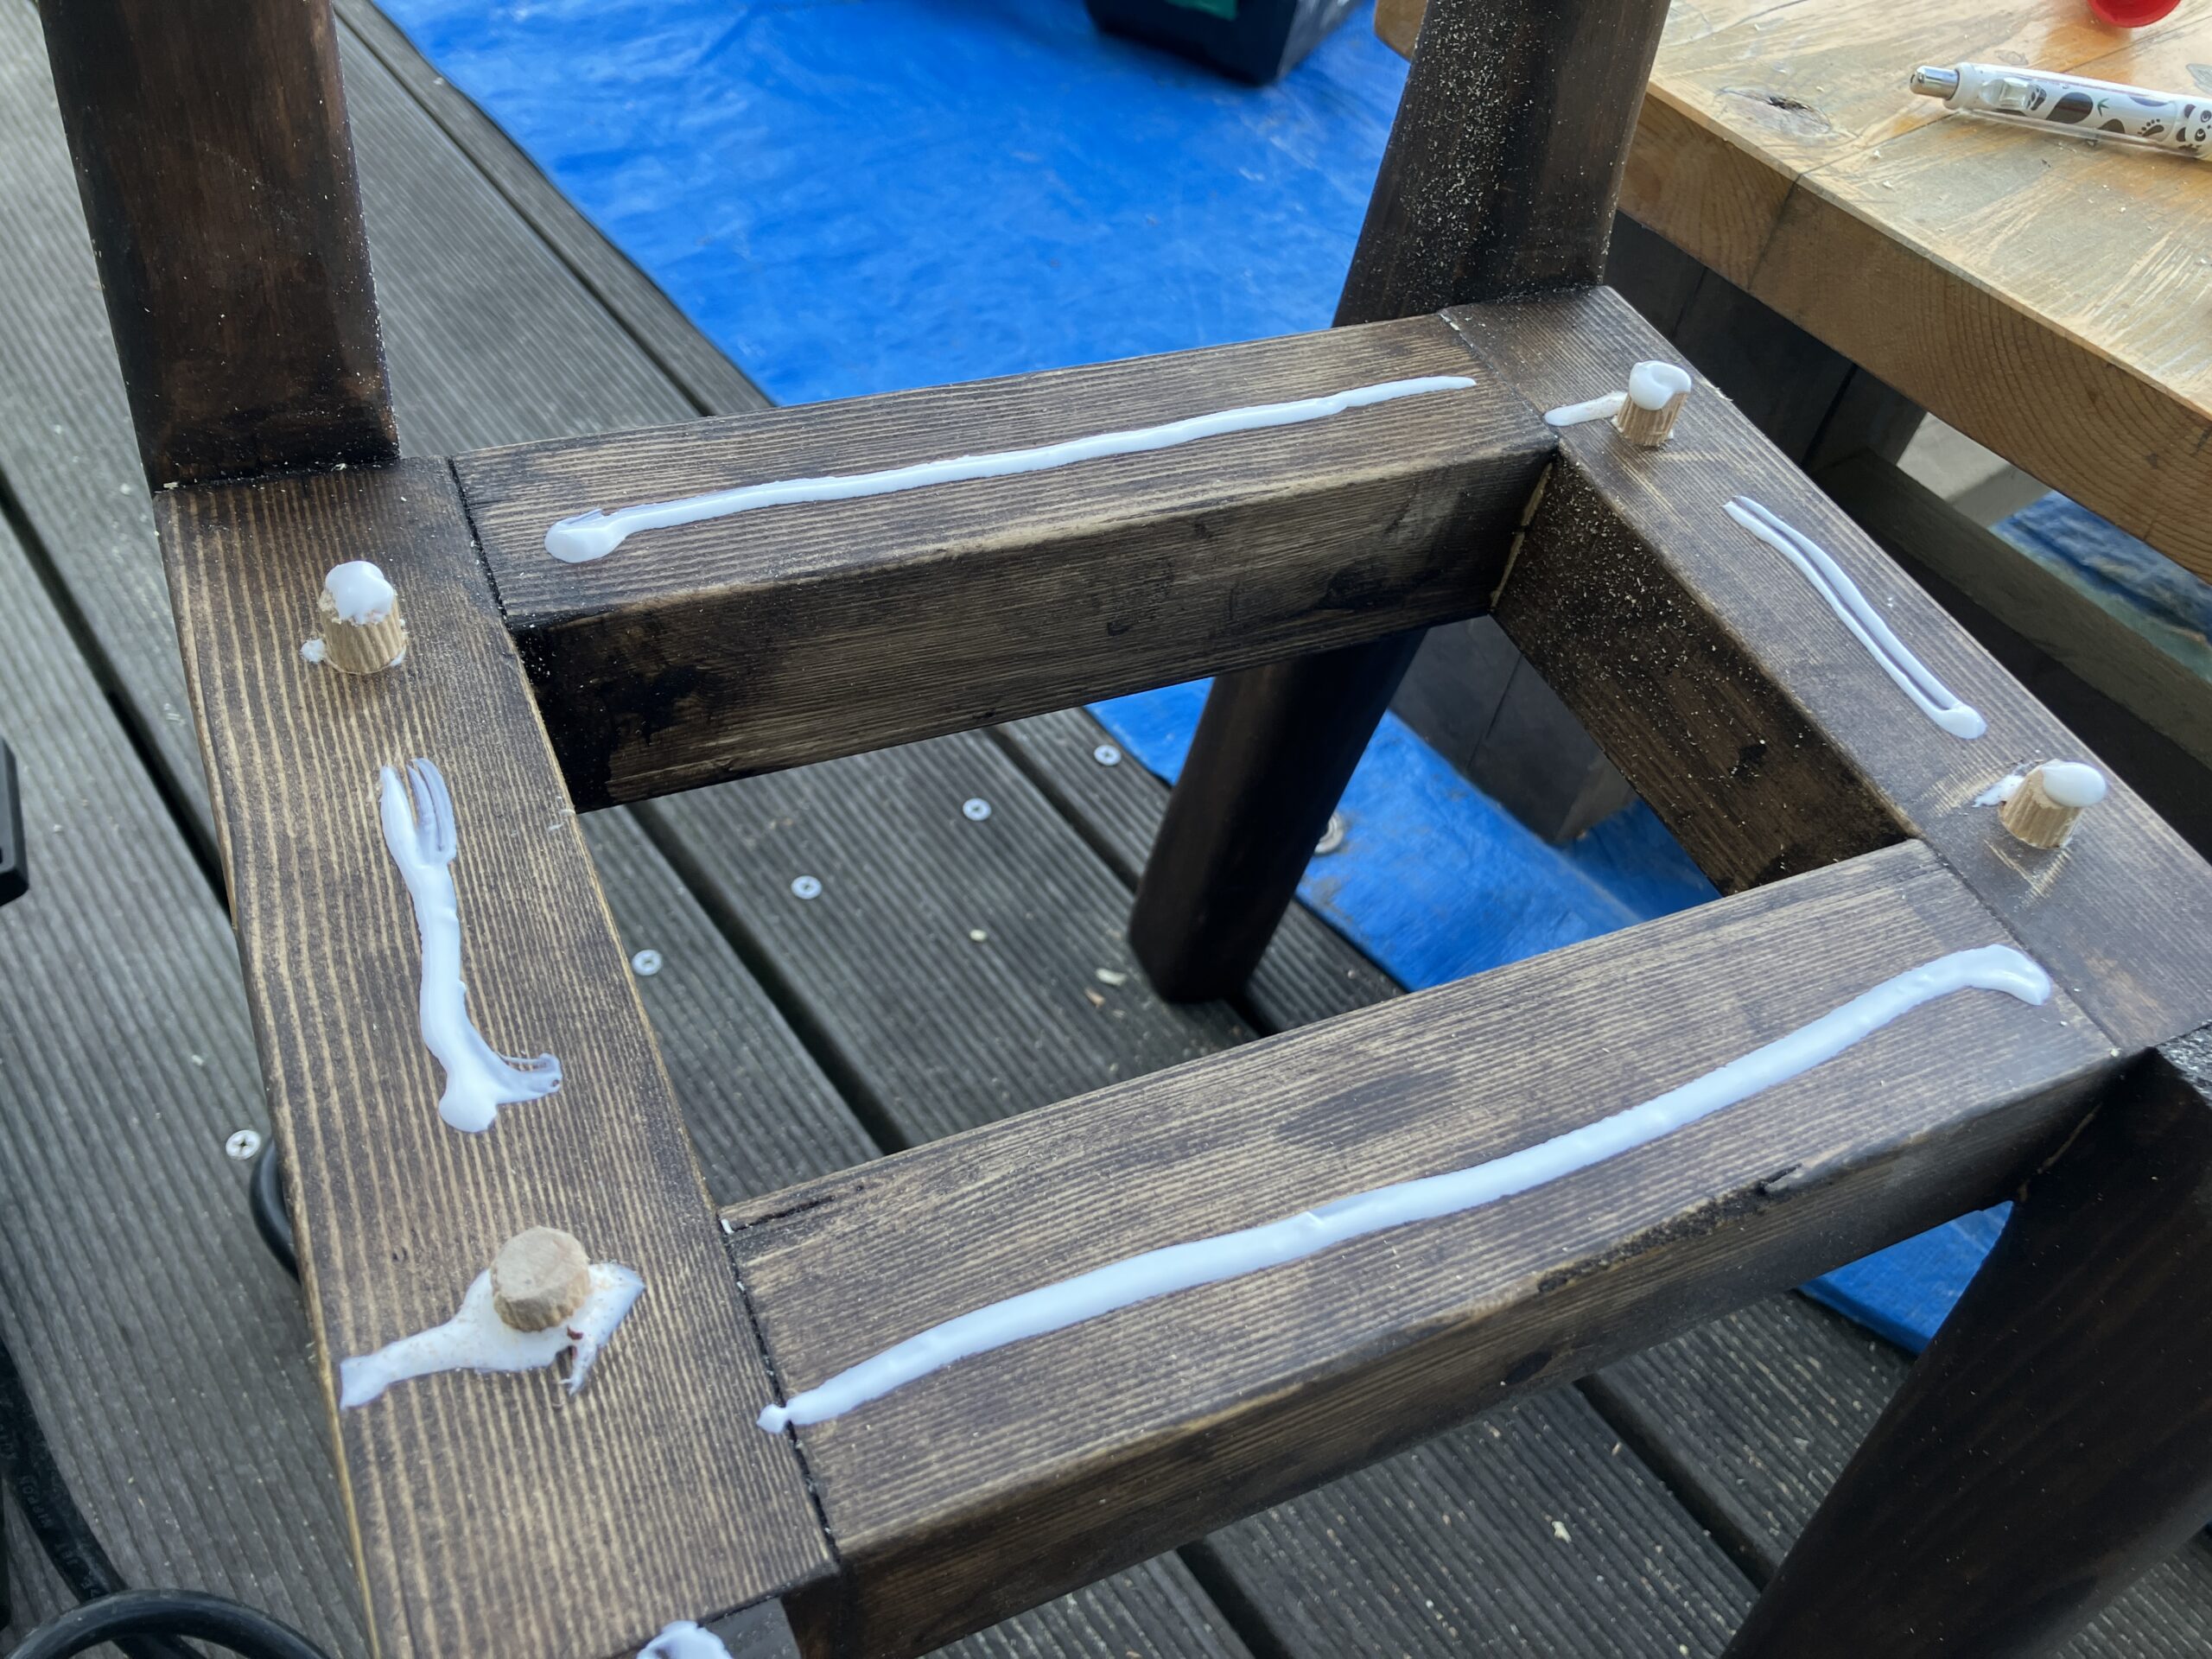
塗装と組み立て
脚にはワックス、それ以外は蜜蝋を塗ります。ダボを使って組み立てます。


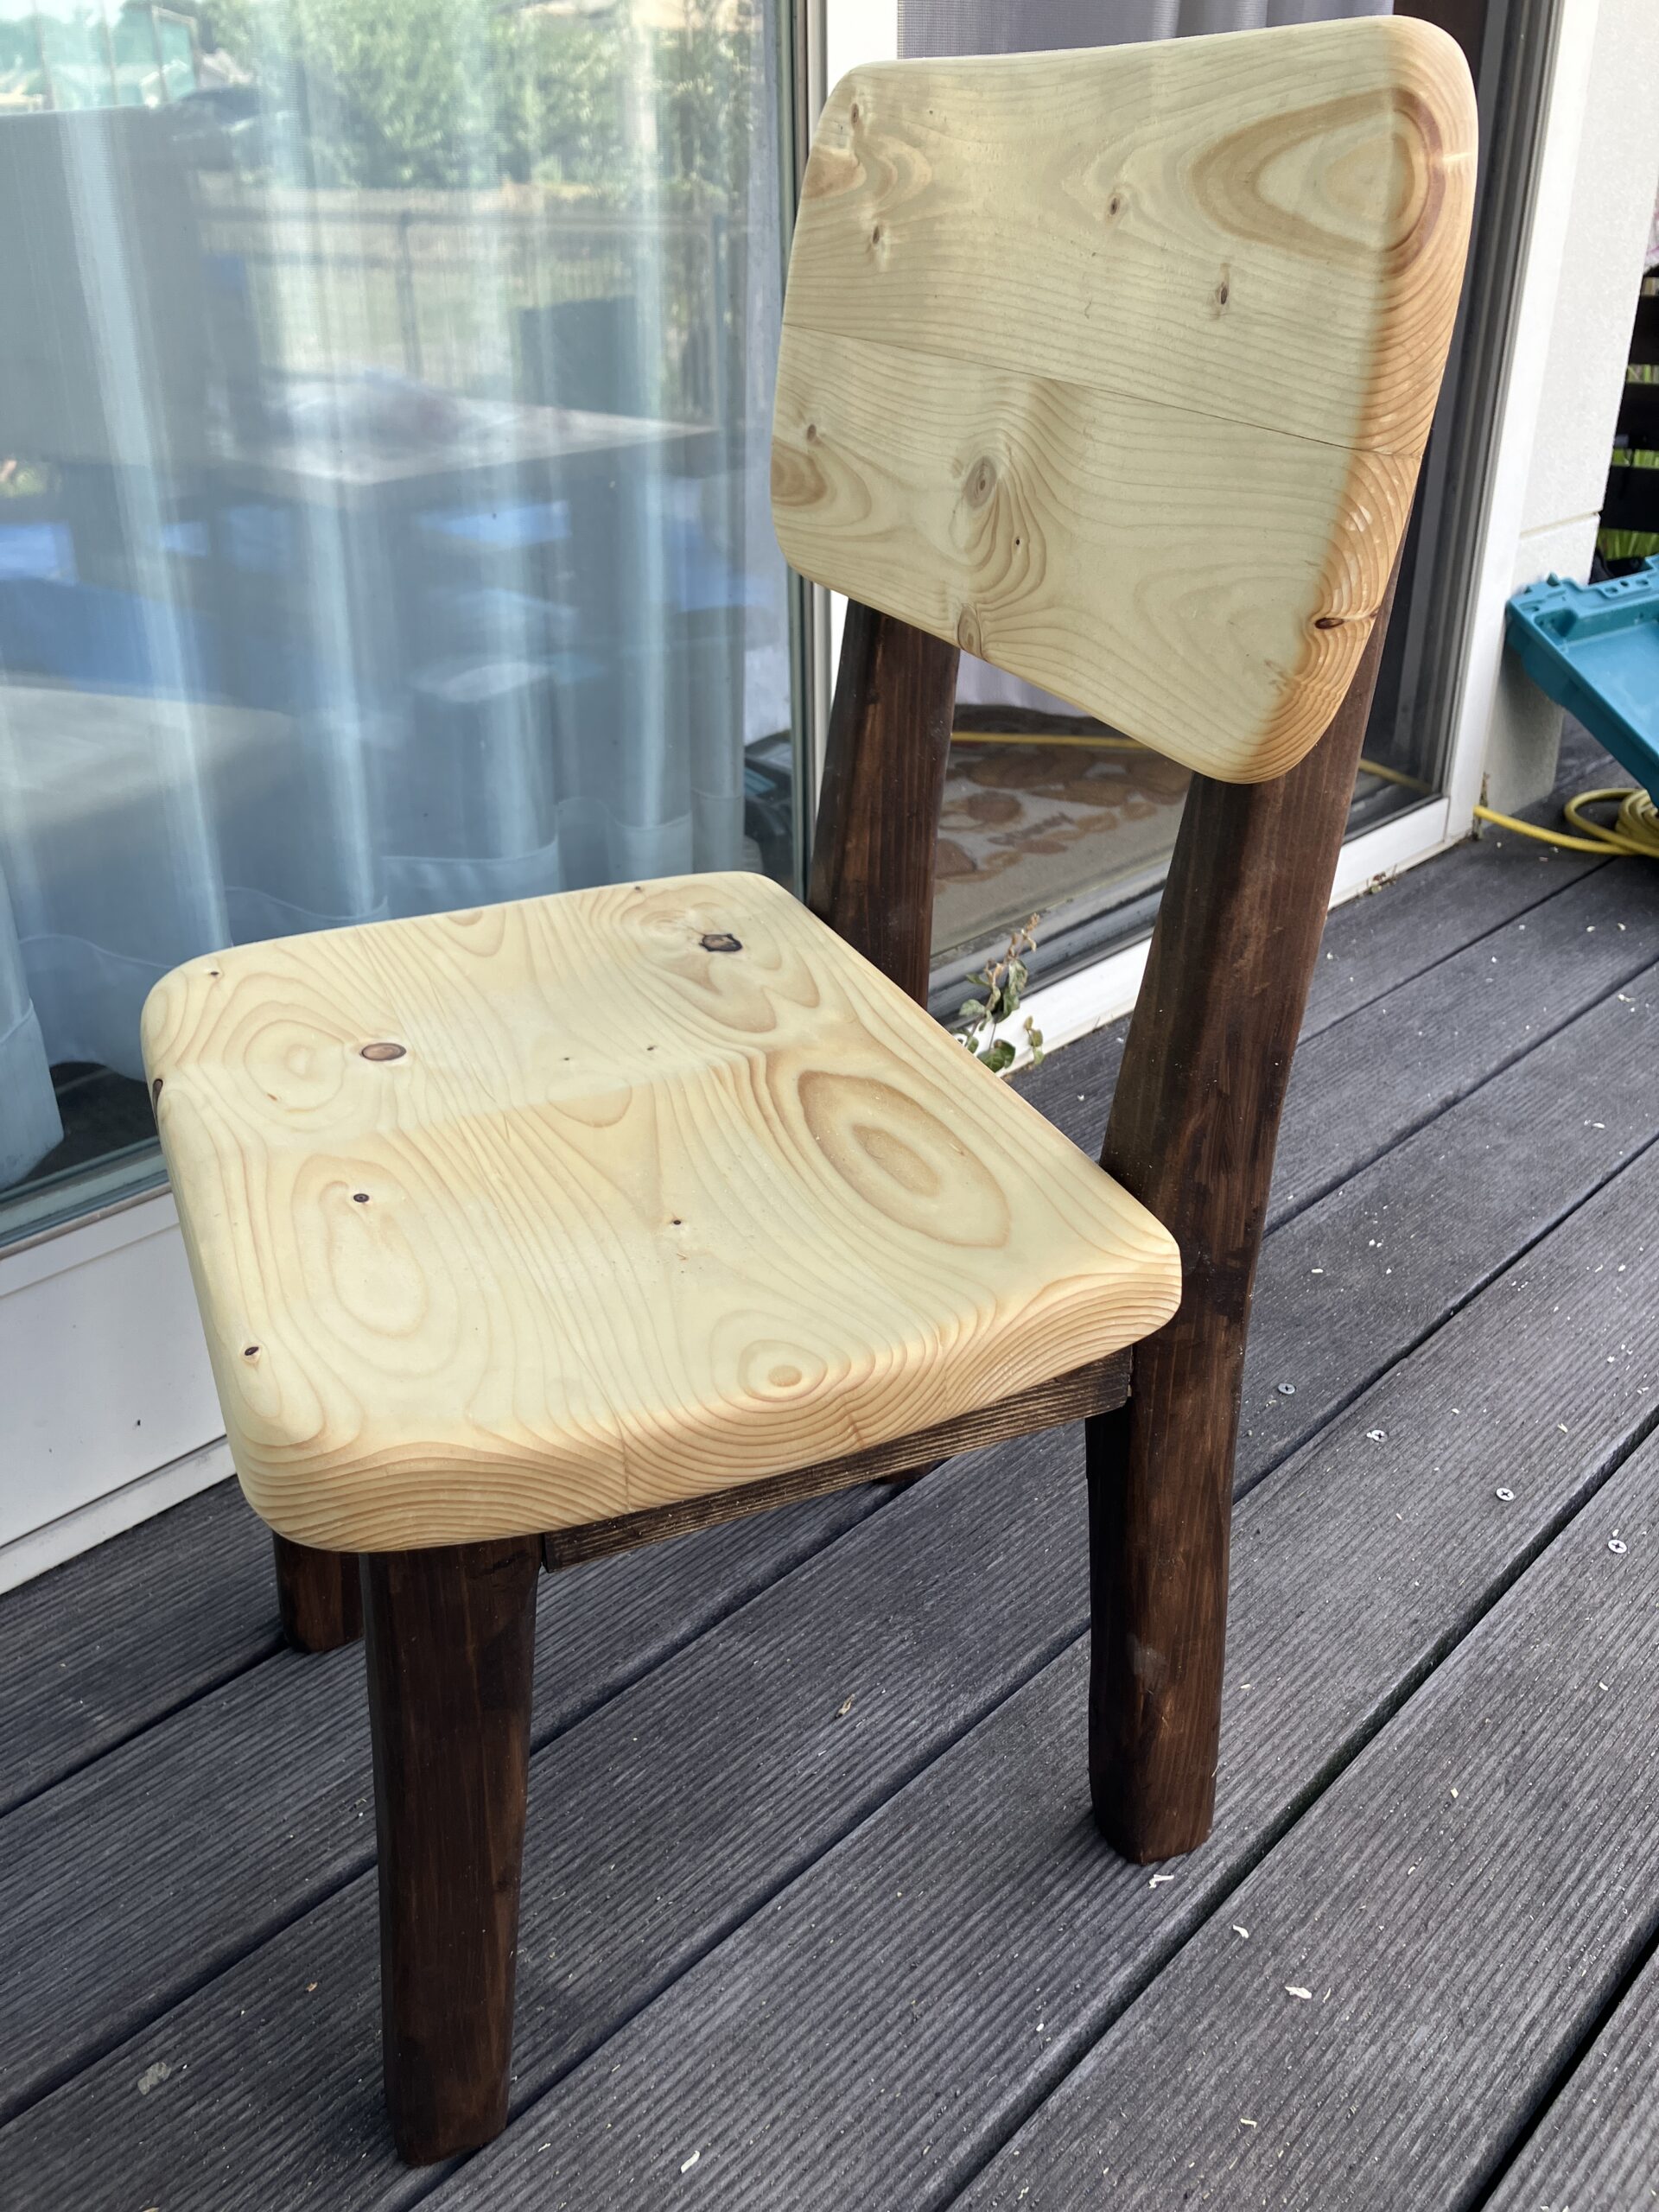
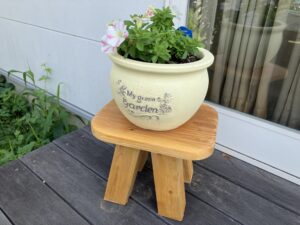
完成品
以上で完成です。背板の加工に時間がかかったので、トータルでは一月位かかりました。作業をしたのは休日のみなので、実働としてはもっと少ないですけどね。
最後まで読んでいただきありがとうございます。
こちらの椅子は図面を添付して詳しく作り方を紹介しています。よろしければご覧ください。


コメント