こんにちは、源です。
![](https://kantan-diy.com/wp-content/uploads/2023/07/de8b0abd7ba7114bec4d02279771fcd1-150x150.jpg)
物置の中にロードバイクを置きたいな
棚板の製作
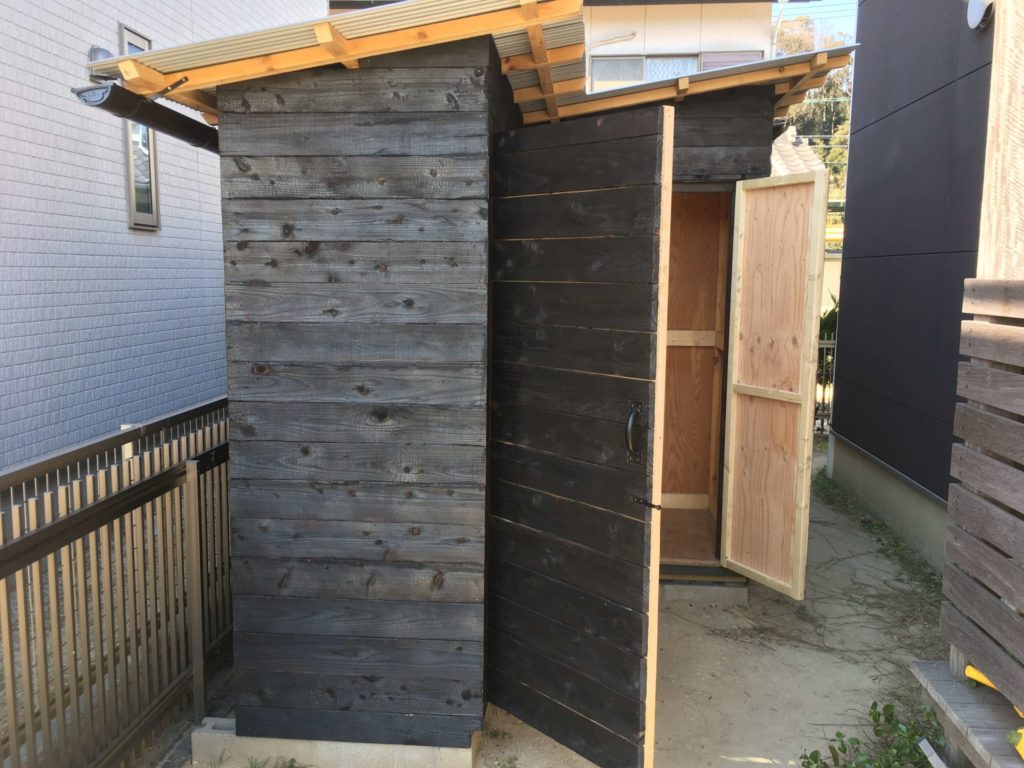
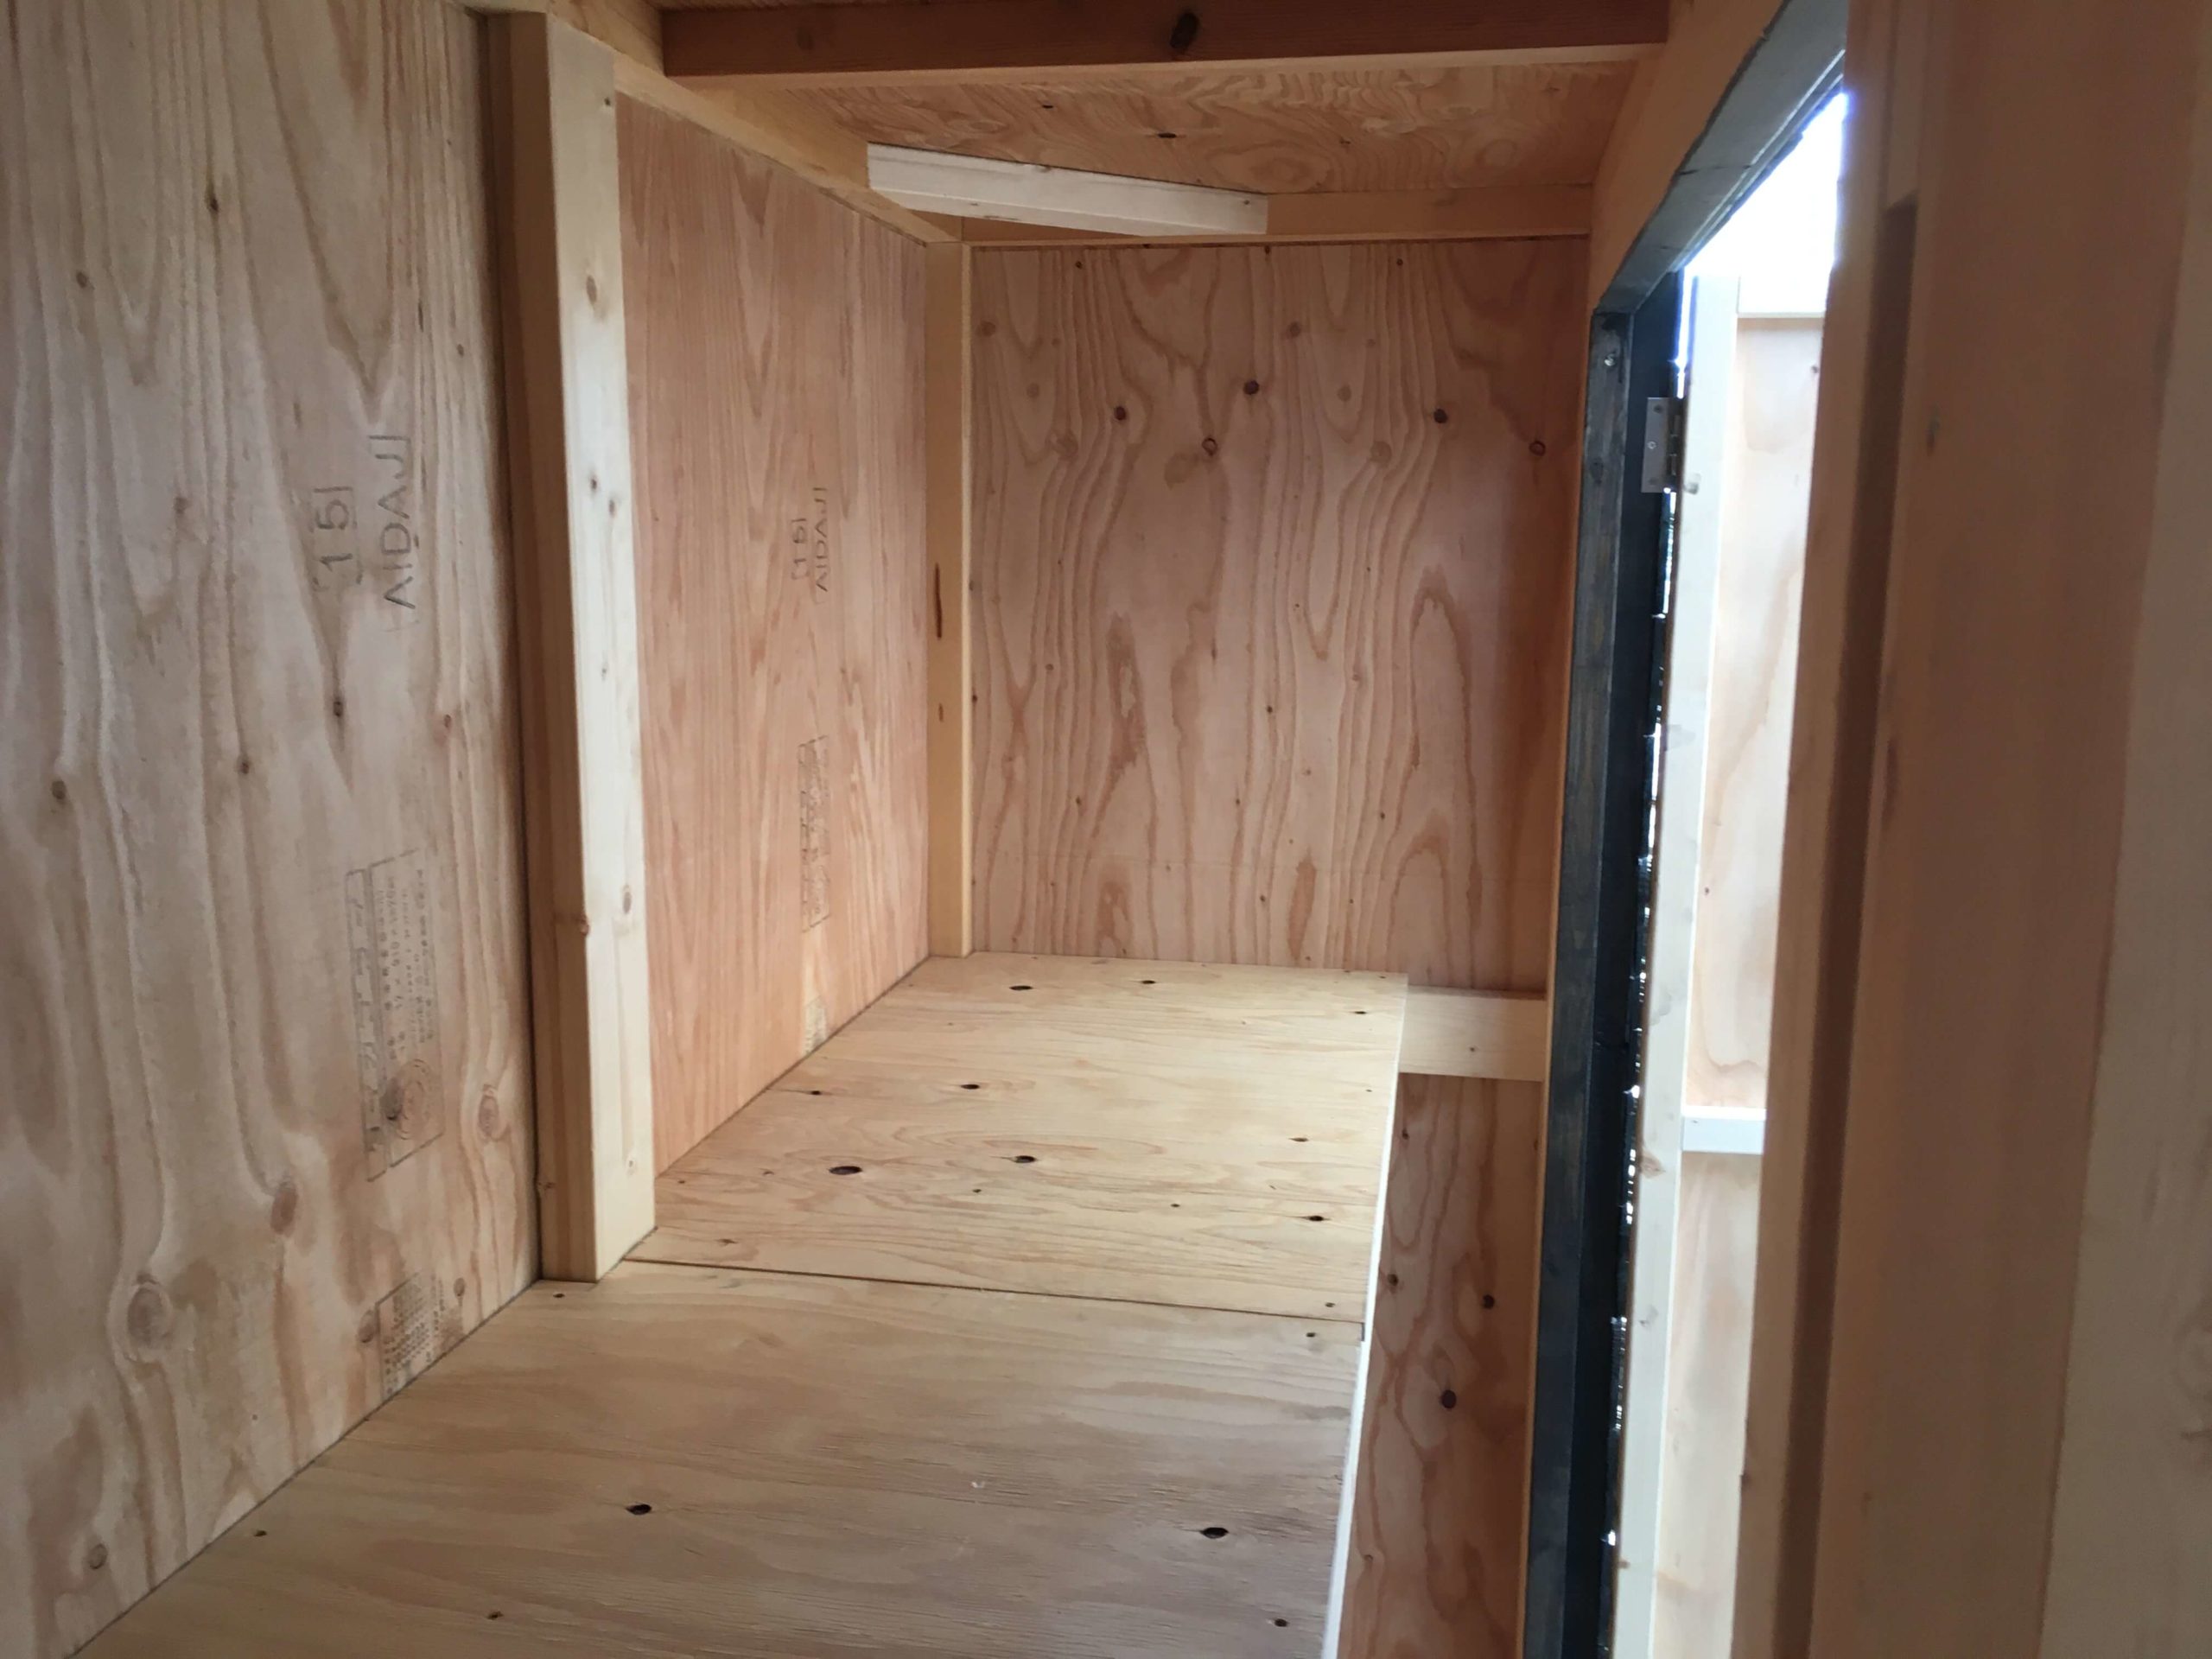
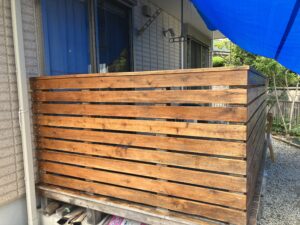
木製物置の自作をしています。外周りが完成しましたので、今からは内部を作り、物を収納できるようにします。まずは、一部分に棚板を作って上下に分割します。
![](https://kantan-diy.com/wp-content/uploads/2020/02/20200211_004436251_iOS-1024x768.jpg)
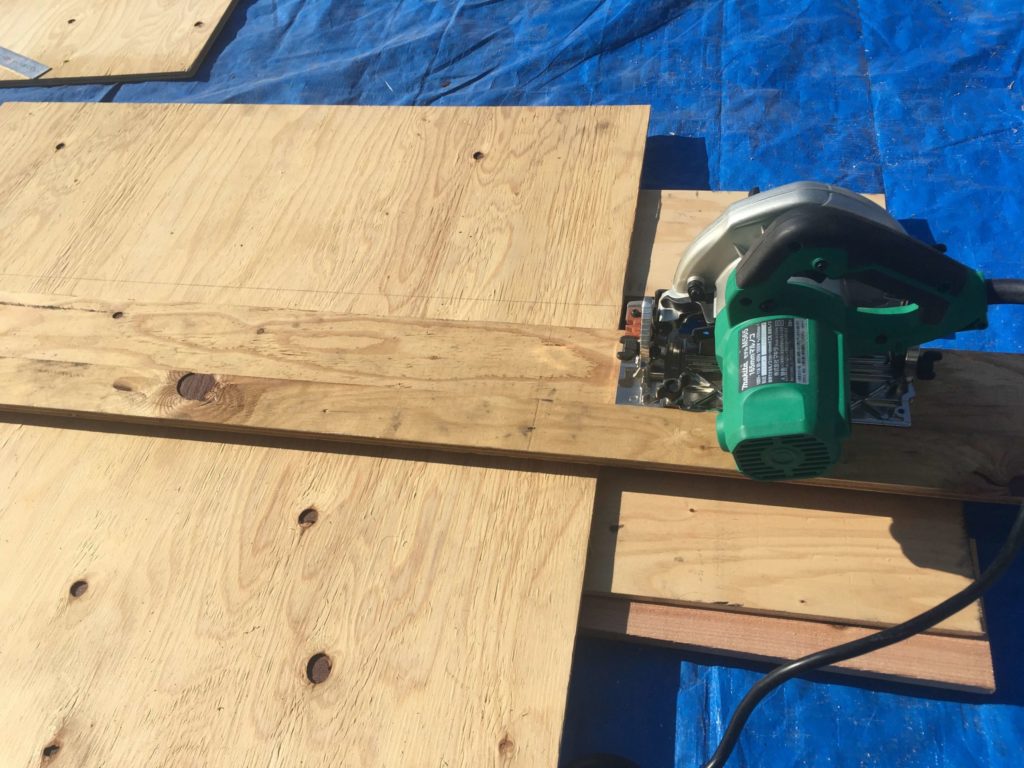
構造用合板を使用して、棚板を作ります。長い直線を切るため、合板を組み合わせて作った「丸ノコ用直線切断治具」を使用します。(作り方はこちらの記事をご覧ください)
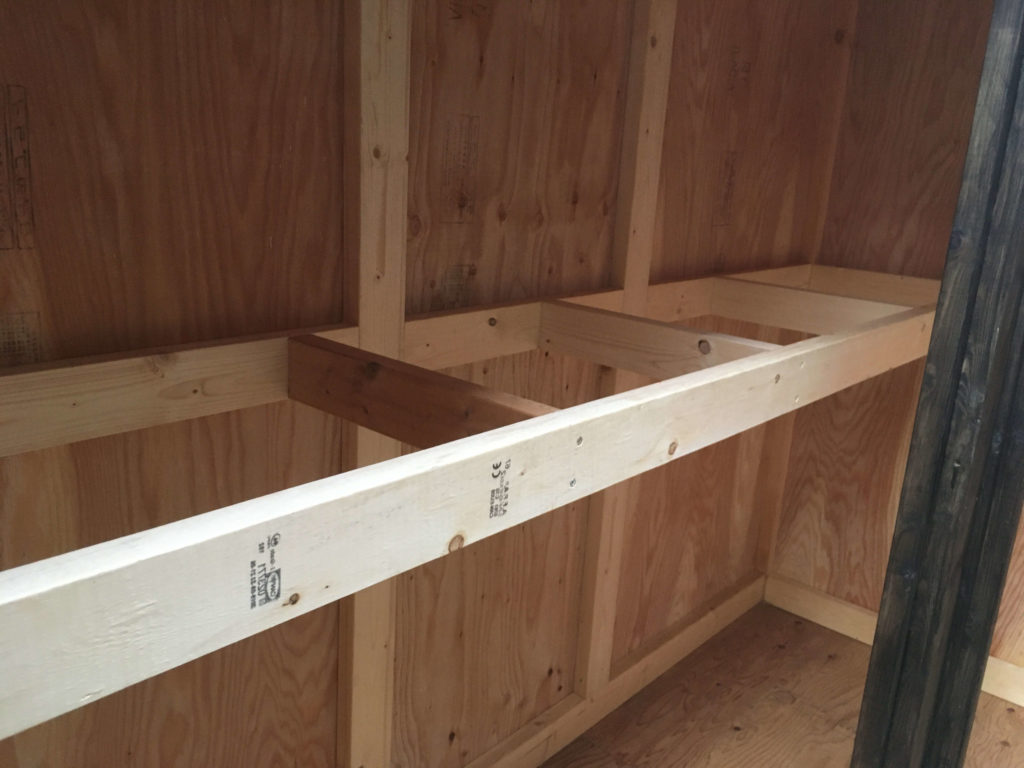
合板を張る前に、角の柱部分と合板が当たってしまう部分を切り欠きます。実際に板を当てて干渉する部分に鉛筆で印を付けると調整しやすいです。切り欠き加工は細かい作業なので、手鋸やジグソーが便利です。
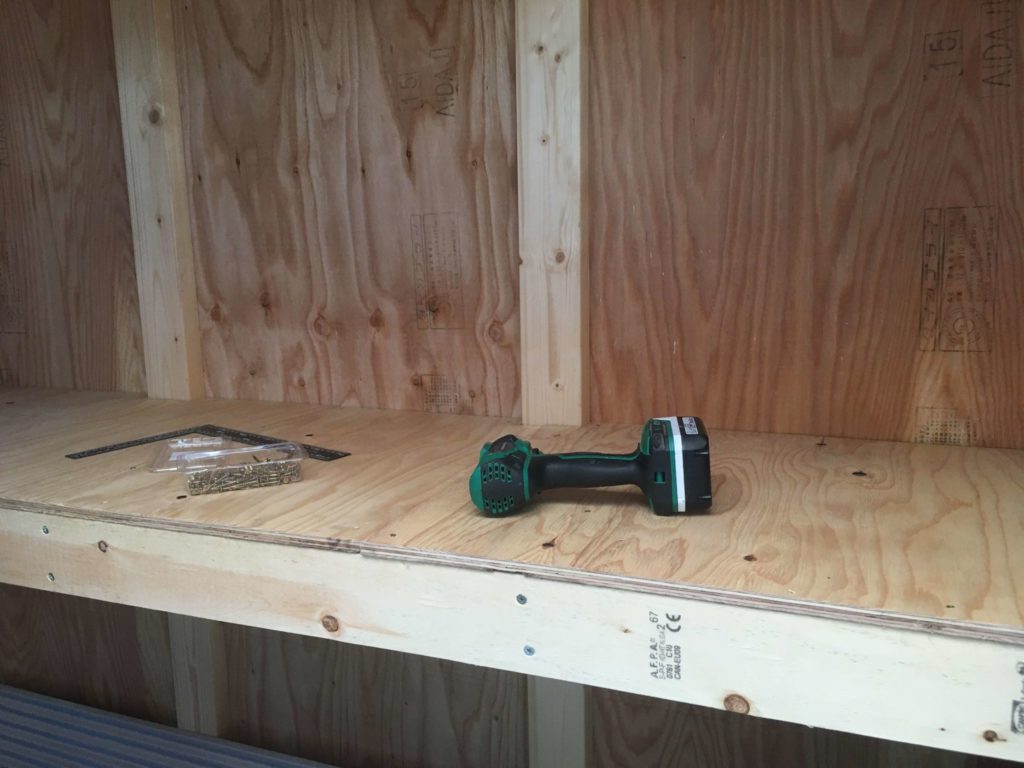
切り欠きが終わったら、棚板を乗せてビスで固定します。固定するビスの間隔は20㎝が目安です。ビスの長さは合板の厚さの2〜3倍です。
![棚2](https://kantan-diy.com/wp-content/uploads/2019/11/20191124_071139520_iOS-scaled-e1574589077159-1024x768.jpg)
![](https://kantan-diy.com/wp-content/uploads/2020/02/20200211_014239653_iOS-1024x768.jpg)
ロードバイクの収納
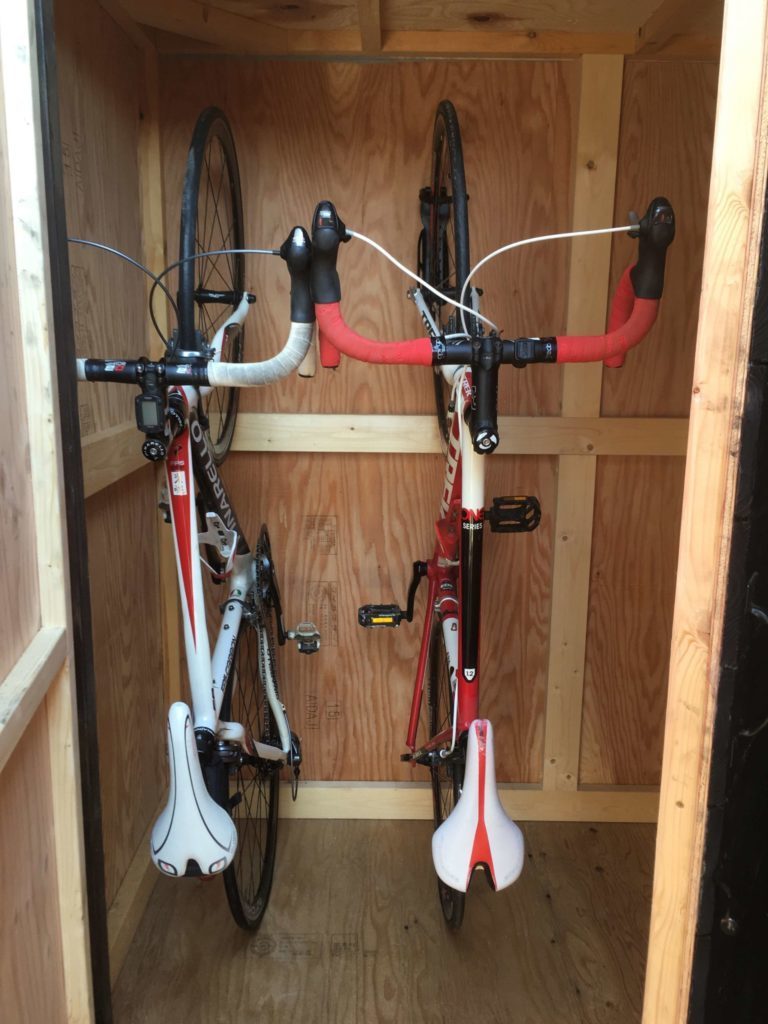
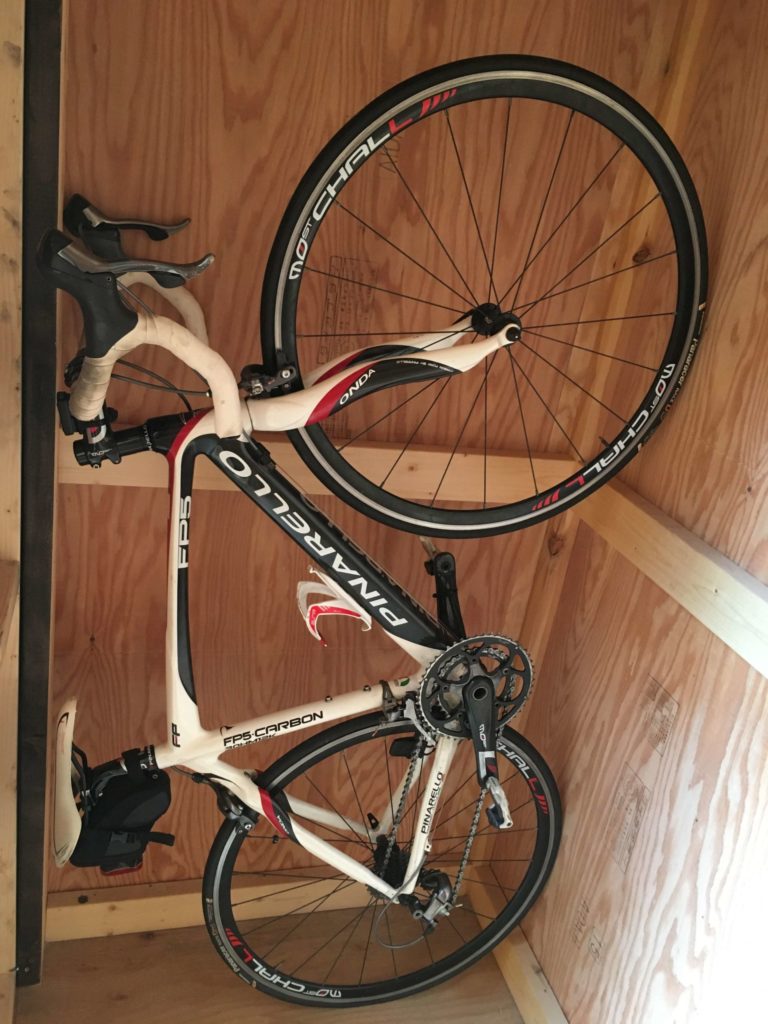
ロードバイクを最もコンパクトに物置に収納するため、縦方向にたてかけるように納めます。
「自転車固定用金具」を壁の上方に固定し、前輪を引っ掛けるようにします。
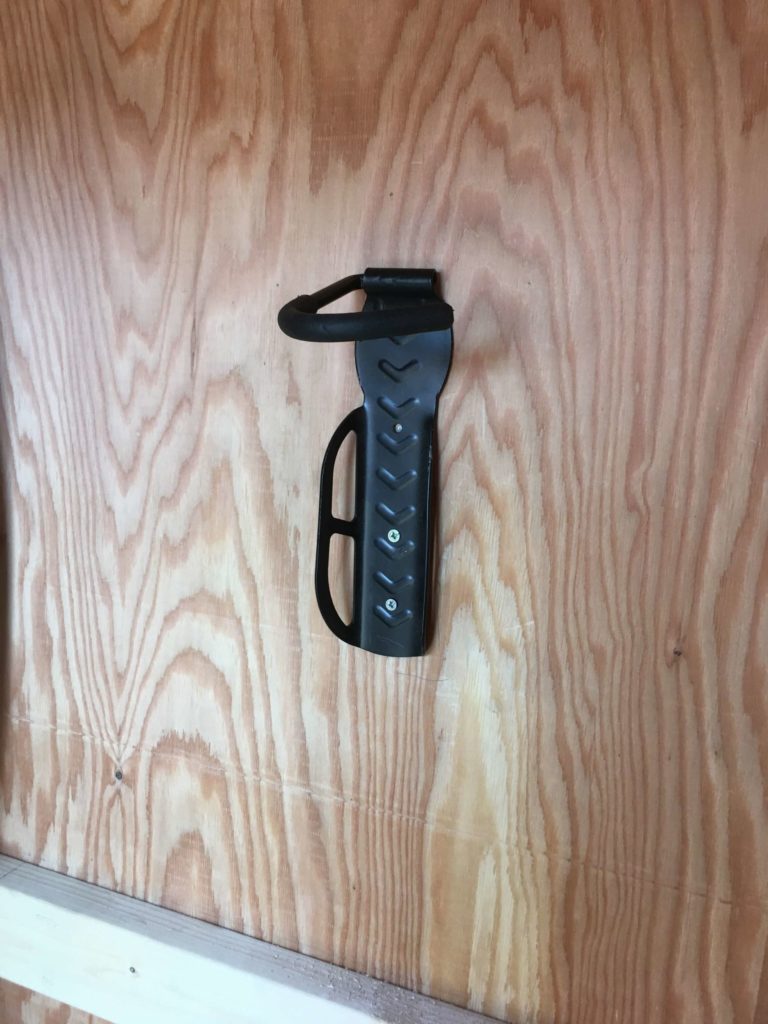
![](https://kantan-diy.com/wp-content/uploads/2020/02/20200211_025627181_iOS-768x1024.jpg)
![](https://kantan-diy.com/wp-content/uploads/2020/02/20200211_025753070_iOS-768x1024.jpg)
![](https://kantan-diy.com/wp-content/uploads/2020/02/20200211_023223449_iOS-768x1024.jpg)
![](https://kantan-diy.com/wp-content/plugins/pochipp/assets/img/pochipp-logo-t1.png)
内部の完成と収納状況
以上で、内部の造作も完了しました。
![](https://kantan-diy.com/wp-content/uploads/2020/02/20200211_022420598_iOS-scaled-e1581416222154-1024x768.jpg)
![](https://kantan-diy.com/wp-content/uploads/2020/02/20200211_022401251_iOS-1024x768.jpg)
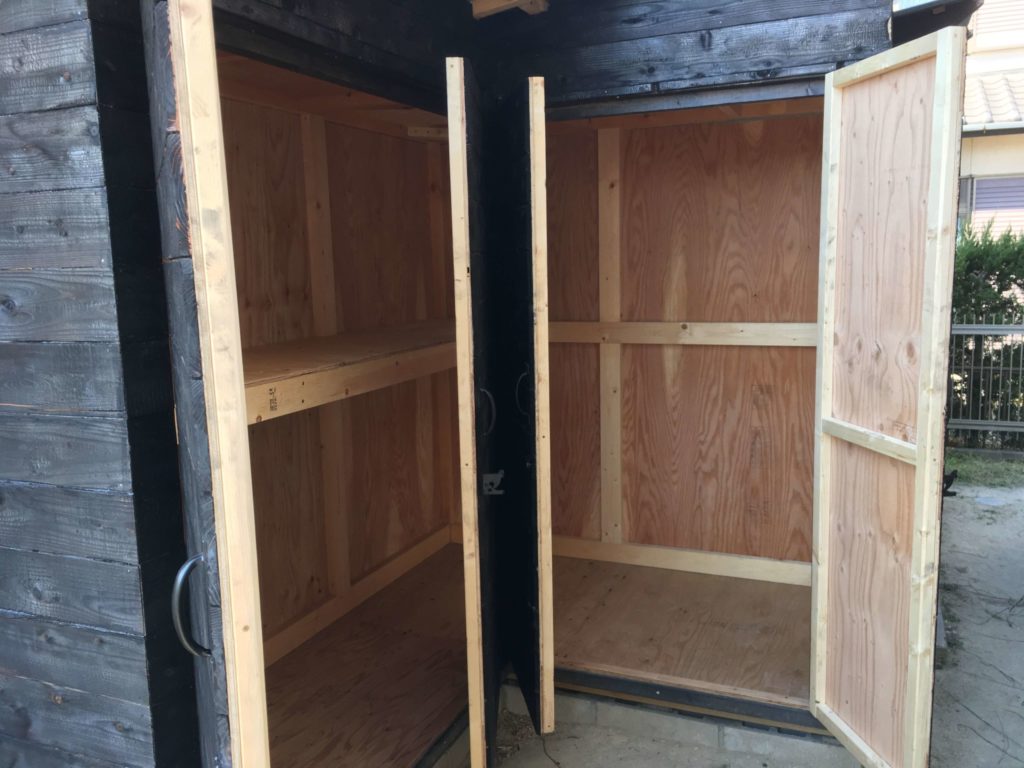
棚で上下に分割した部分は、プラスチックケースやコンテナで中身を分別しながら収納しています。
![](https://kantan-diy.com/wp-content/uploads/2020/03/20200301_065301120_iOS-768x1024.jpg)
![](https://kantan-diy.com/wp-content/uploads/2020/02/20200211_074042144_iOS-1024x768.jpg)
まだまだ収納力には余力がありますので、今後も物が増えていっても収めることができます。
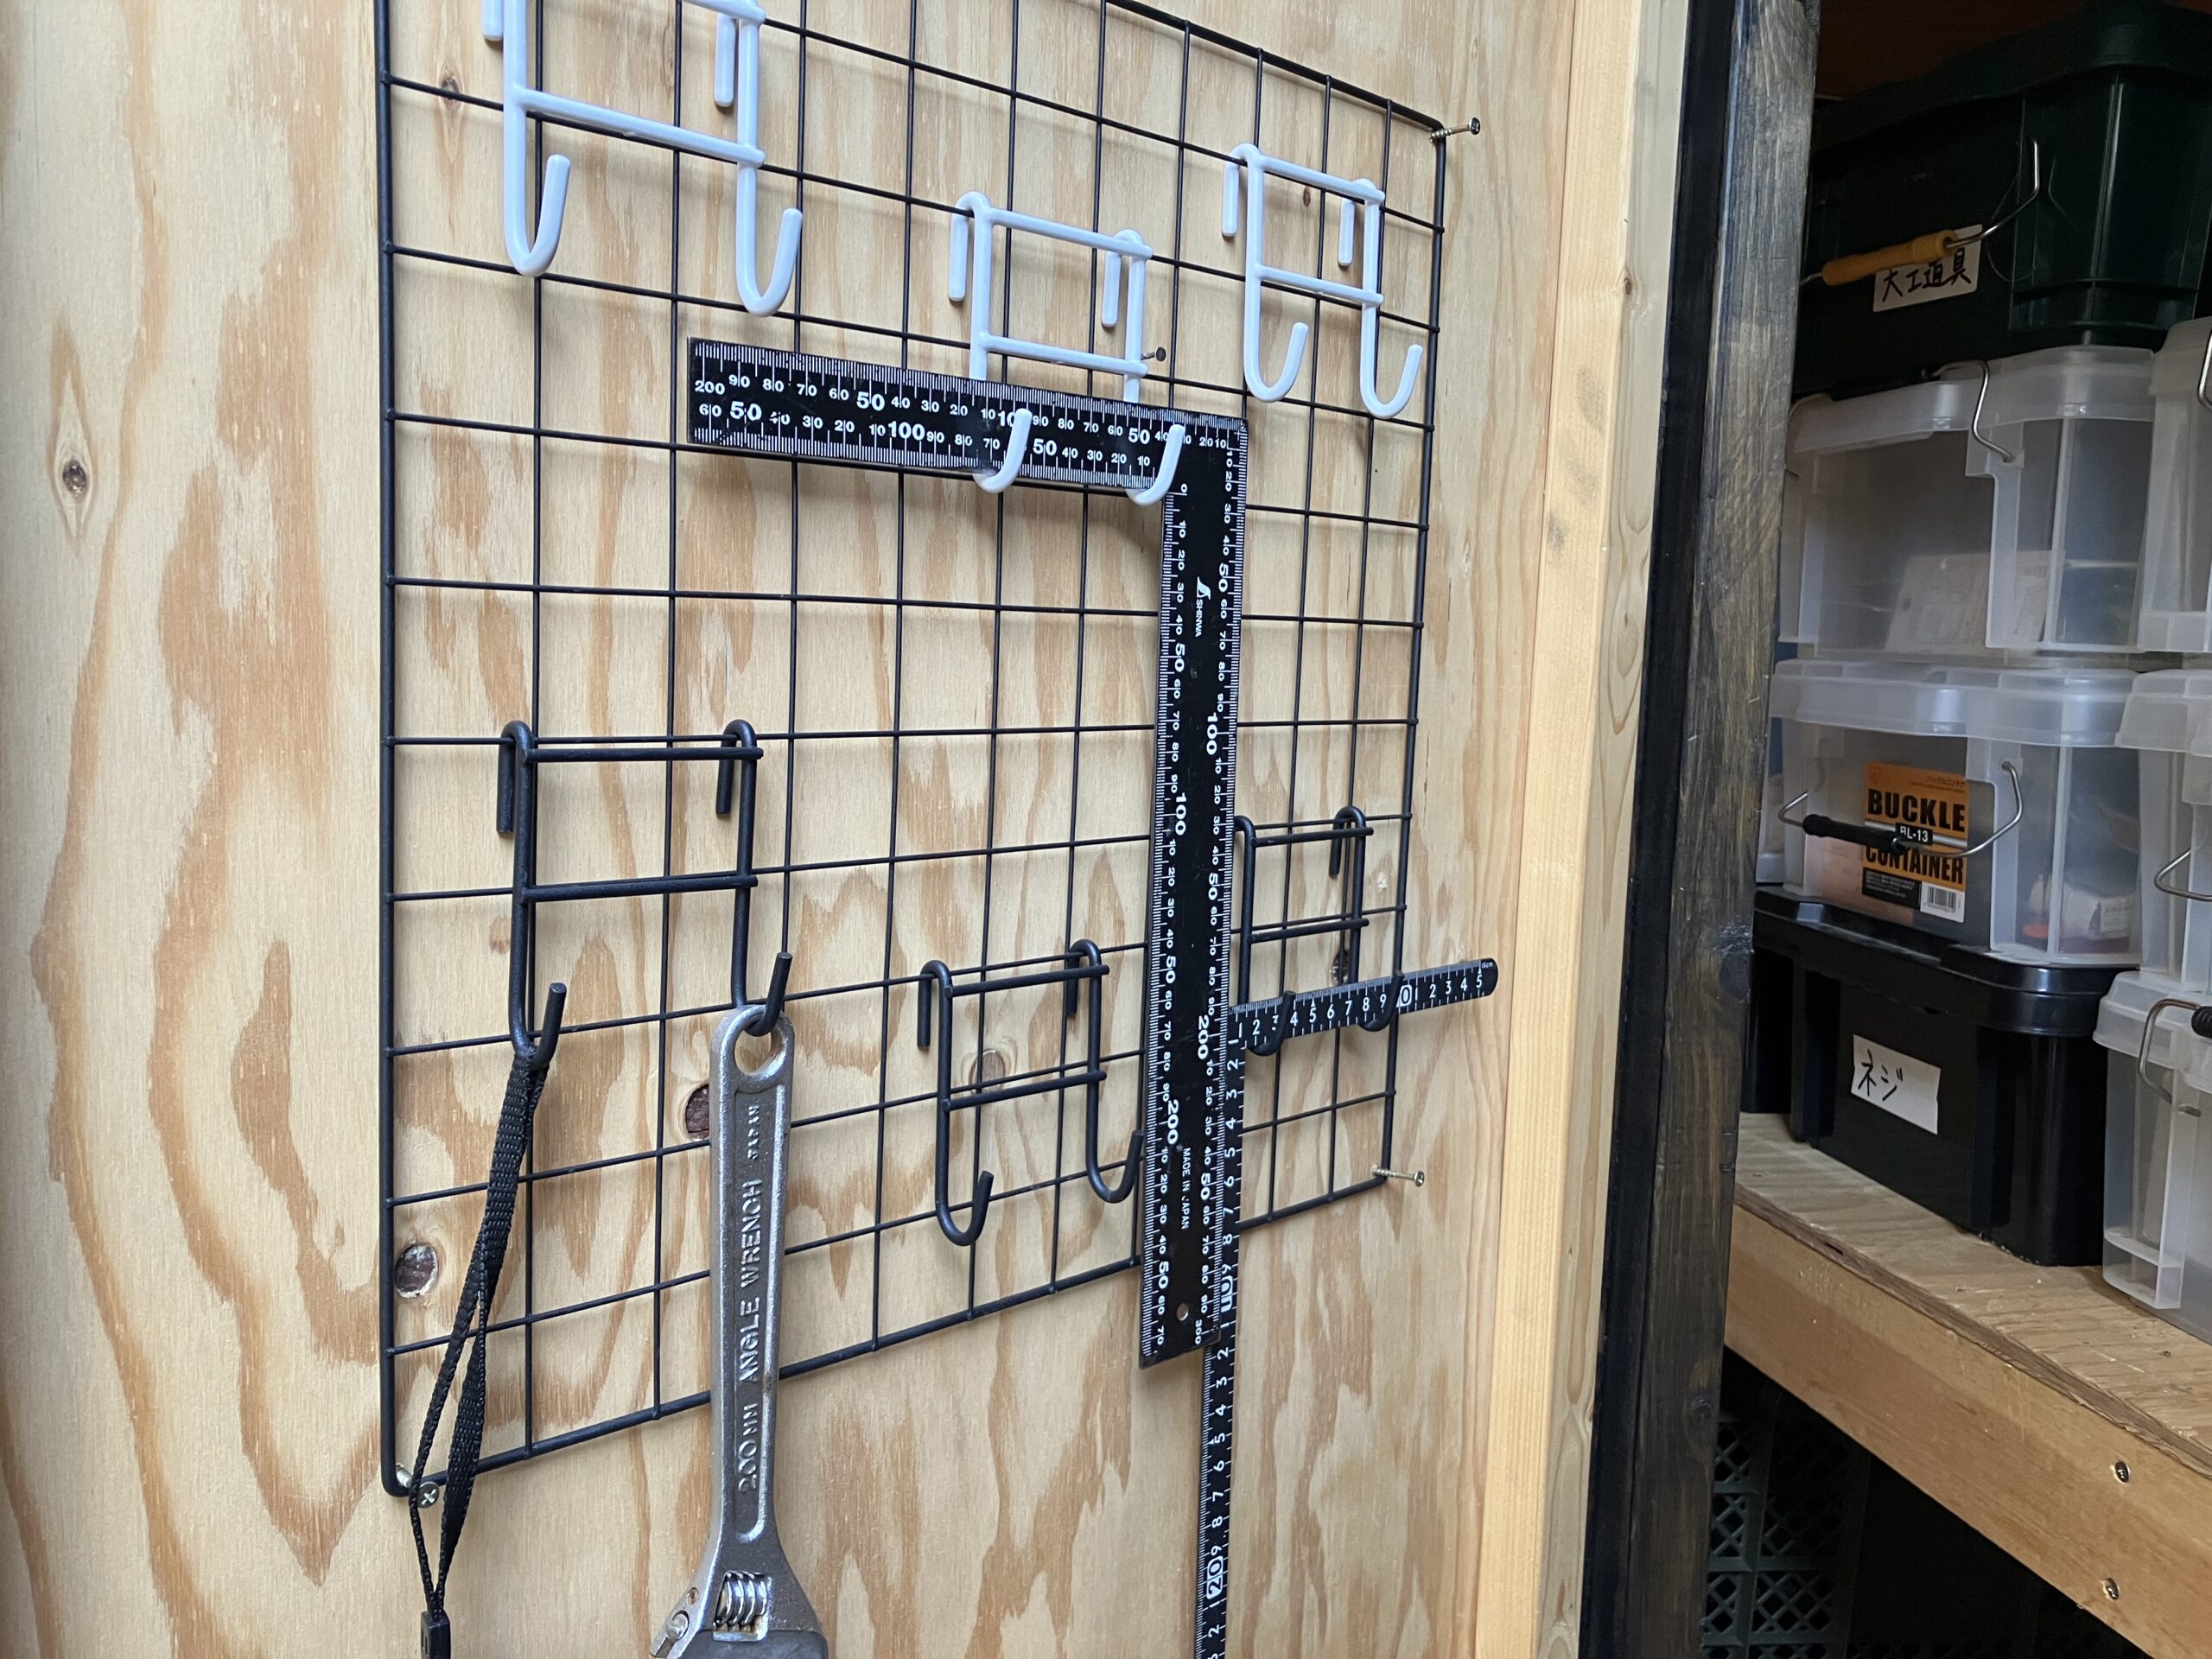
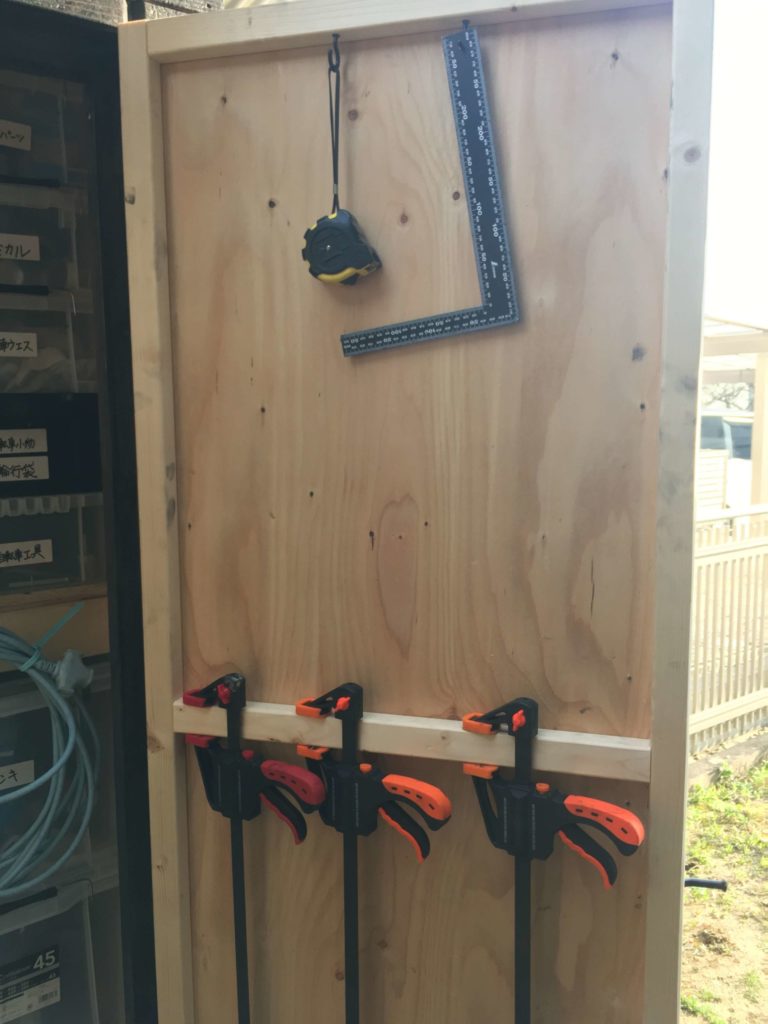
扉部分にもよく使うものを引っ掛けておくことができるようにします。フックや金網は100円均一で手に入れます。
![](https://kantan-diy.com/wp-content/uploads/2023/11/IMG_9193-2-1024x768.jpg)
![](https://kantan-diy.com/wp-content/uploads/2020/03/20200301_065233731_iOS-768x1024.jpg)
物置の今までの製作過程は、こちらをご覧ください。
最後まで読んでいただきありがとうございます。
ウッドデッキや物置に関する記事はこちらです。よろしければご覧ください。
コメント
コメント一覧 (1件)
[…] https://kantan-diy.com/monooki-30/ […]