こんにちは、源です。木製の物置を自作しています。
 げん
げん防水処理するよ
防水施工
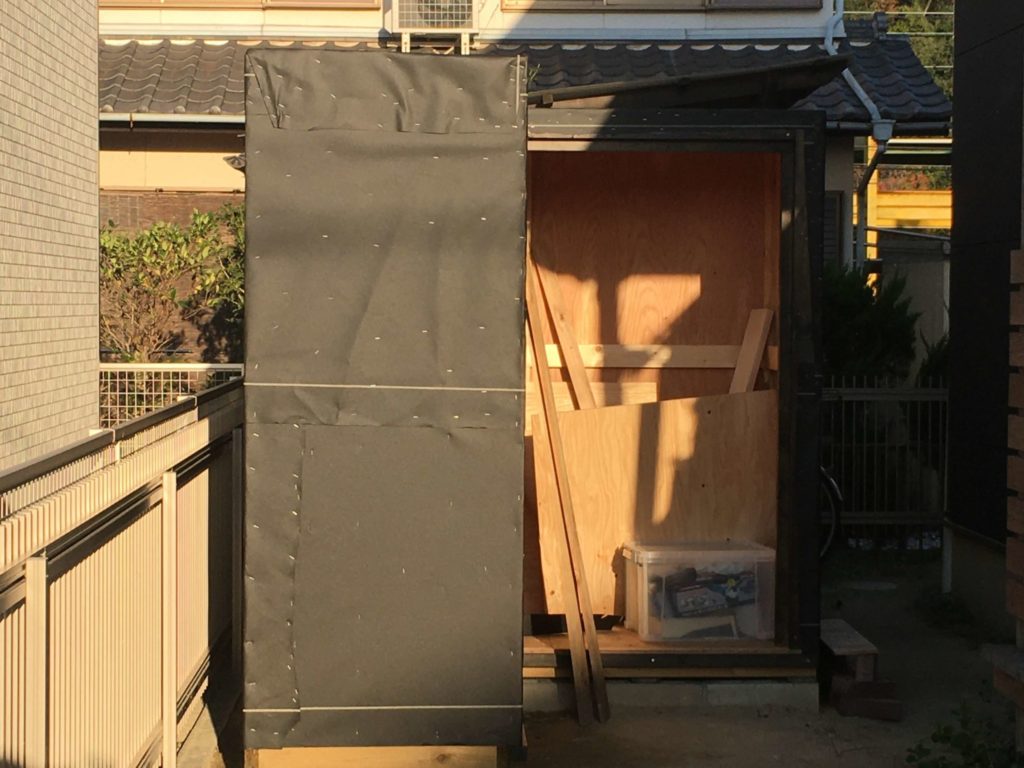
構造用合板を使って壁と屋根を張り終えました。今回は防水施工をしていきます。
木造物置の雨漏り対策
- 構造用合板の継ぎ目をコーキング材で埋める
- 防水層(アスファルトフェルト)を設ける
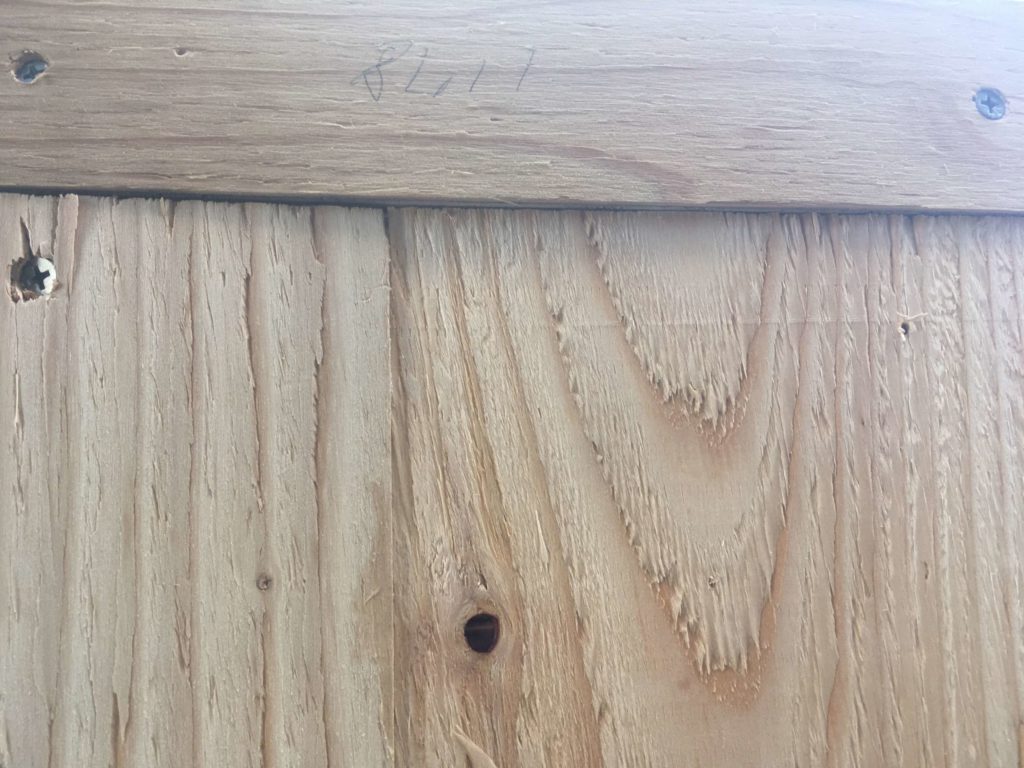
コーキング作業
防水施工は前回張り終えた構造用合板の隙間をコーキング材で埋めます。万が一、防水層が破れたとしても即時に雨漏りにつながらないようにします。
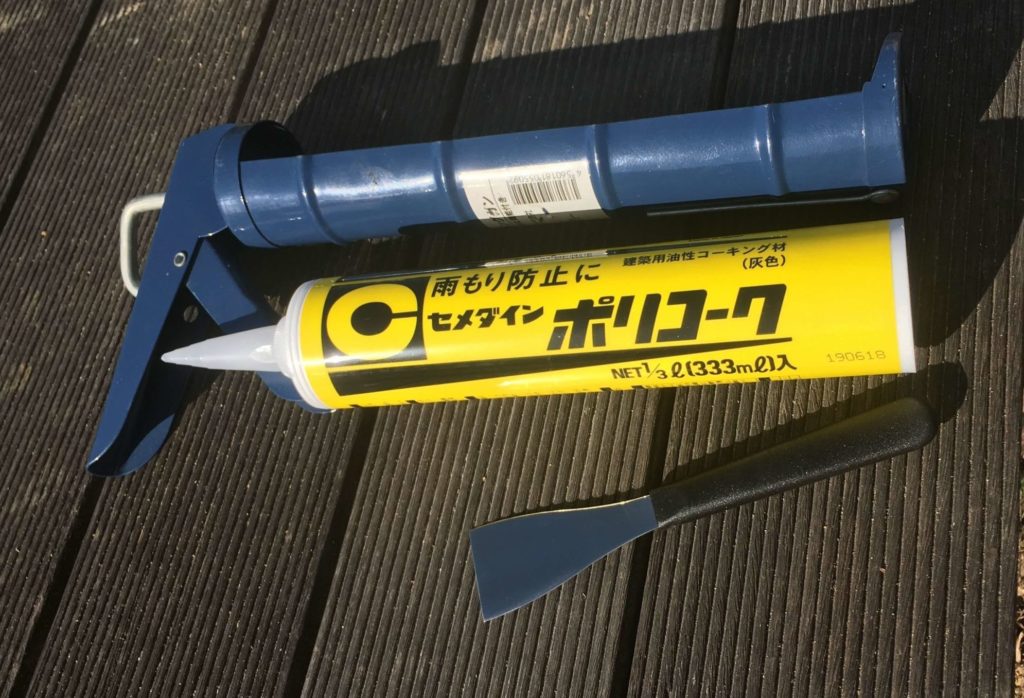
コーキング作業に必要な道具
- コーキングガン
- コーキング材
- ヘラ
コーキング作業は構造用合板同士の継ぎ目にできた隙間にコーキング材を流しいれ、ヘラで均していきます。


防水層を作る
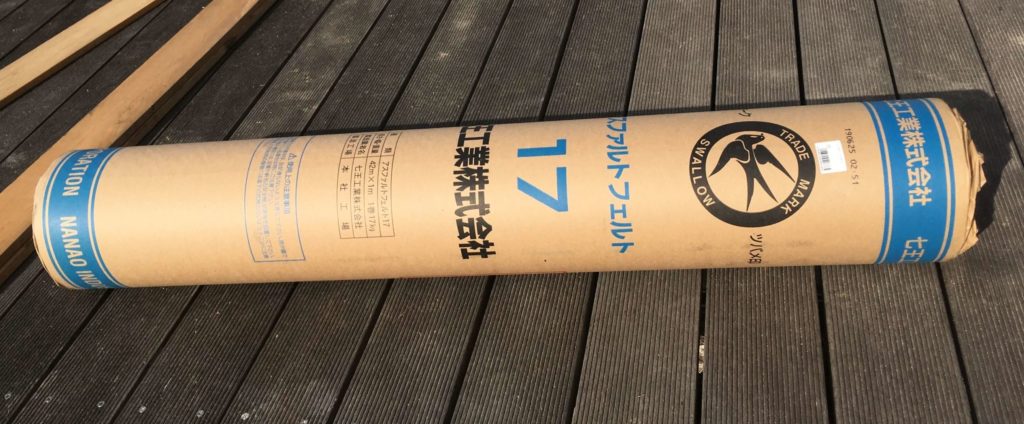
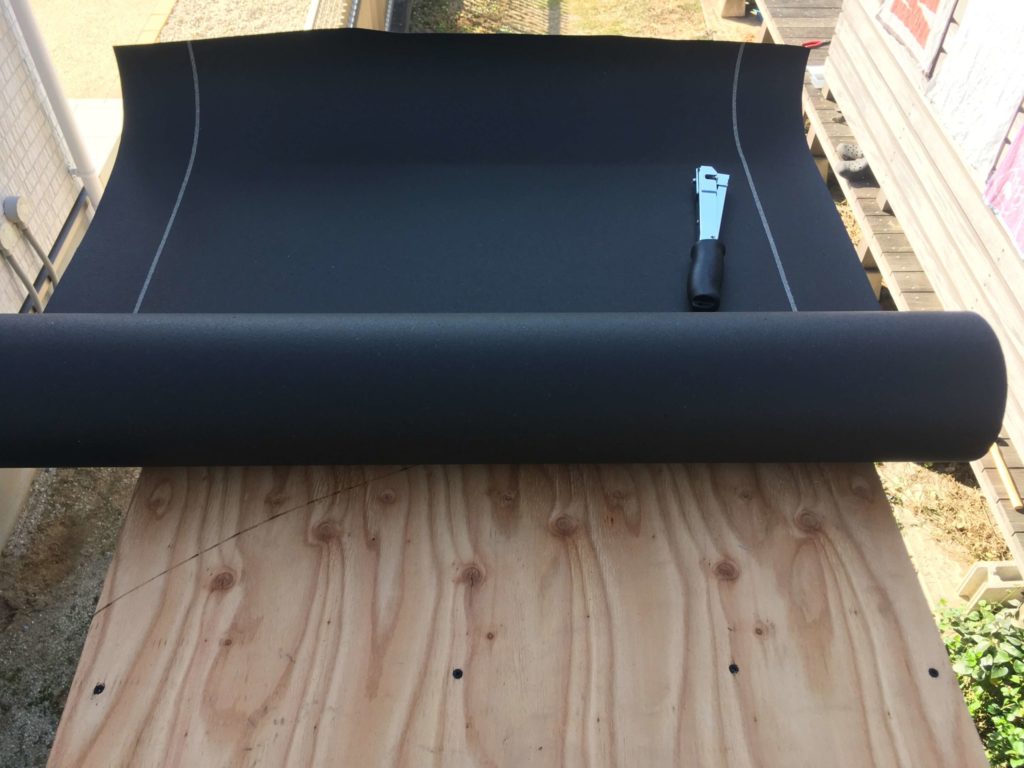
コーキングによって下地の隙間埋めが完了したら、アスファルトフェルトを使用して防水層を作ります。アスファルトフェルトは繊維状の紙にアスファルトを染み込ませたもので水を通しません。
防水層を作るのに必要な材料と道具
- アスファルトフェルト
- ハンマータッカー(タッカーでもOK)
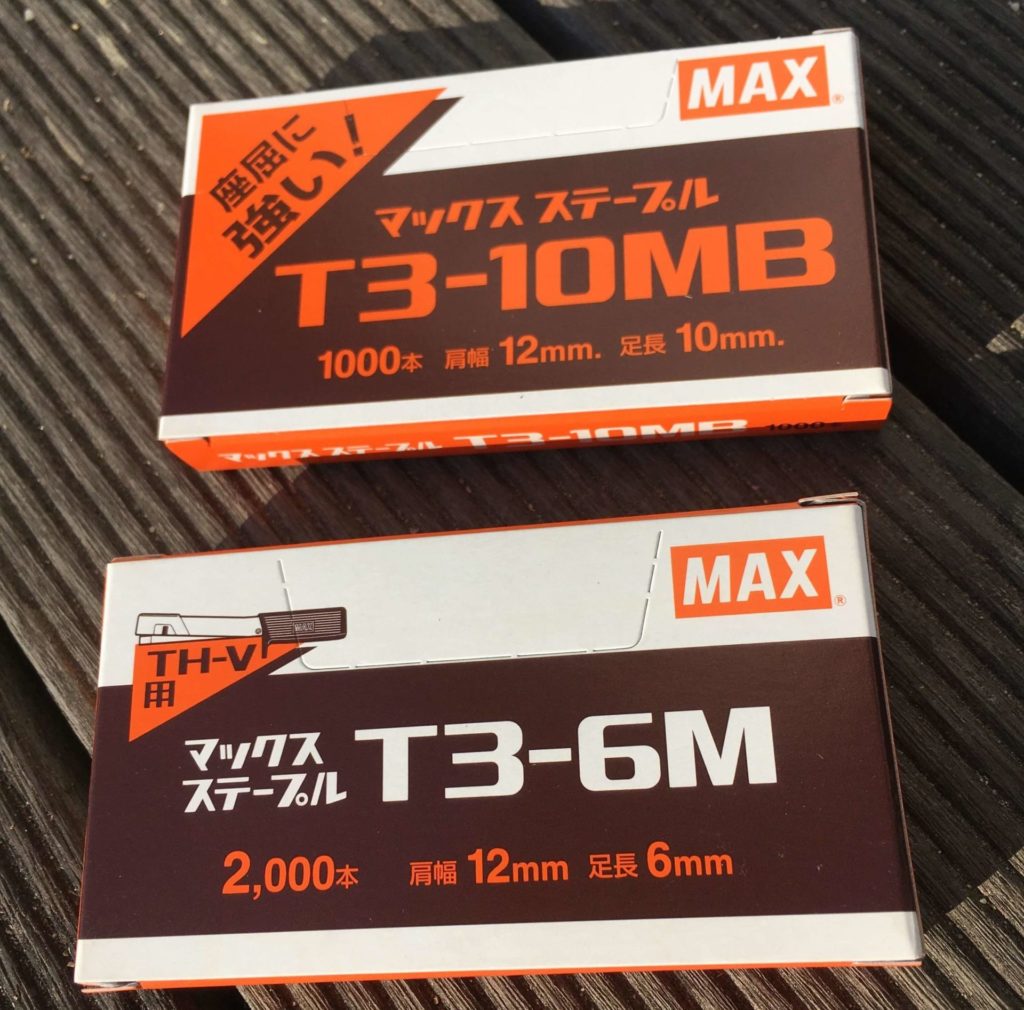
- ステープル(6㎜)
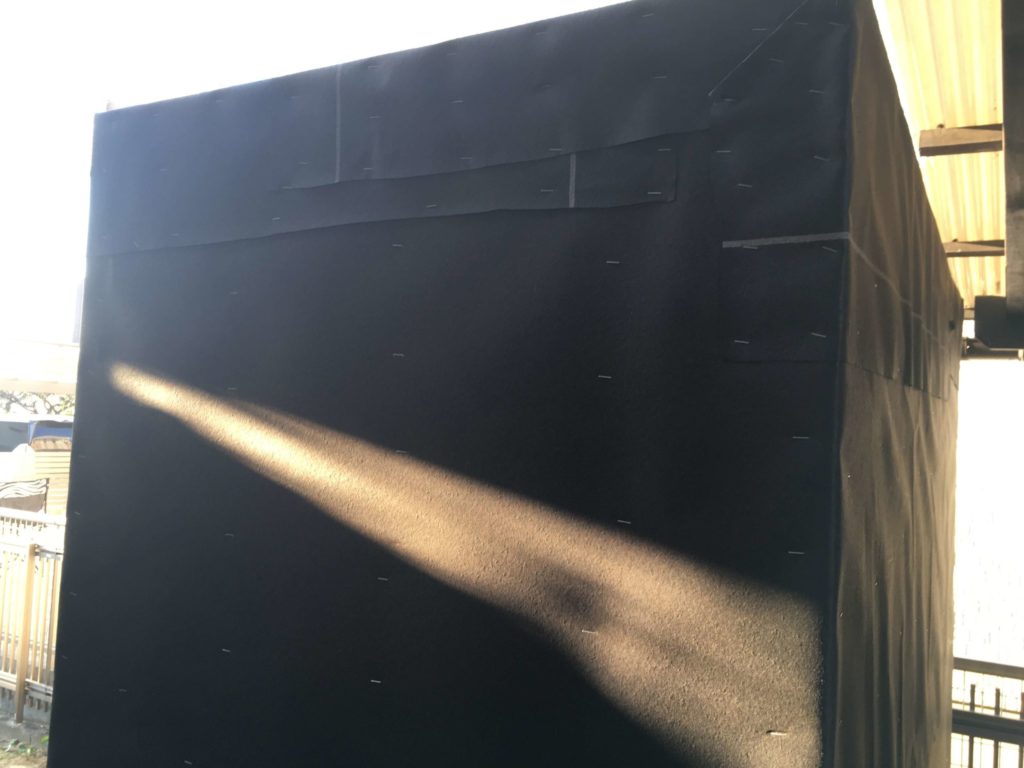
アスファルトフェルトは、ハンマータッカーで構造用合板に張っていきます。防水層を作って、外からの雨水が中に入らないようにします。
タッカーはホッチキスの大きなもので、針で打ち付けることで留めることができます。ハンマータッカーは、ハンマーのように打ち付けることで、針を留めることができるタッカーです。使うのは少しの慣れが必要です。
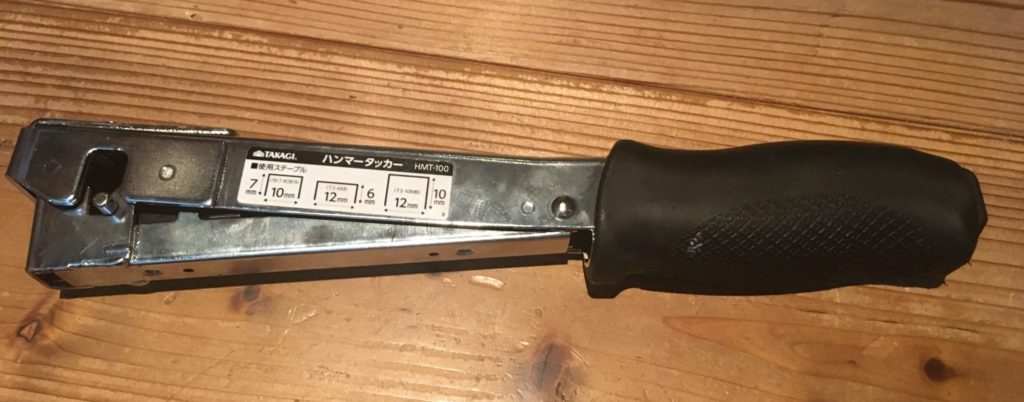


ハンマータッカーの失敗例
ハンマータッカーは、足長6㎜のステープルを使いましょう
タッカーで留める作業では、針が折れることが多発しました。これは、足長10㎜の針を使用していたからでした。ハンマータッカーは打ち付けるため針が折れやすいのです。
構造用合板やSPF材のように、硬めの材料に打ち付けるには足長10㎜のものは長すぎます。タッカー用針の箱には、足長6㎜のものにTH-V用と表記されており、ハンマータッカー用であることが示されています。
TH-Vとはハンマータッカーのことを指します。6㎜の針に変更した際には、折れることなくリズミカルに防水紙を合板に打ち付けることができるようになりました。
アスファルトフェルトの貼りかた
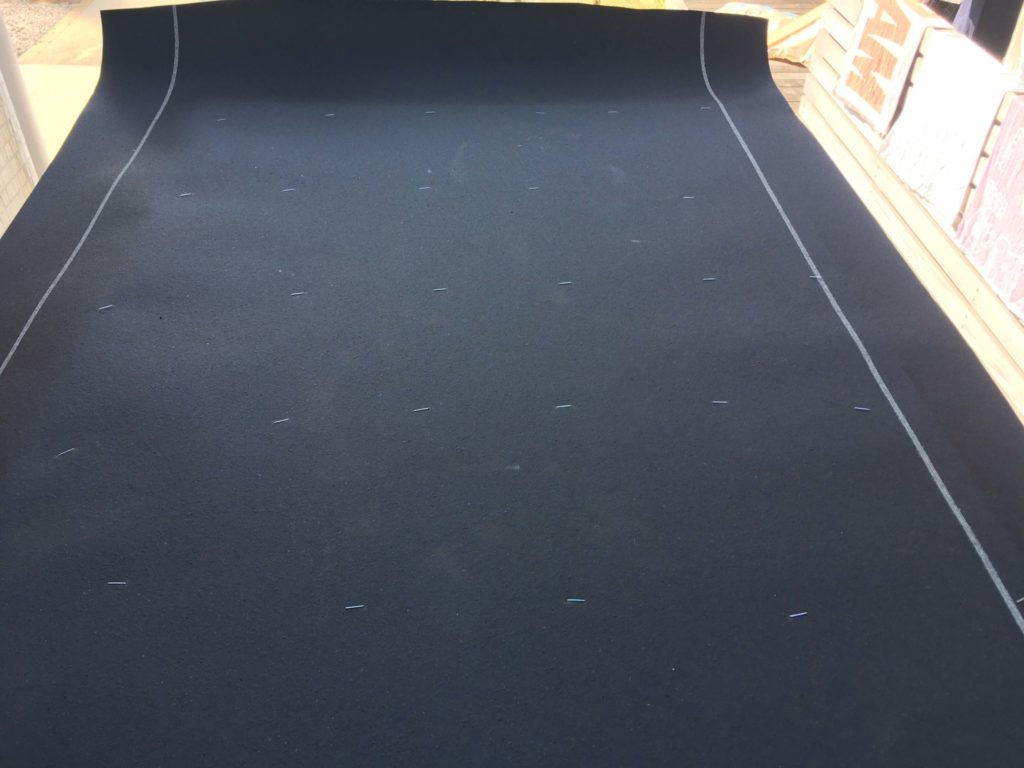
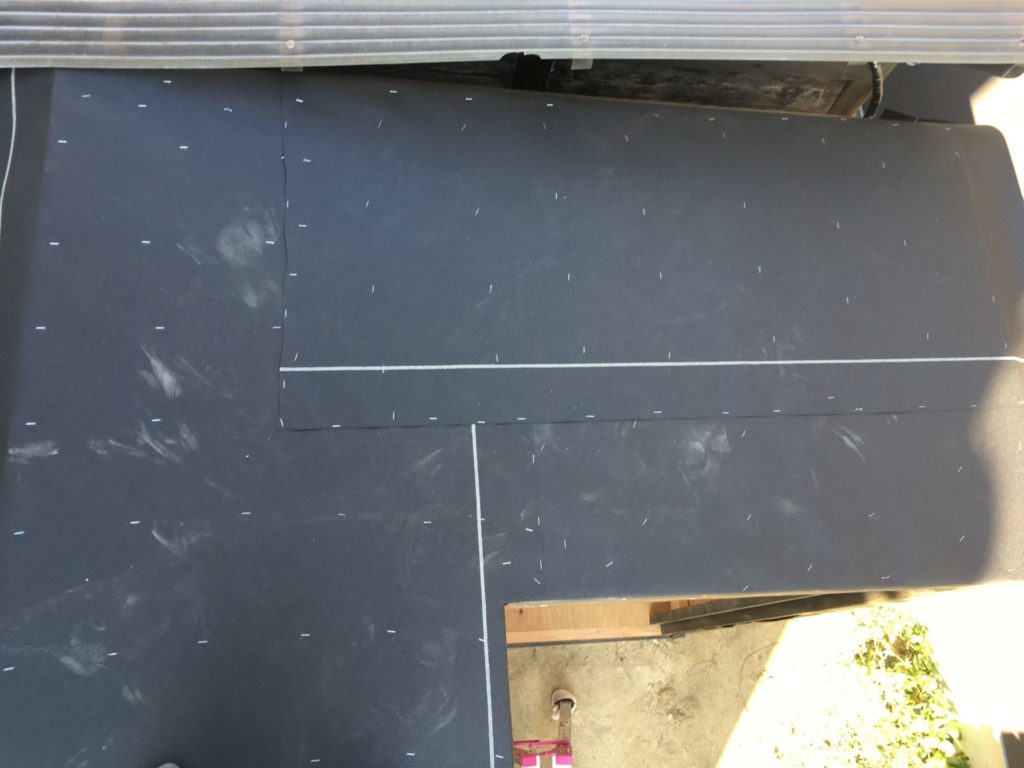
アスファルトフェルトの貼りかた
- 水下 → 水上の順に貼る
- 重なる部分は水上側を上に貼る
アスファルトフェルトの張る順番としては、水の流れる順番の逆から張っていきます。水下から貼り出し、水上を最後に貼ります。
この順番で張ることで、流れた雨水が物置の中に入っていくことがなく、防水紙によって止水されることとなります。
ちなみに、防水紙を打ち付ける材料と道具を入手する場合は、 配送料を含め比べた結果から 、タッカーは通信販売で入手し、アスファルトフェルトと針はホームセンターで購入する方がお得です。
げん防水をしっかりすると、物置は長持ちするよ
最後まで読んでいただきありがとうございます。
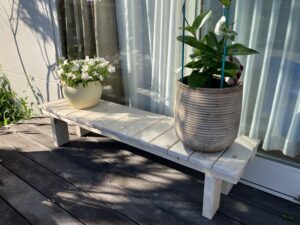
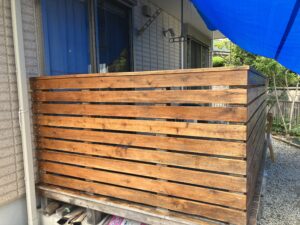
ウッドデッキや物置に関する記事はこちらです。よろしければご覧ください。


コメント