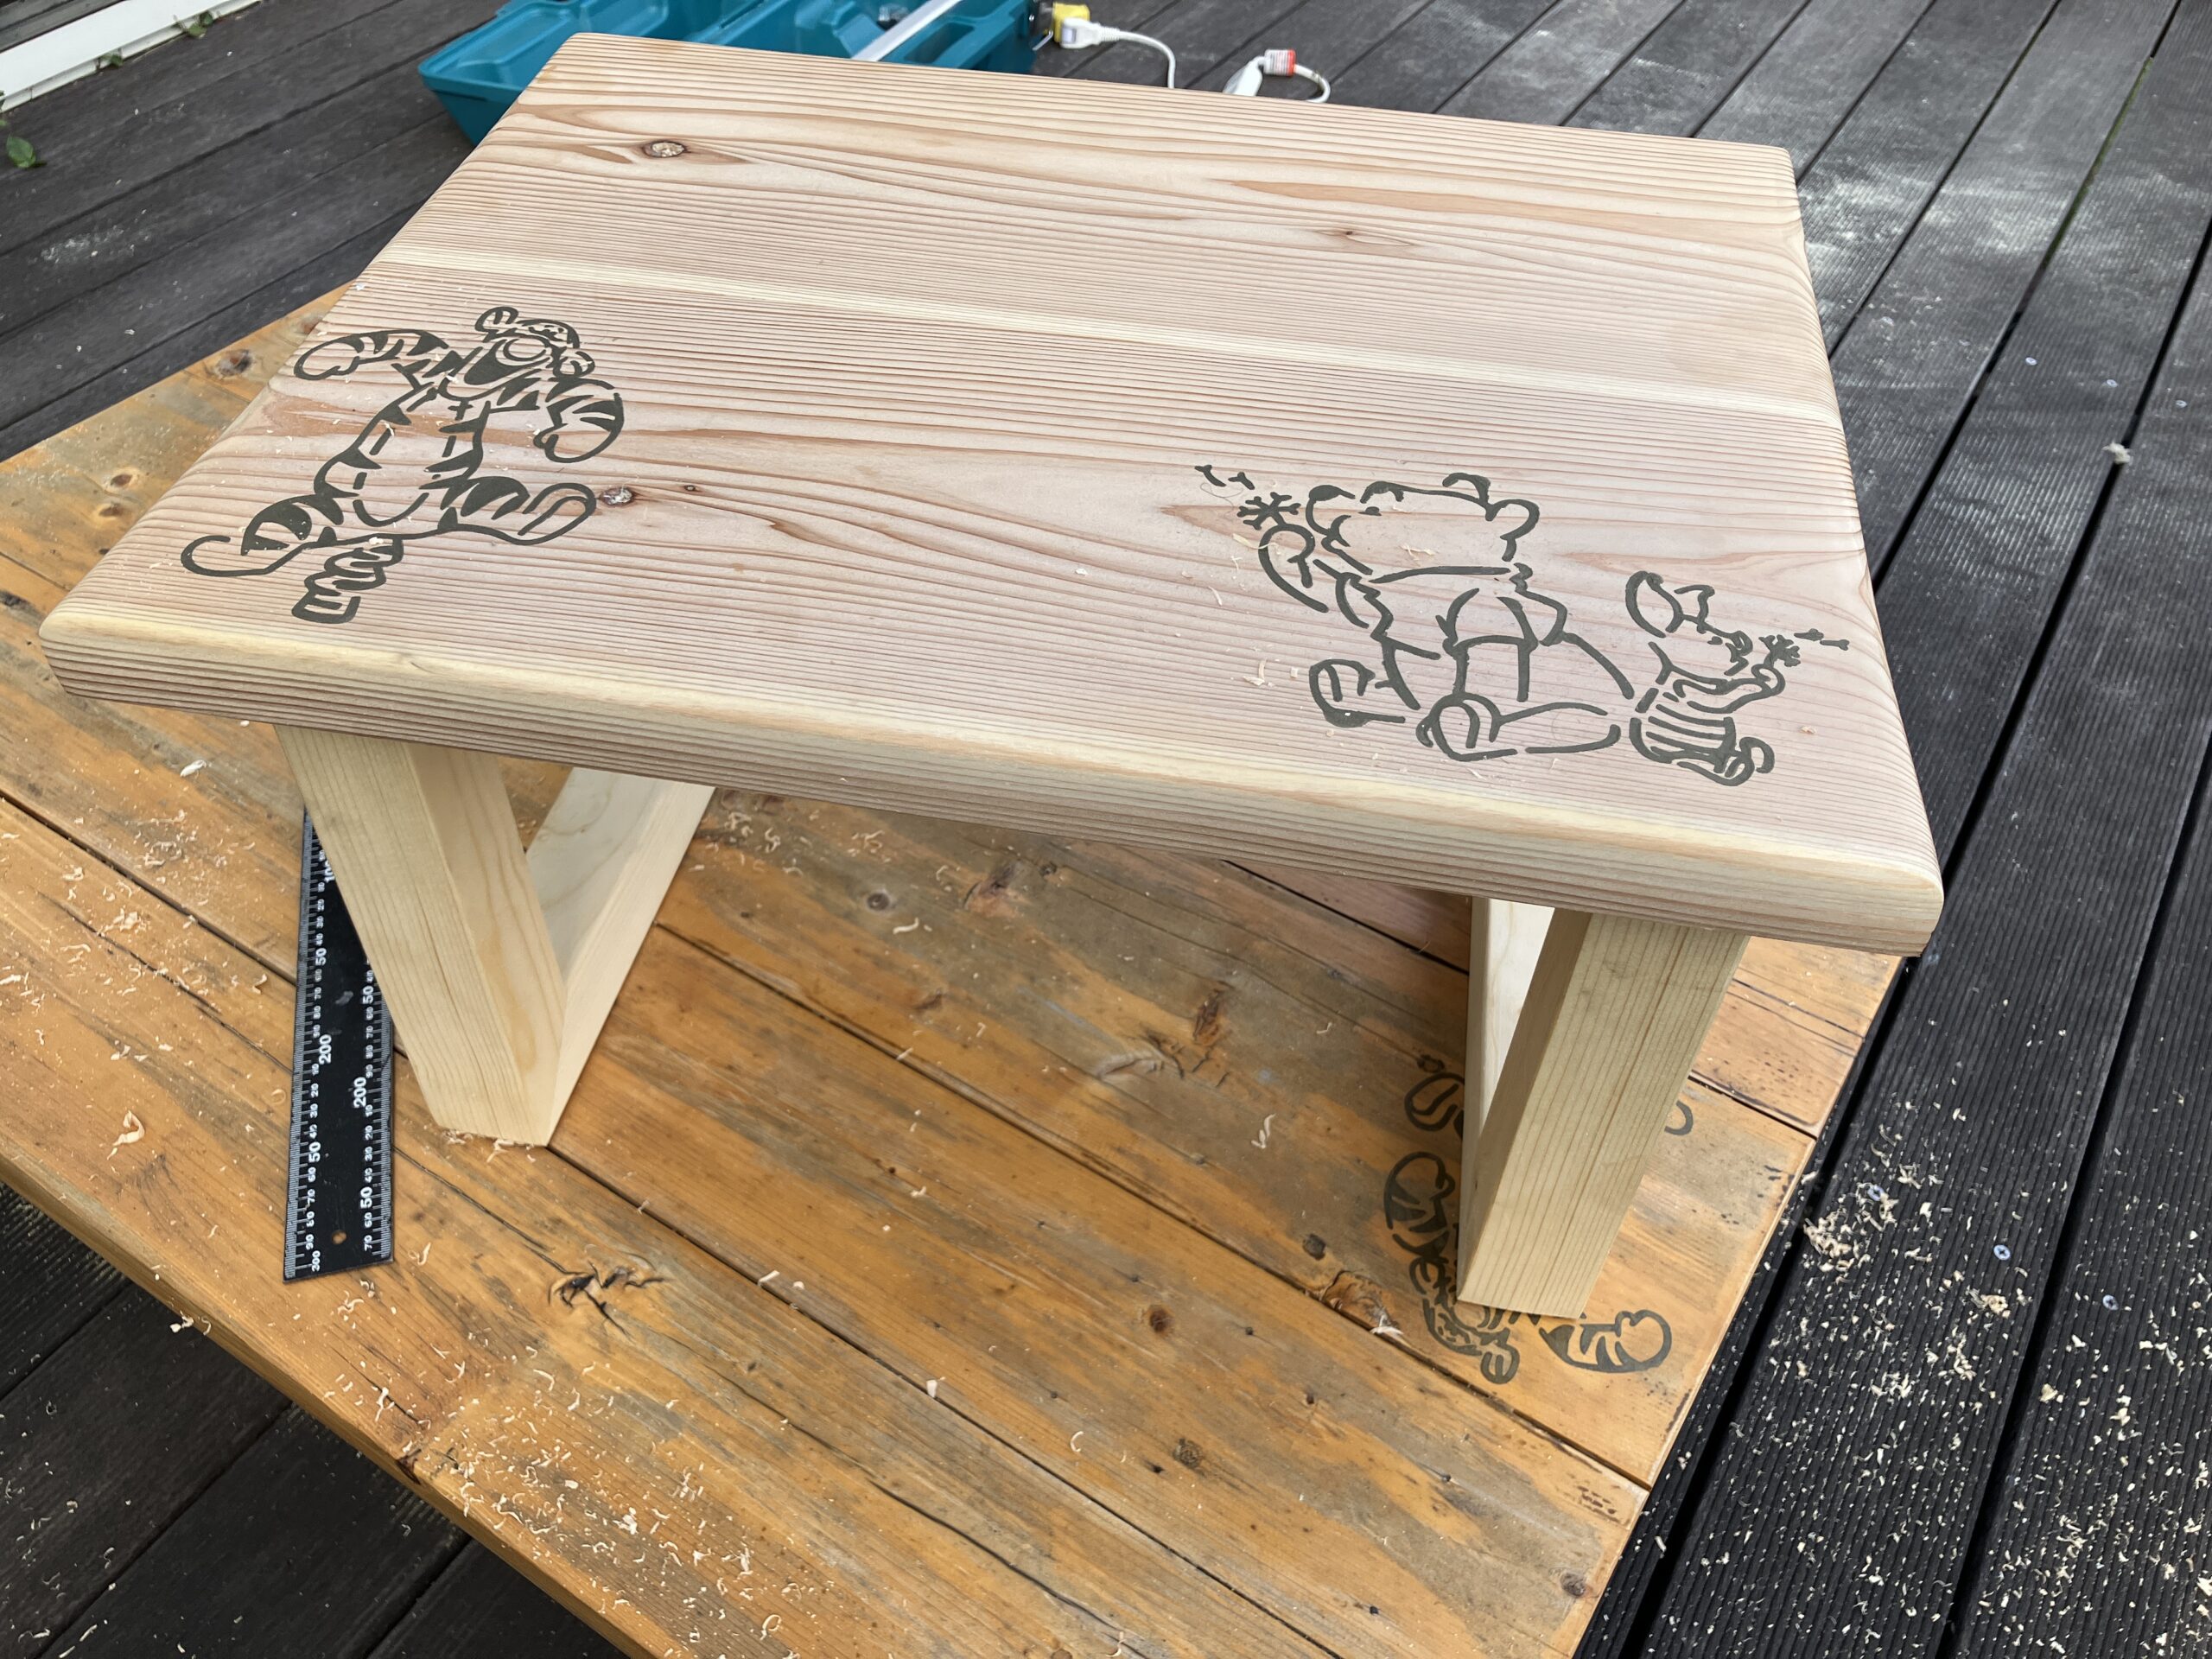
こんにちは、源です。今日は小さなテーブルを作った話です。
![](https://kantan-diy.com/wp-content/uploads/2023/07/de8b0abd7ba7114bec4d02279771fcd1-150x150.jpg)
小さいテーブルが一つあると便利よ
材料
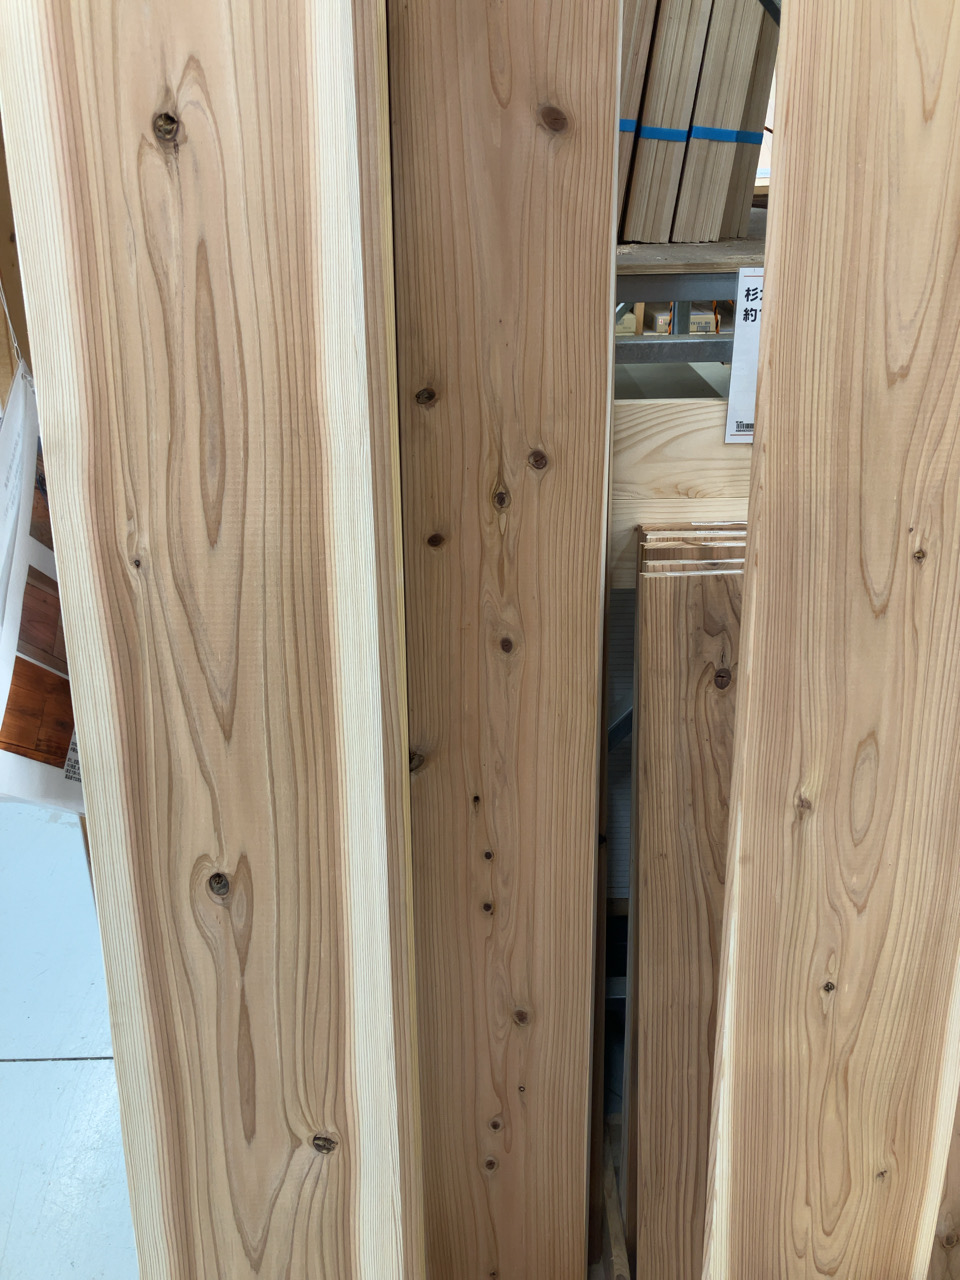
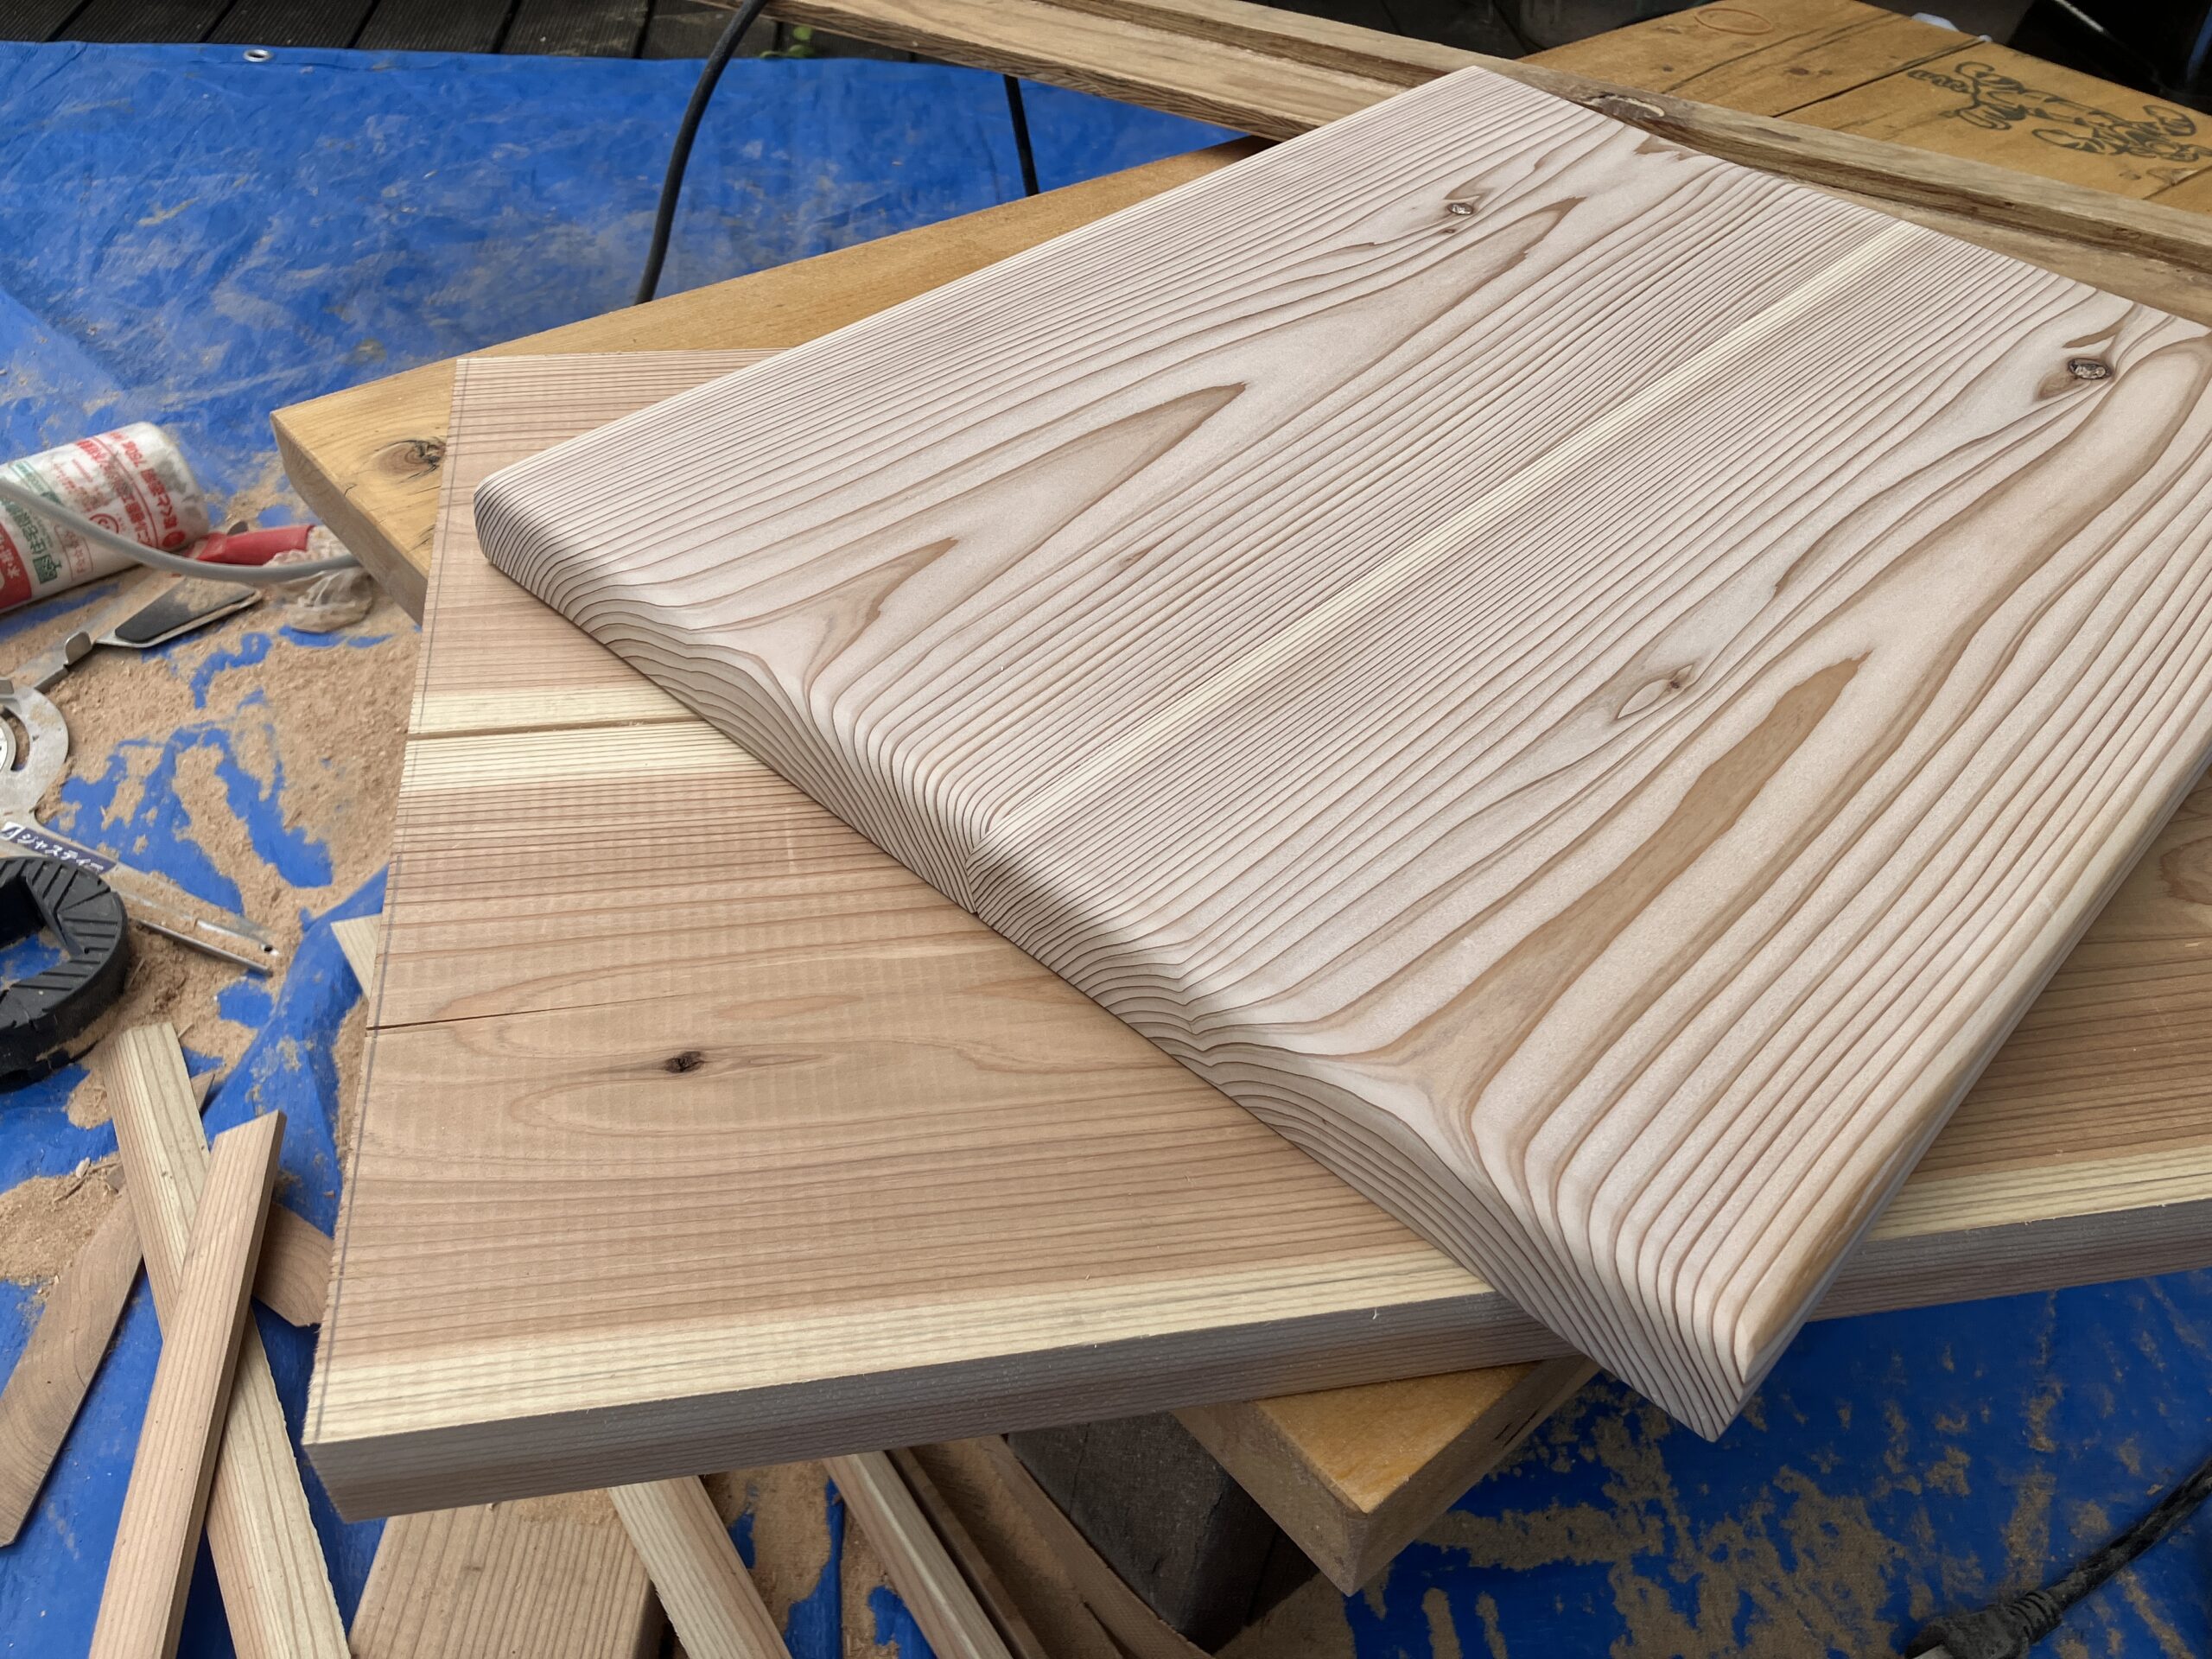
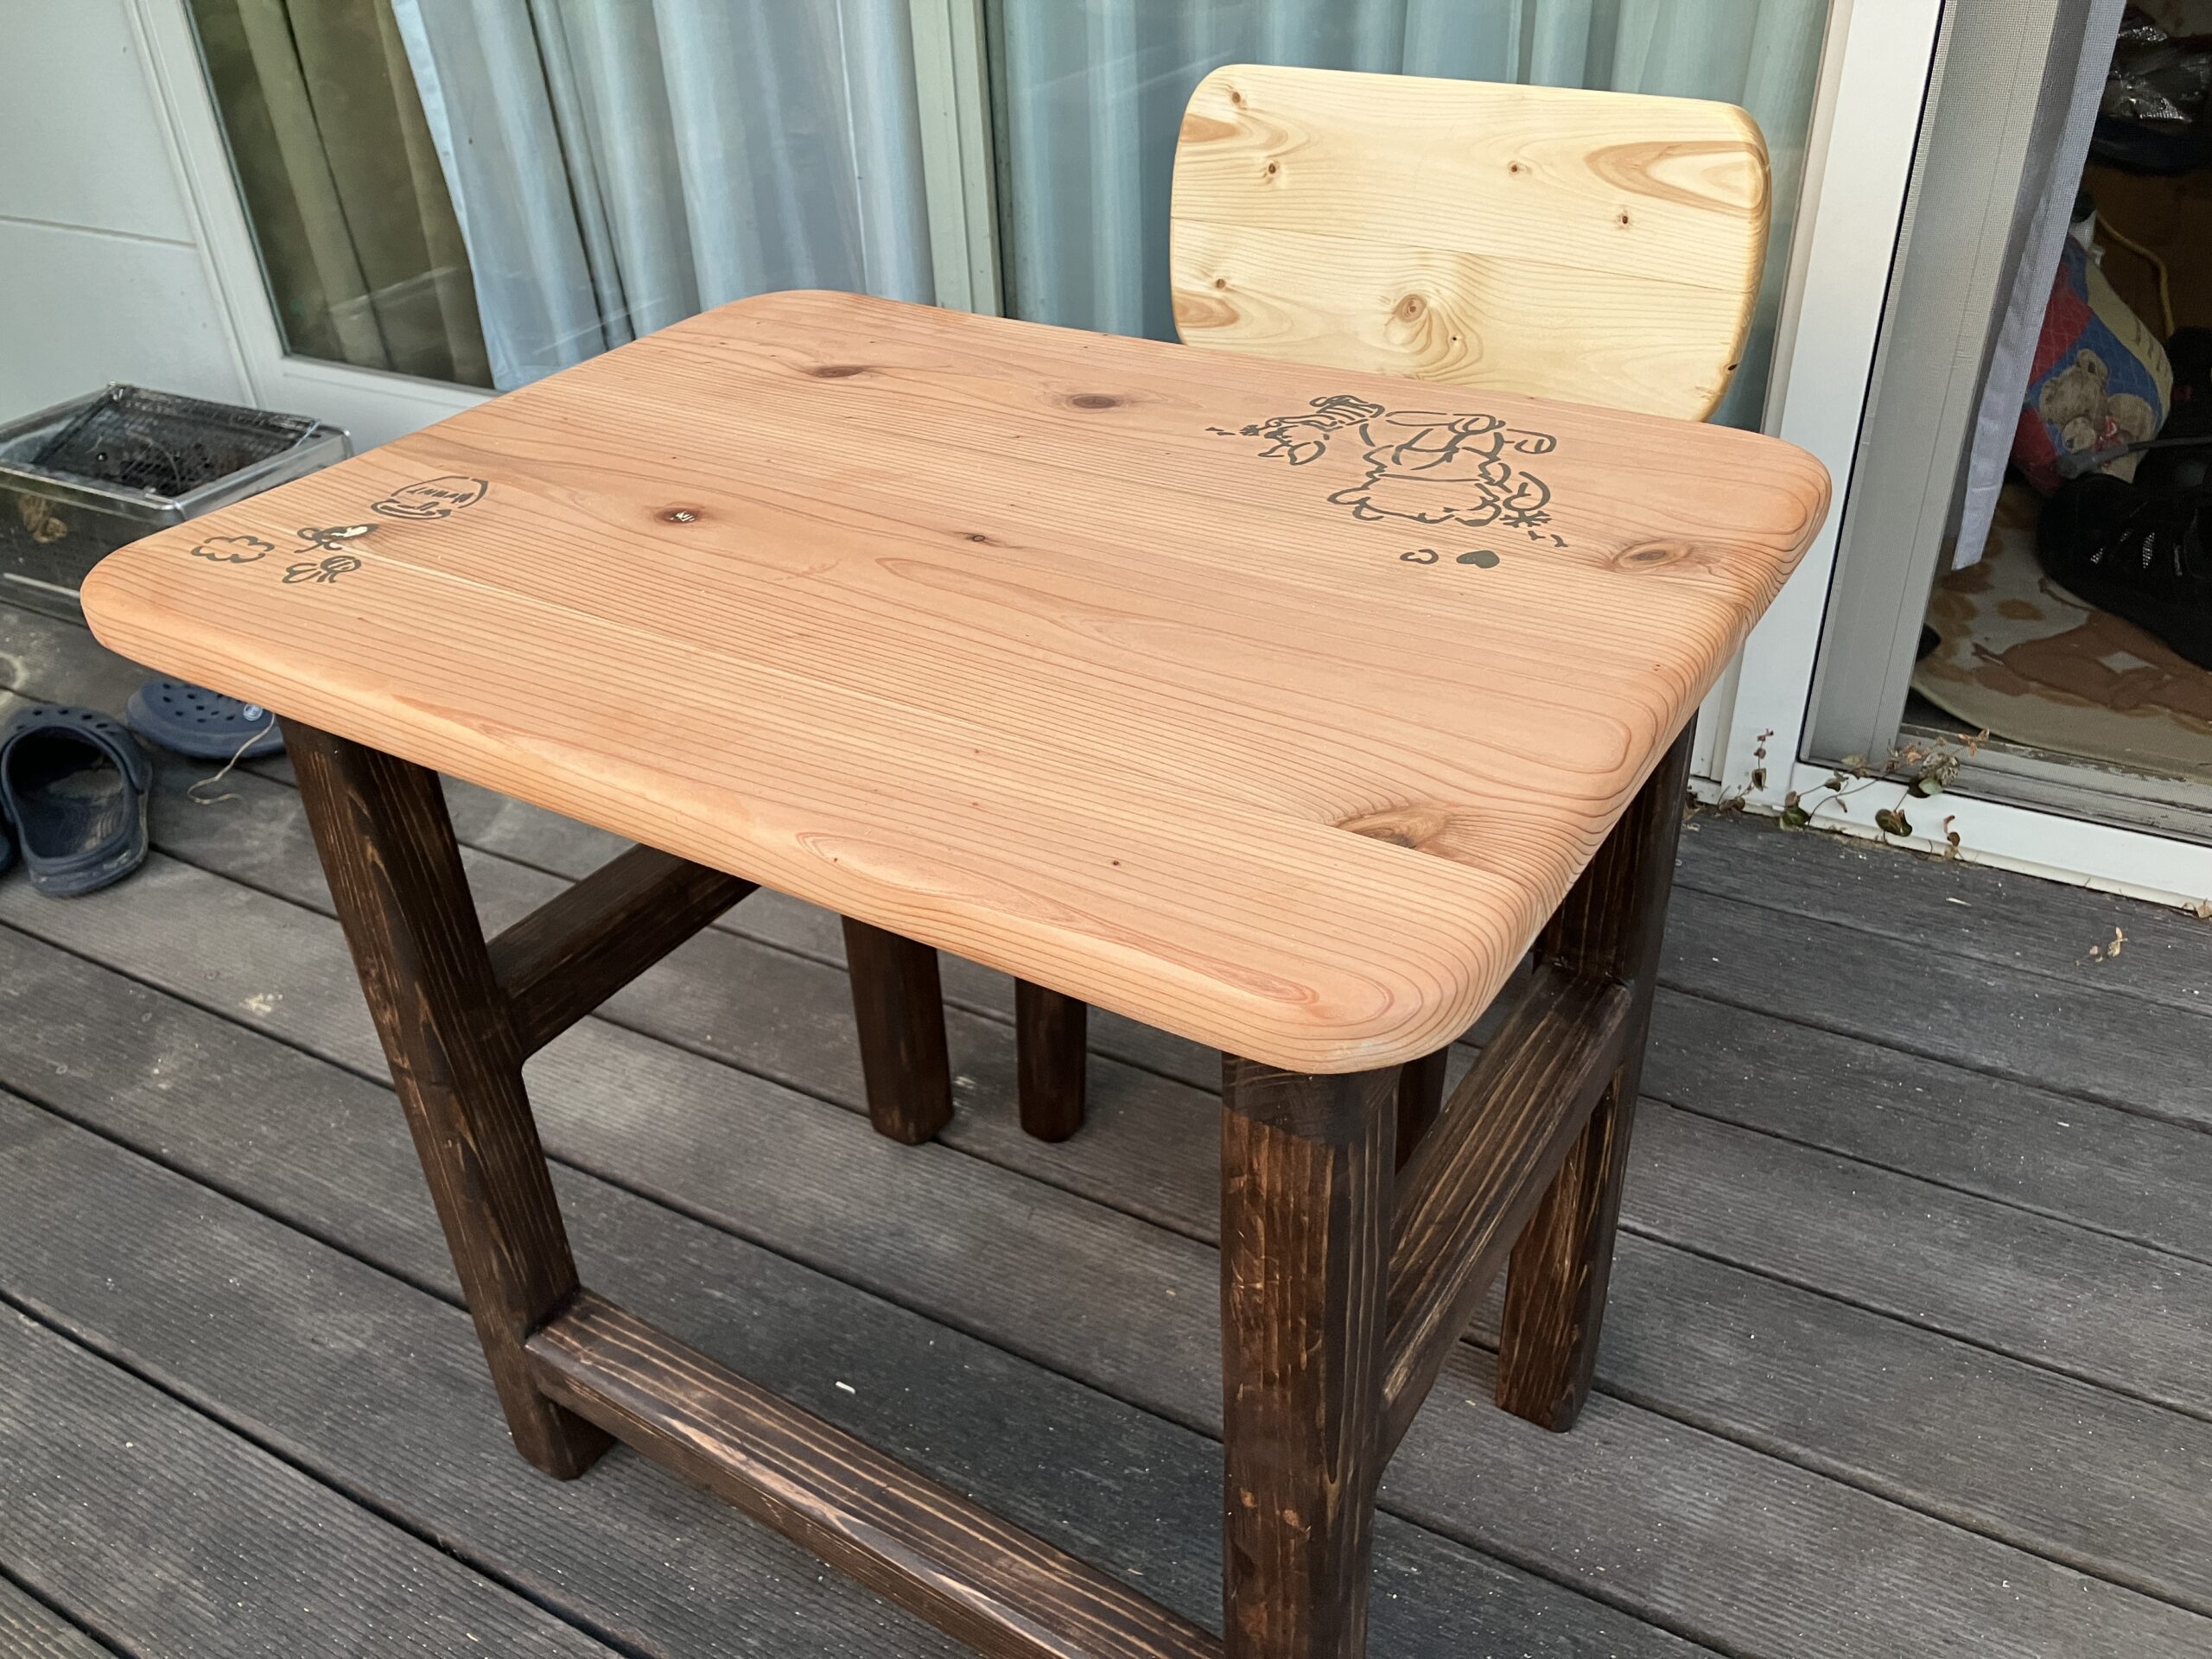
まず、材料です。天板はホームセンターでよく見かけるカフェ板です。三角のはめ込み部分がある厚めの杉板です。
![](https://kantan-diy.com/wp-content/uploads/2023/09/IMG_8866-768x1024.jpg)
![](https://kantan-diy.com/wp-content/uploads/2023/09/IMG_8869-1024x768.jpg)
脚の部分はホワイトウッドです。45㎜角材を使いました。
製作方法
![](https://kantan-diy.com/wp-content/uploads/2023/10/d00fefe4fdb45def875d66fe6a44d139.jpg)
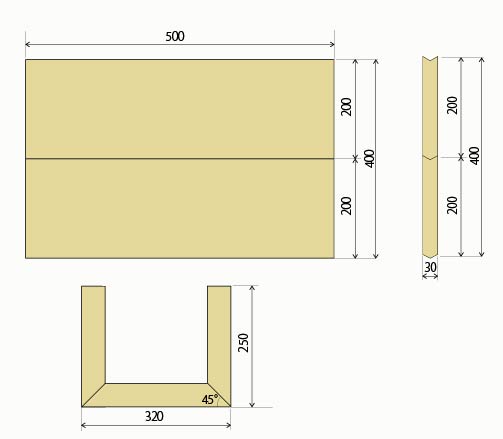
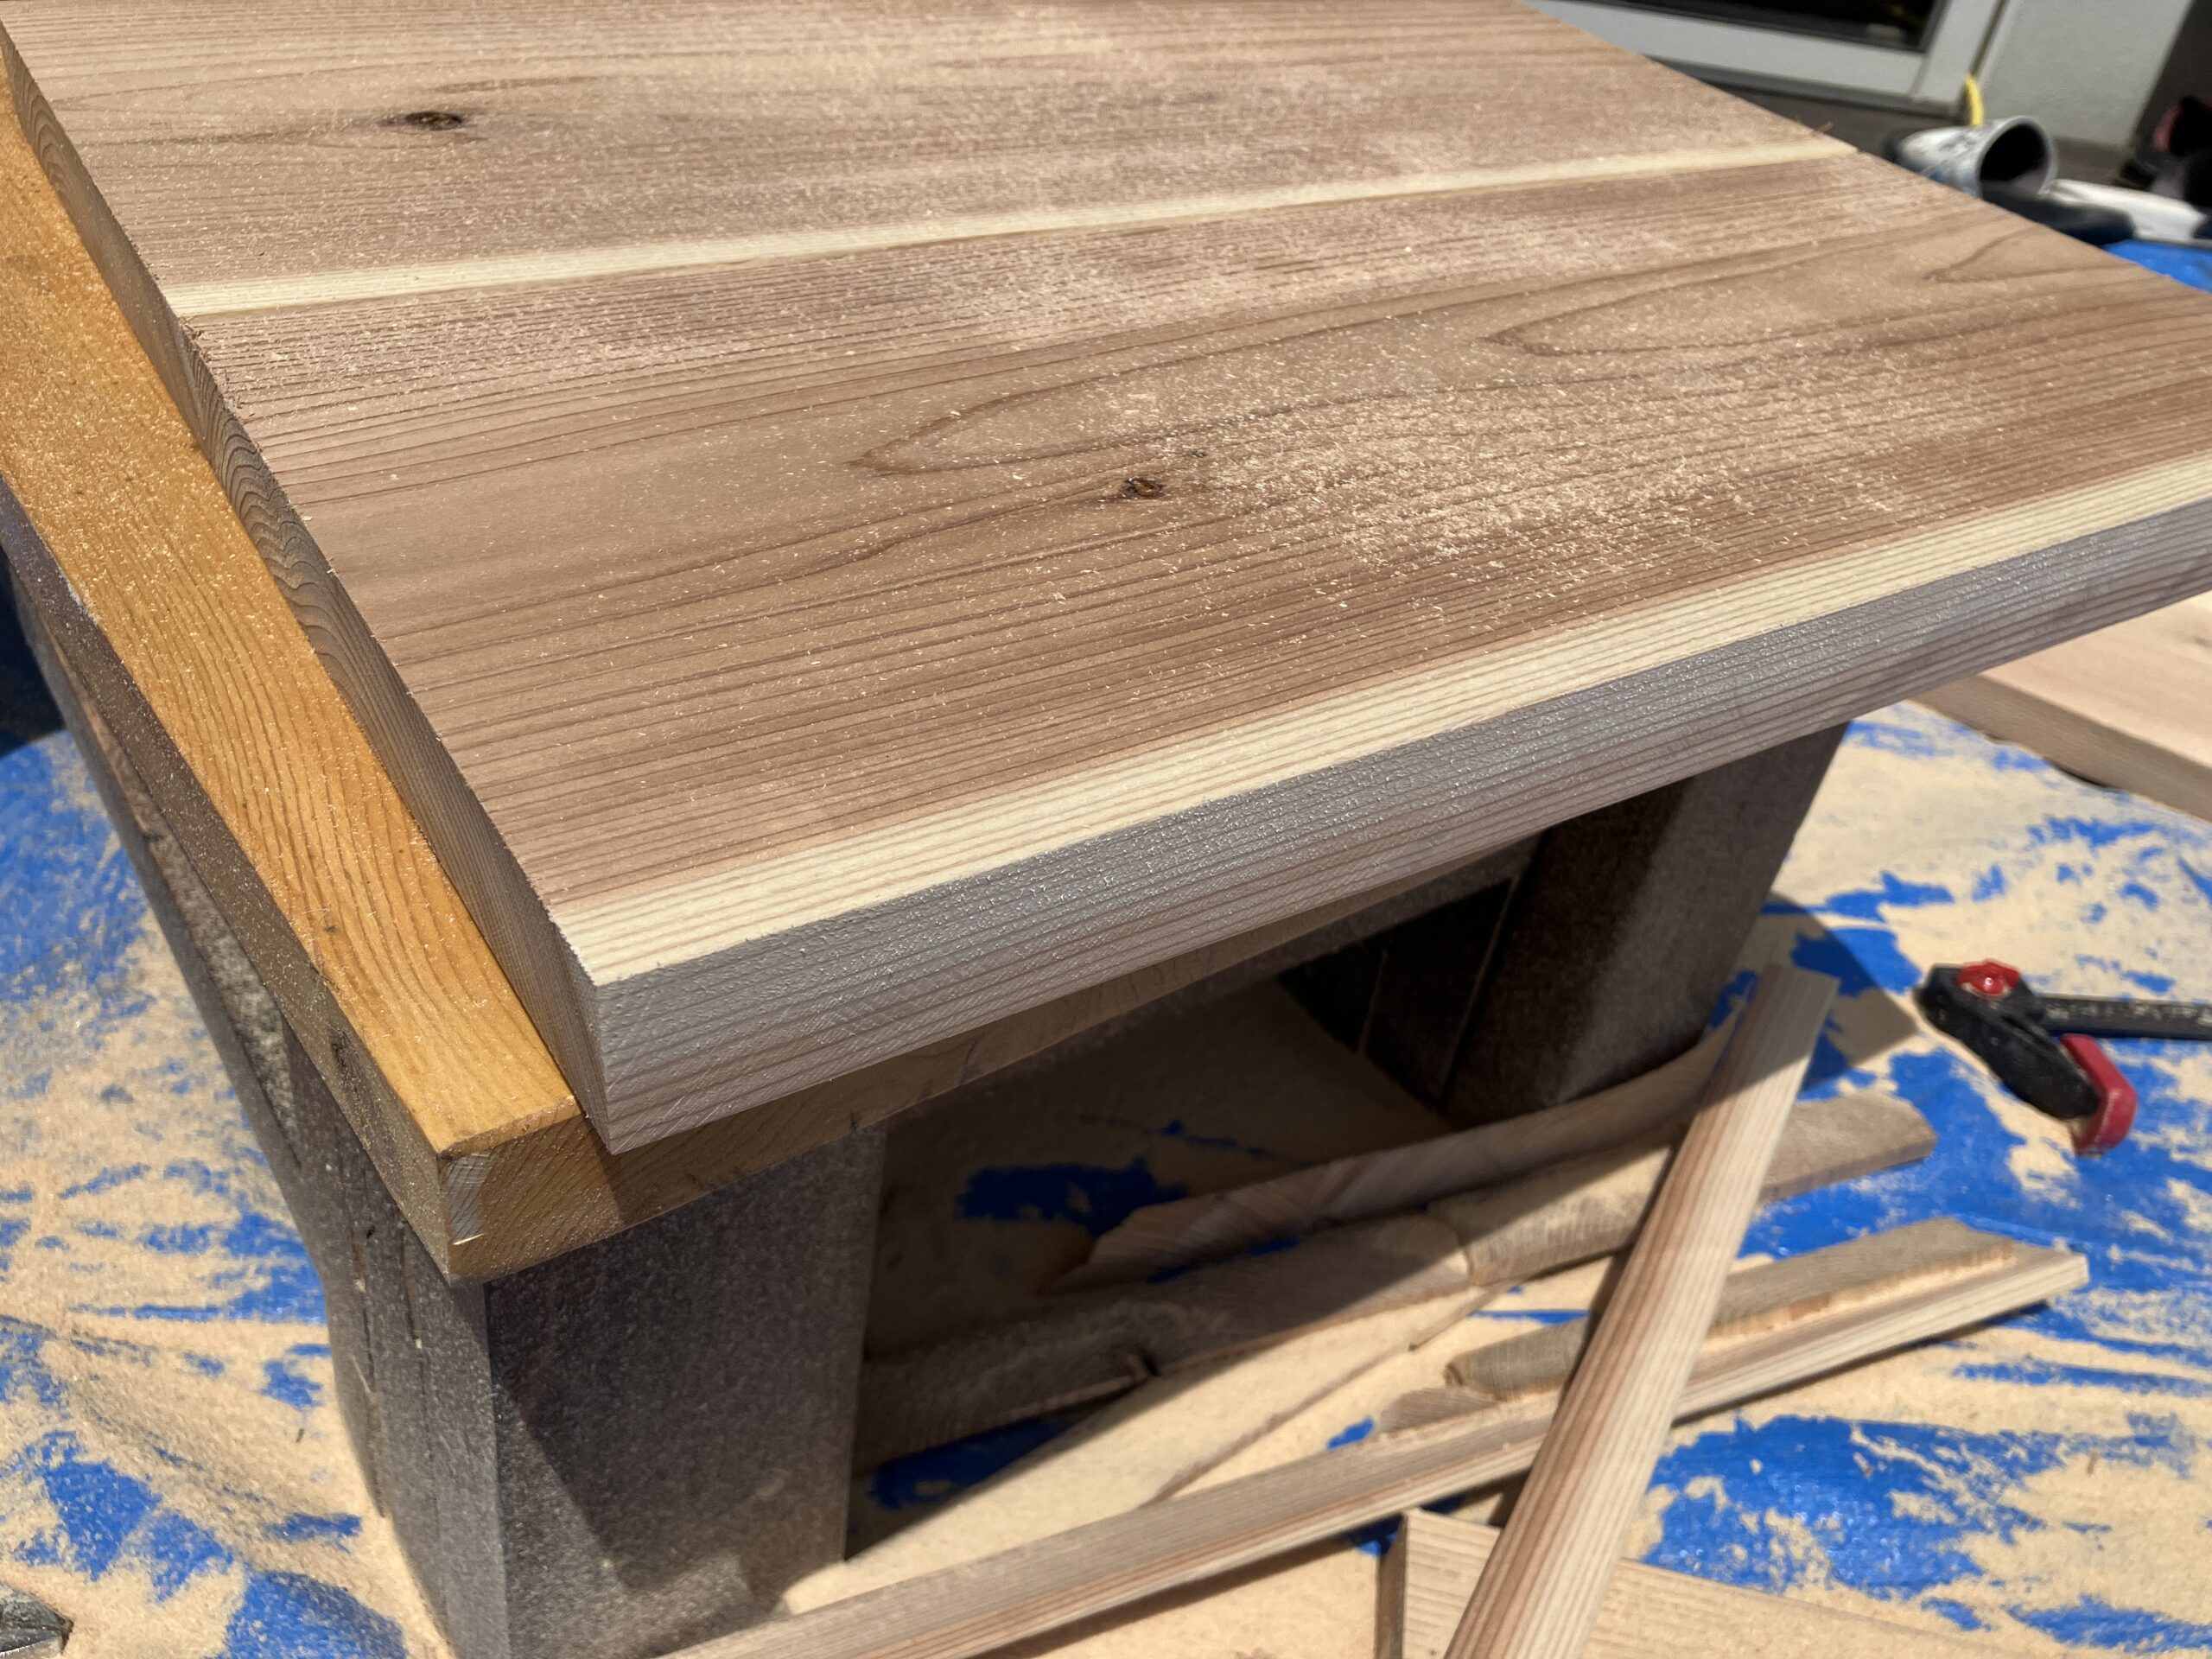
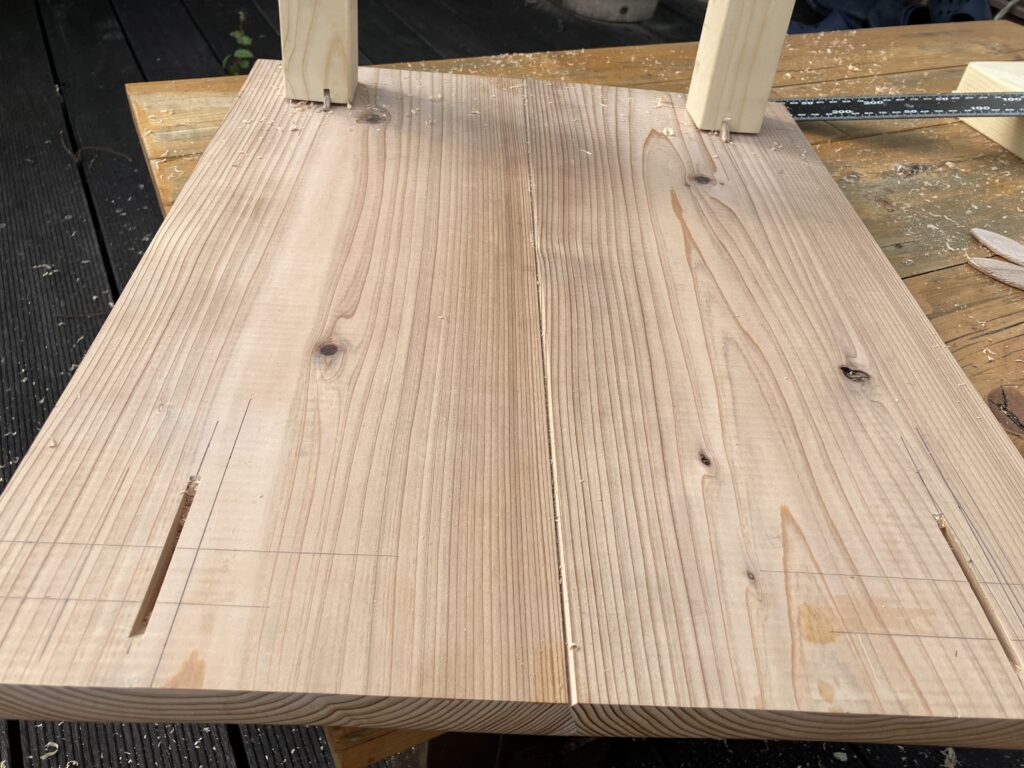
天板はカフェ板を机の幅に切り揃え、木工用ボンドでくっつけます。ビスを打ったりしないので手軽です。一日乾かせば、しっかりと天板が出来上がります。
![](https://kantan-diy.com/wp-content/uploads/2023/09/IMG_8871-scaled-e1694069995388-1024x768.jpg)
![](https://kantan-diy.com/wp-content/uploads/2023/09/IMG_8870-scaled-e1694068662947-1024x768.jpg)
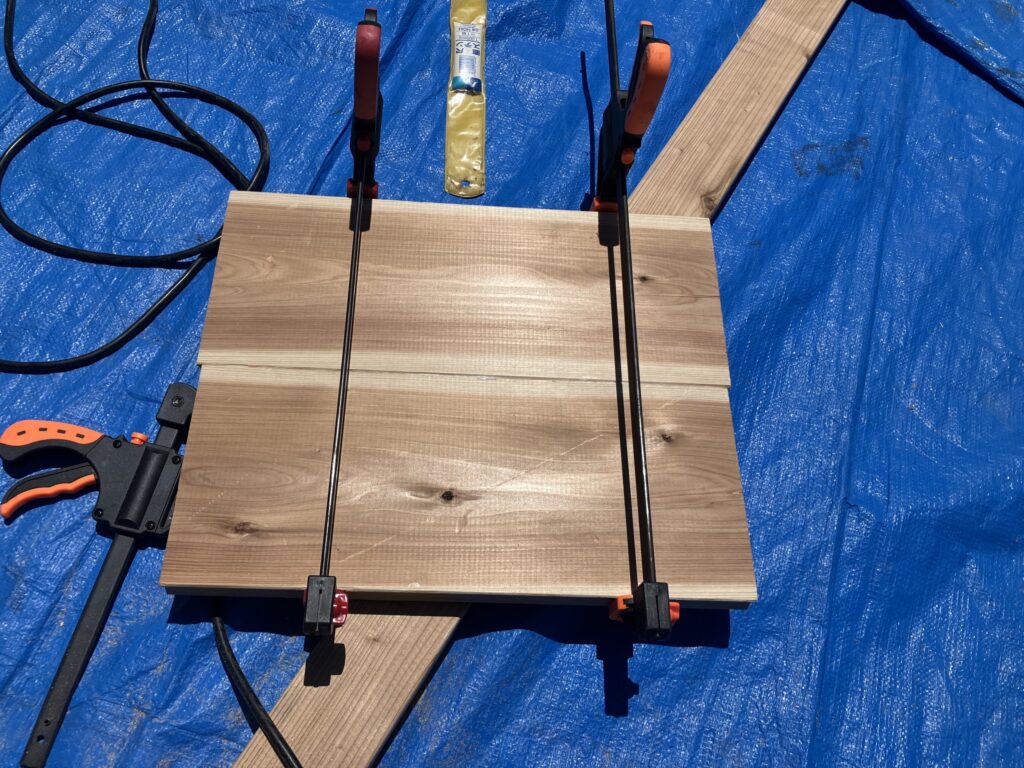
しっかりとくっつけるために、クイッククランプ又はベルトクランプで固定します。
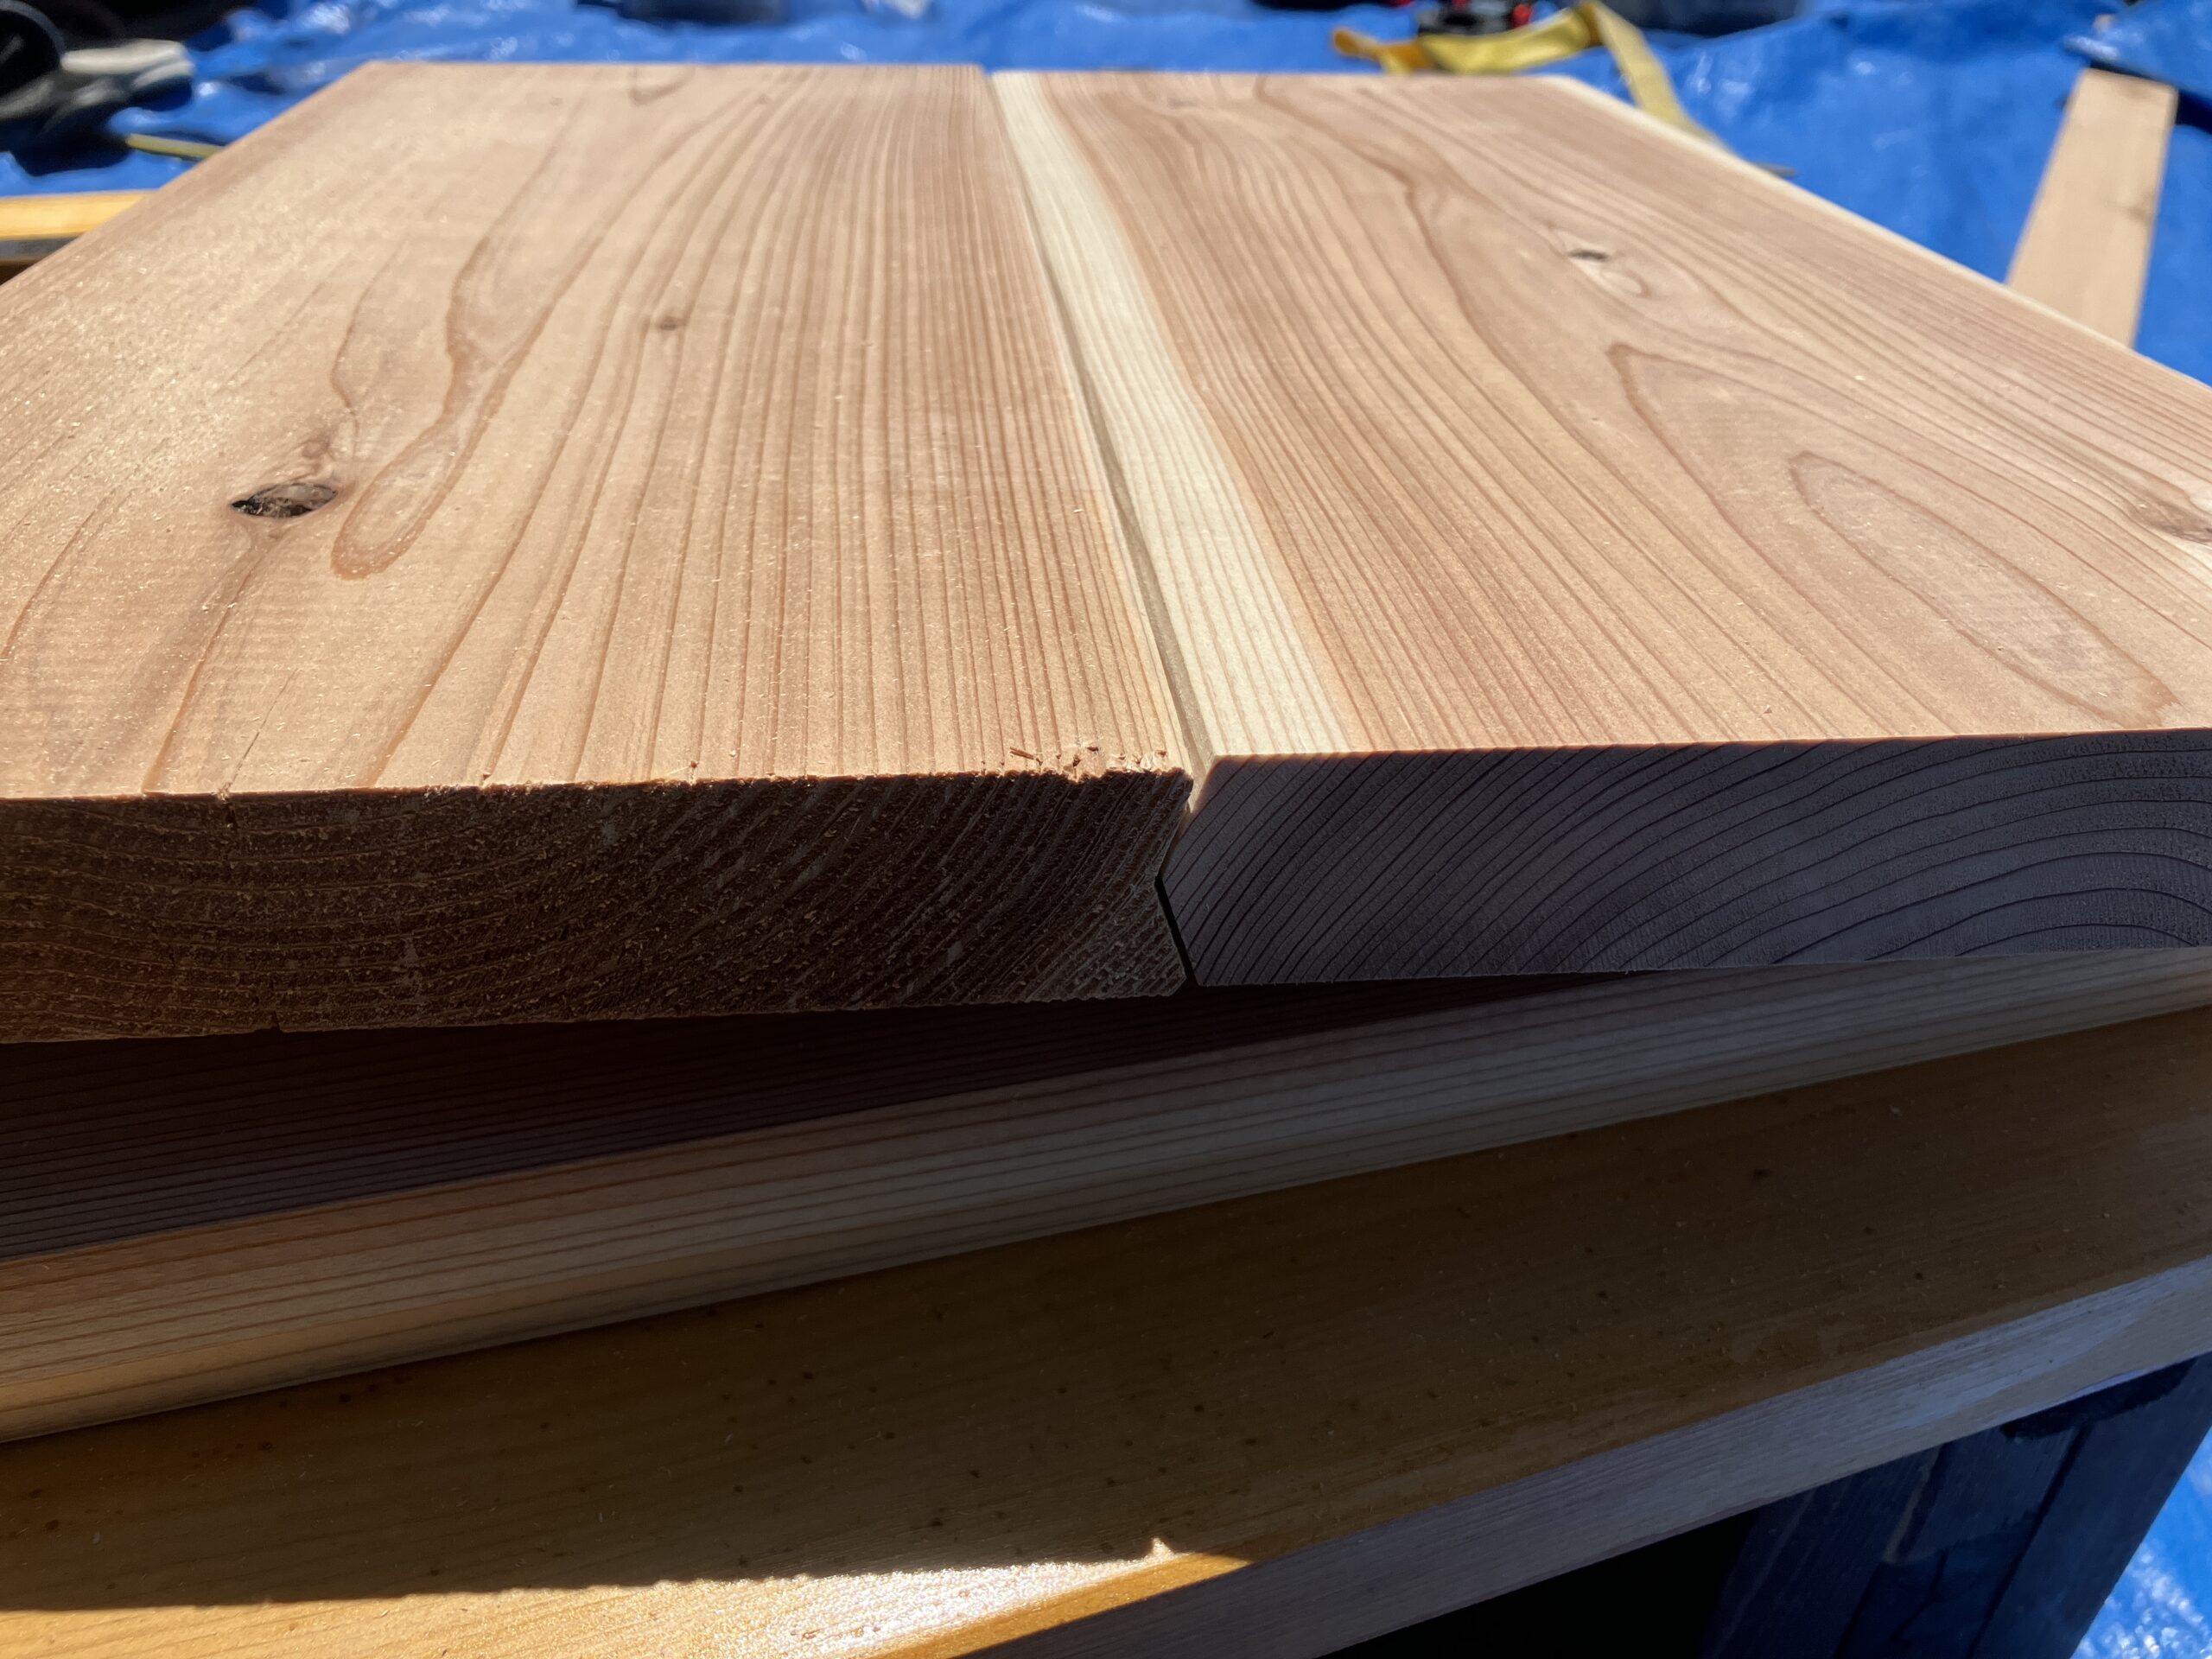
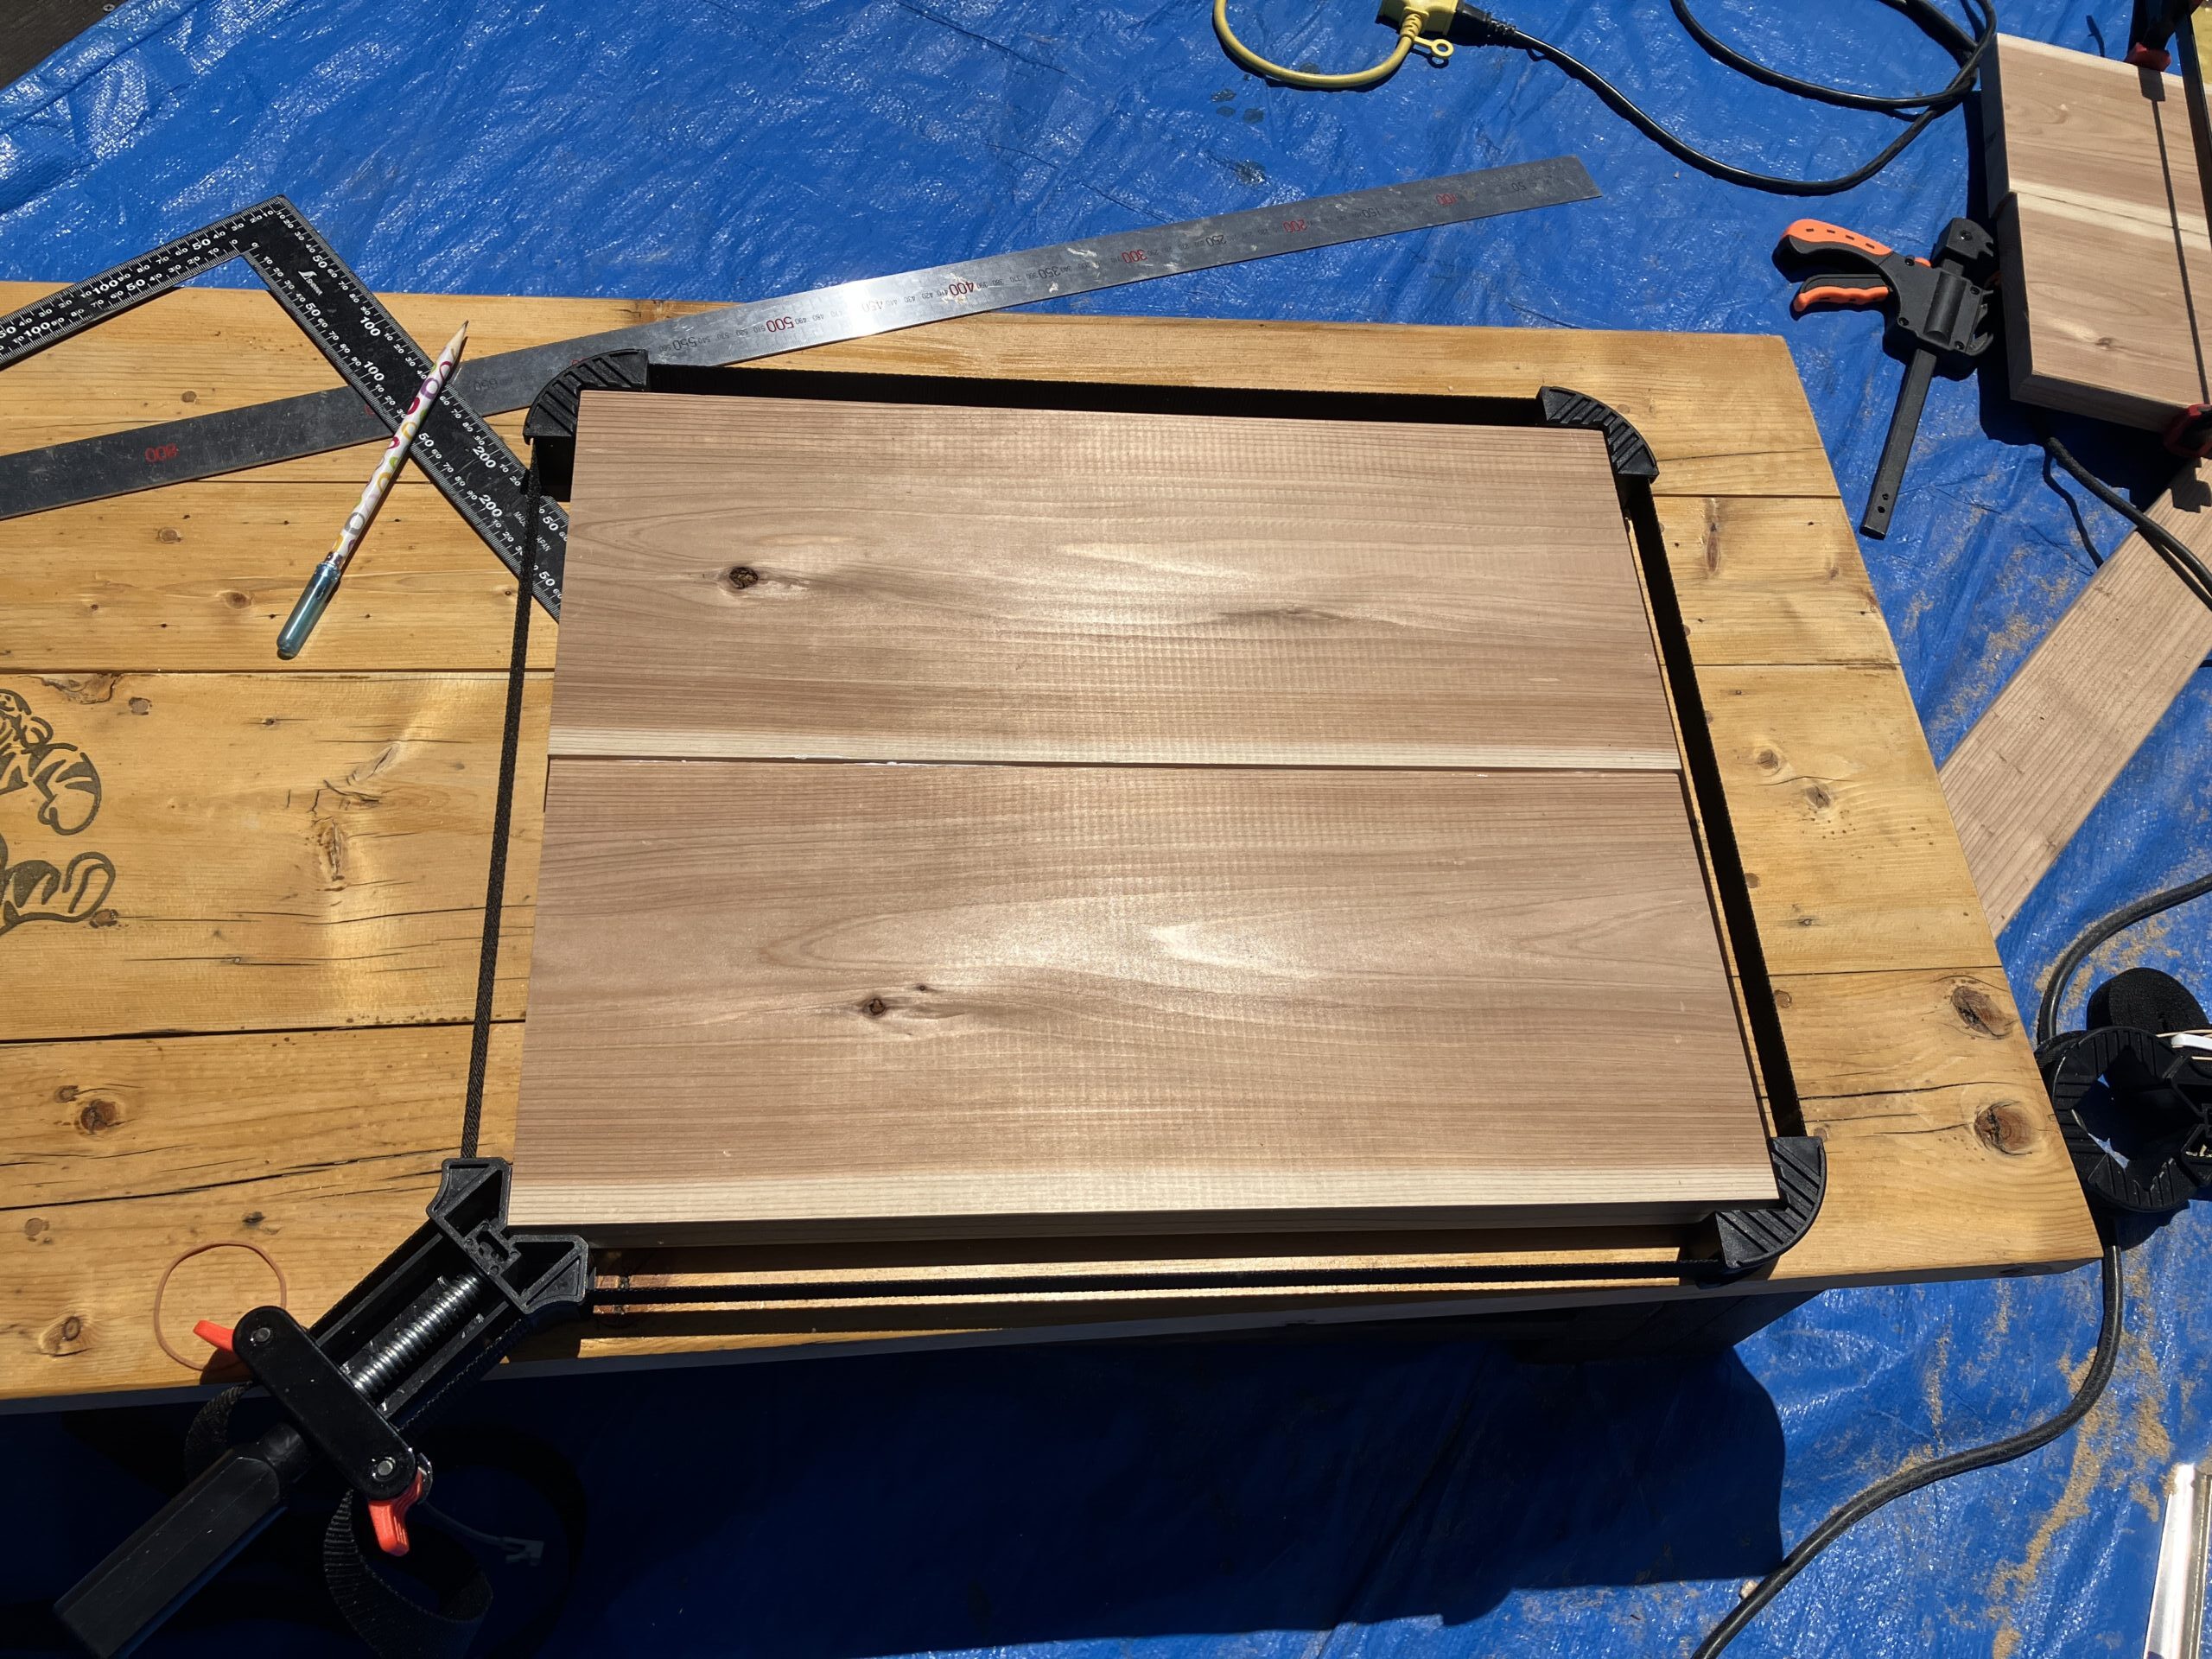
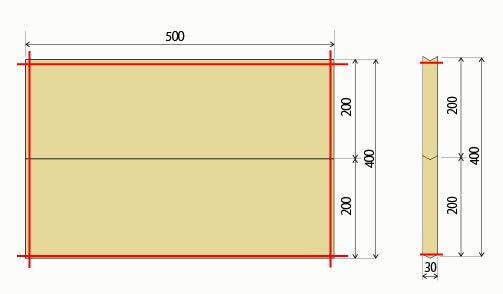
横幅を揃え、接続用の三角部分を切り落とすため、四辺を丸のこで切ります。
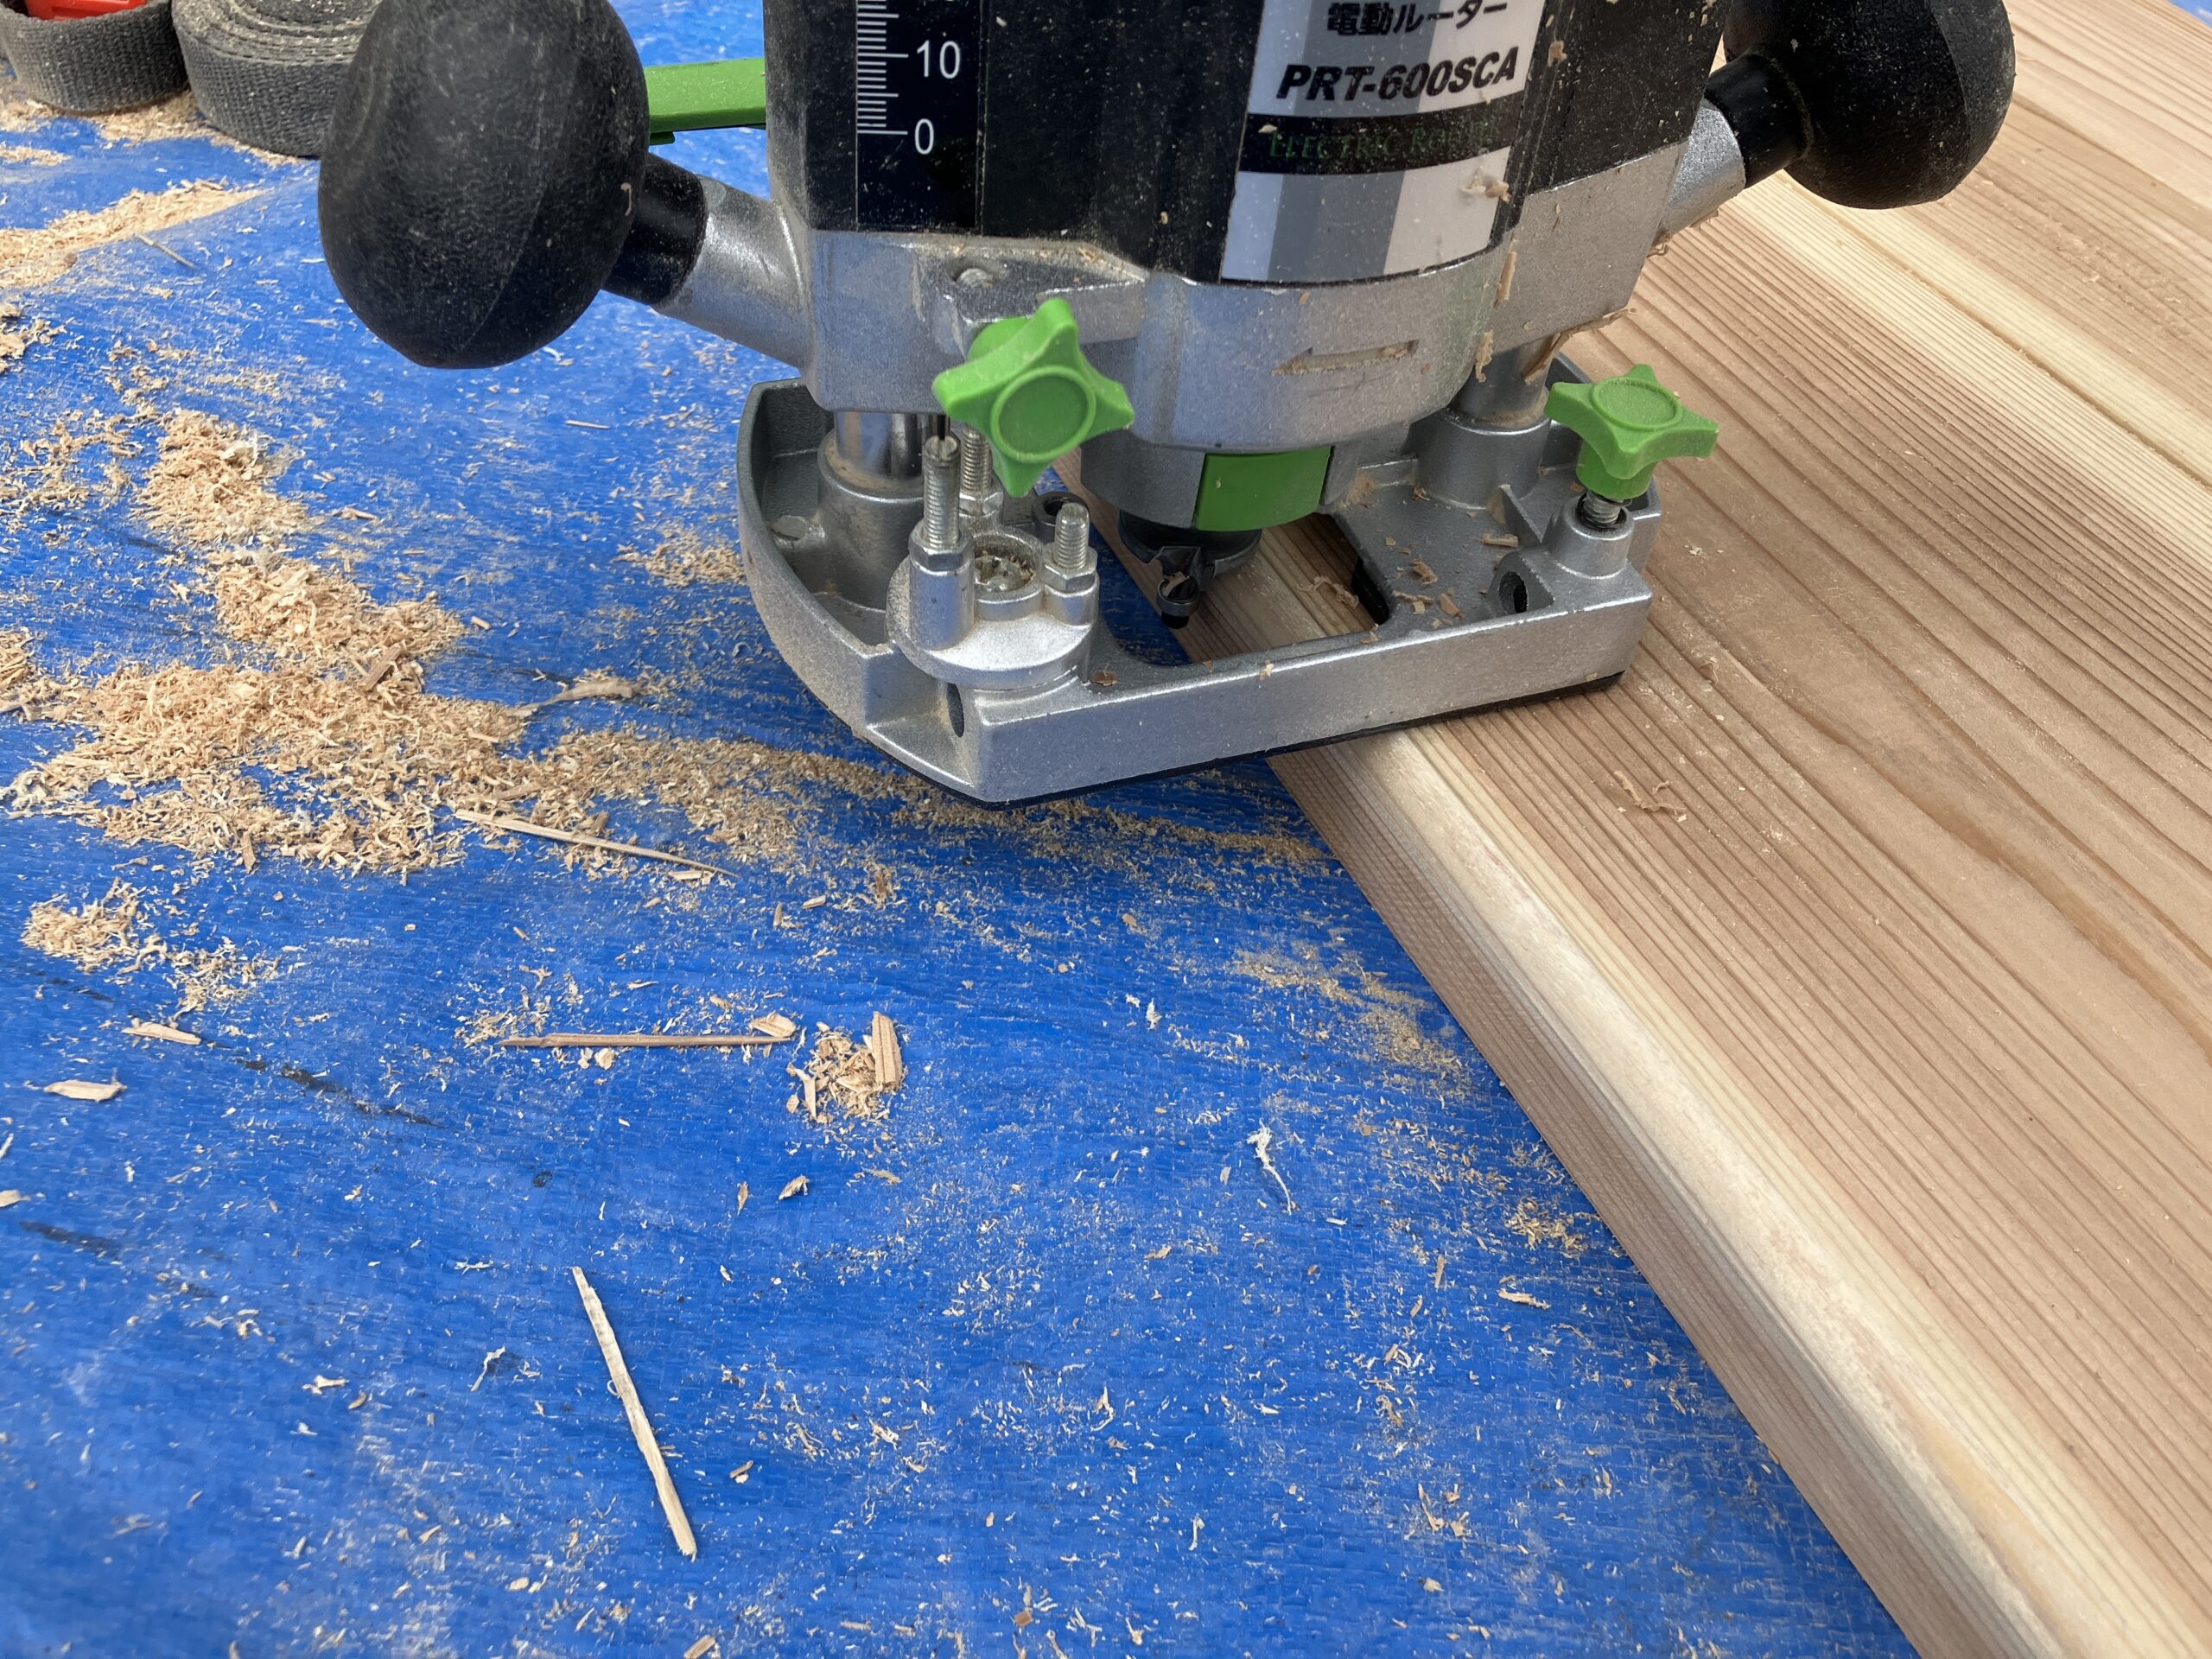
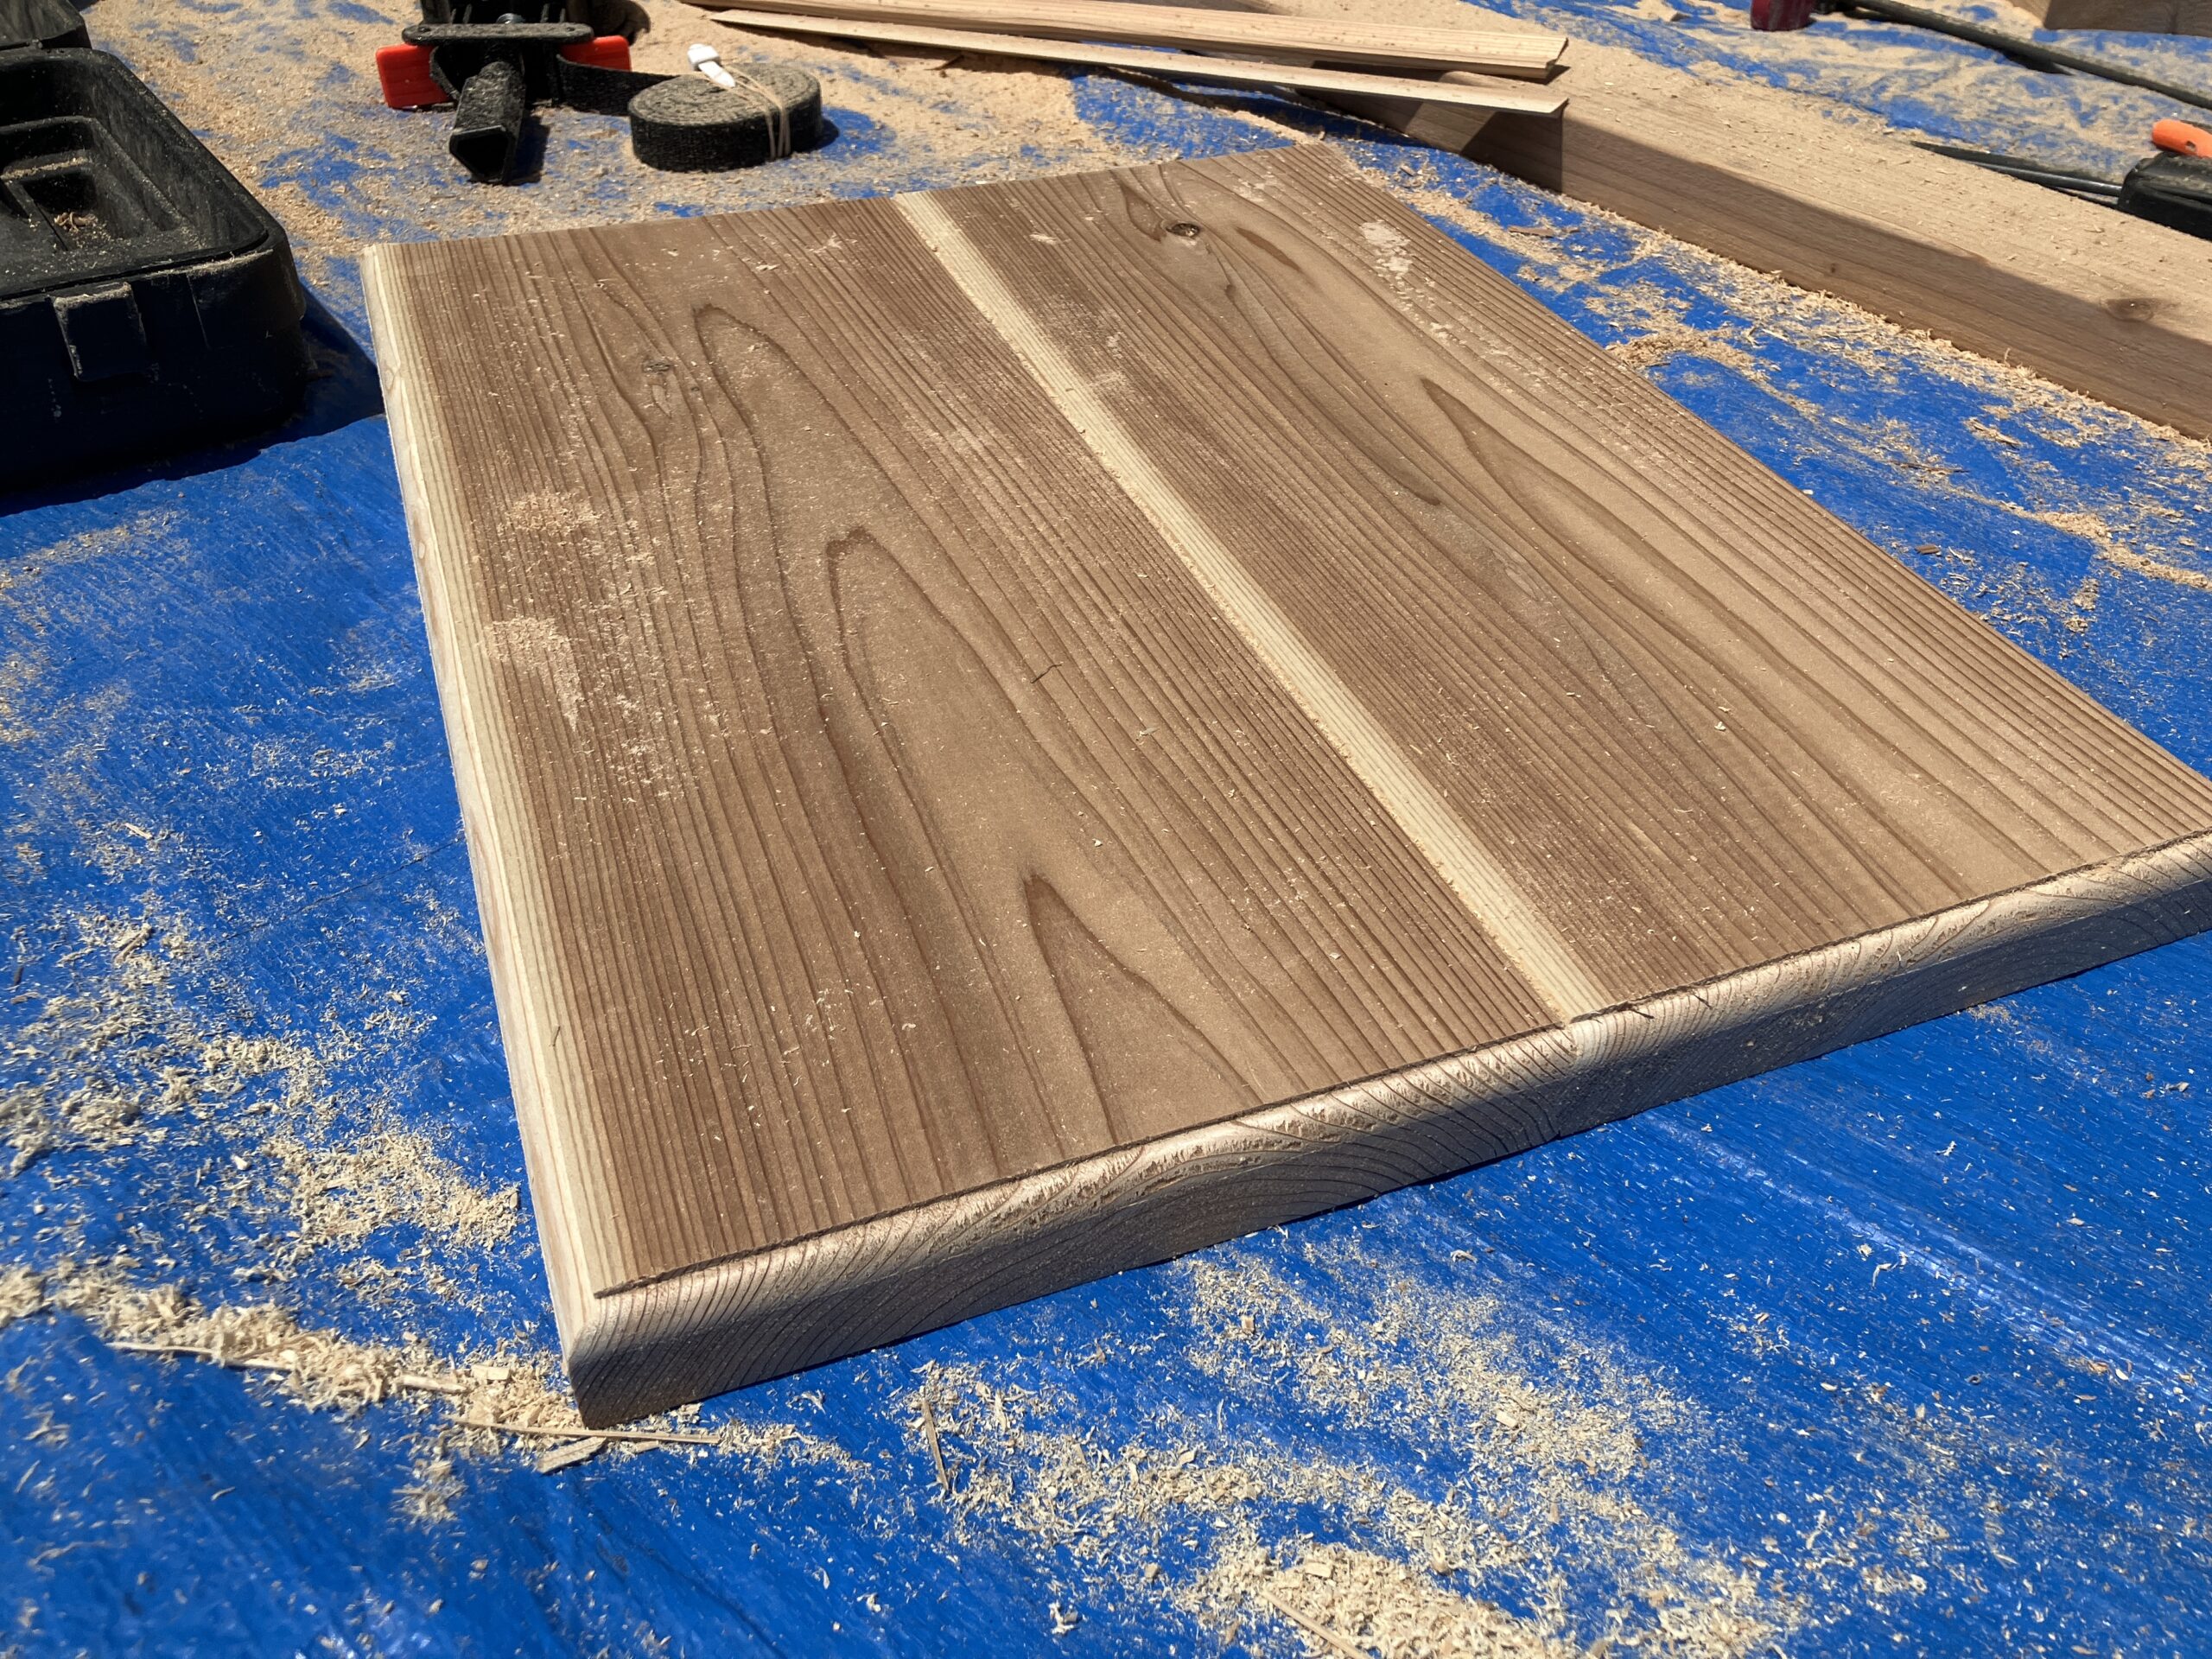
![](https://kantan-diy.com/wp-content/uploads/2023/10/db1a3c951480f785f644fbac47af40f2.jpg)
![](https://kantan-diy.com/wp-content/uploads/2023/09/IMG_8872-1024x768.jpg)
![](https://kantan-diy.com/wp-content/uploads/2023/09/IMG_8873-1024x768.jpg)
角を丸めるため、ルーターで削ります。
![](https://kantan-diy.com/wp-content/uploads/2023/09/IMG_8880-1024x768.jpg)
![](https://kantan-diy.com/wp-content/uploads/2023/09/IMG_8874-1024x768.jpg)
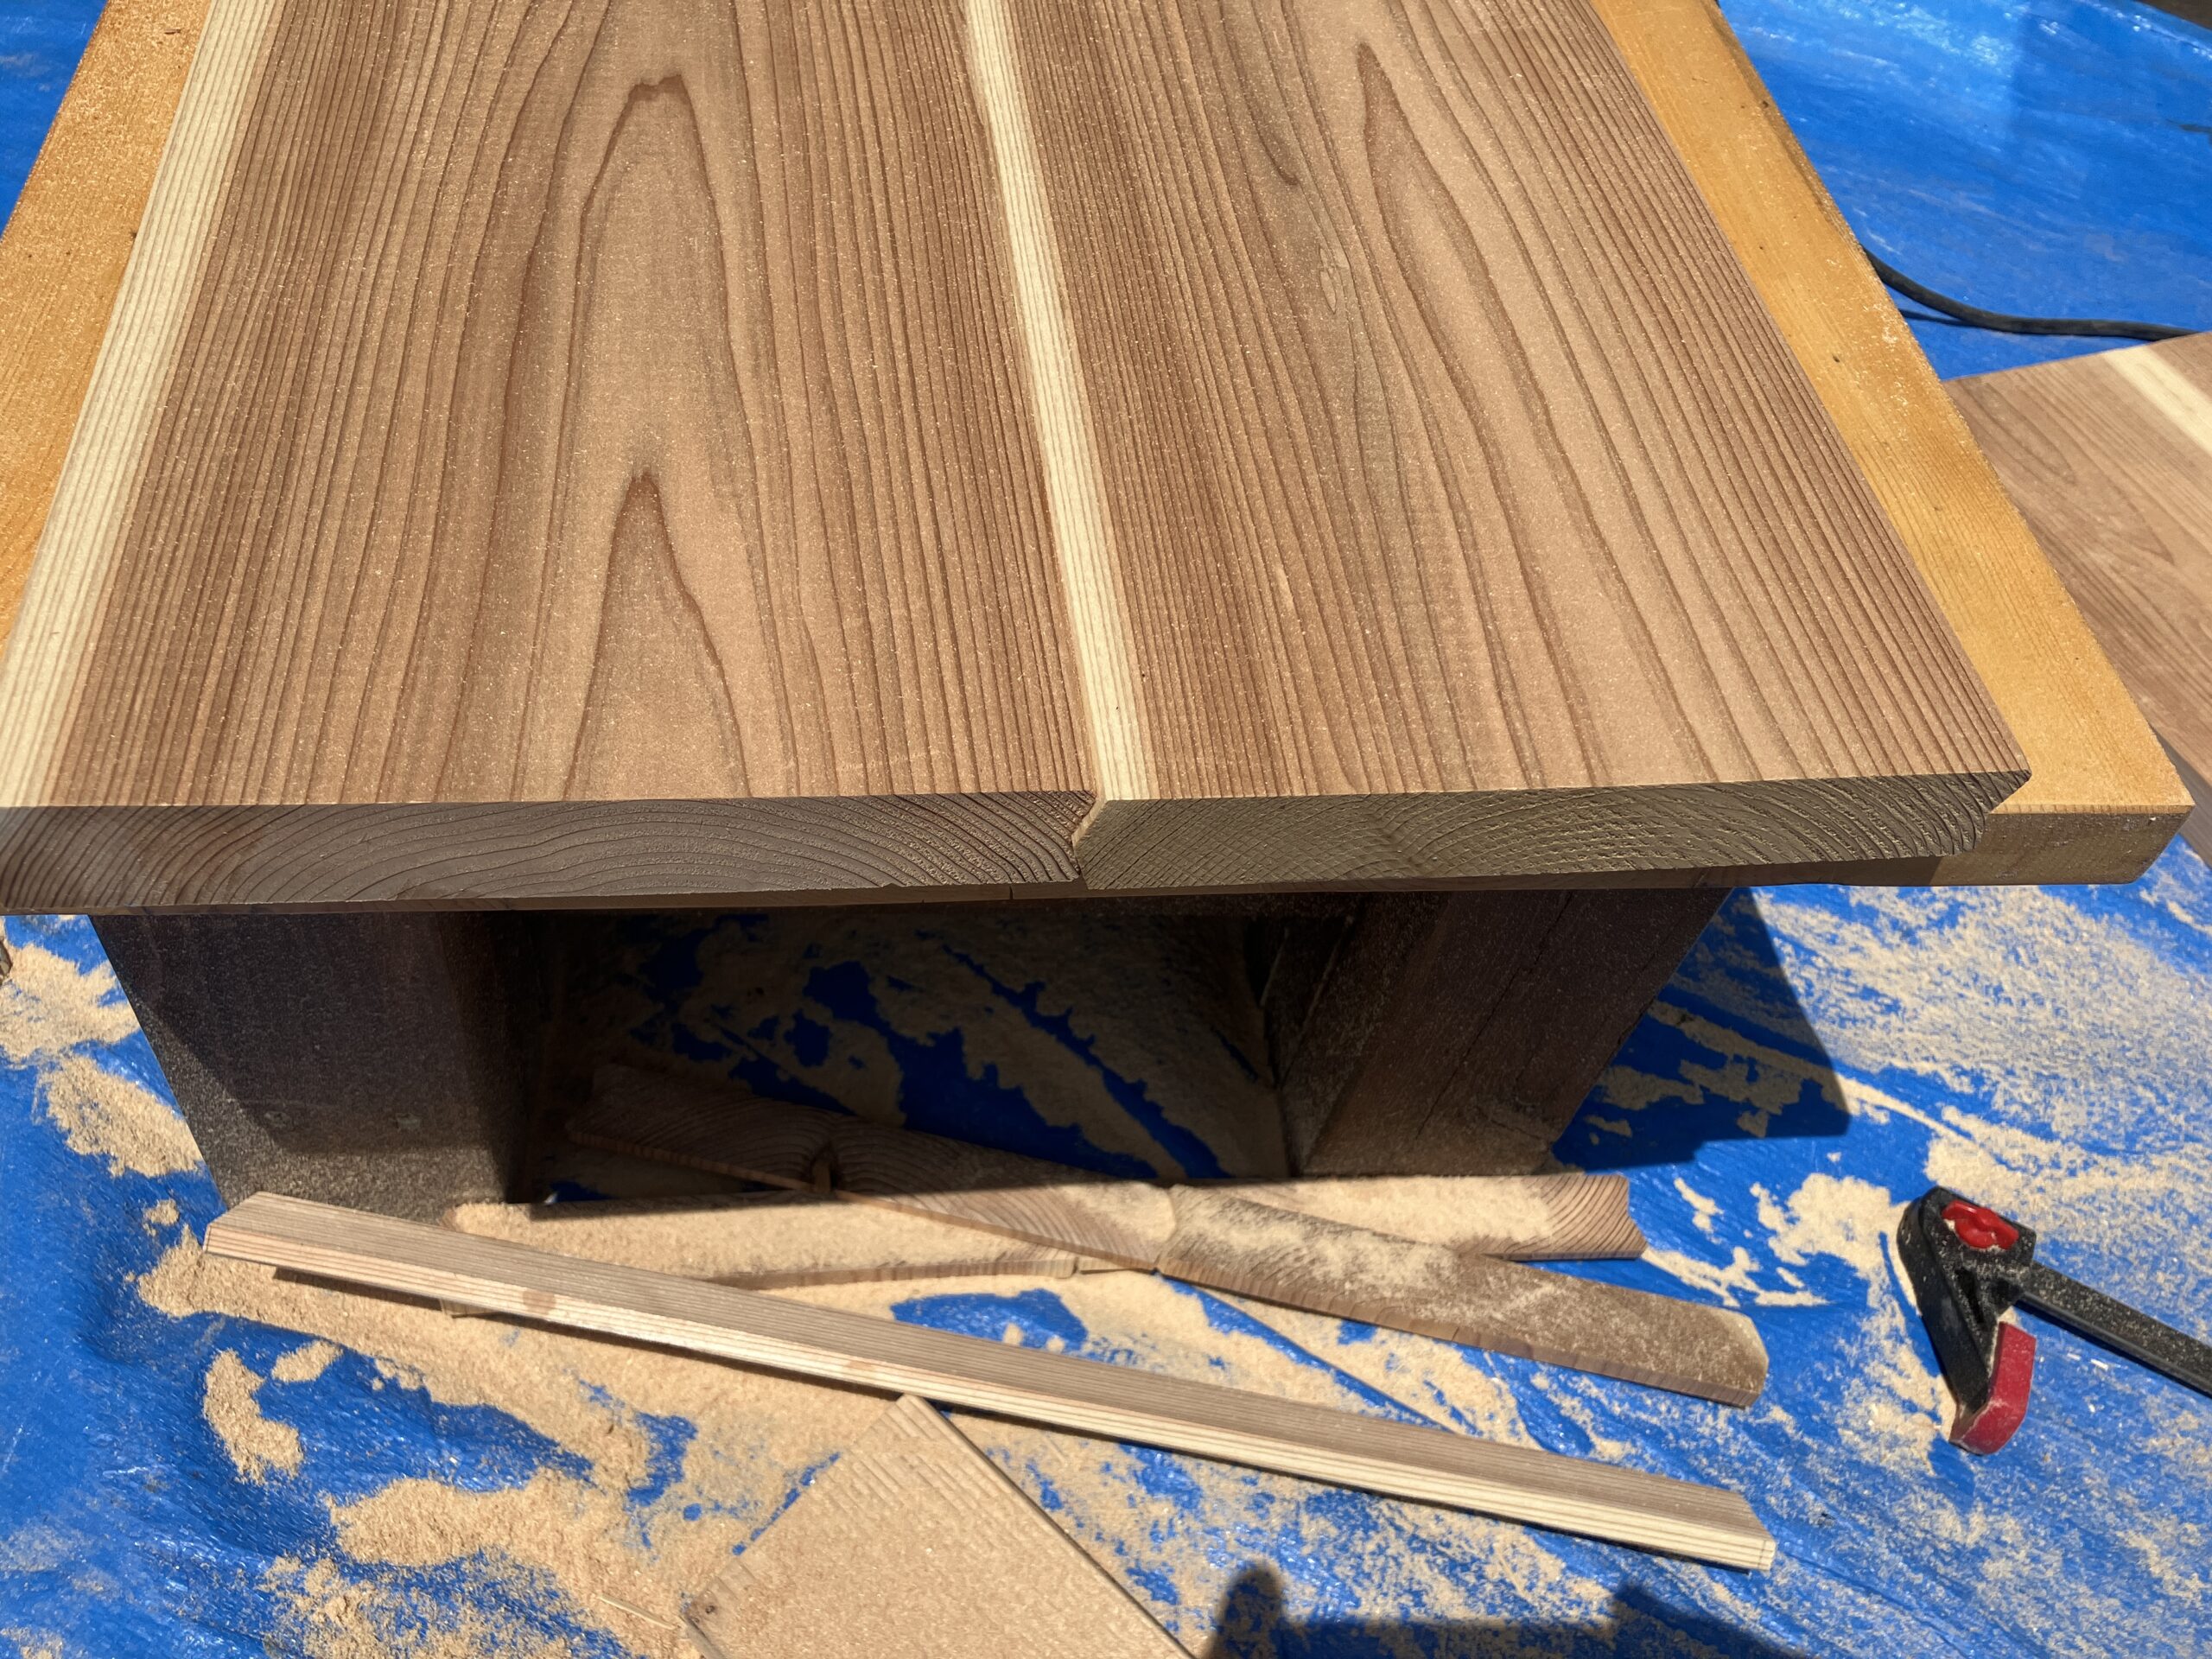
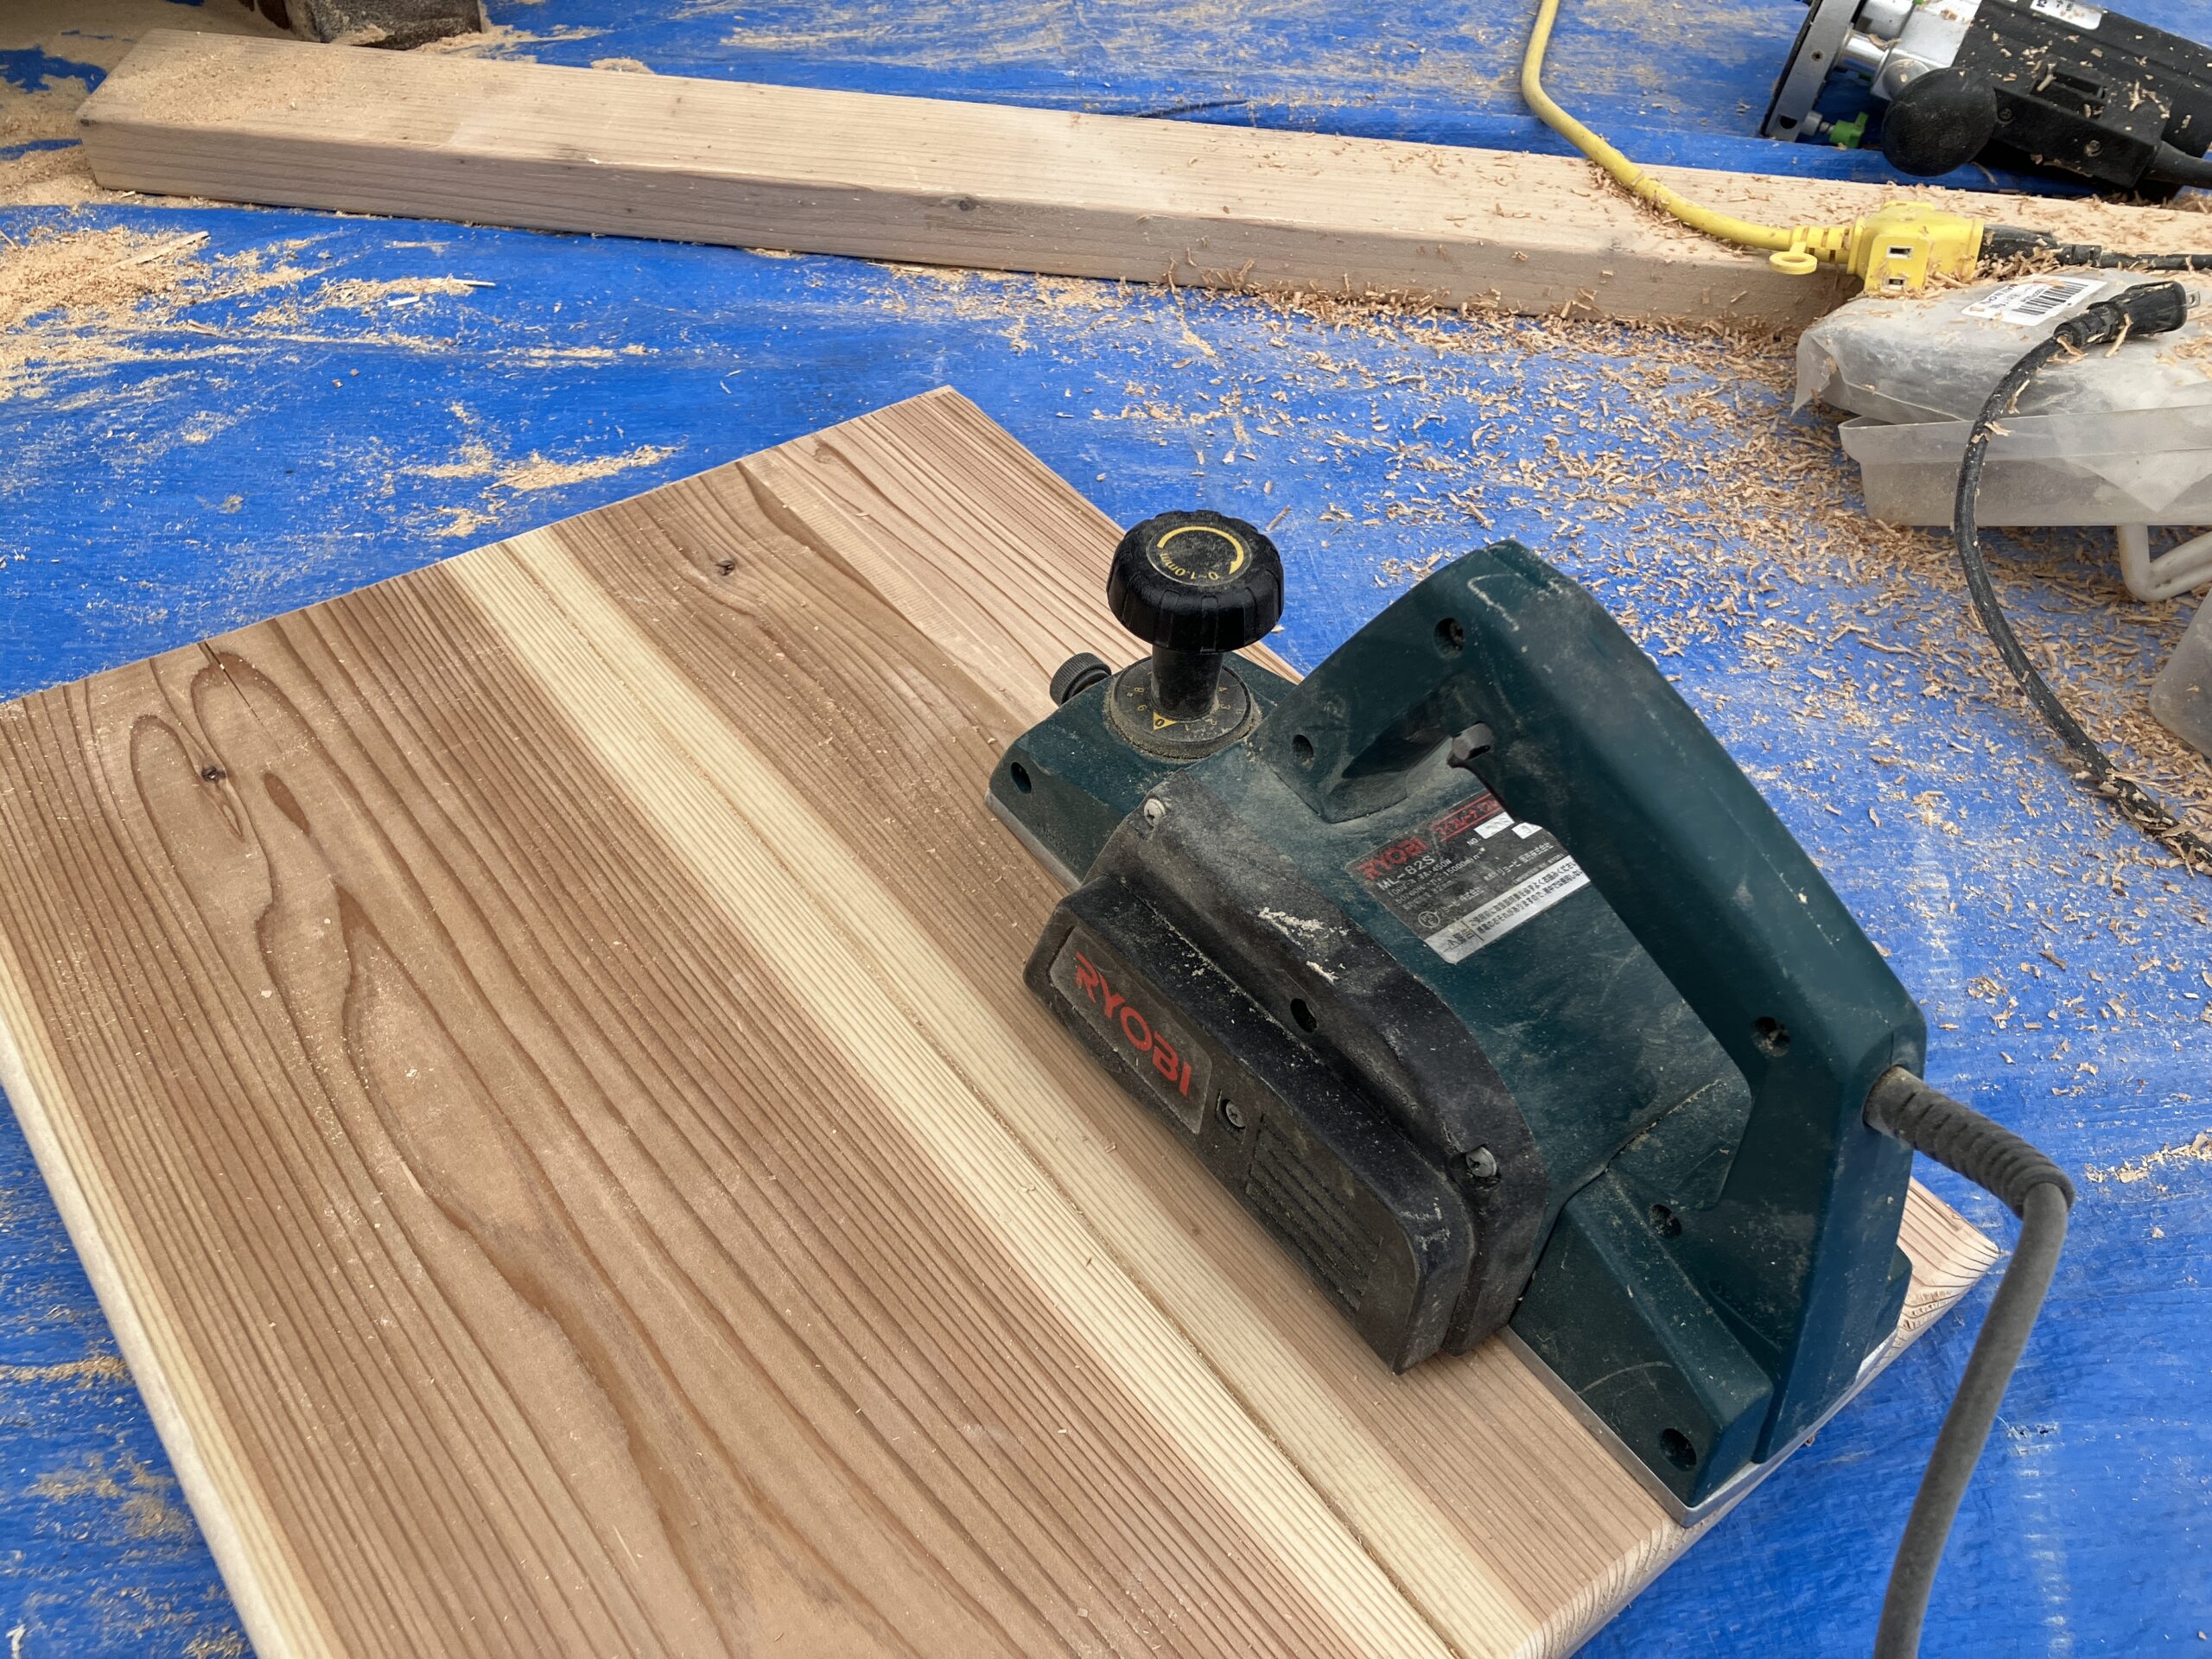
接続部分の溝が表面に出ているので、電動カンナで表面を削ります。
![](https://kantan-diy.com/wp-content/uploads/2023/09/IMG_8879-1024x768.jpg)
![](https://kantan-diy.com/wp-content/uploads/2023/09/IMG_8876-1024x768.jpg)
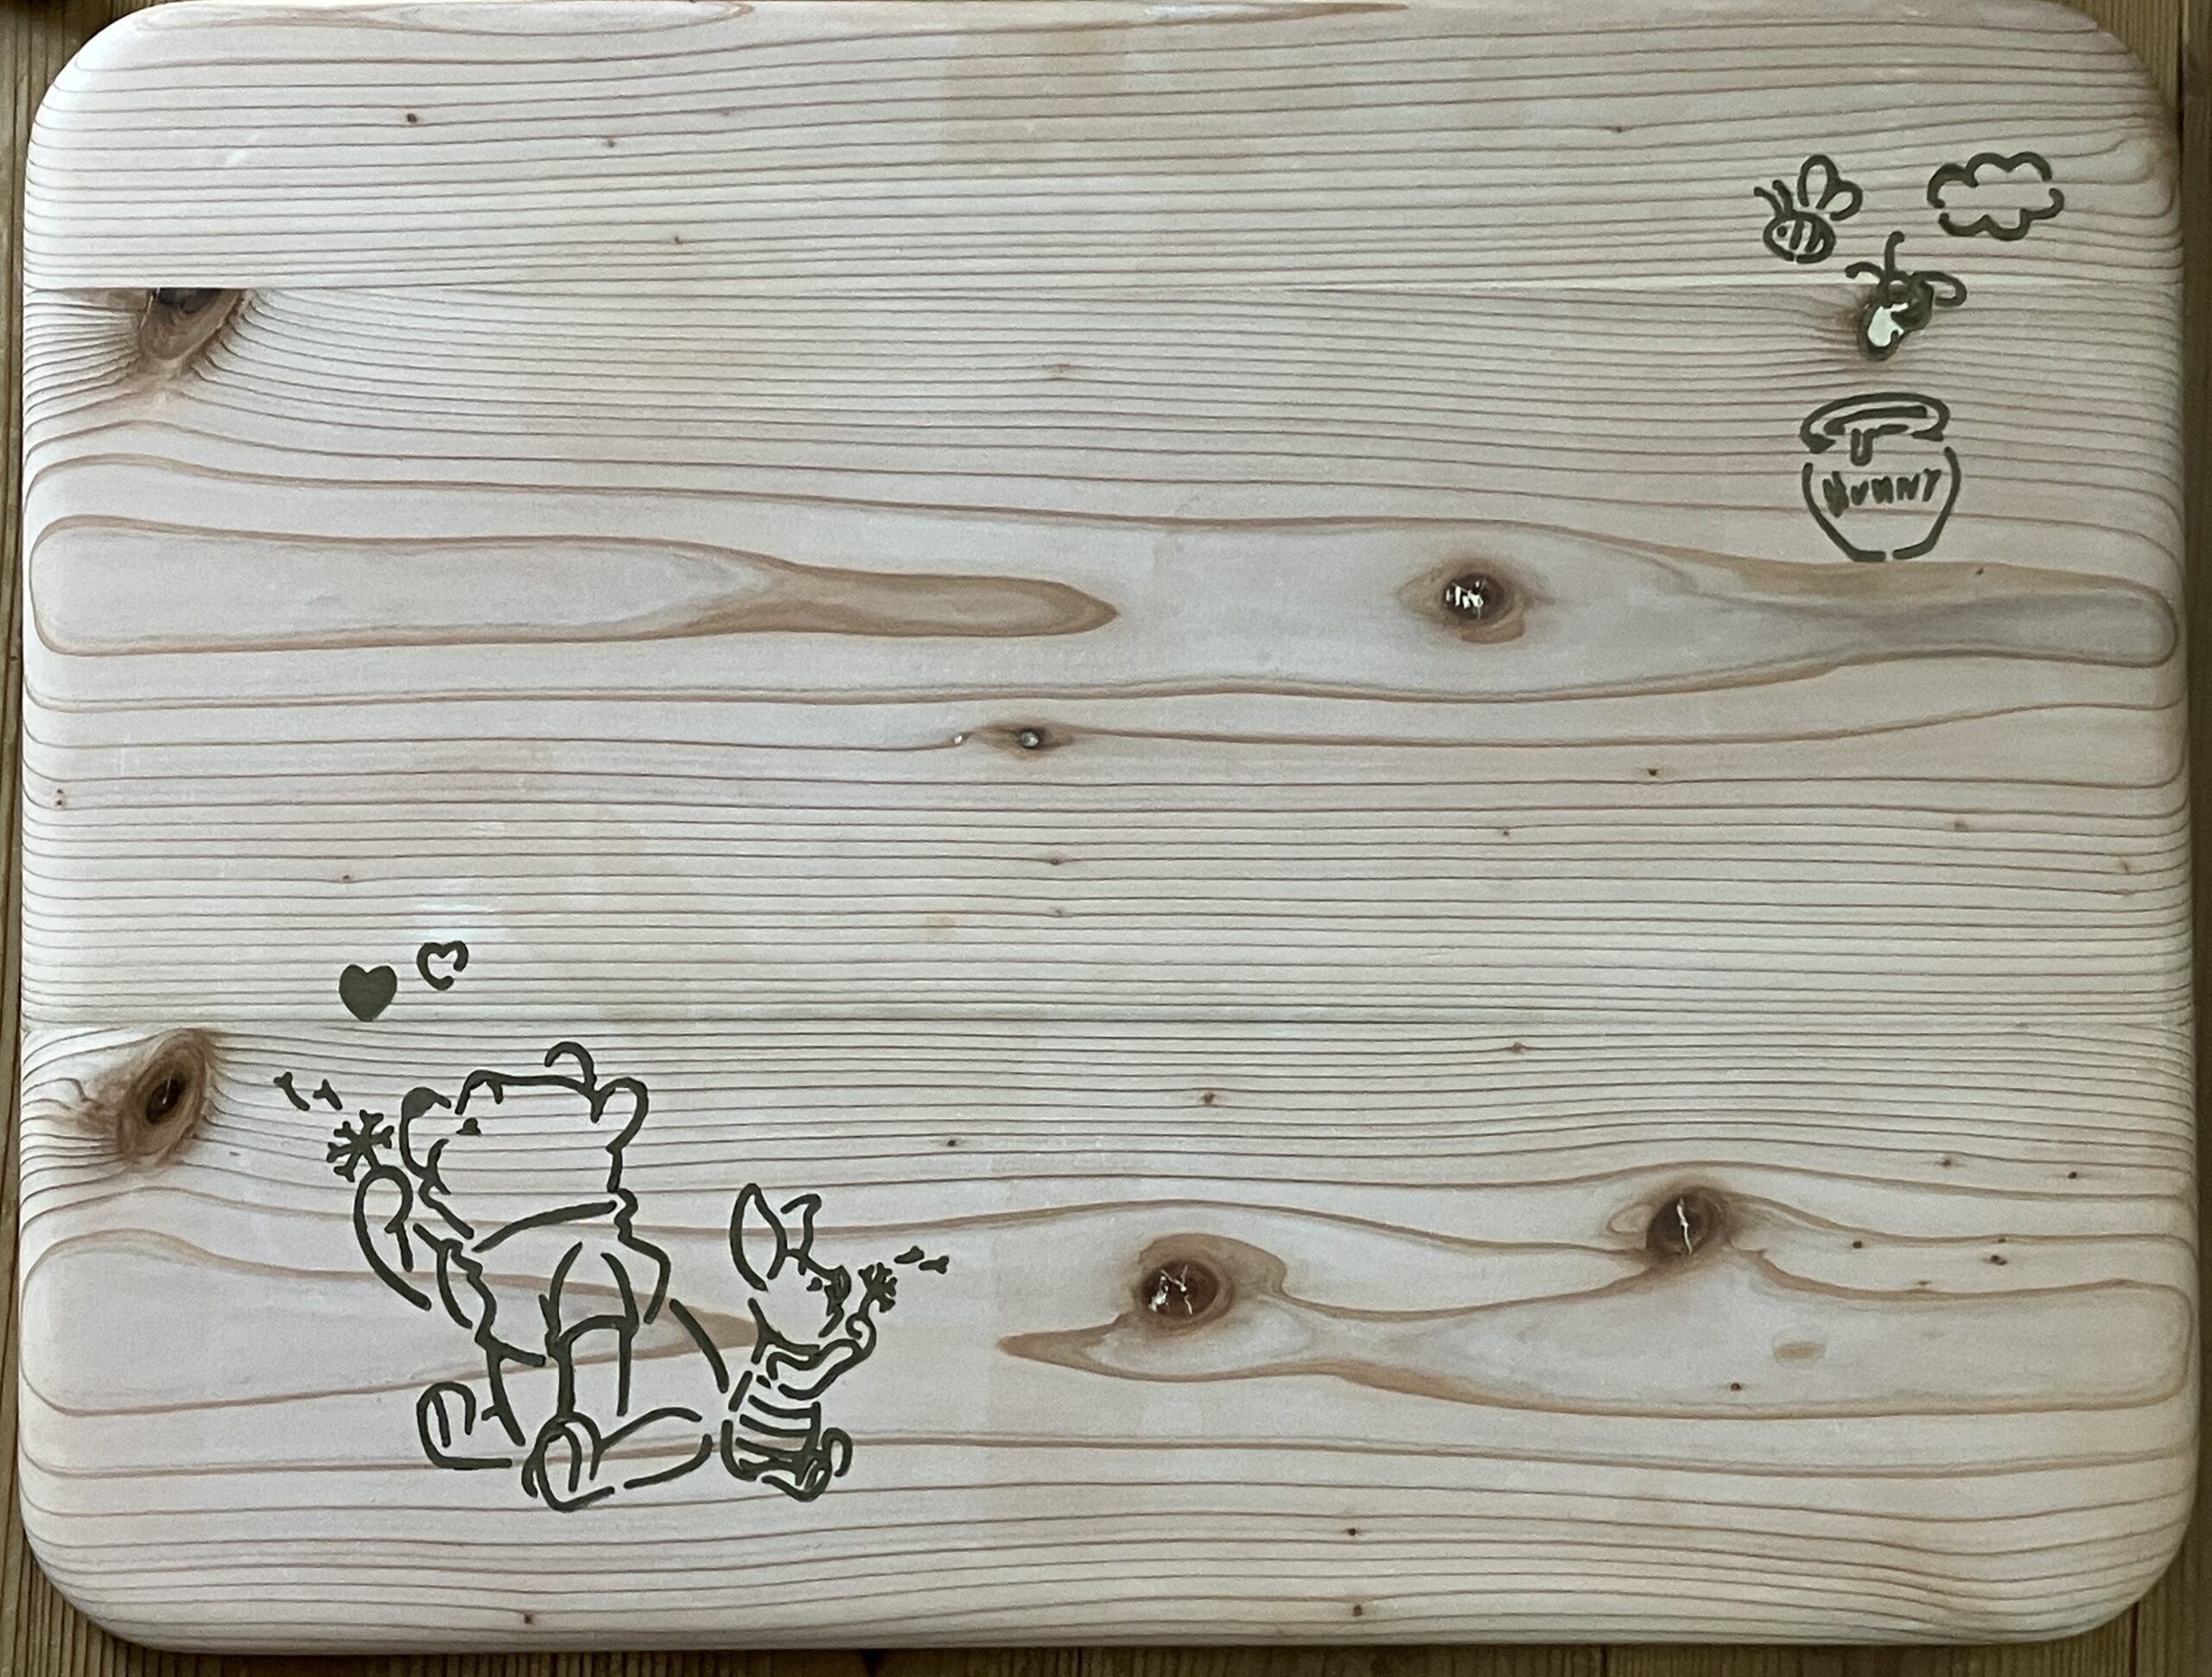
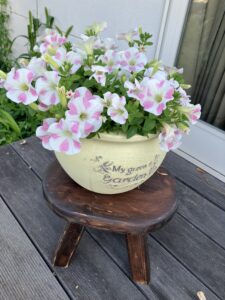
あとはサンダーで磨けば完成です。ステンシルのやり方については、こちらの記事に詳しく書いてあります。
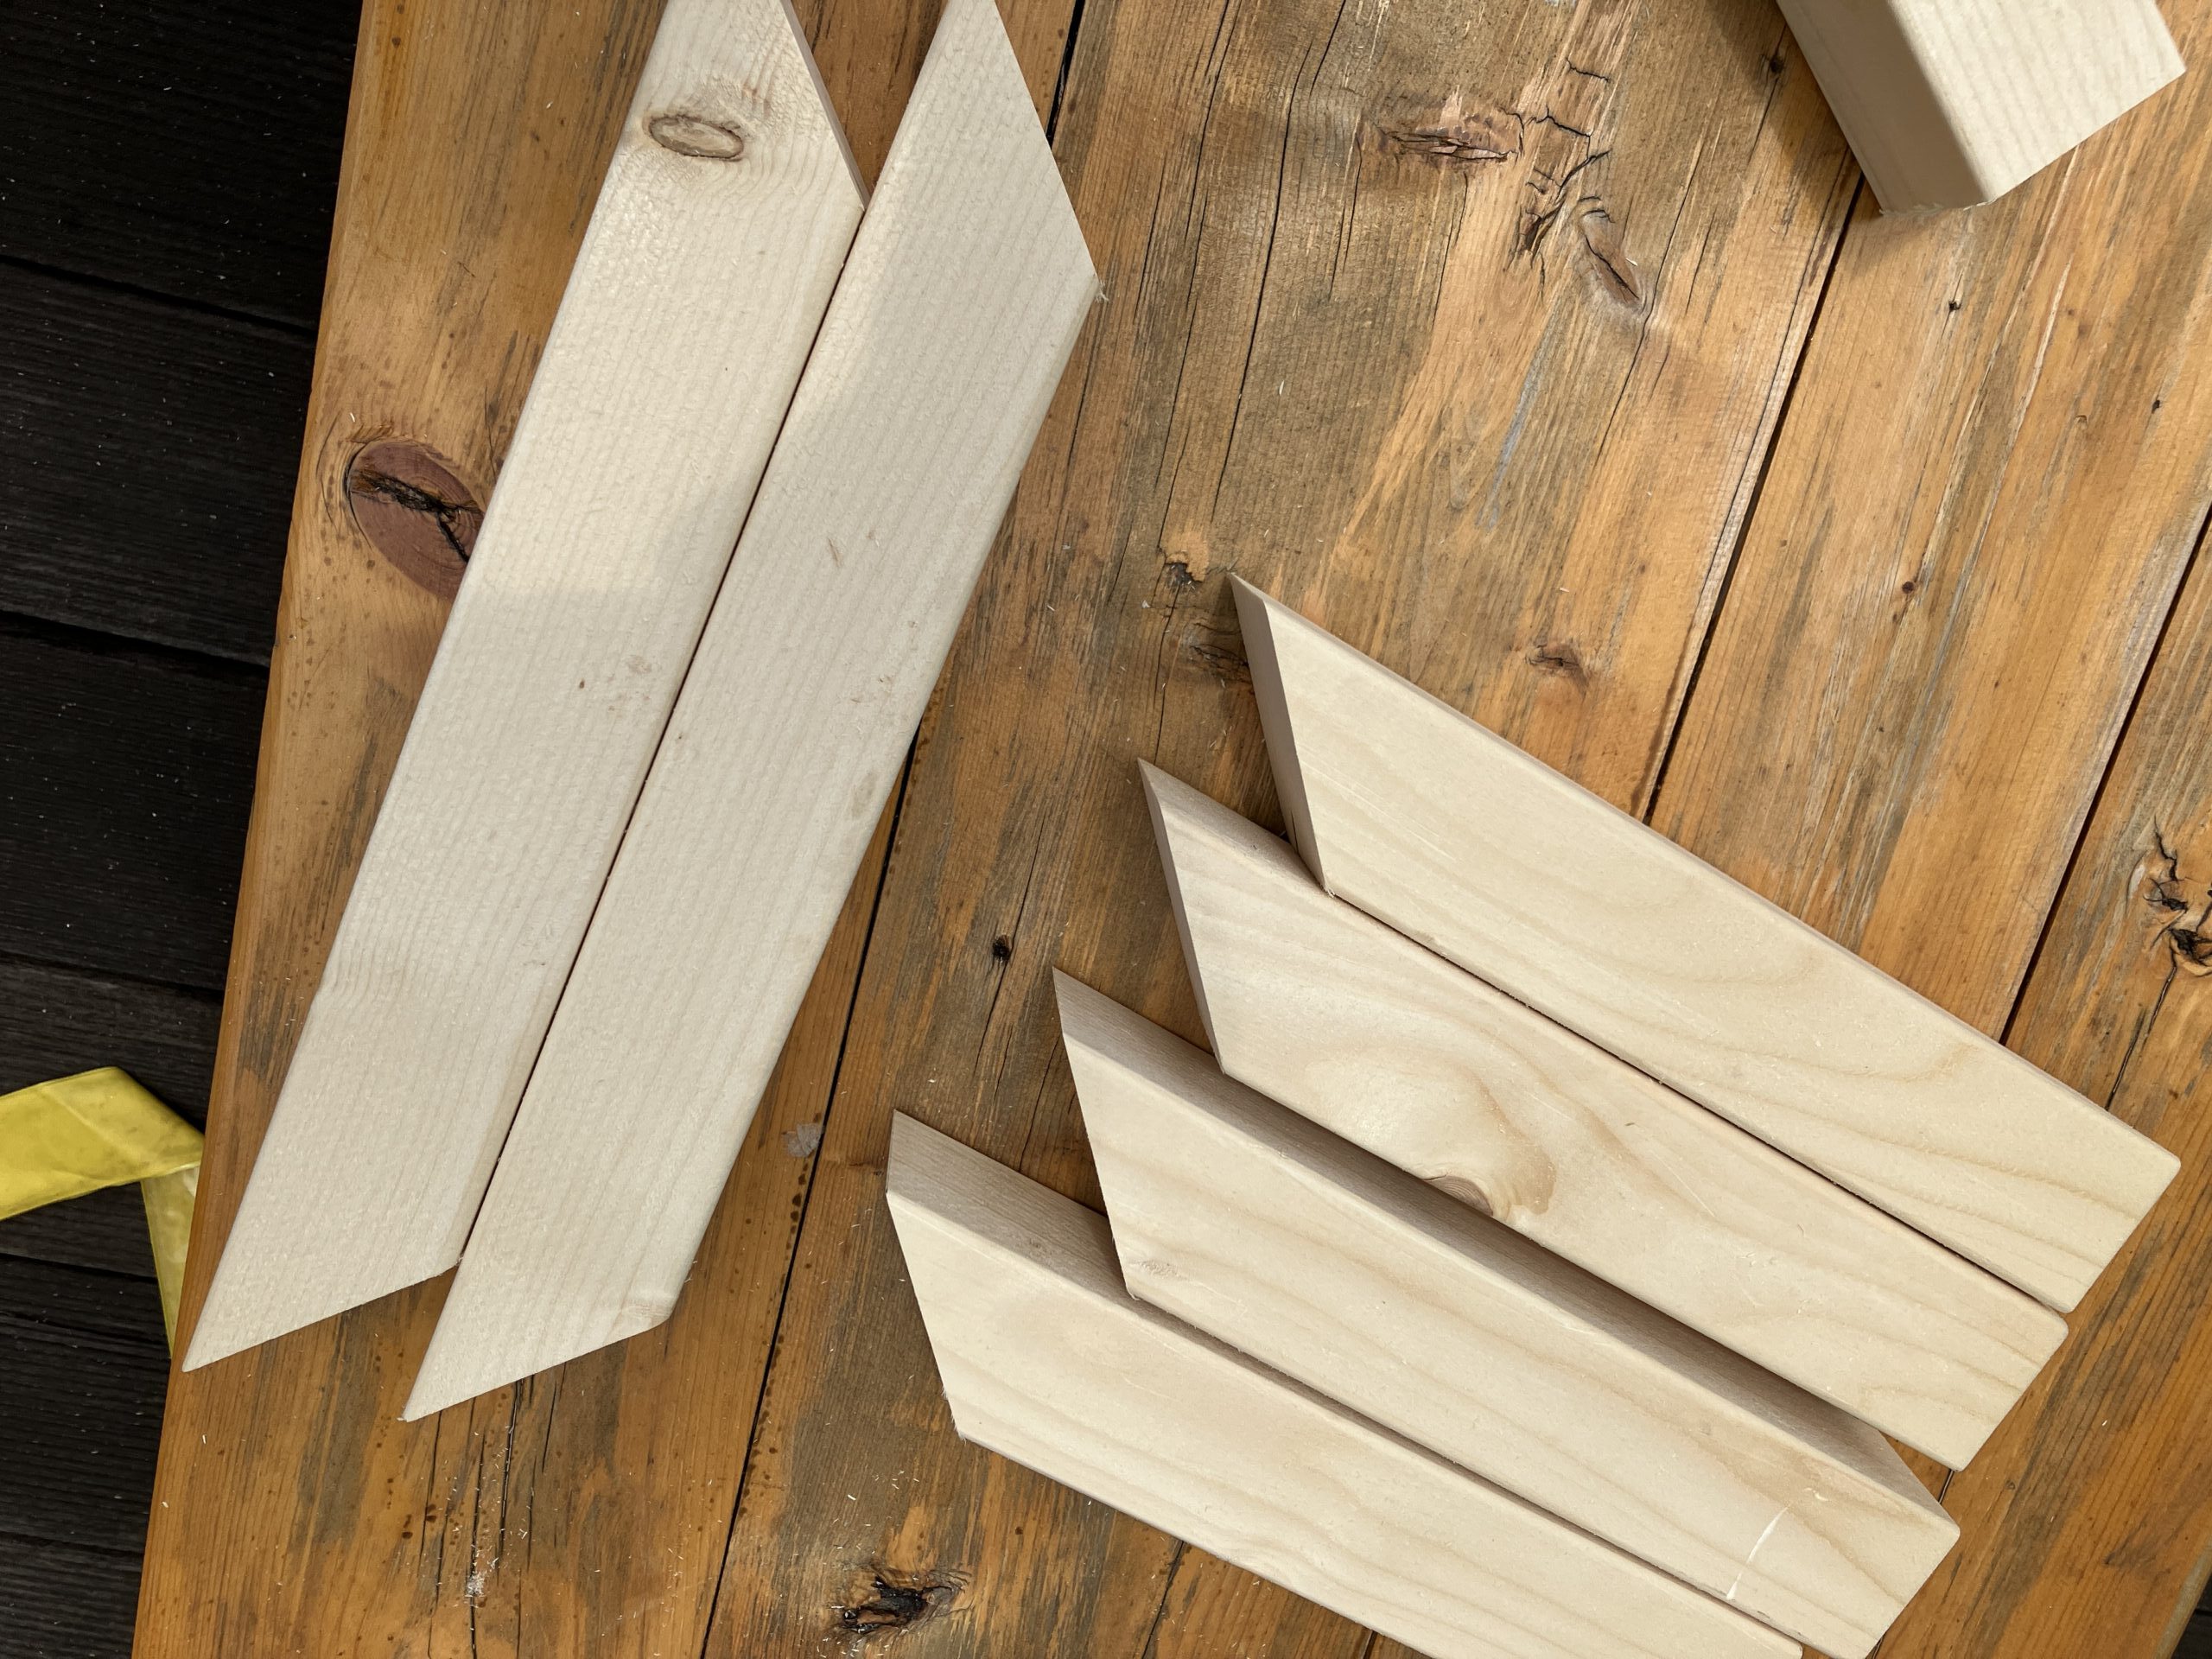
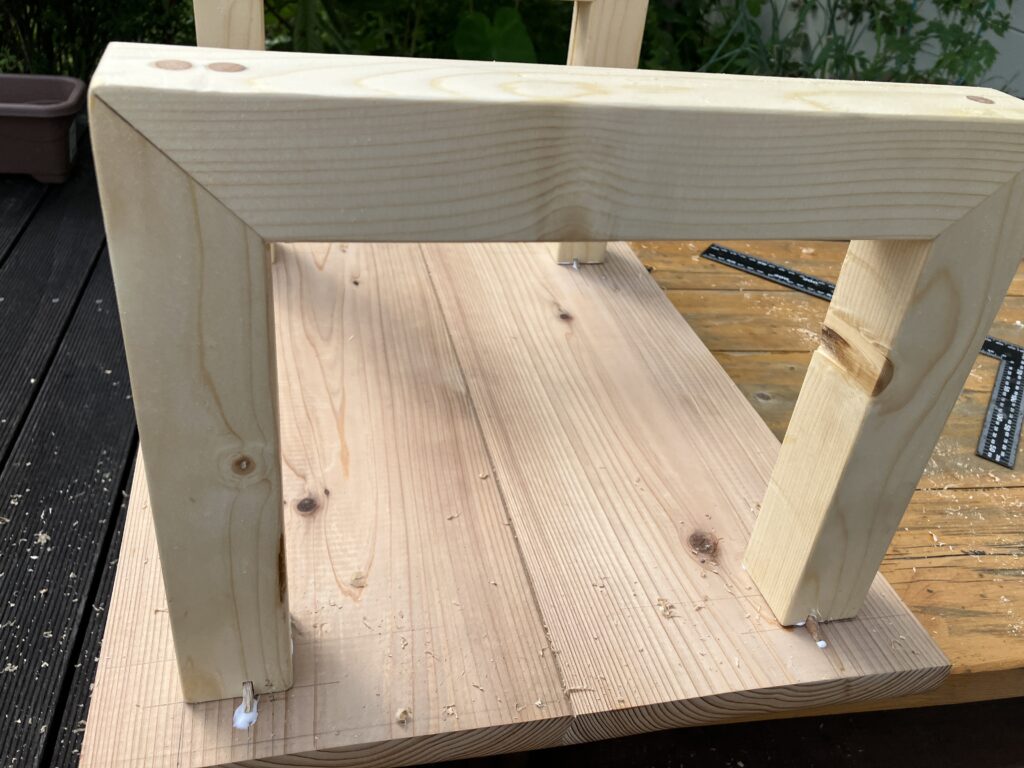
![](https://kantan-diy.com/wp-content/uploads/2023/08/IMG_9300-scaled.jpg)
脚を作ります。
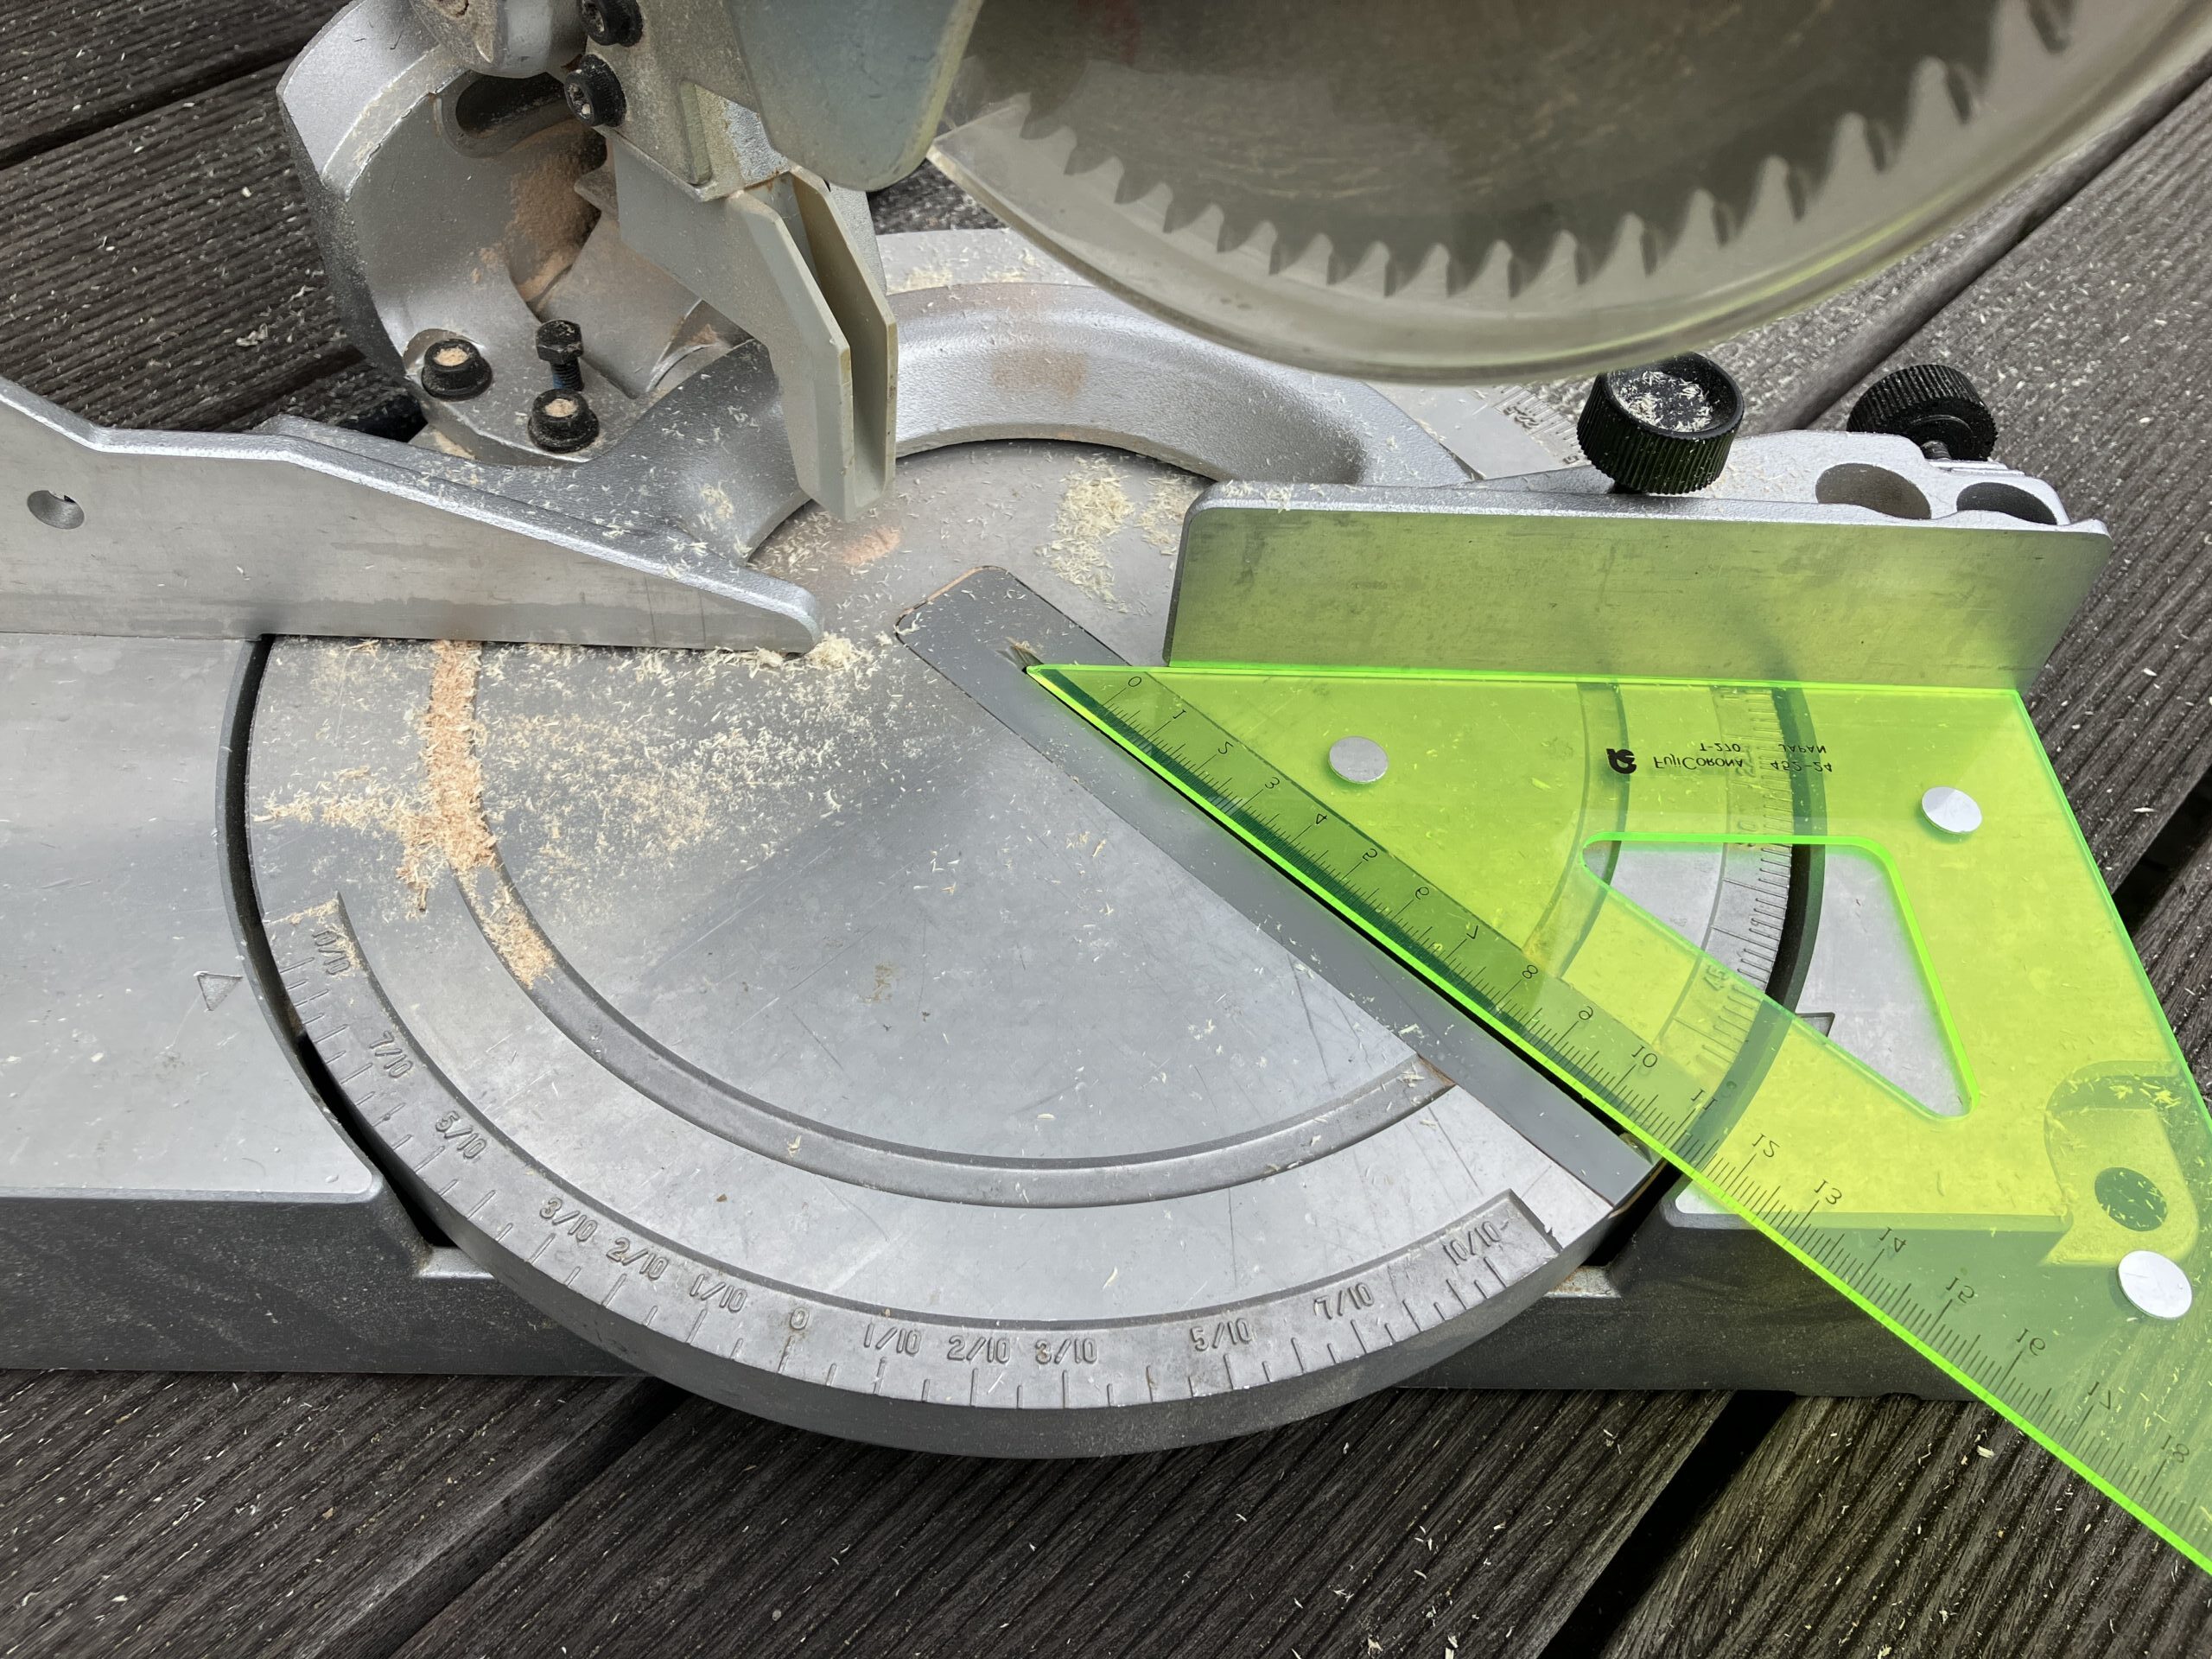
部品の長さを切り揃えます。接続部分は45度にするので、卓上丸のこの角度を三角定規で確認します。
![](https://kantan-diy.com/wp-content/uploads/2023/09/IMG_9101-scaled-e1694070873850-1024x768.jpg)
![](https://kantan-diy.com/wp-content/uploads/2023/09/IMG_9102-scaled-e1694070905119-1024x768.jpg)
木工用ボンドでくっつけながら、強度を出すため、底になる部分からビスを打ちます。見えない部分なので、ダボで隠さなくても目立ちません。
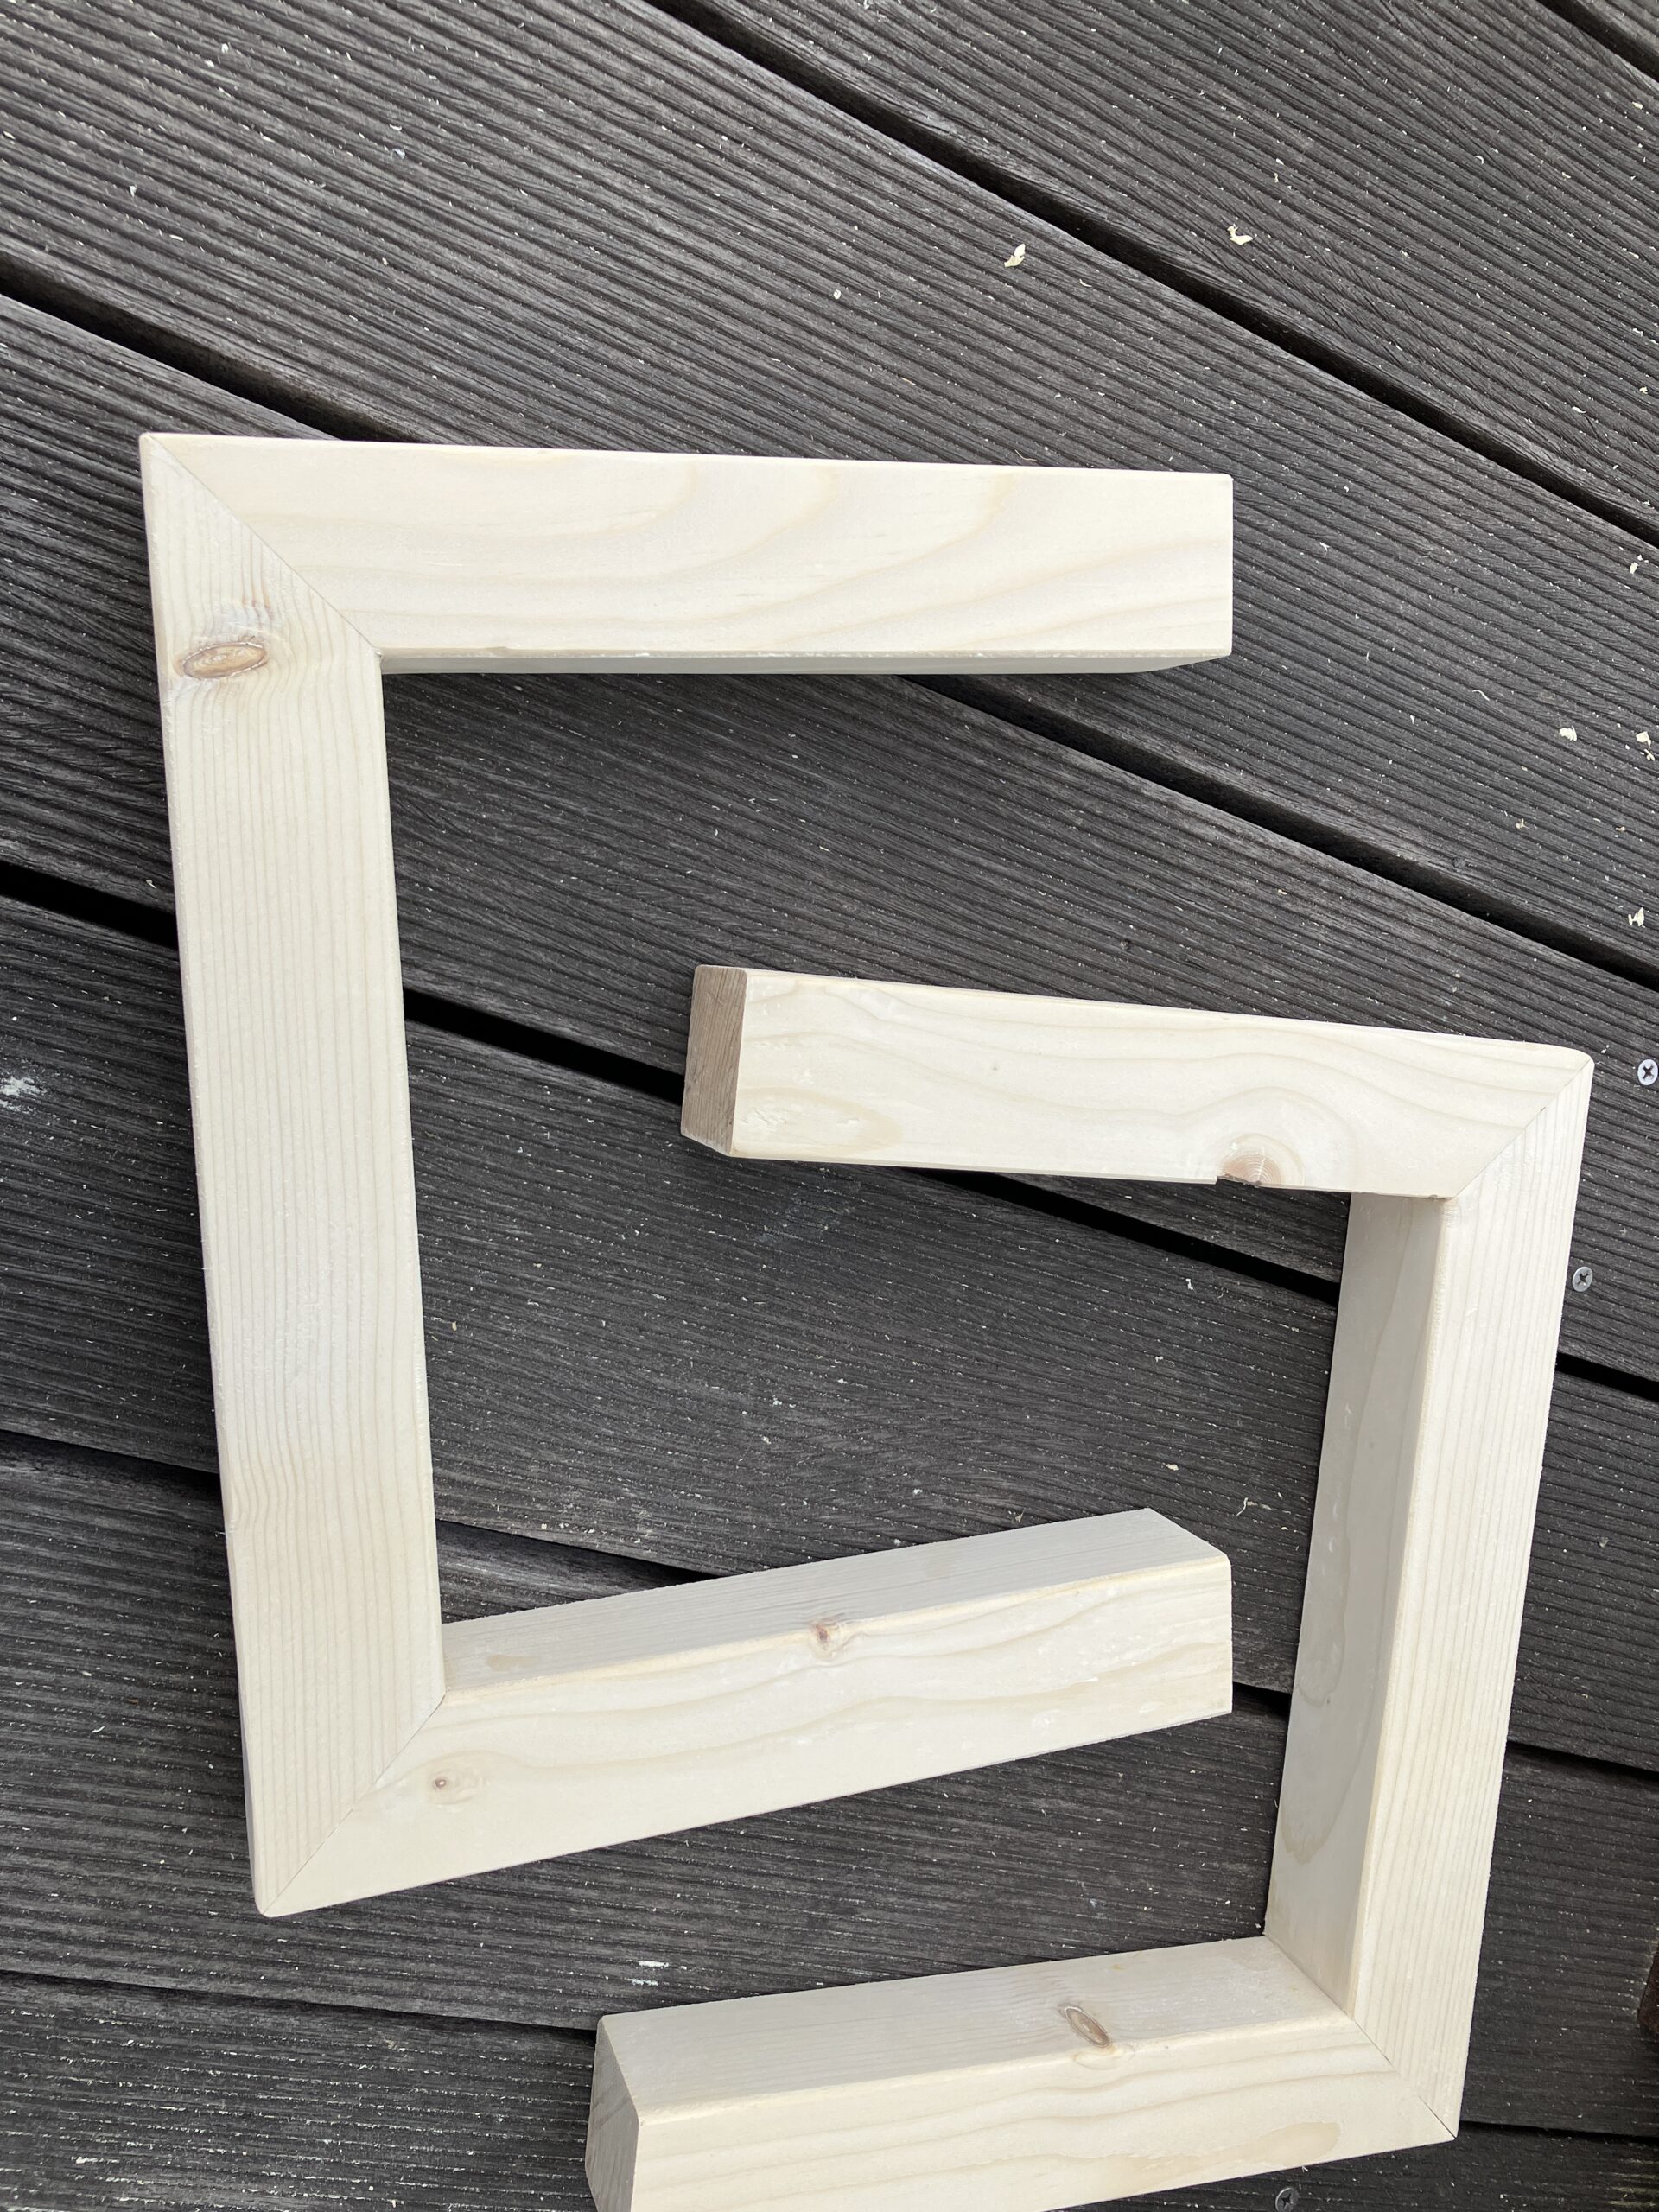
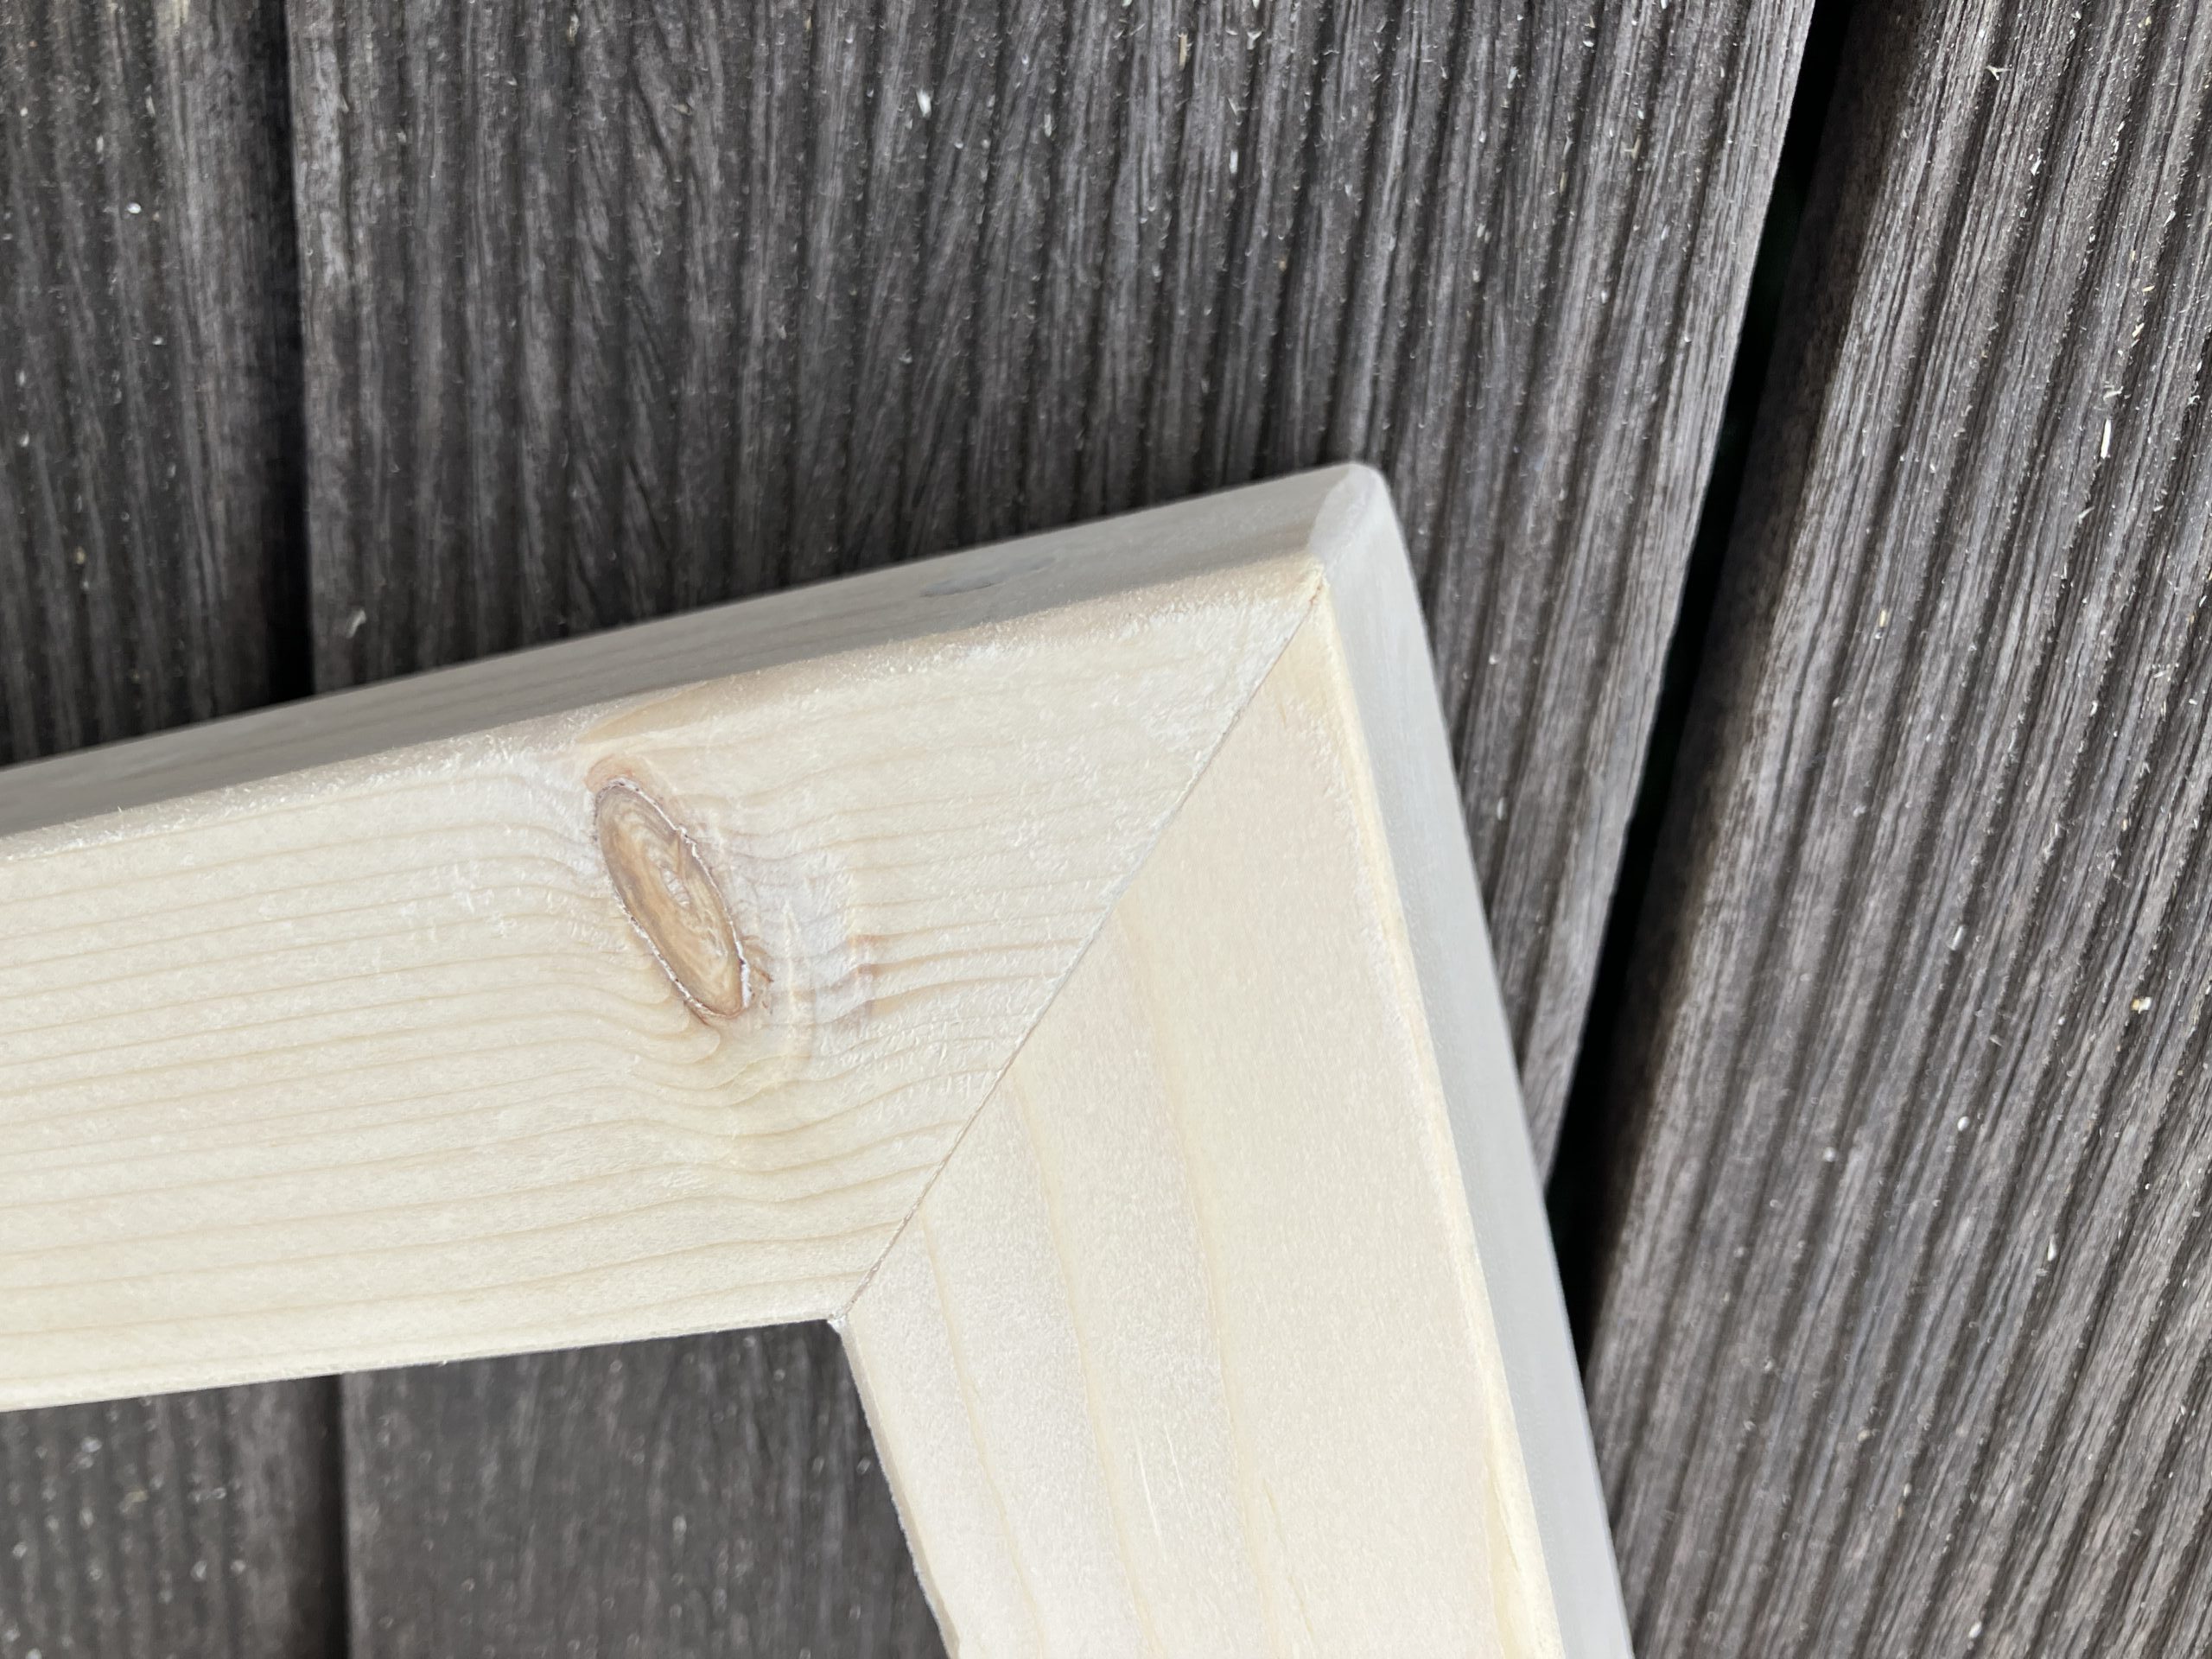
![](https://kantan-diy.com/wp-content/uploads/2023/09/IMG_9104-768x1024.jpg)
![](https://kantan-diy.com/wp-content/uploads/2023/09/IMG_9105-scaled-e1694070967761-1024x768.jpg)
ビシッとくっつくと気持ちいいですね。
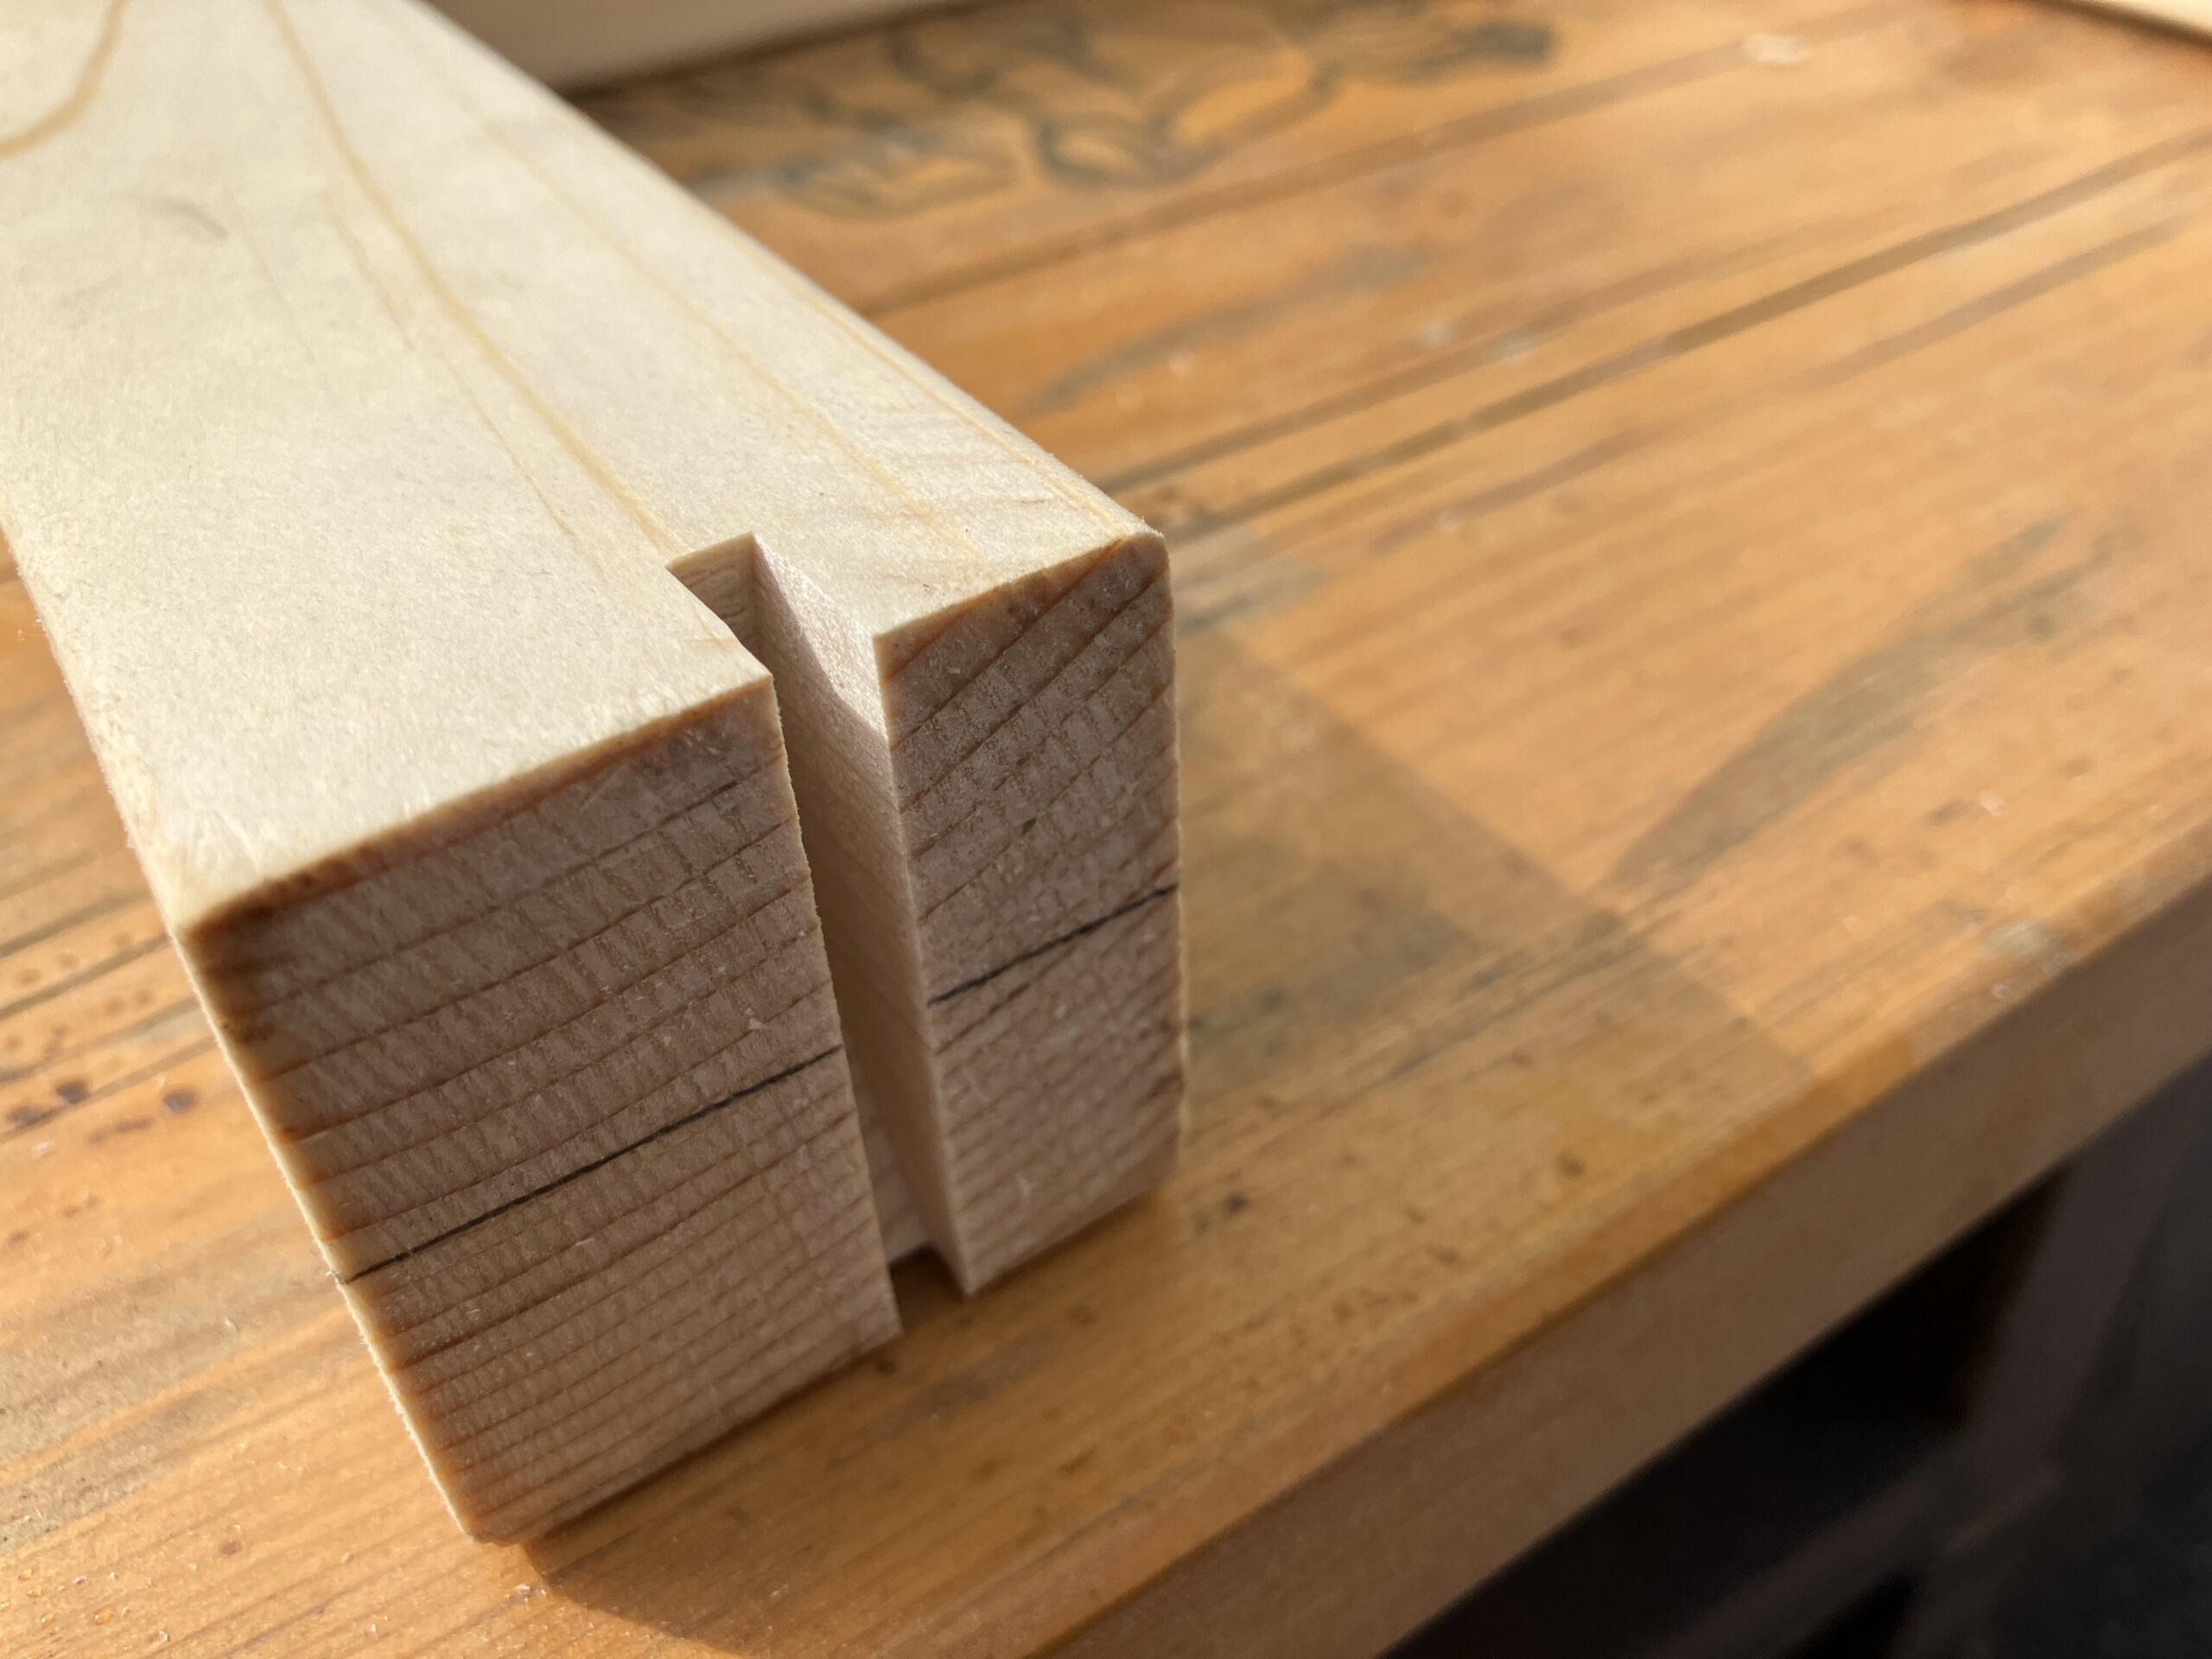
では、出来上がった脚を天板に接続します。簡単に手早くくっつけるため、ビスケットジョイントを使いました。脚に溝を彫ったものを天板の位置に罫書きをして、天板側にも溝を彫ります。
![](https://kantan-diy.com/wp-content/uploads/2023/09/IMG_9108-1024x768.jpg)
![](https://kantan-diy.com/wp-content/uploads/2023/09/IMG_9107-1024x768.jpg)
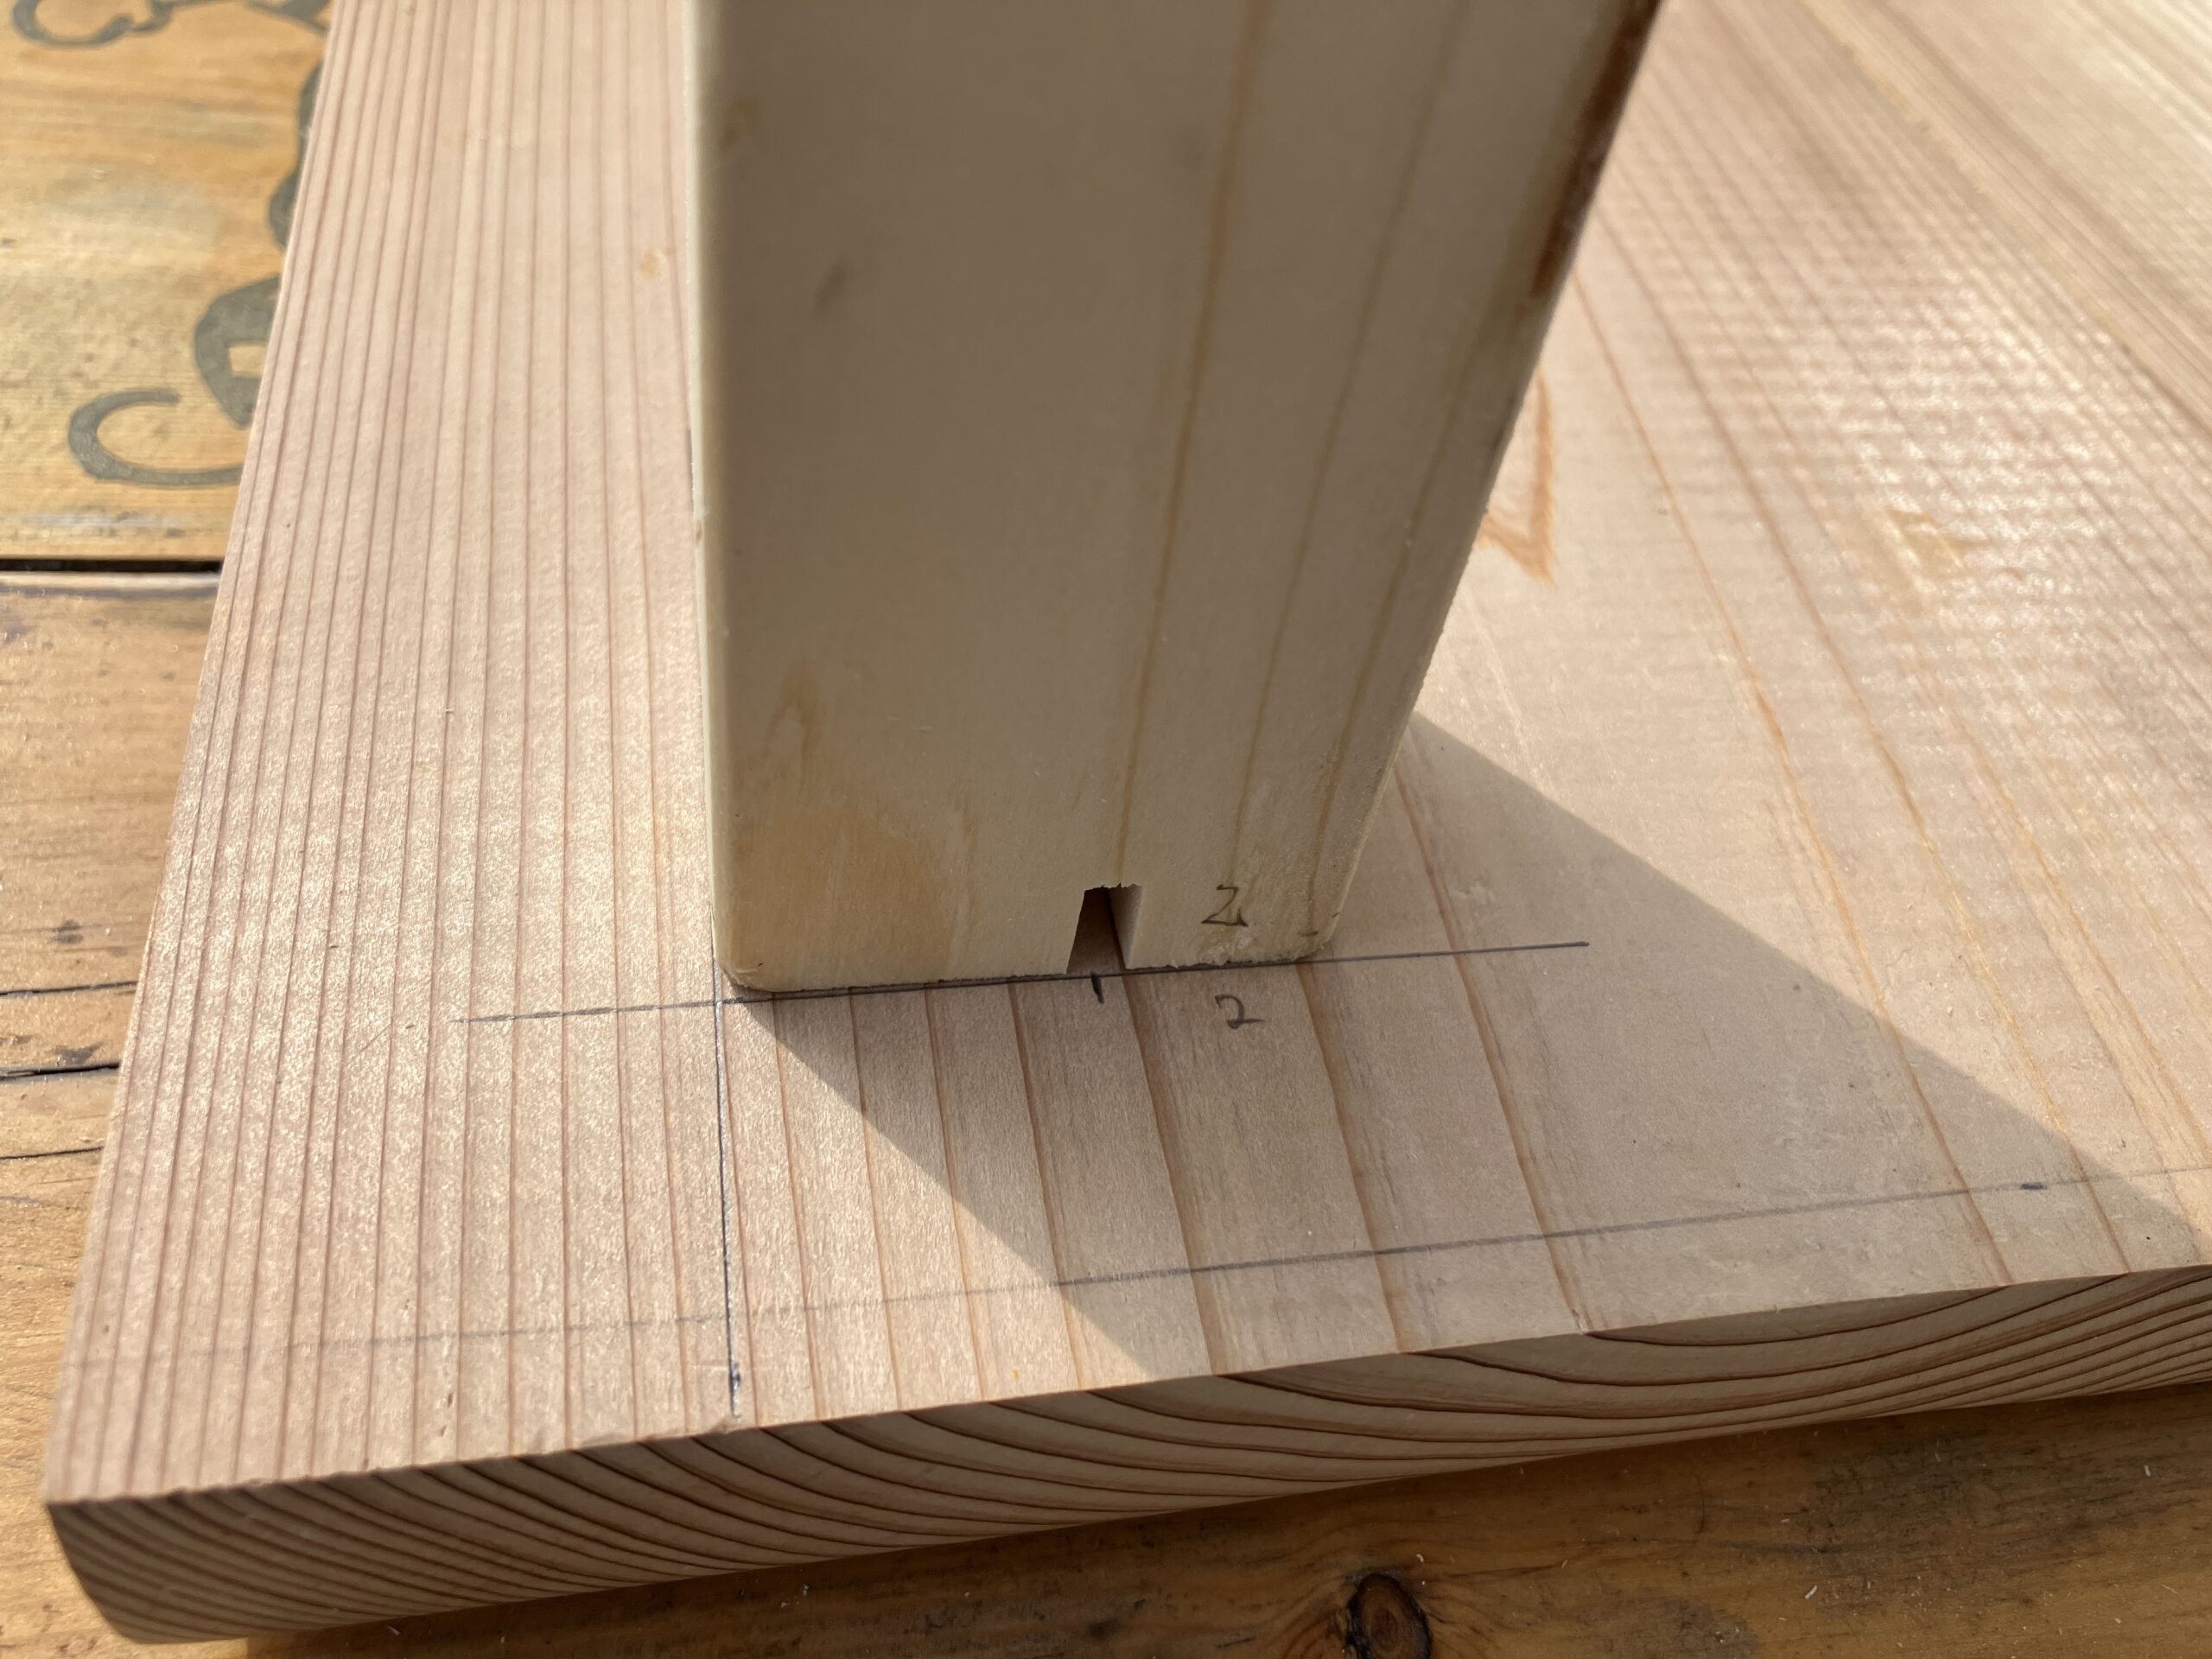
天板側にも彫り込んだら、ビスケットを使って接続します。木工用ボンドを使ってくっつけます。
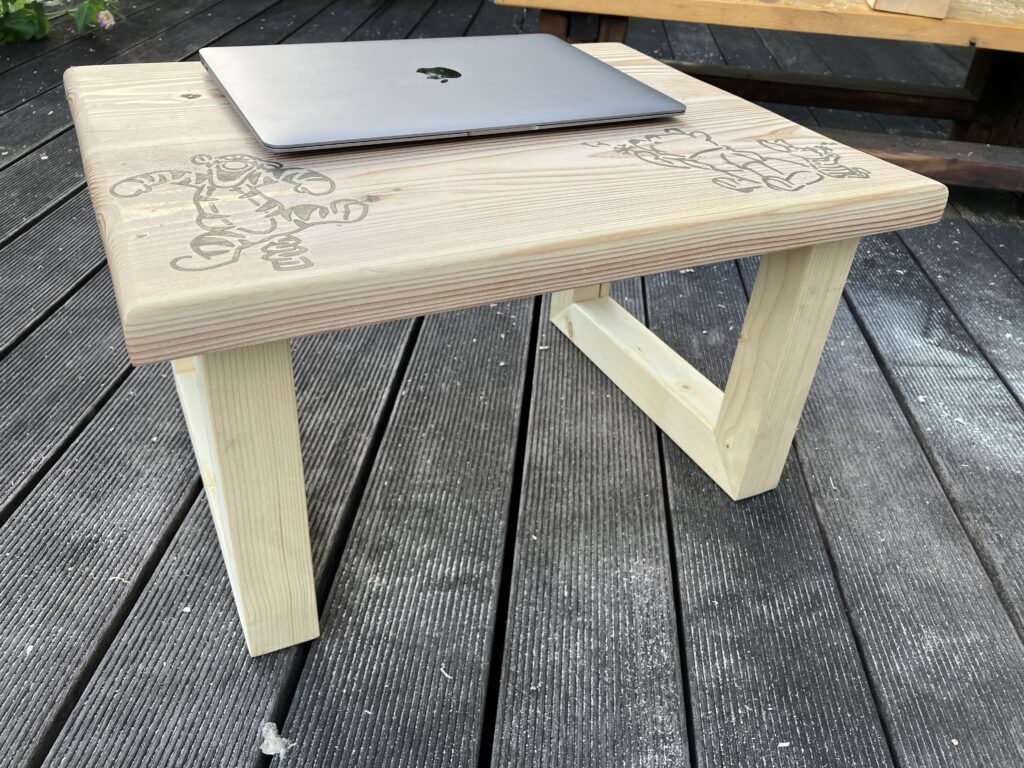
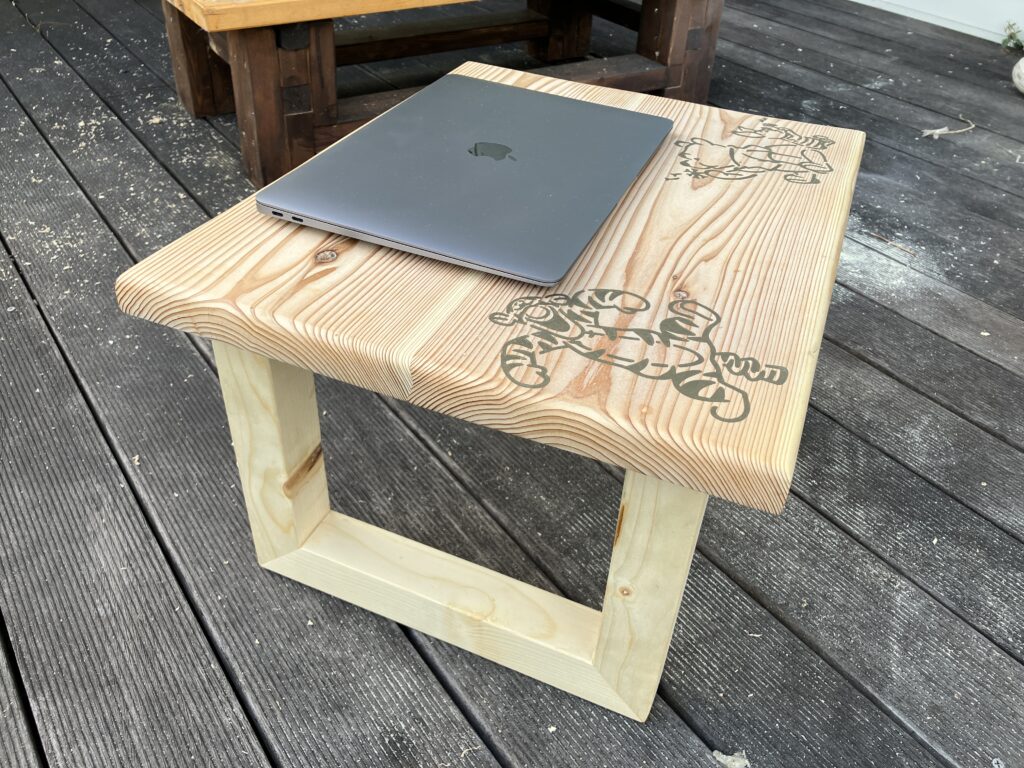
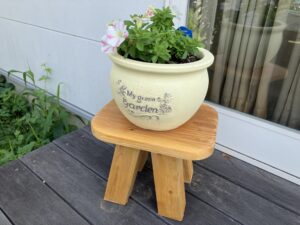
![](https://kantan-diy.com/wp-content/uploads/2023/09/IMG_9109-1024x768.jpg)
![](https://kantan-diy.com/wp-content/uploads/2023/09/IMG_9110-1024x768.jpg)
以上で完成です。
この高さのテーブルは、床に座って使ったり、ベッドの上においてパソコンを使うのに便利です。
![](https://kantan-diy.com/wp-content/uploads/2023/09/IMG_9117-1024x768.jpg)
![](https://kantan-diy.com/wp-content/uploads/2023/09/IMG_9116-1024x768.jpg)
使用工具
丸のこ
カフェ板の長さを調整したり、天板の四辺を整えるのに使います。
![](https://kantan-diy.com/wp-content/plugins/pochipp/assets/img/pochipp-logo-t1.png)
スライド丸のこ
脚を45度の角度切りするのに使います。写真では卓上丸のこを使っていますが、スライド丸のこの方が便利です。
![](https://kantan-diy.com/wp-content/plugins/pochipp/assets/img/pochipp-logo-t1.png)
ジョイントカッター
脚と天板を接続するのに使いました。接続方法はいろいろあるので、この工具はなくても作れます。しかし、DIYをする上では、さまざまなシーンであると便利です。
![](https://kantan-diy.com/wp-content/plugins/pochipp/assets/img/pochipp-logo-t1.png)
トリマー
写真ではルーターを使っていますが、トリマーの方が小回りがきいて便利です。ルーターとトリマーの大きな違いは力強さなので、深く彫りこまない時には、トリマーで十分です。
![](https://kantan-diy.com/wp-content/plugins/pochipp/assets/img/pochipp-logo-t1.png)
電動カンナ
天板のカフェ板接続部分を目立たなくするため、天板上面を2㎜ほど削ります。カンナで削ろうとすると結構な手間なので、電動カンナがあると便利です。
![](https://kantan-diy.com/wp-content/plugins/pochipp/assets/img/pochipp-logo-t1.png)
インパクトドライバー
脚をコの字に固定する際、ビスを打ったり、ドリルで孔を開けます。
![](https://kantan-diy.com/wp-content/plugins/pochipp/assets/img/pochipp-logo-t1.png)
ランダムサンダー
天板の表面を整えるため、磨きます。手でやすりがけしてもいいですが、サンダーはとても早く処理できます。
![](https://kantan-diy.com/wp-content/plugins/pochipp/assets/img/pochipp-logo-t1.png)
以上で作り方の説明は終わりです。
![](https://kantan-diy.com/wp-content/uploads/2023/07/de8b0abd7ba7114bec4d02279771fcd1-150x150.jpg)
最後まで読んでいただきありがとうございました。
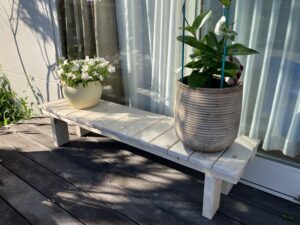
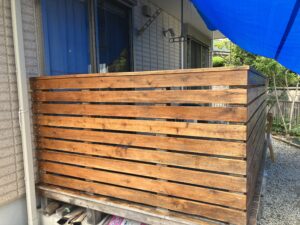
カフェ板で作るテーブルの作り方もみてね。
![](https://kantan-diy.com/wp-content/uploads/2023/08/IMG_9305-scaled.jpg)
コメント