
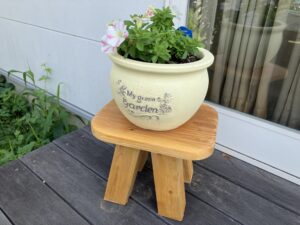
こんにちは、源です。今日はテーブル作ります。
 げん
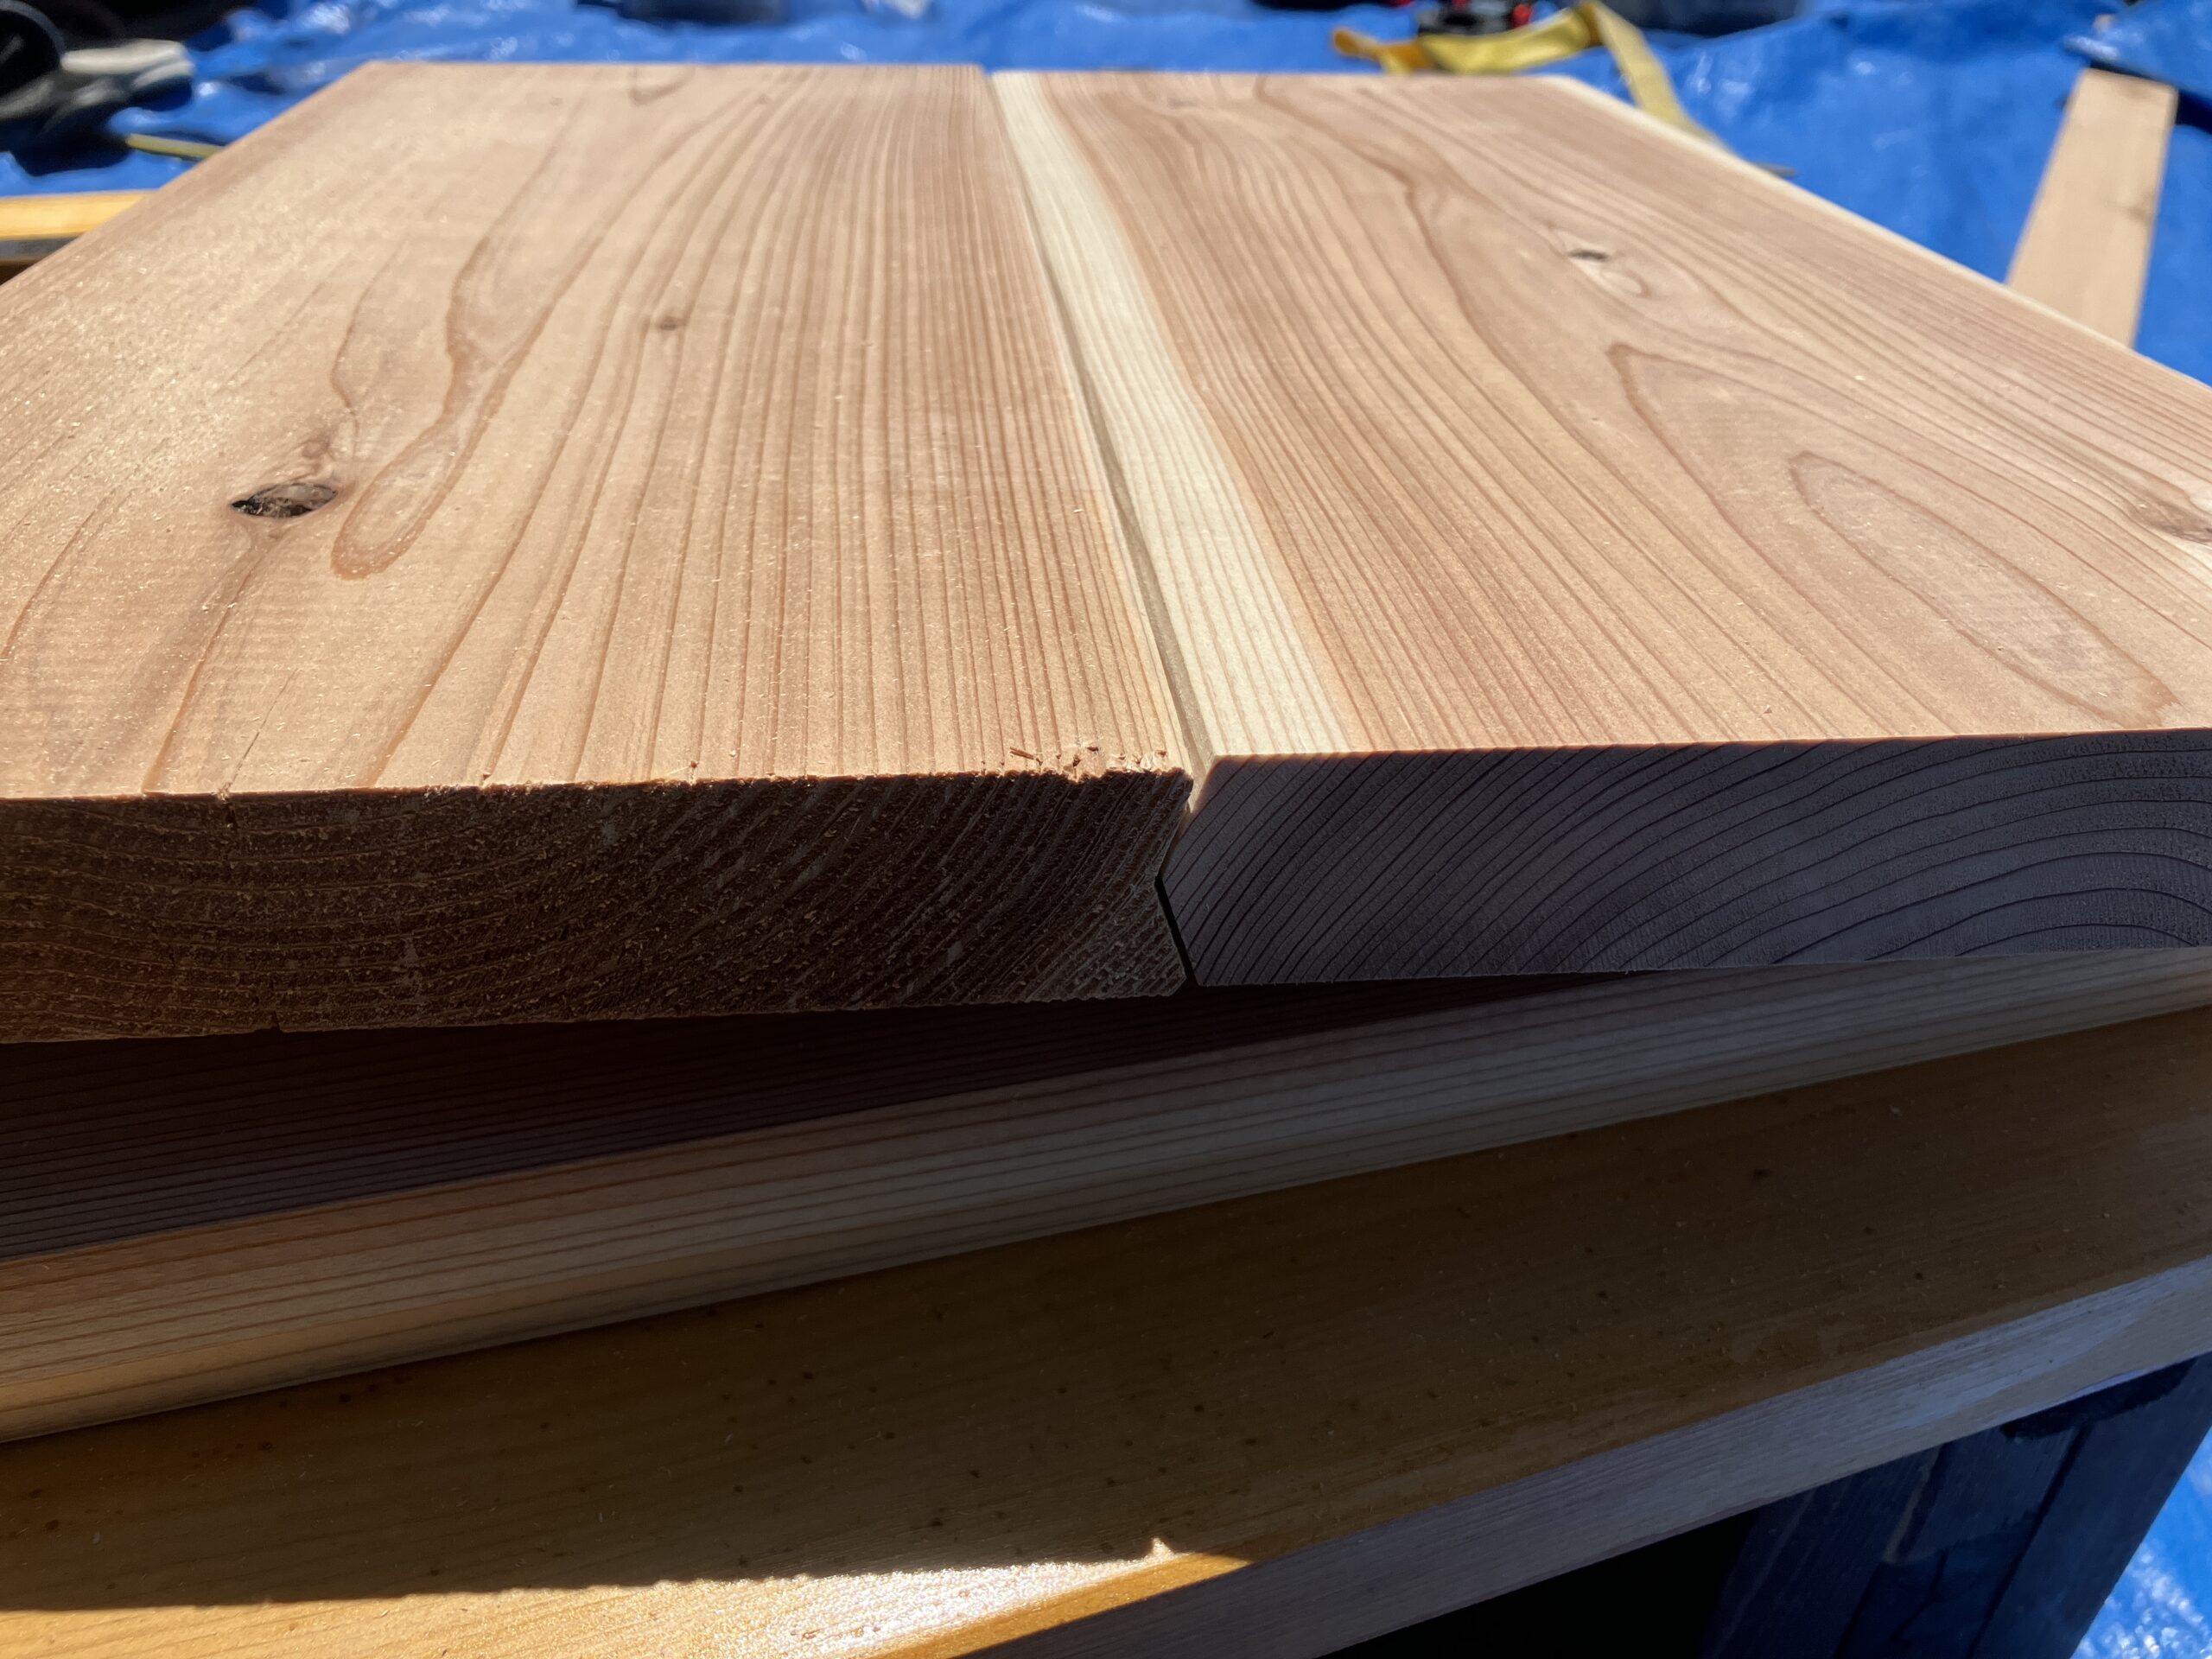
げんカフェ板って知ってる?
ホームセンターの木材コーナでは、最近よく見かけますね。杉のちょっと厚め板ですが、三角の凹凸が側面に加工してあって、板同士を簡単にくっつけることができます。

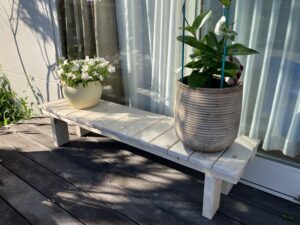
この板を使ってテーブルを作ります。
材料
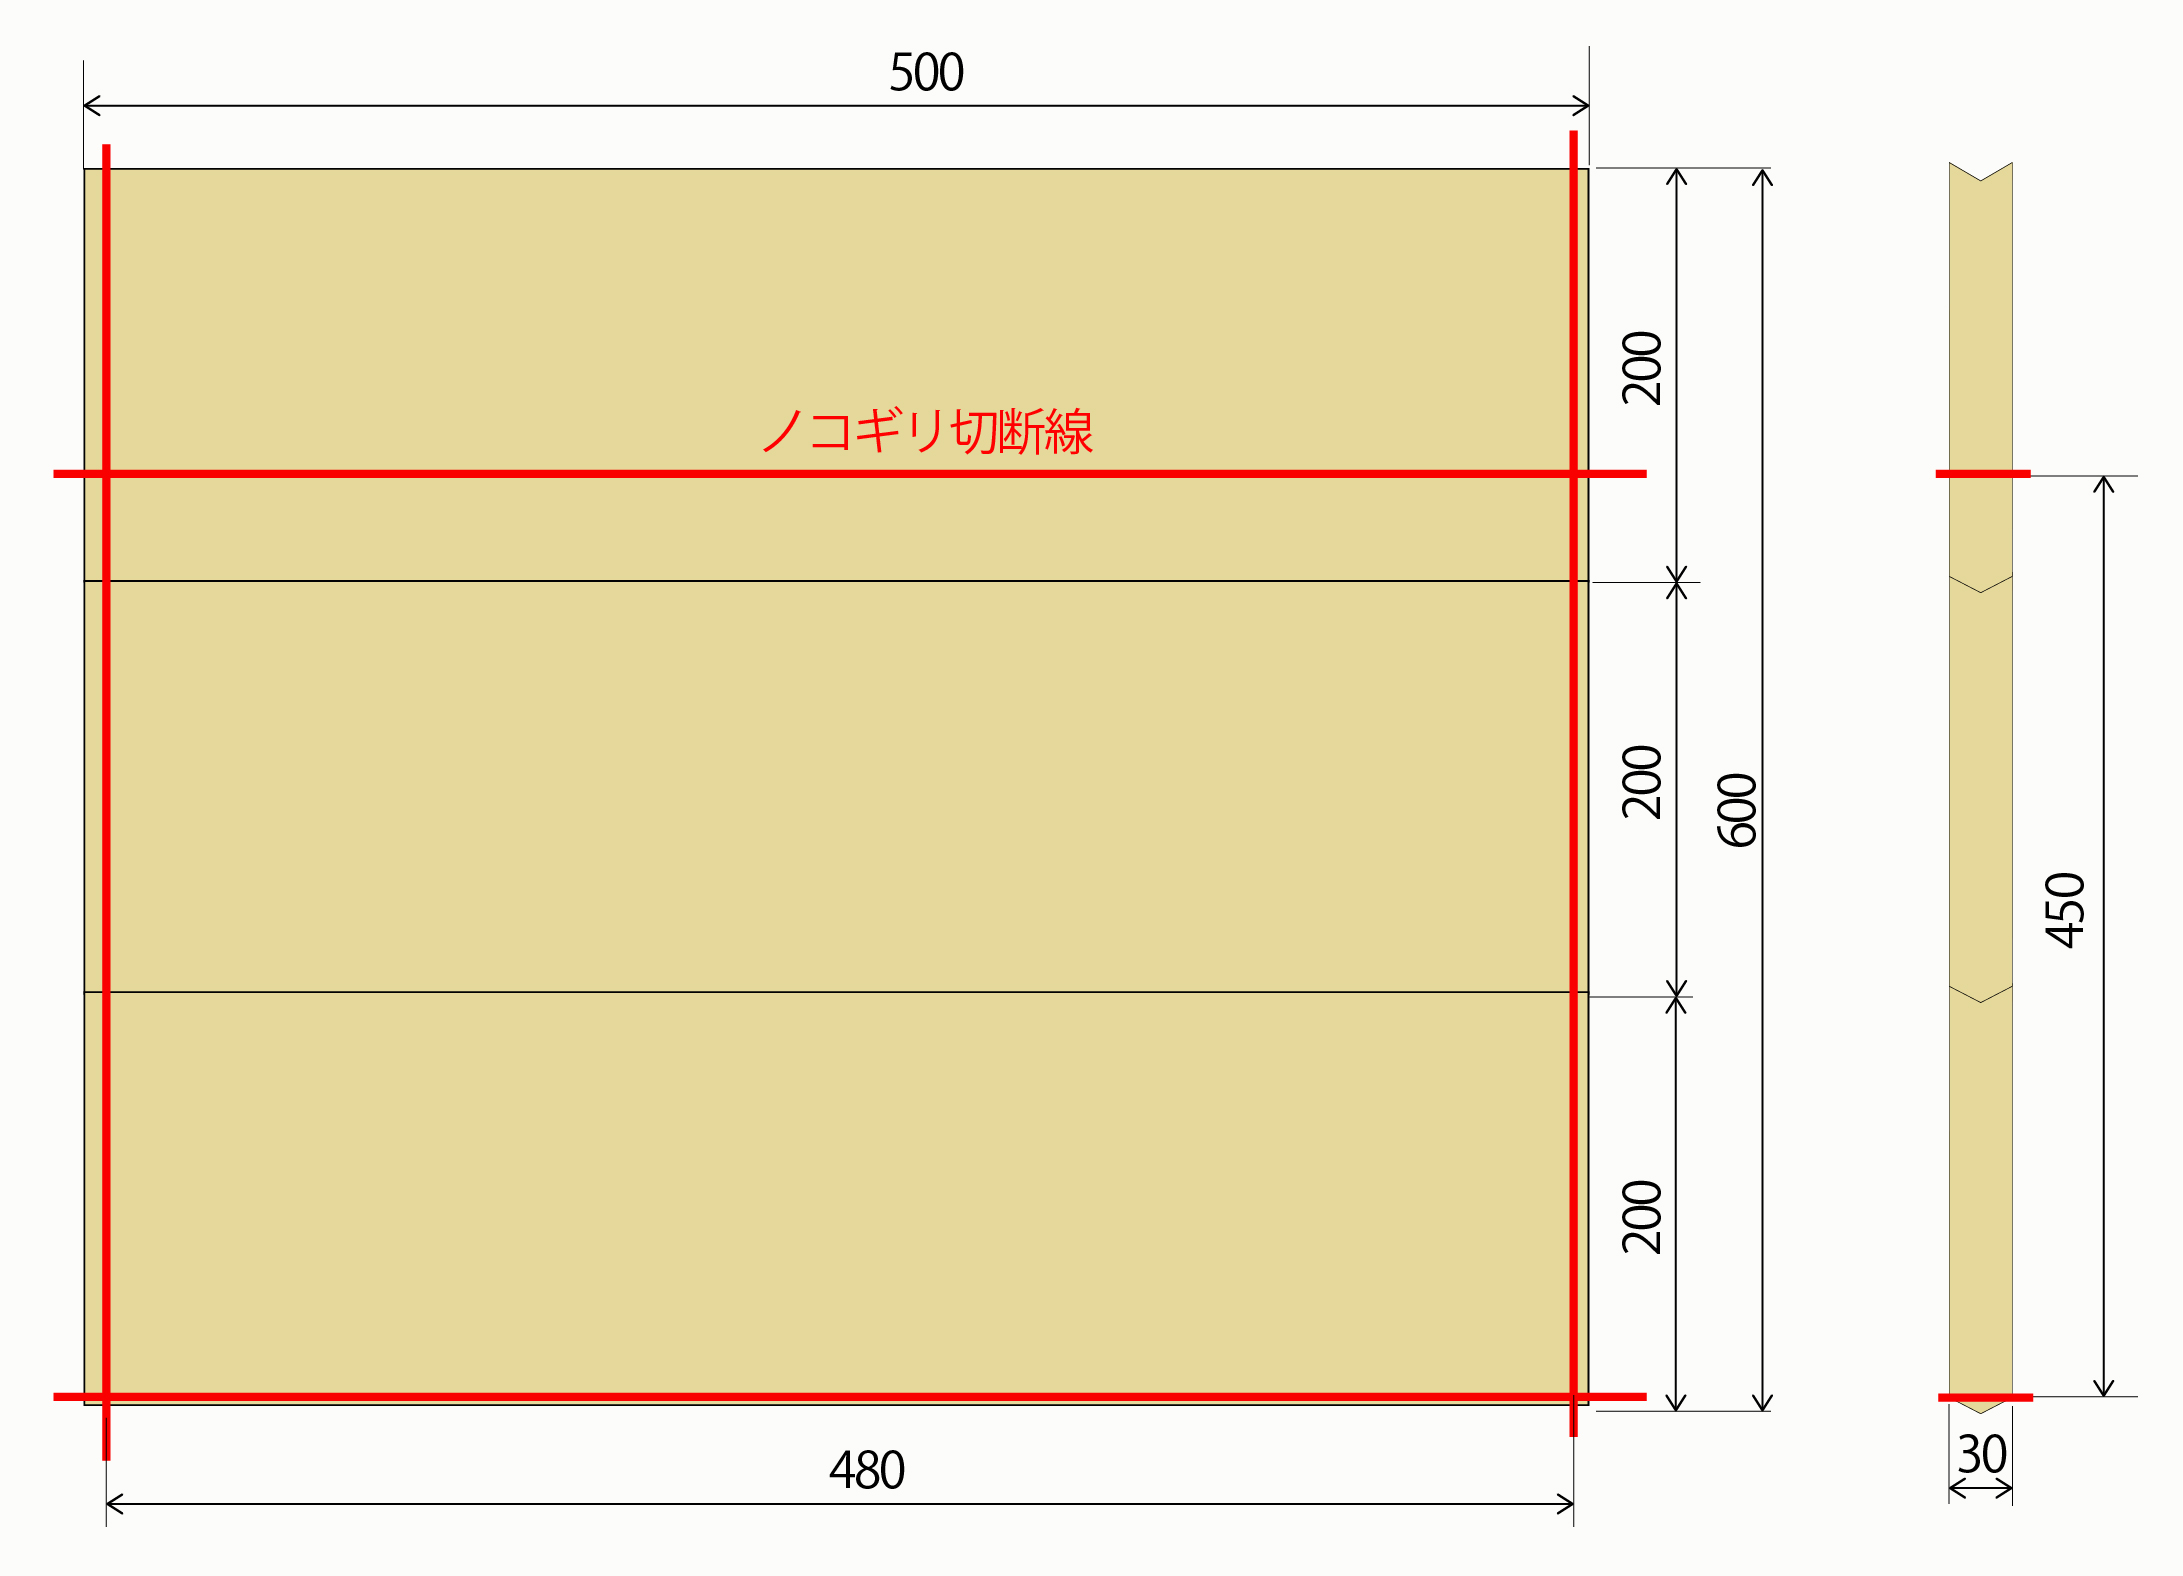
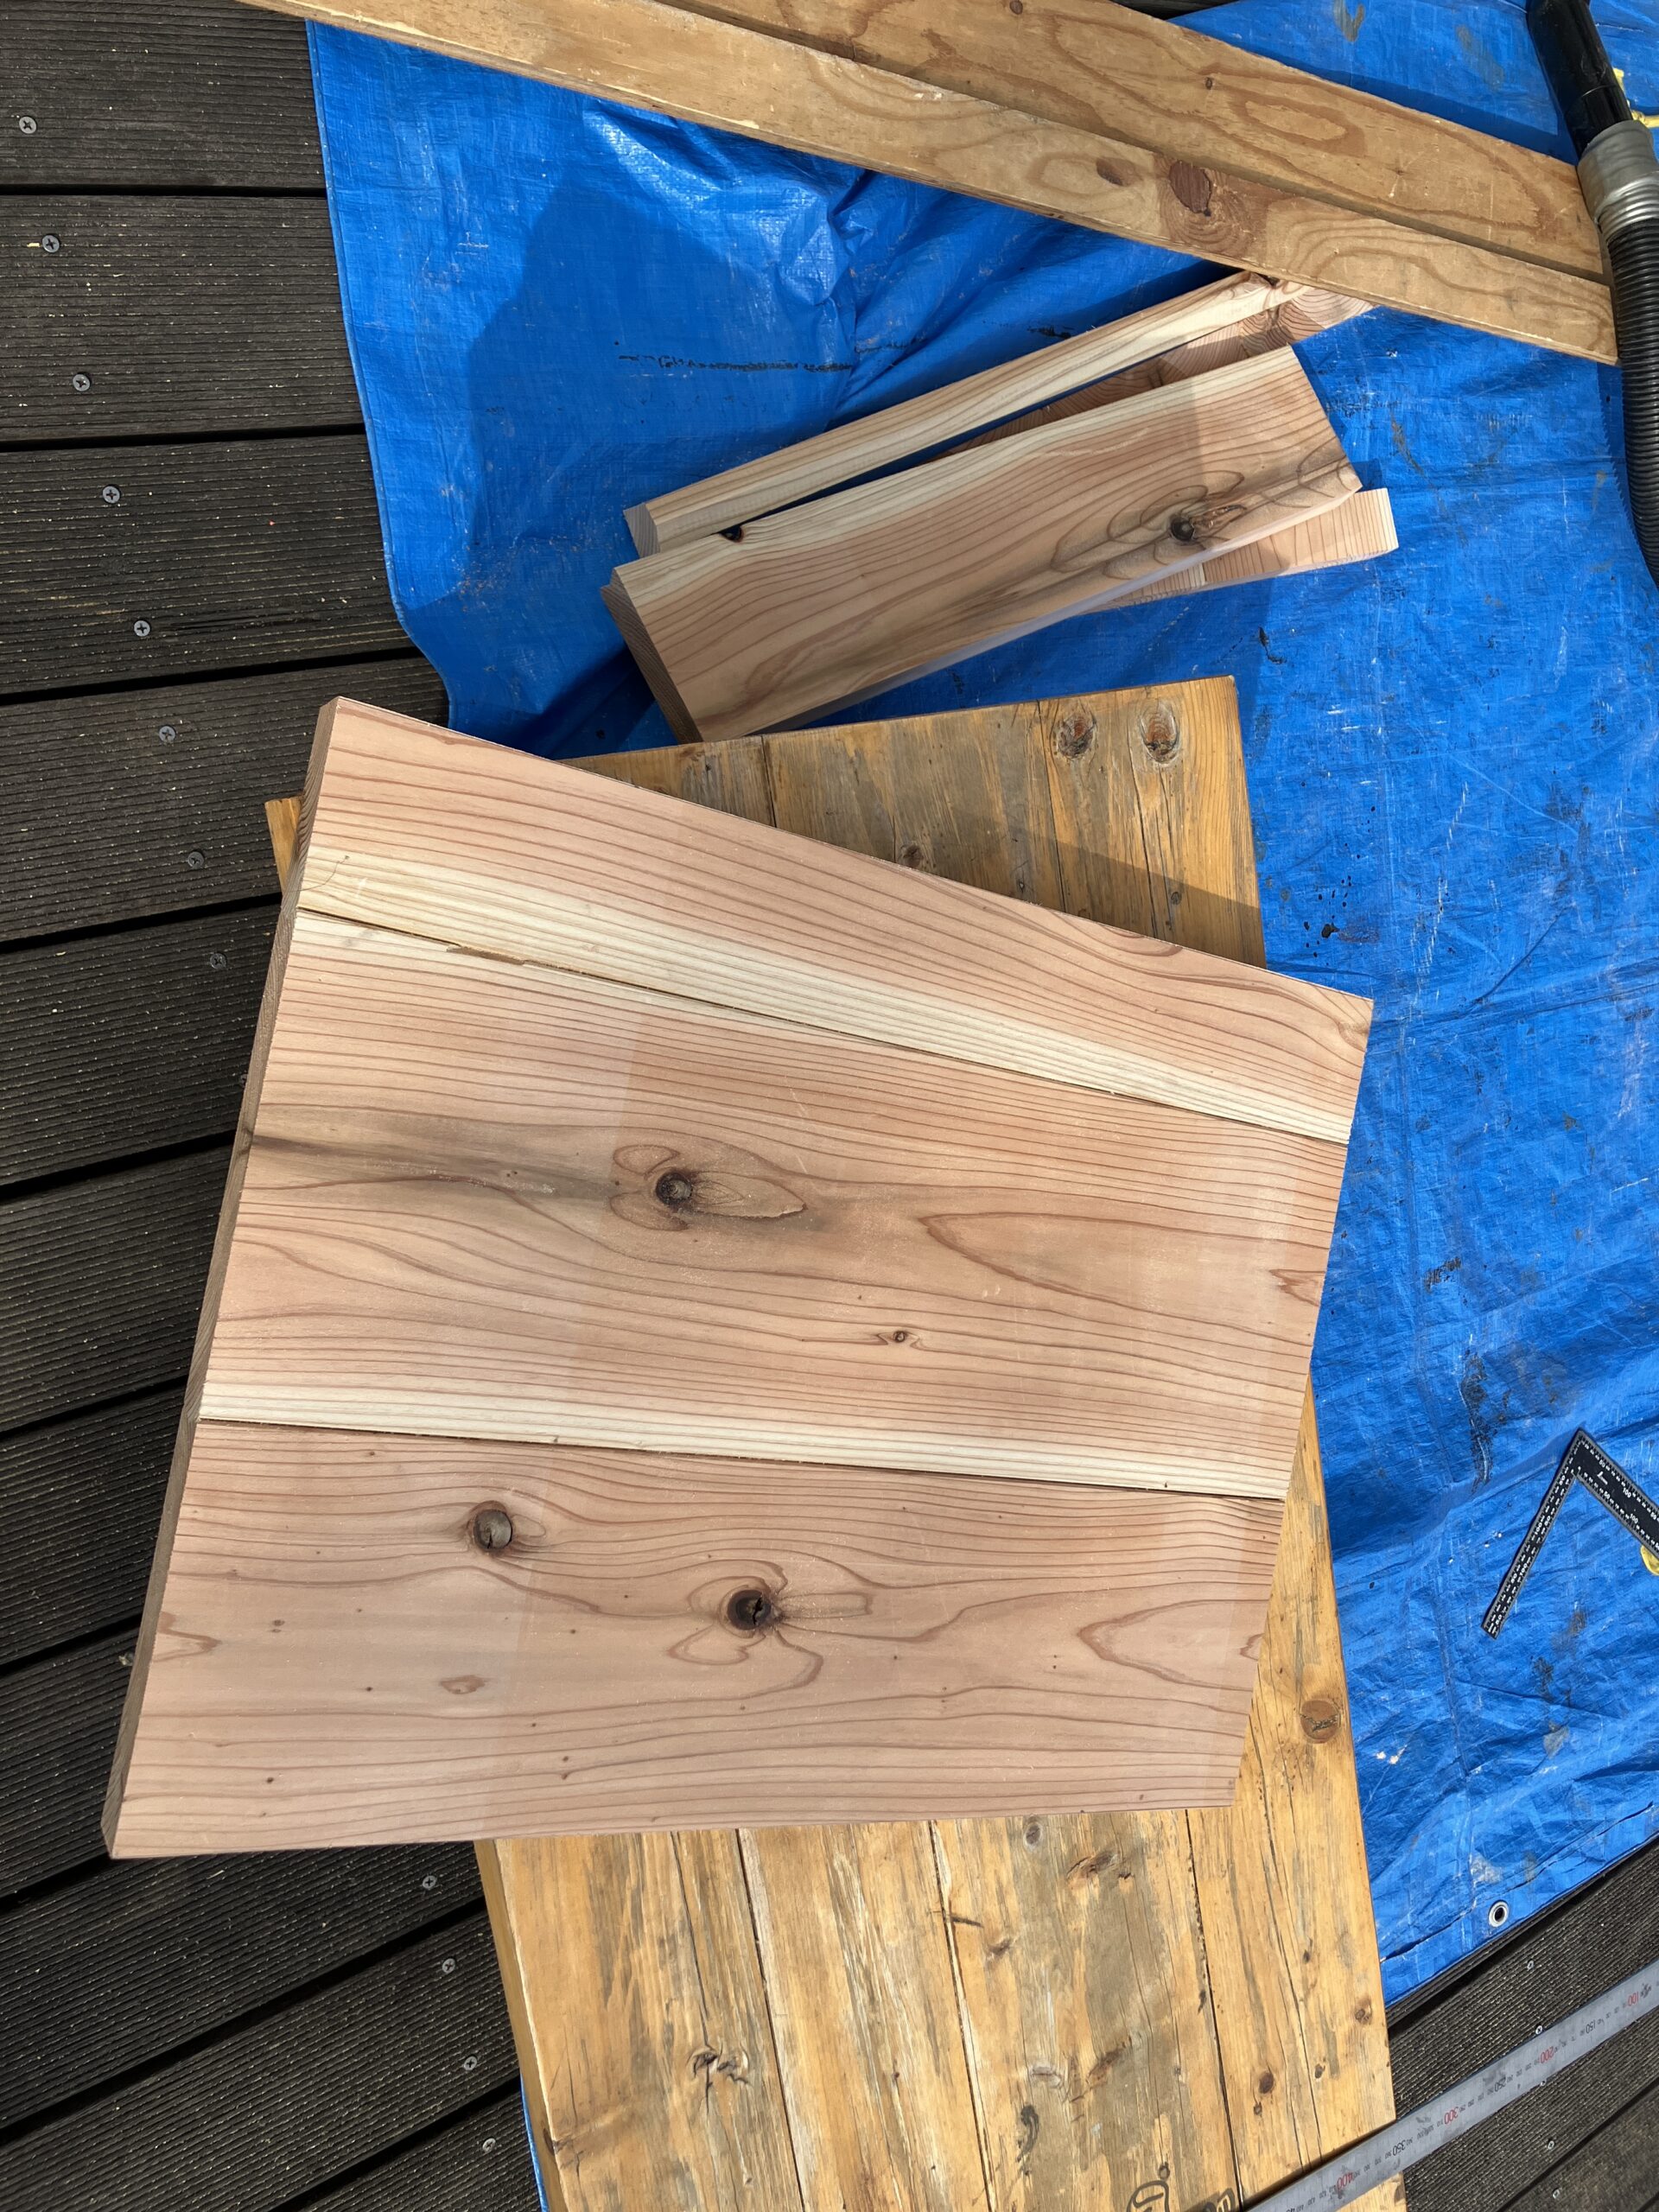
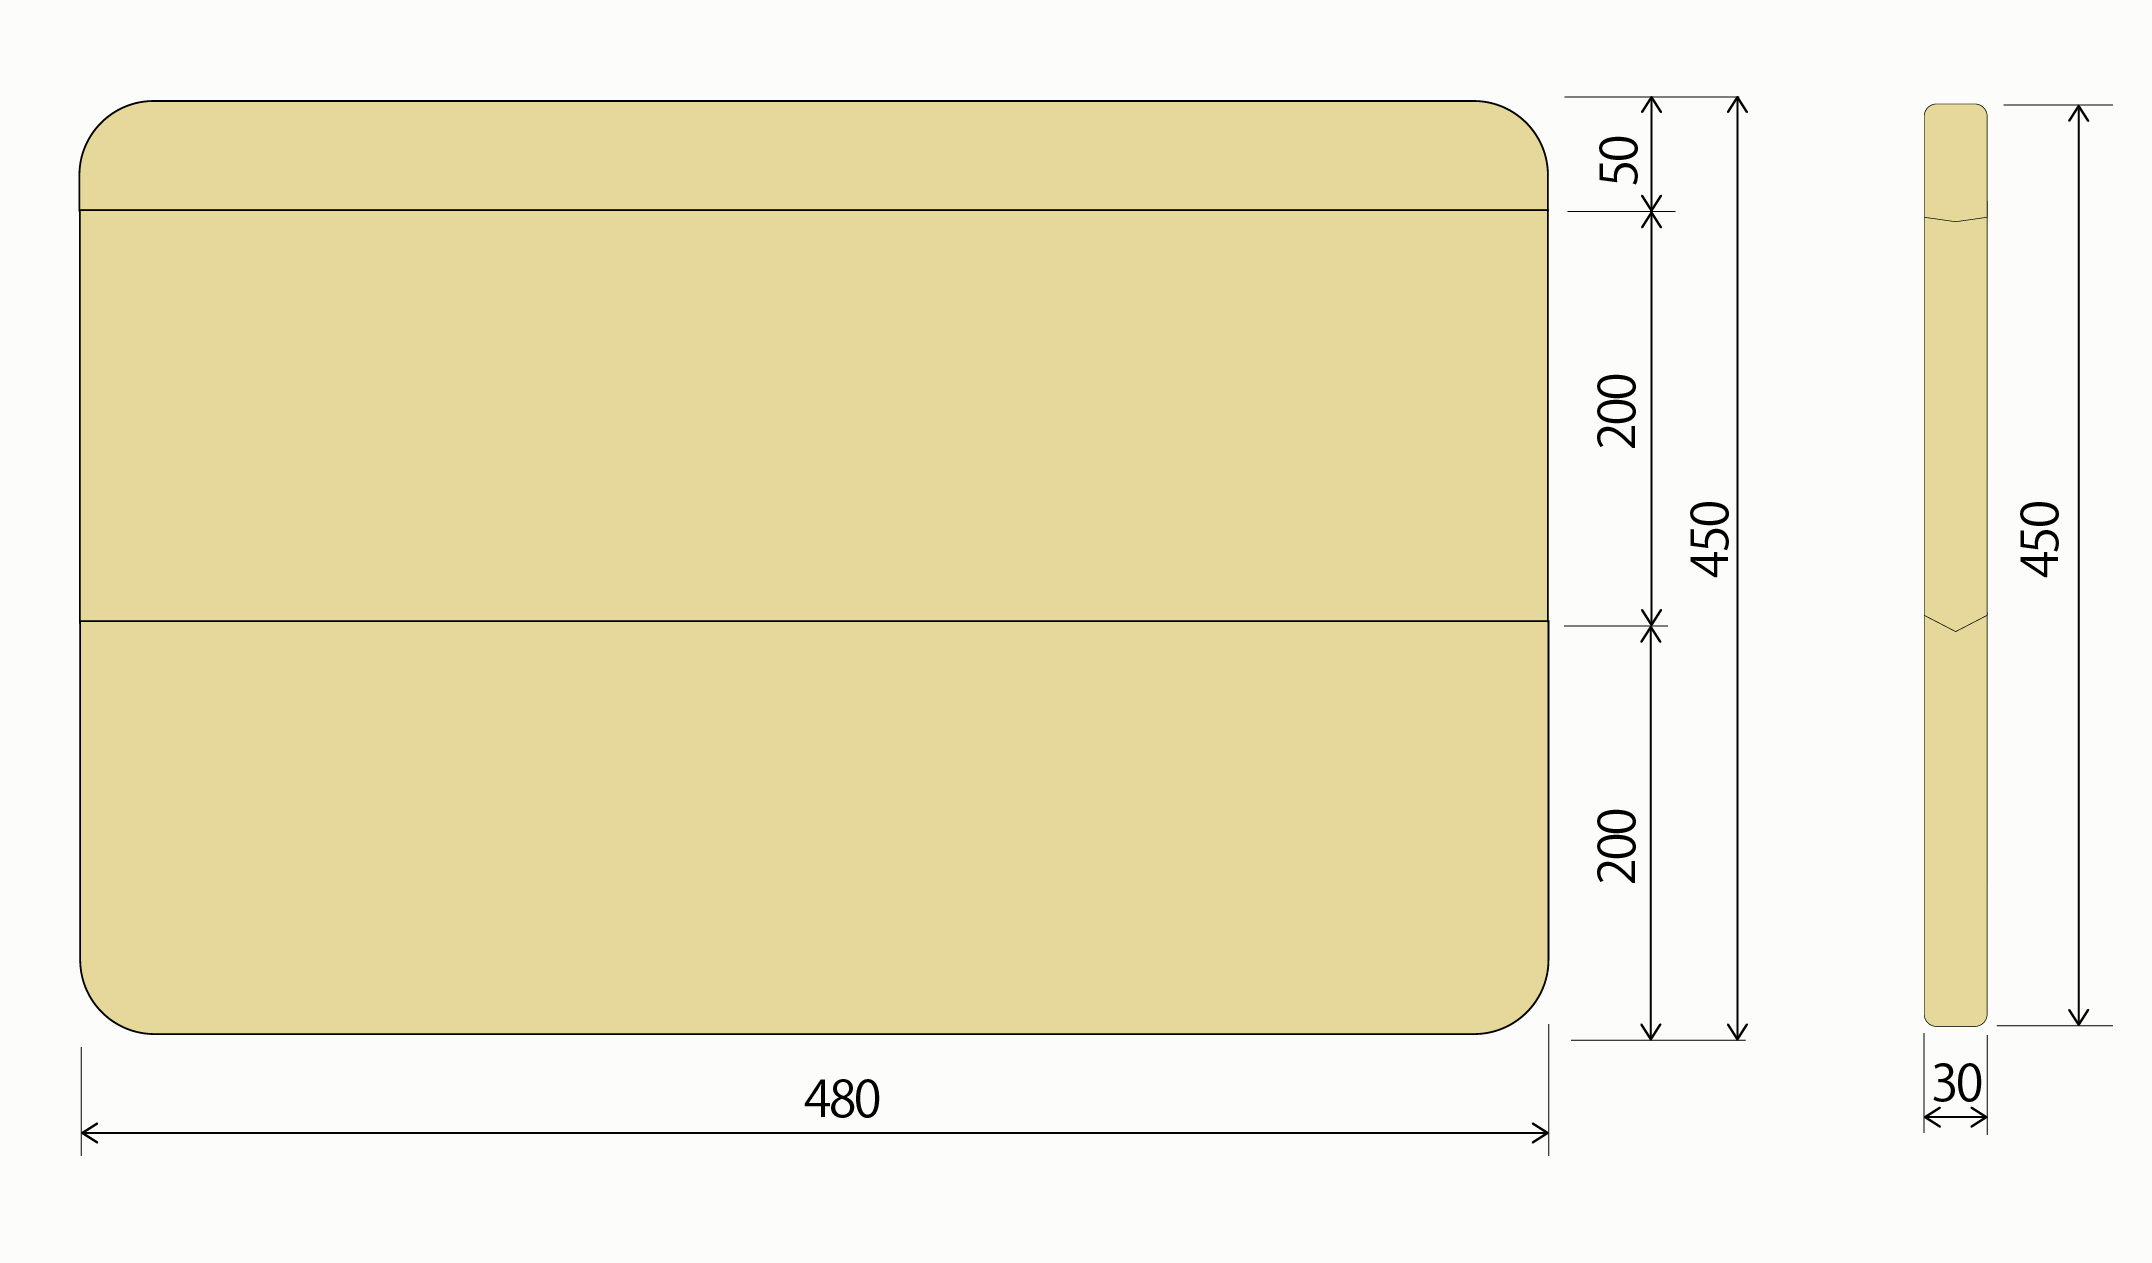
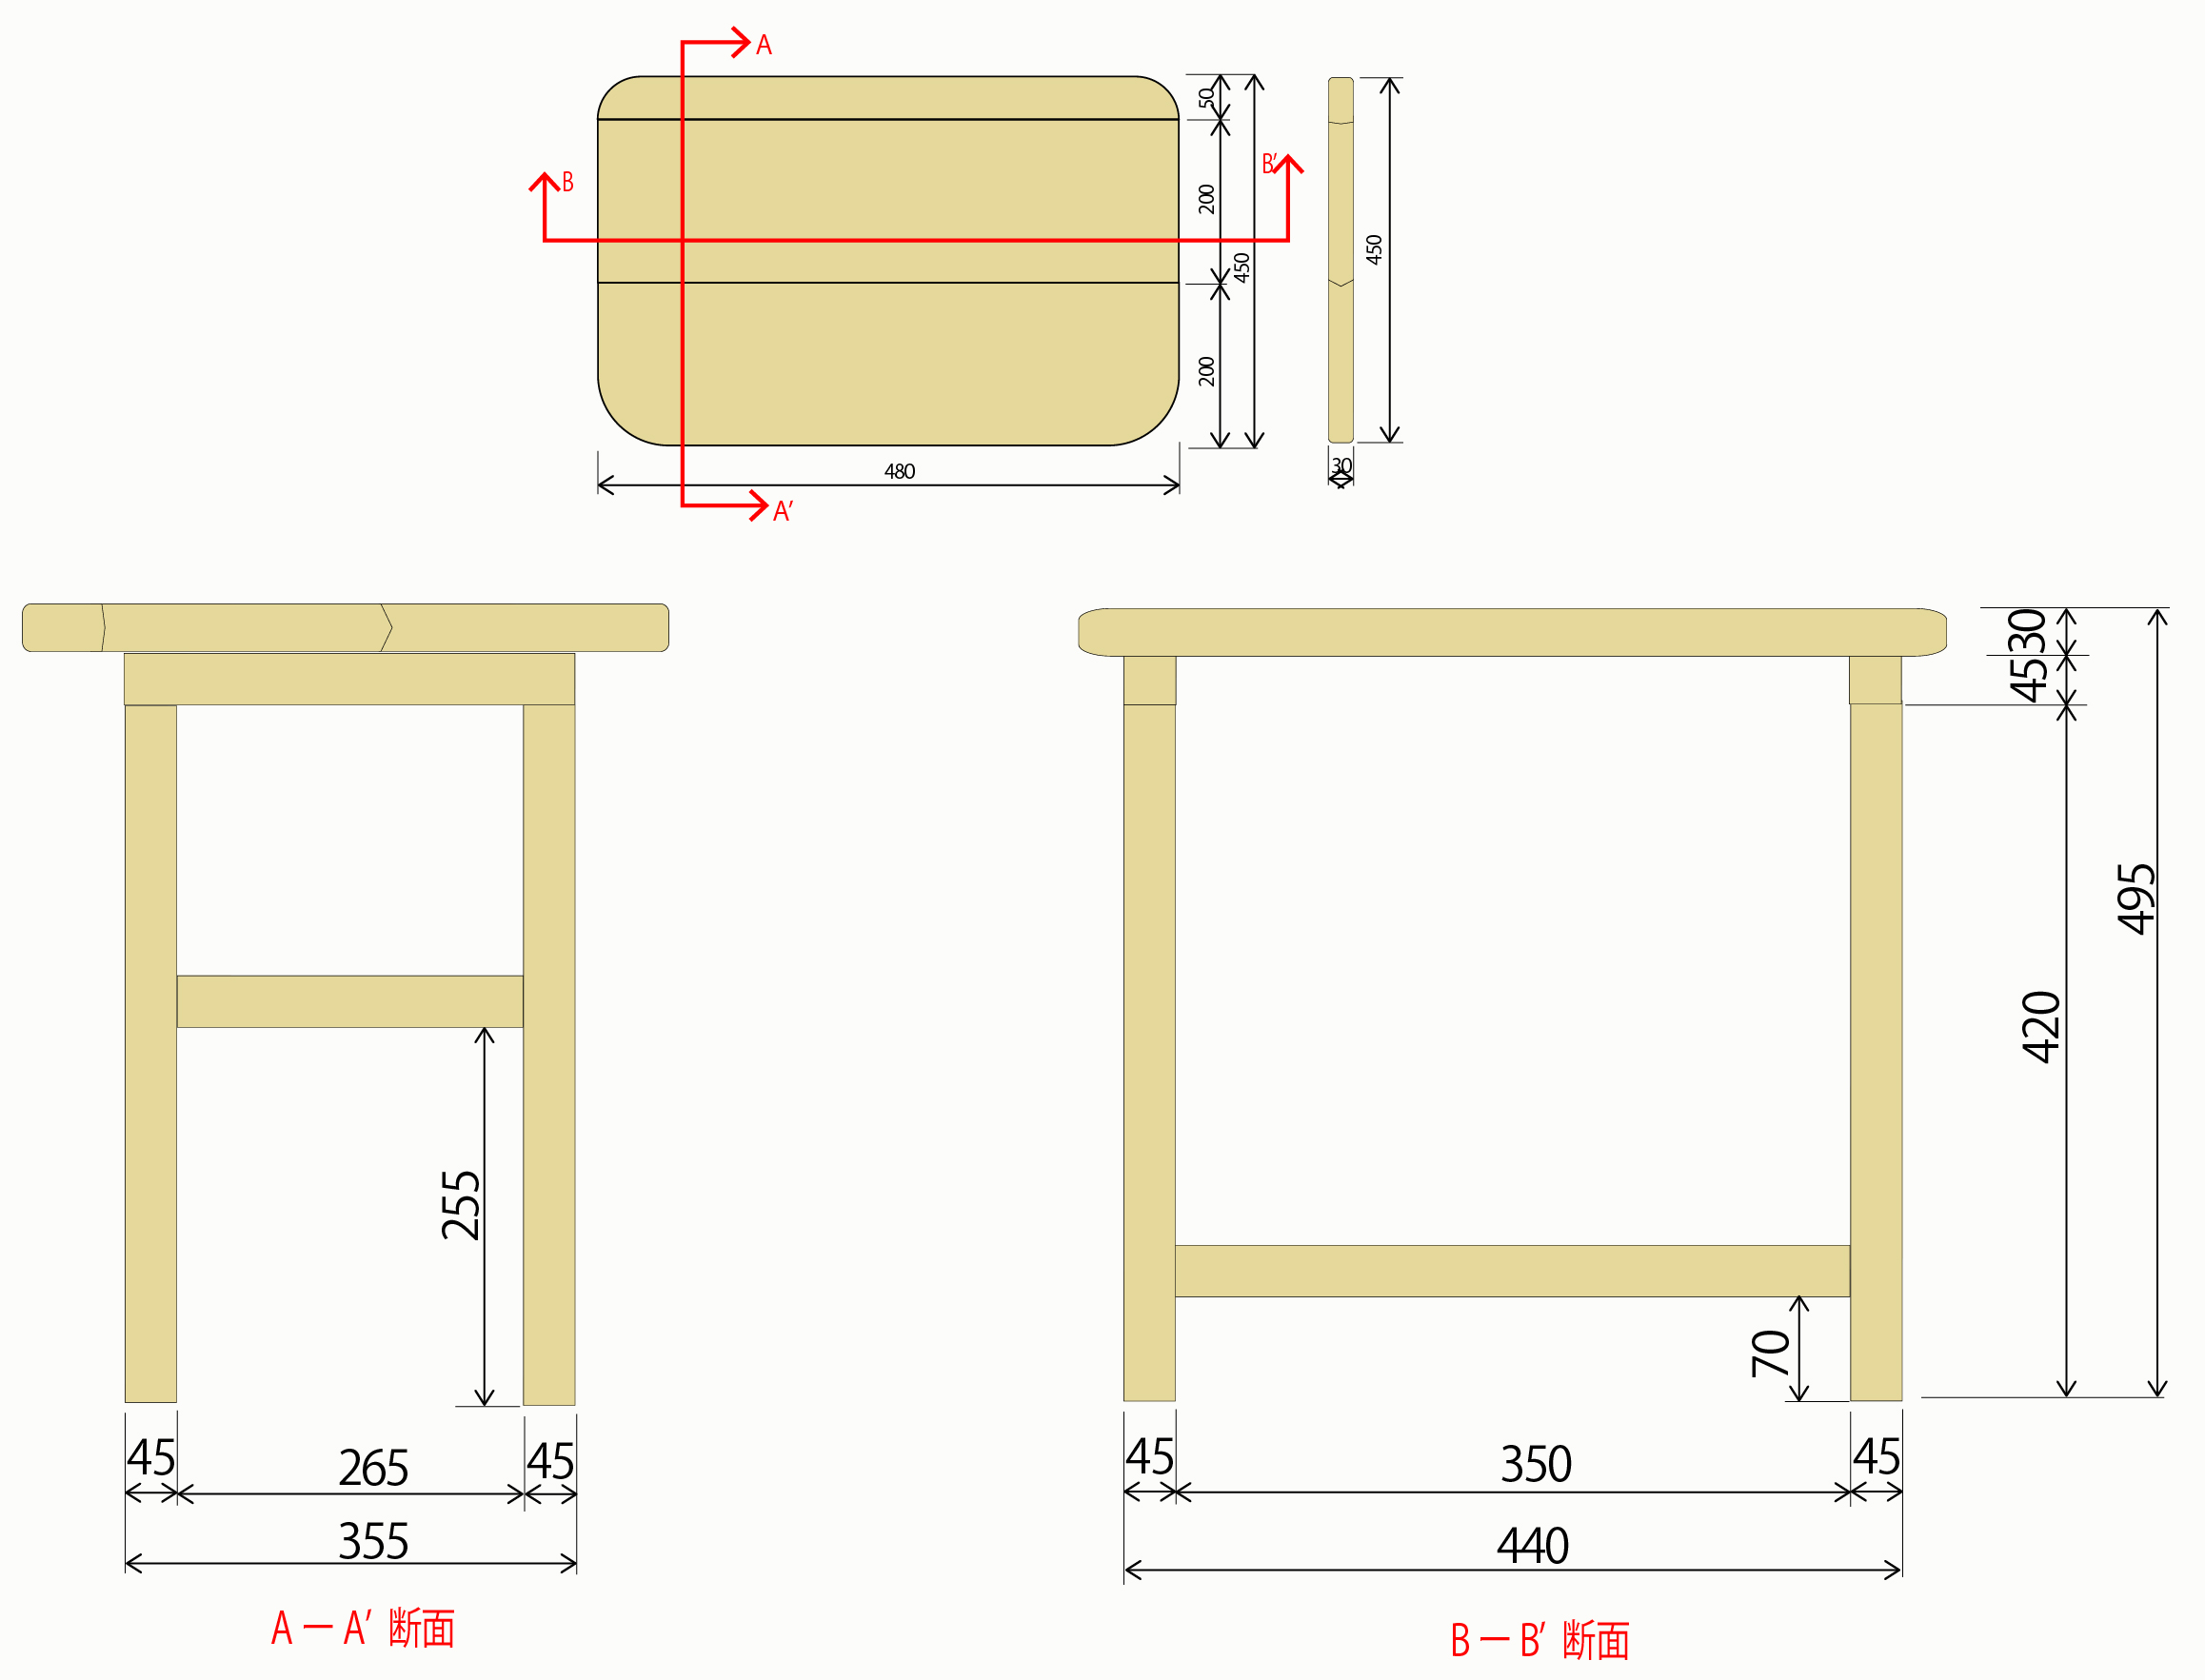
まずは使用する材料です。今回はカフェ板と45角のホワイトウッドです。大体のホームセンターで手に入りますね。カフェ板は長さが1m、2mのものがよく流通しています。
天板の幅を50㎝にしていますので、どの長さのカフェ板を購入しても構いません。
| 名称 | 規格 | 数量 |
| カフェ板 | 200×30×500㎜ | 3枚 |
| ホワイトウッド | 45×45×420㎜ | 4本 |
| 45×45×355㎜ | 2本 | |
| 45×45×265㎜ | 2本 | |
| 45×45×350㎜ | 1本 |
作り方
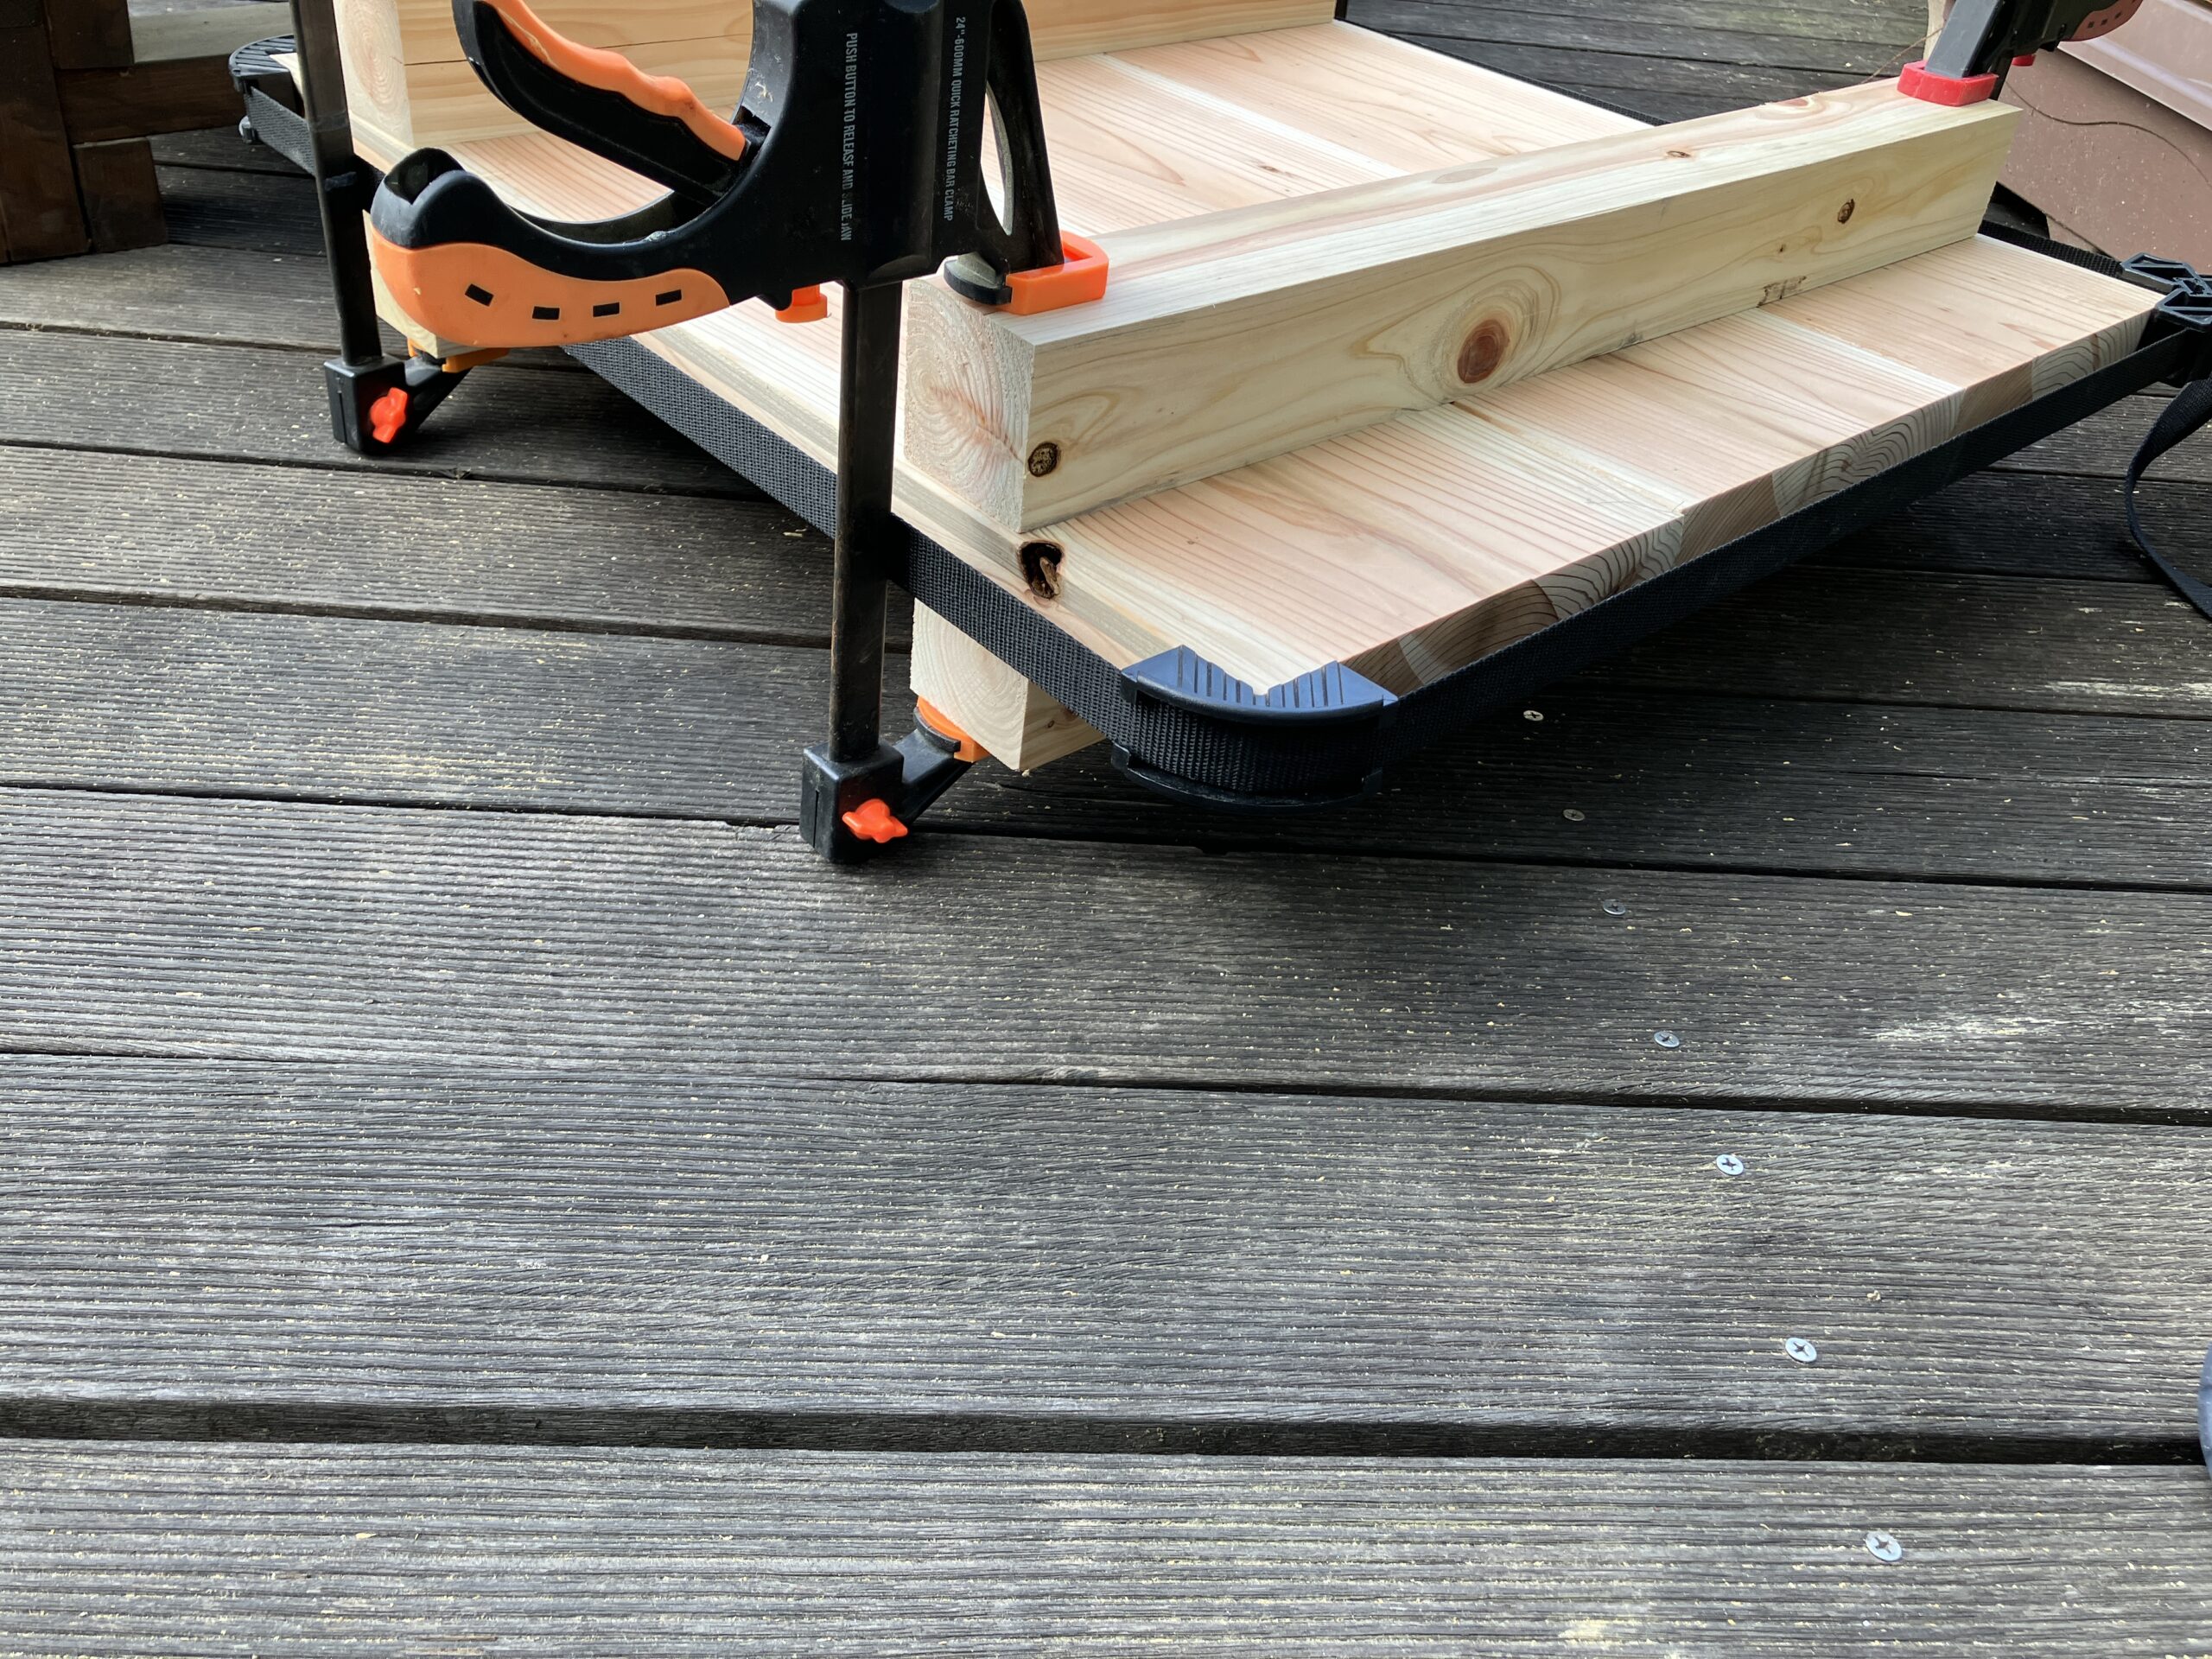
天板の接続は木工用ボンドでくっつけるだけです。反るのを防いだり、しっかりくっつけるため、ベルトクランプやクイッククランプを使いました。
これらがなくても、何らかのオモリを載せて置けばいいでしょう。
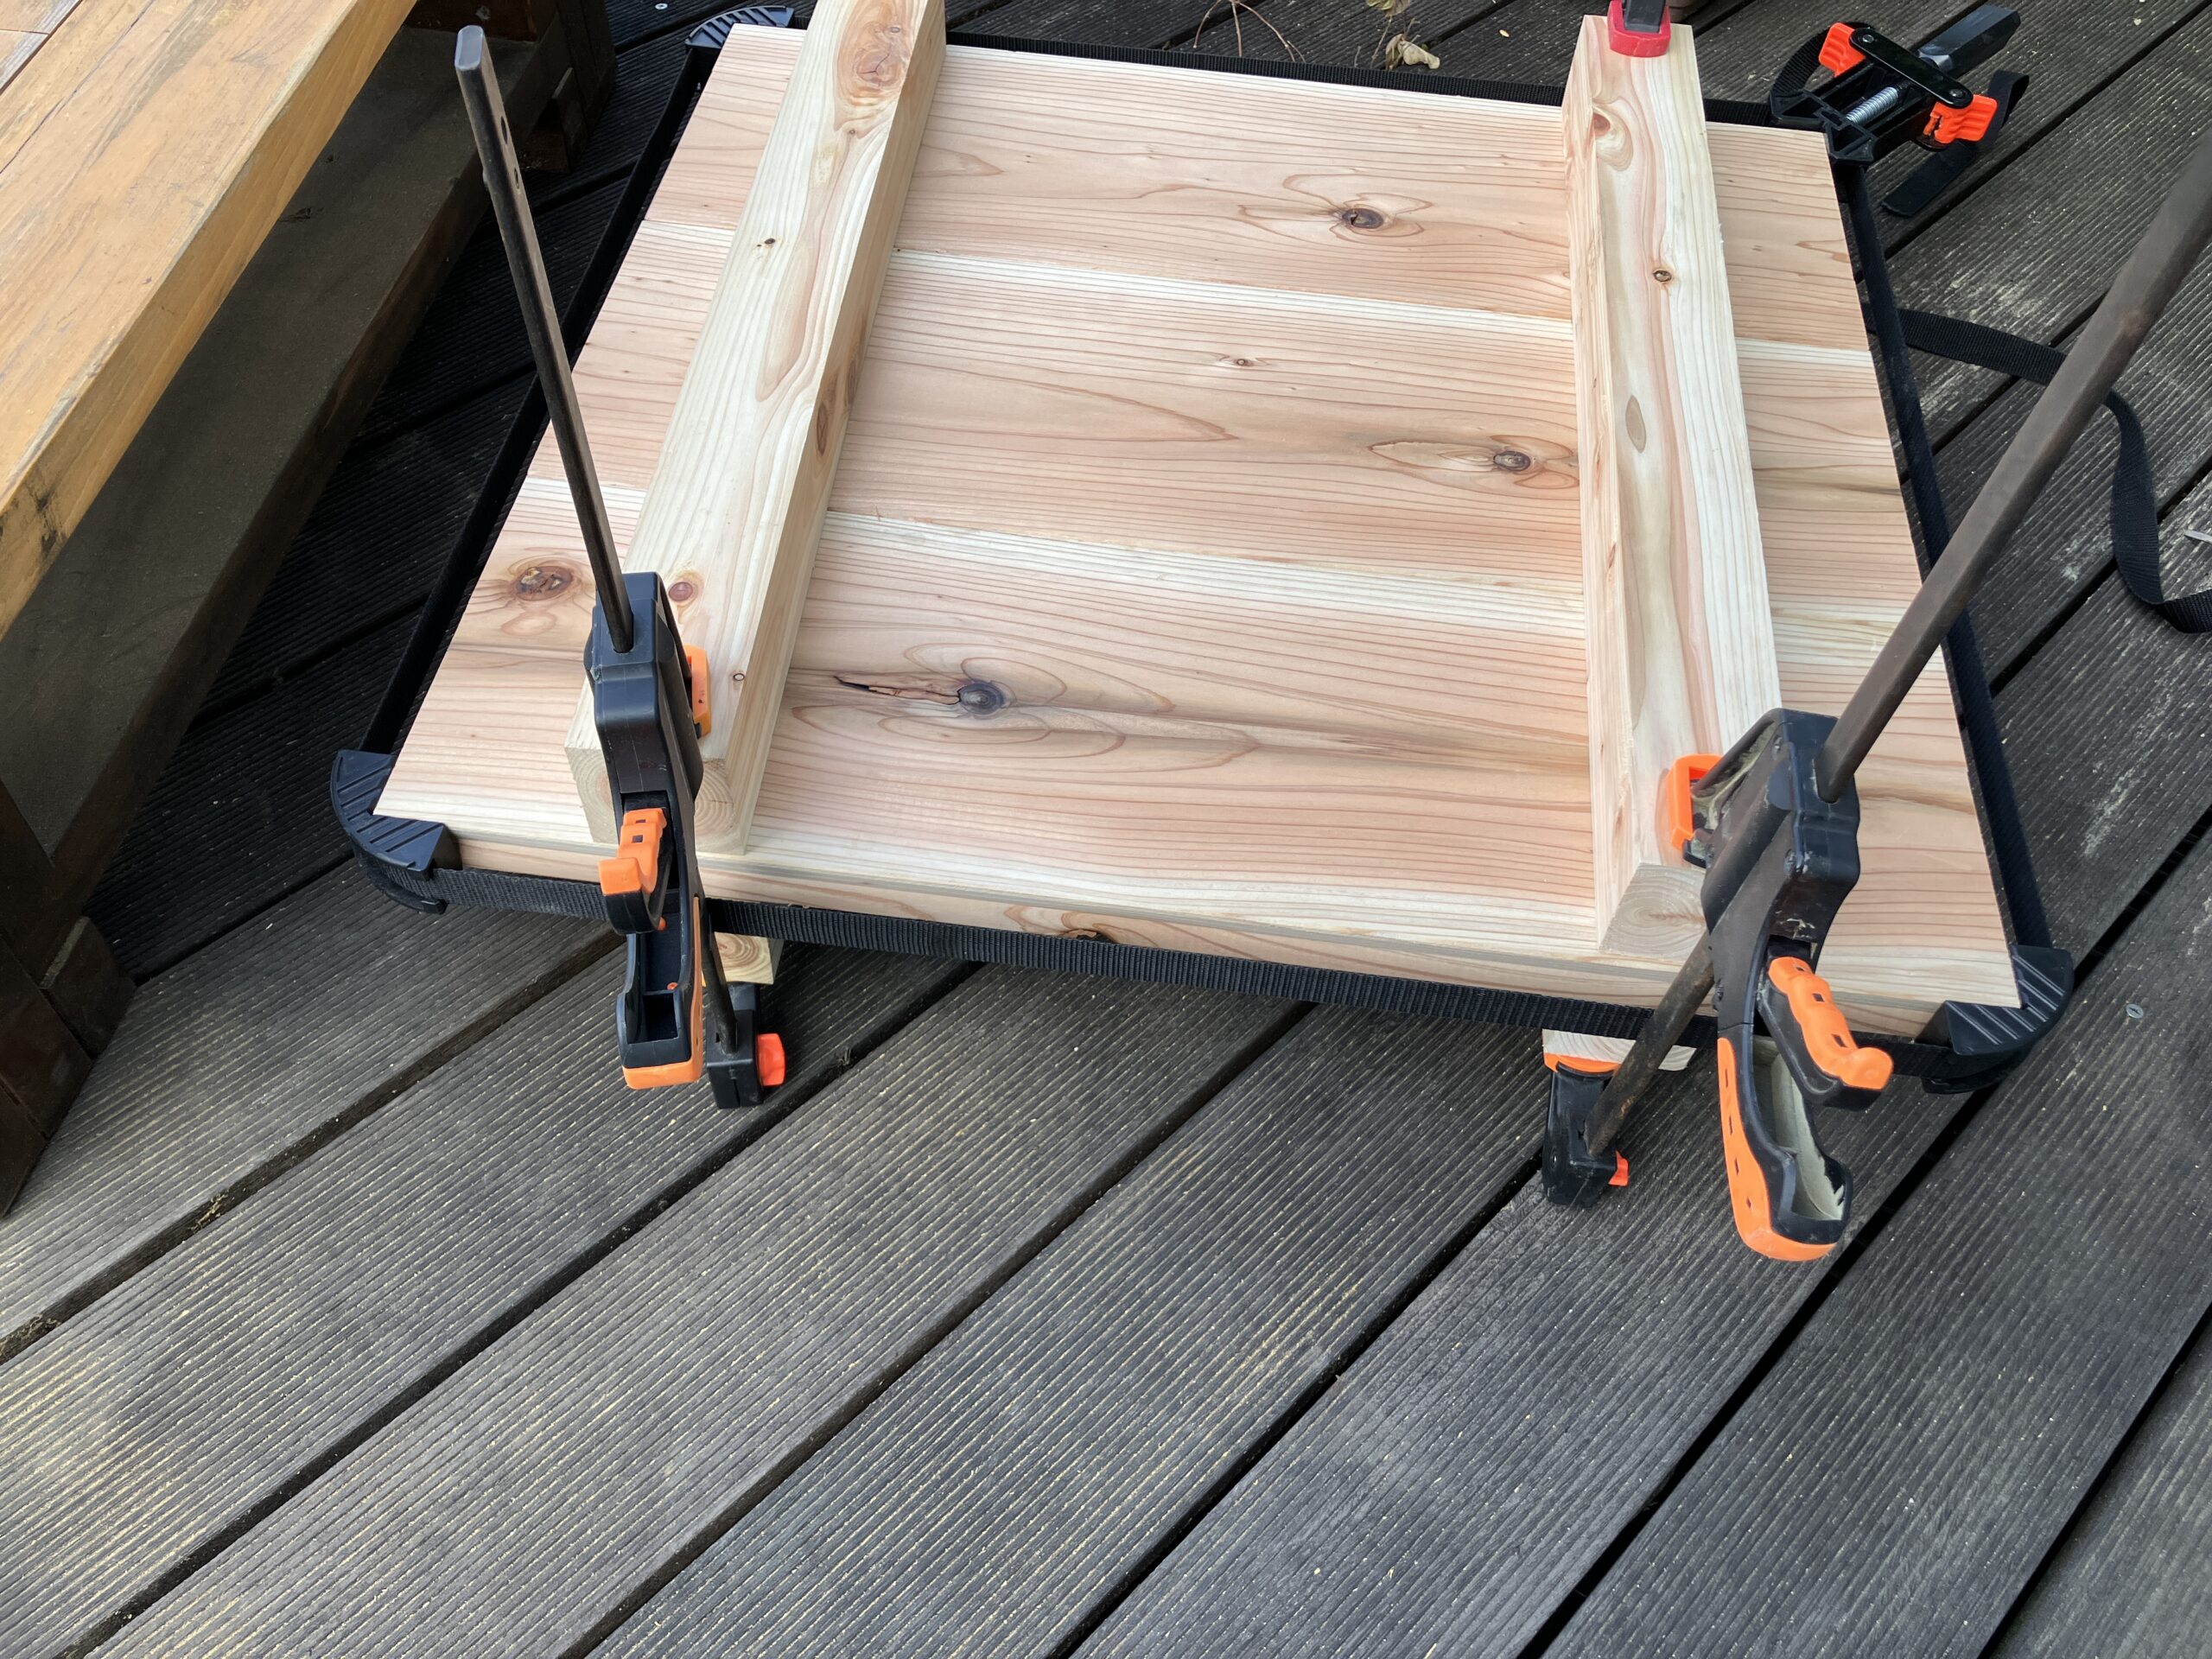


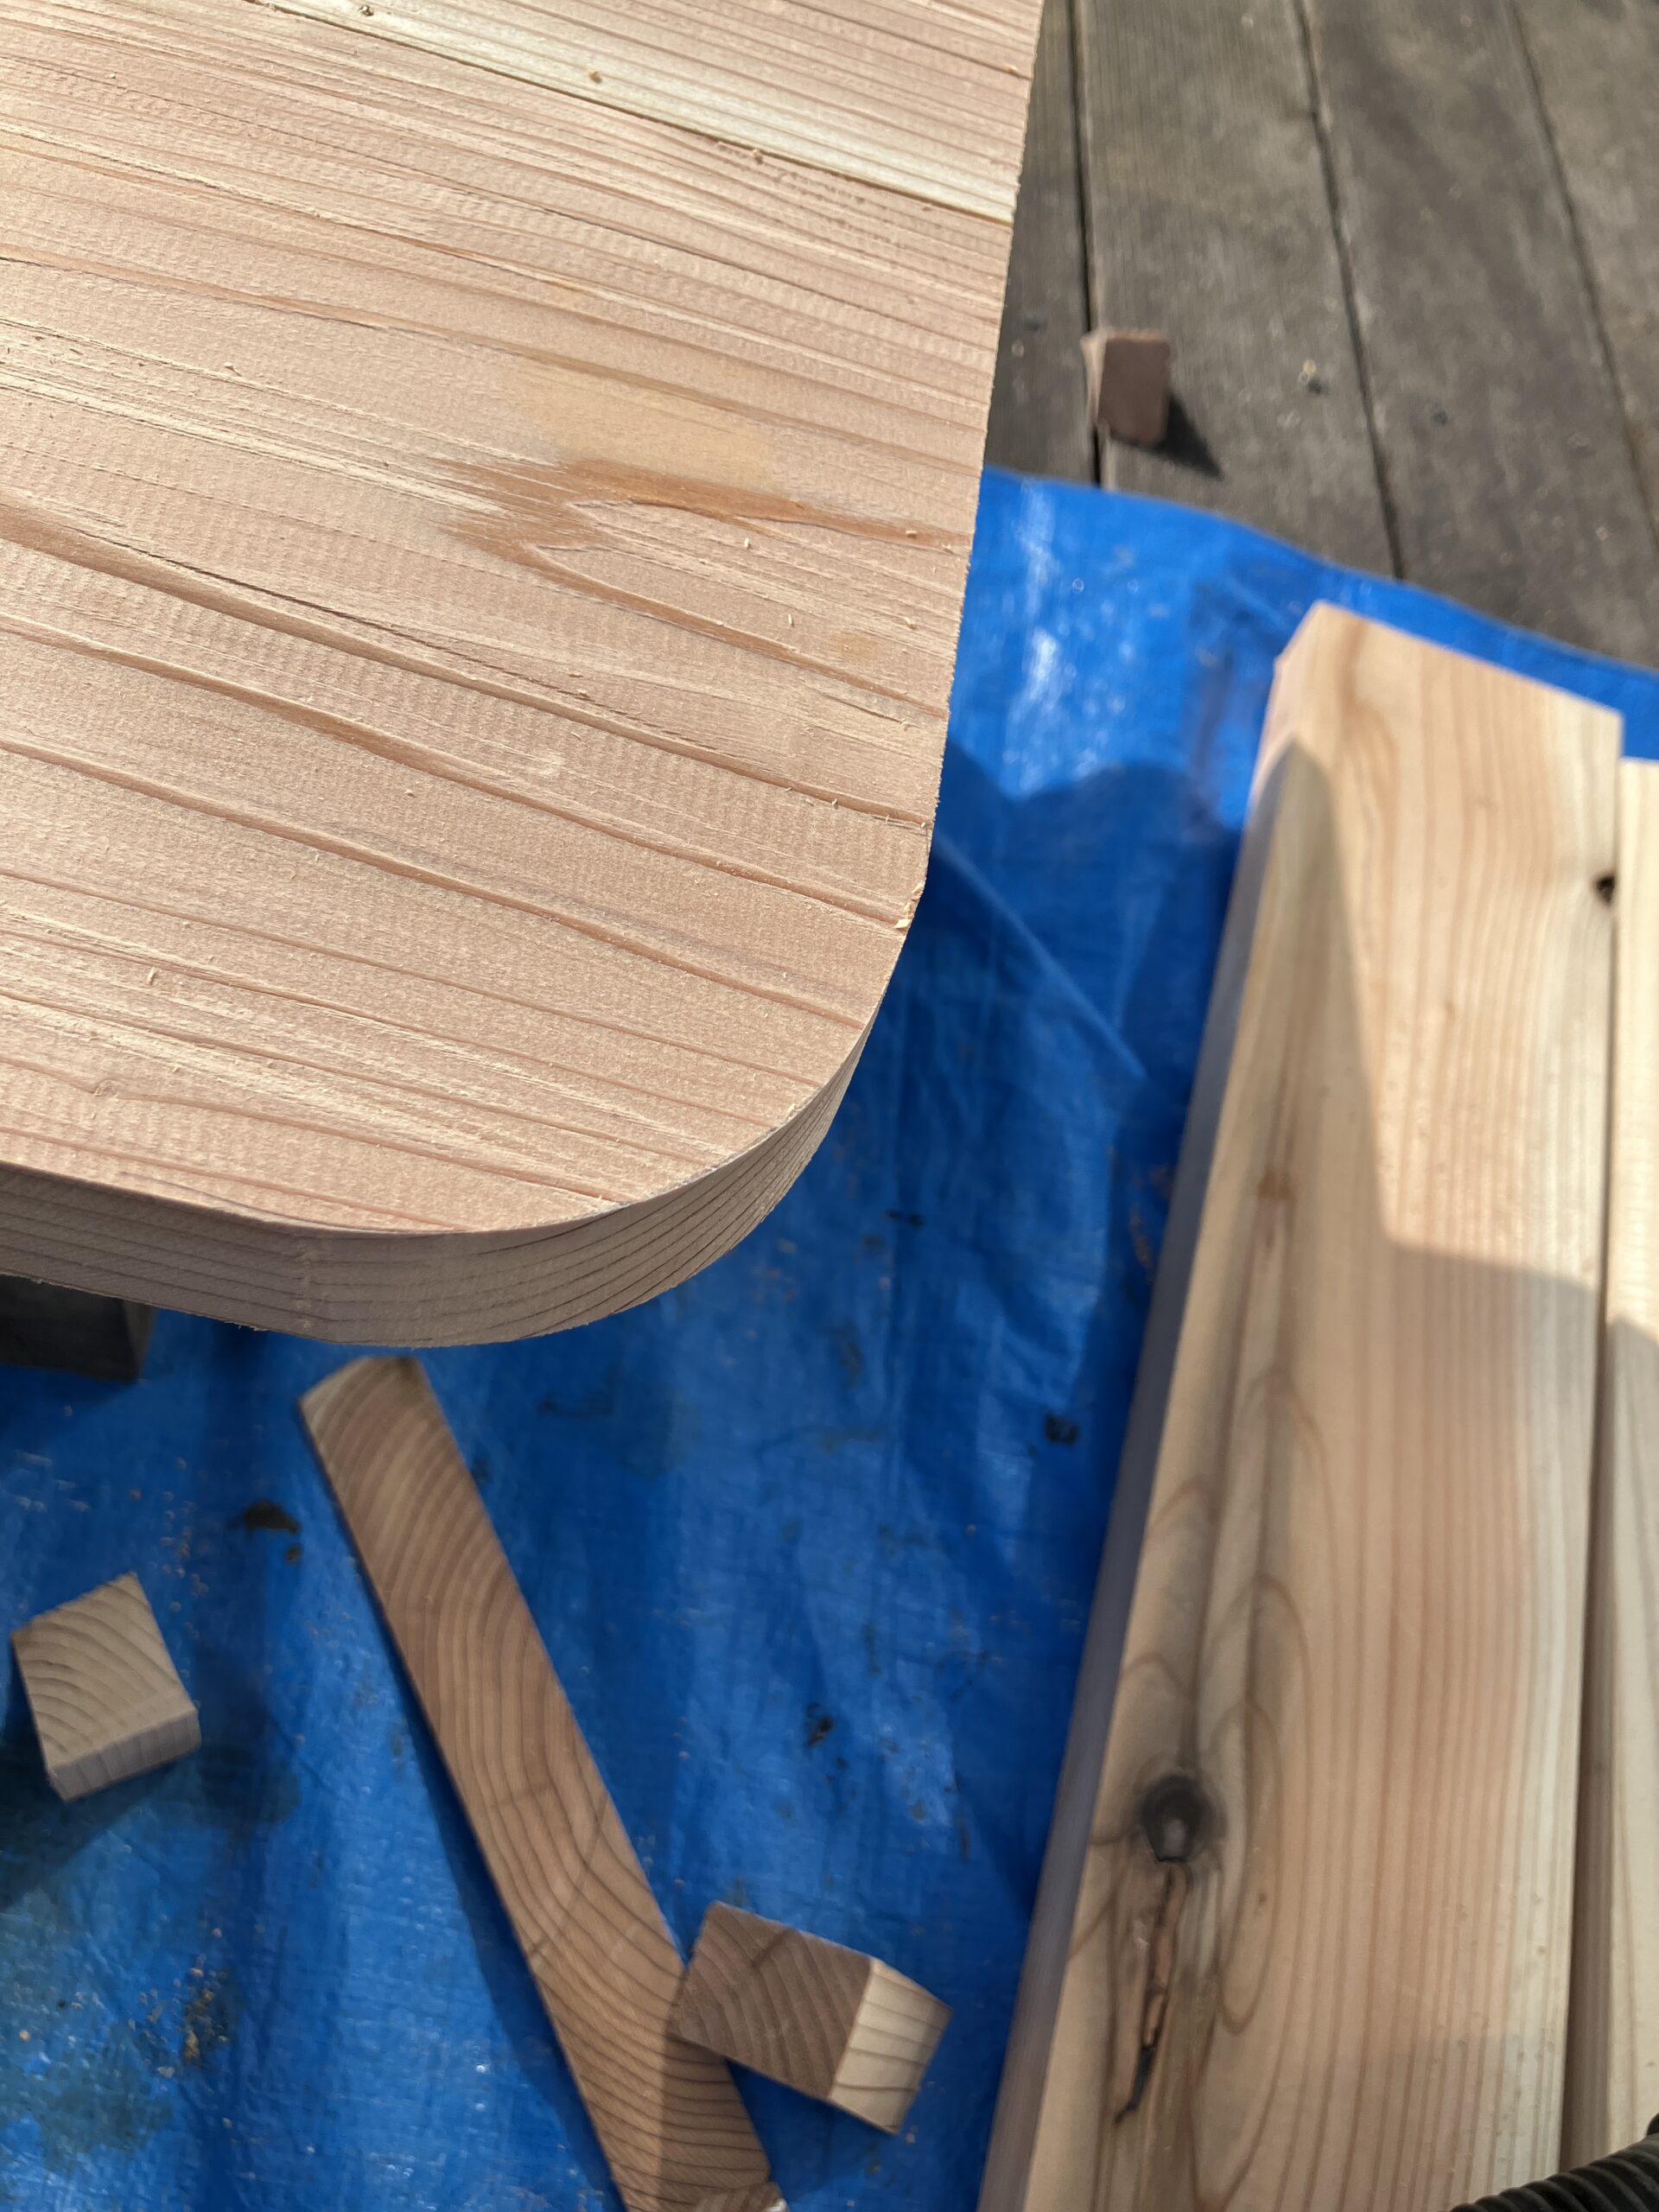
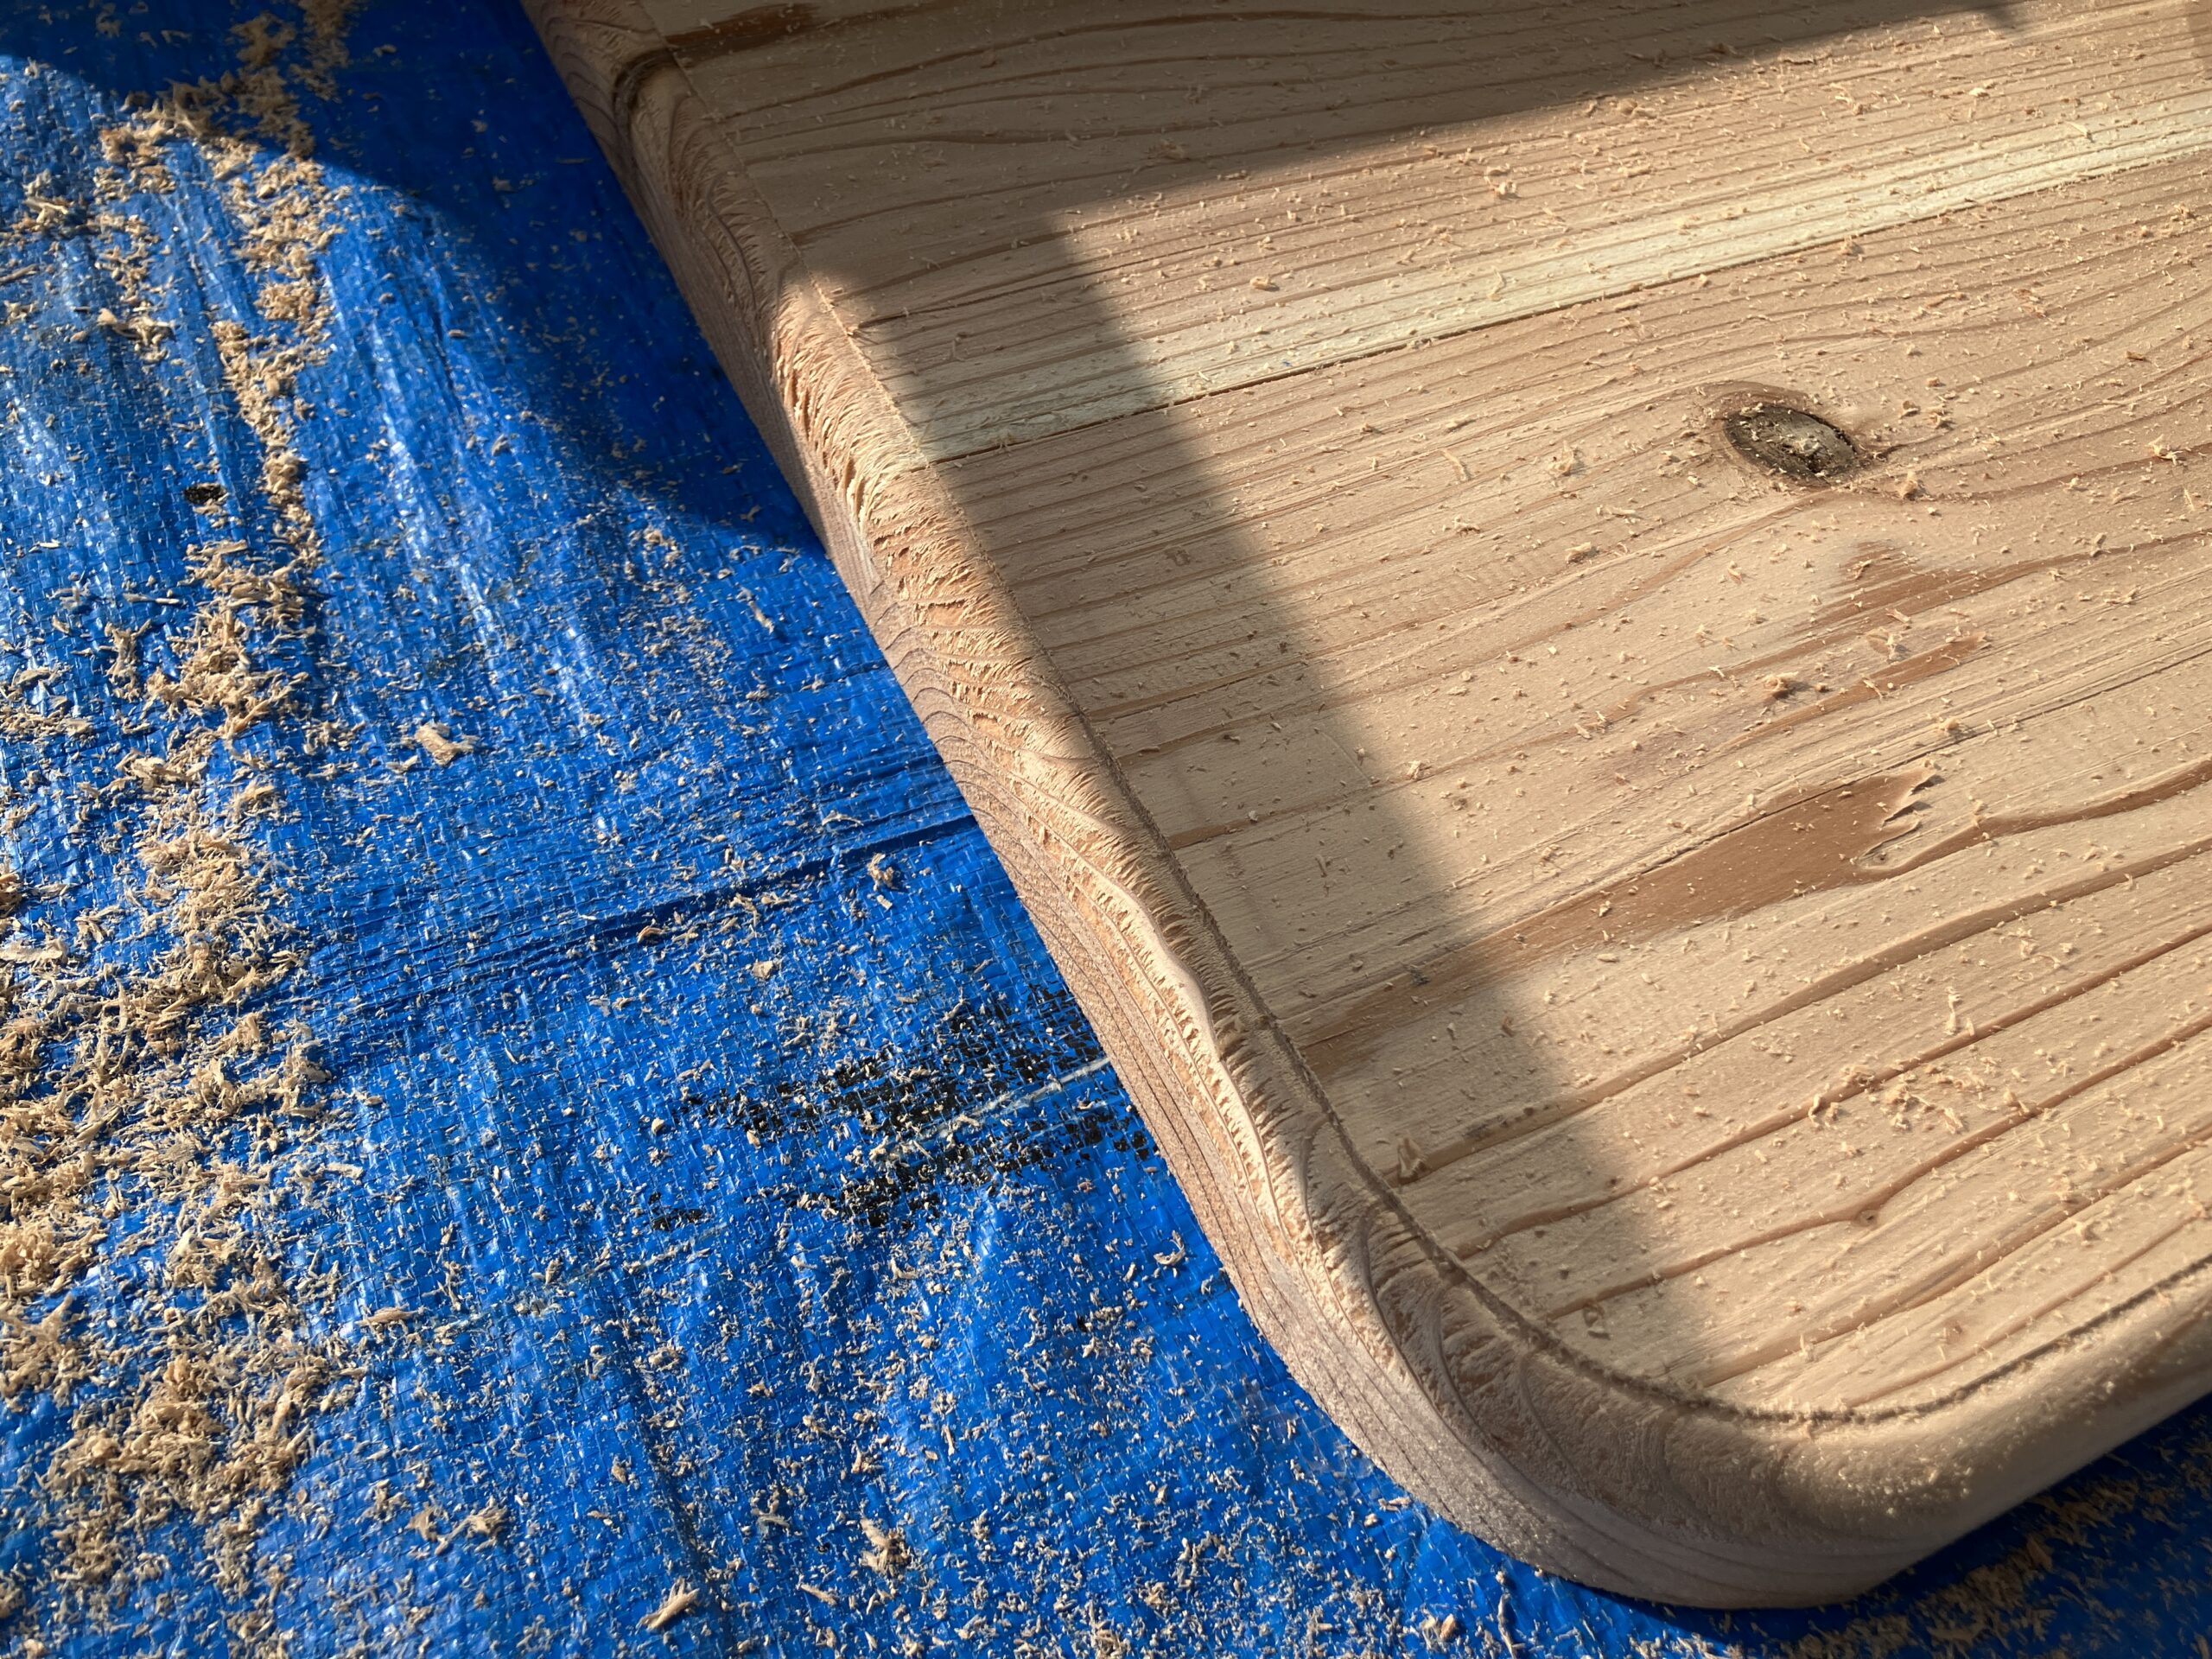
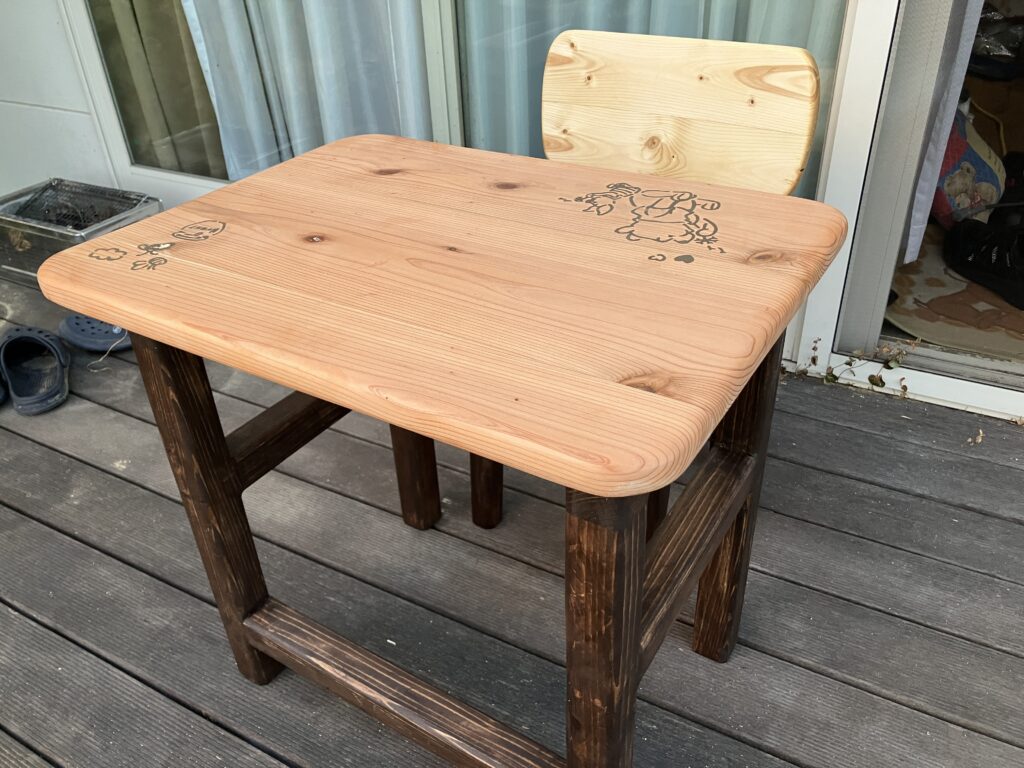
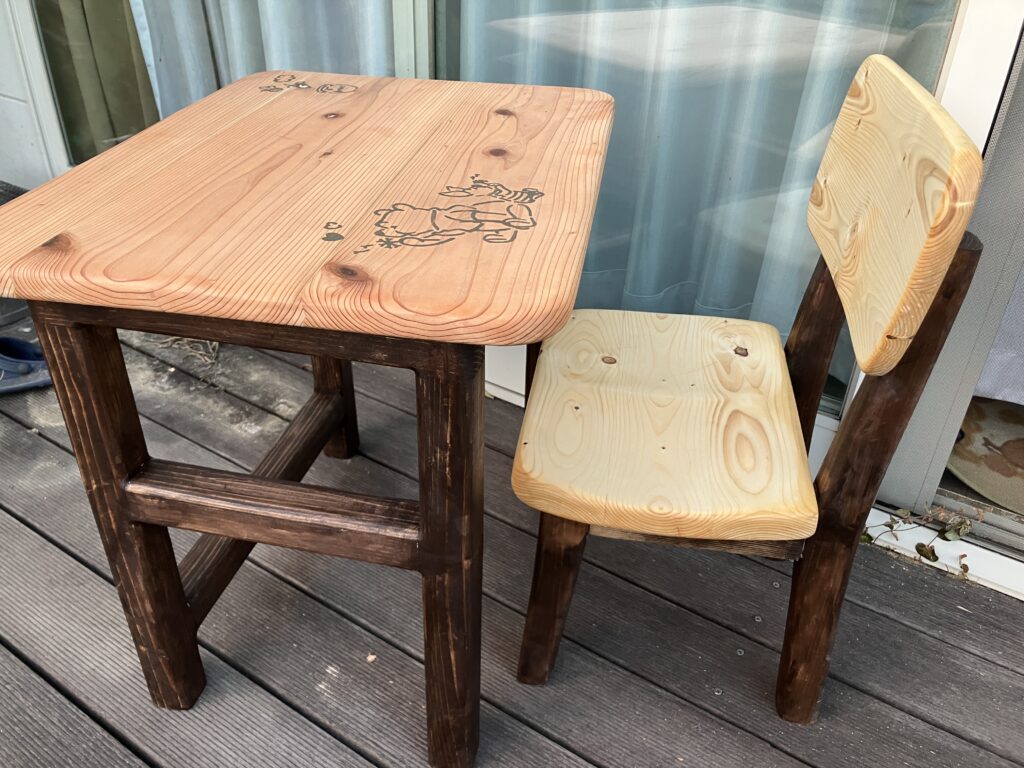
今回は3枚のカフェ板を繋ぎましたが、60㎝ × 60㎝くらいになります。テーブルとしては、長方形が使いやすいので、周囲を切って大きさを整えます。ついでに、短辺方向の三角になっている凹凸部分も切り落とします。
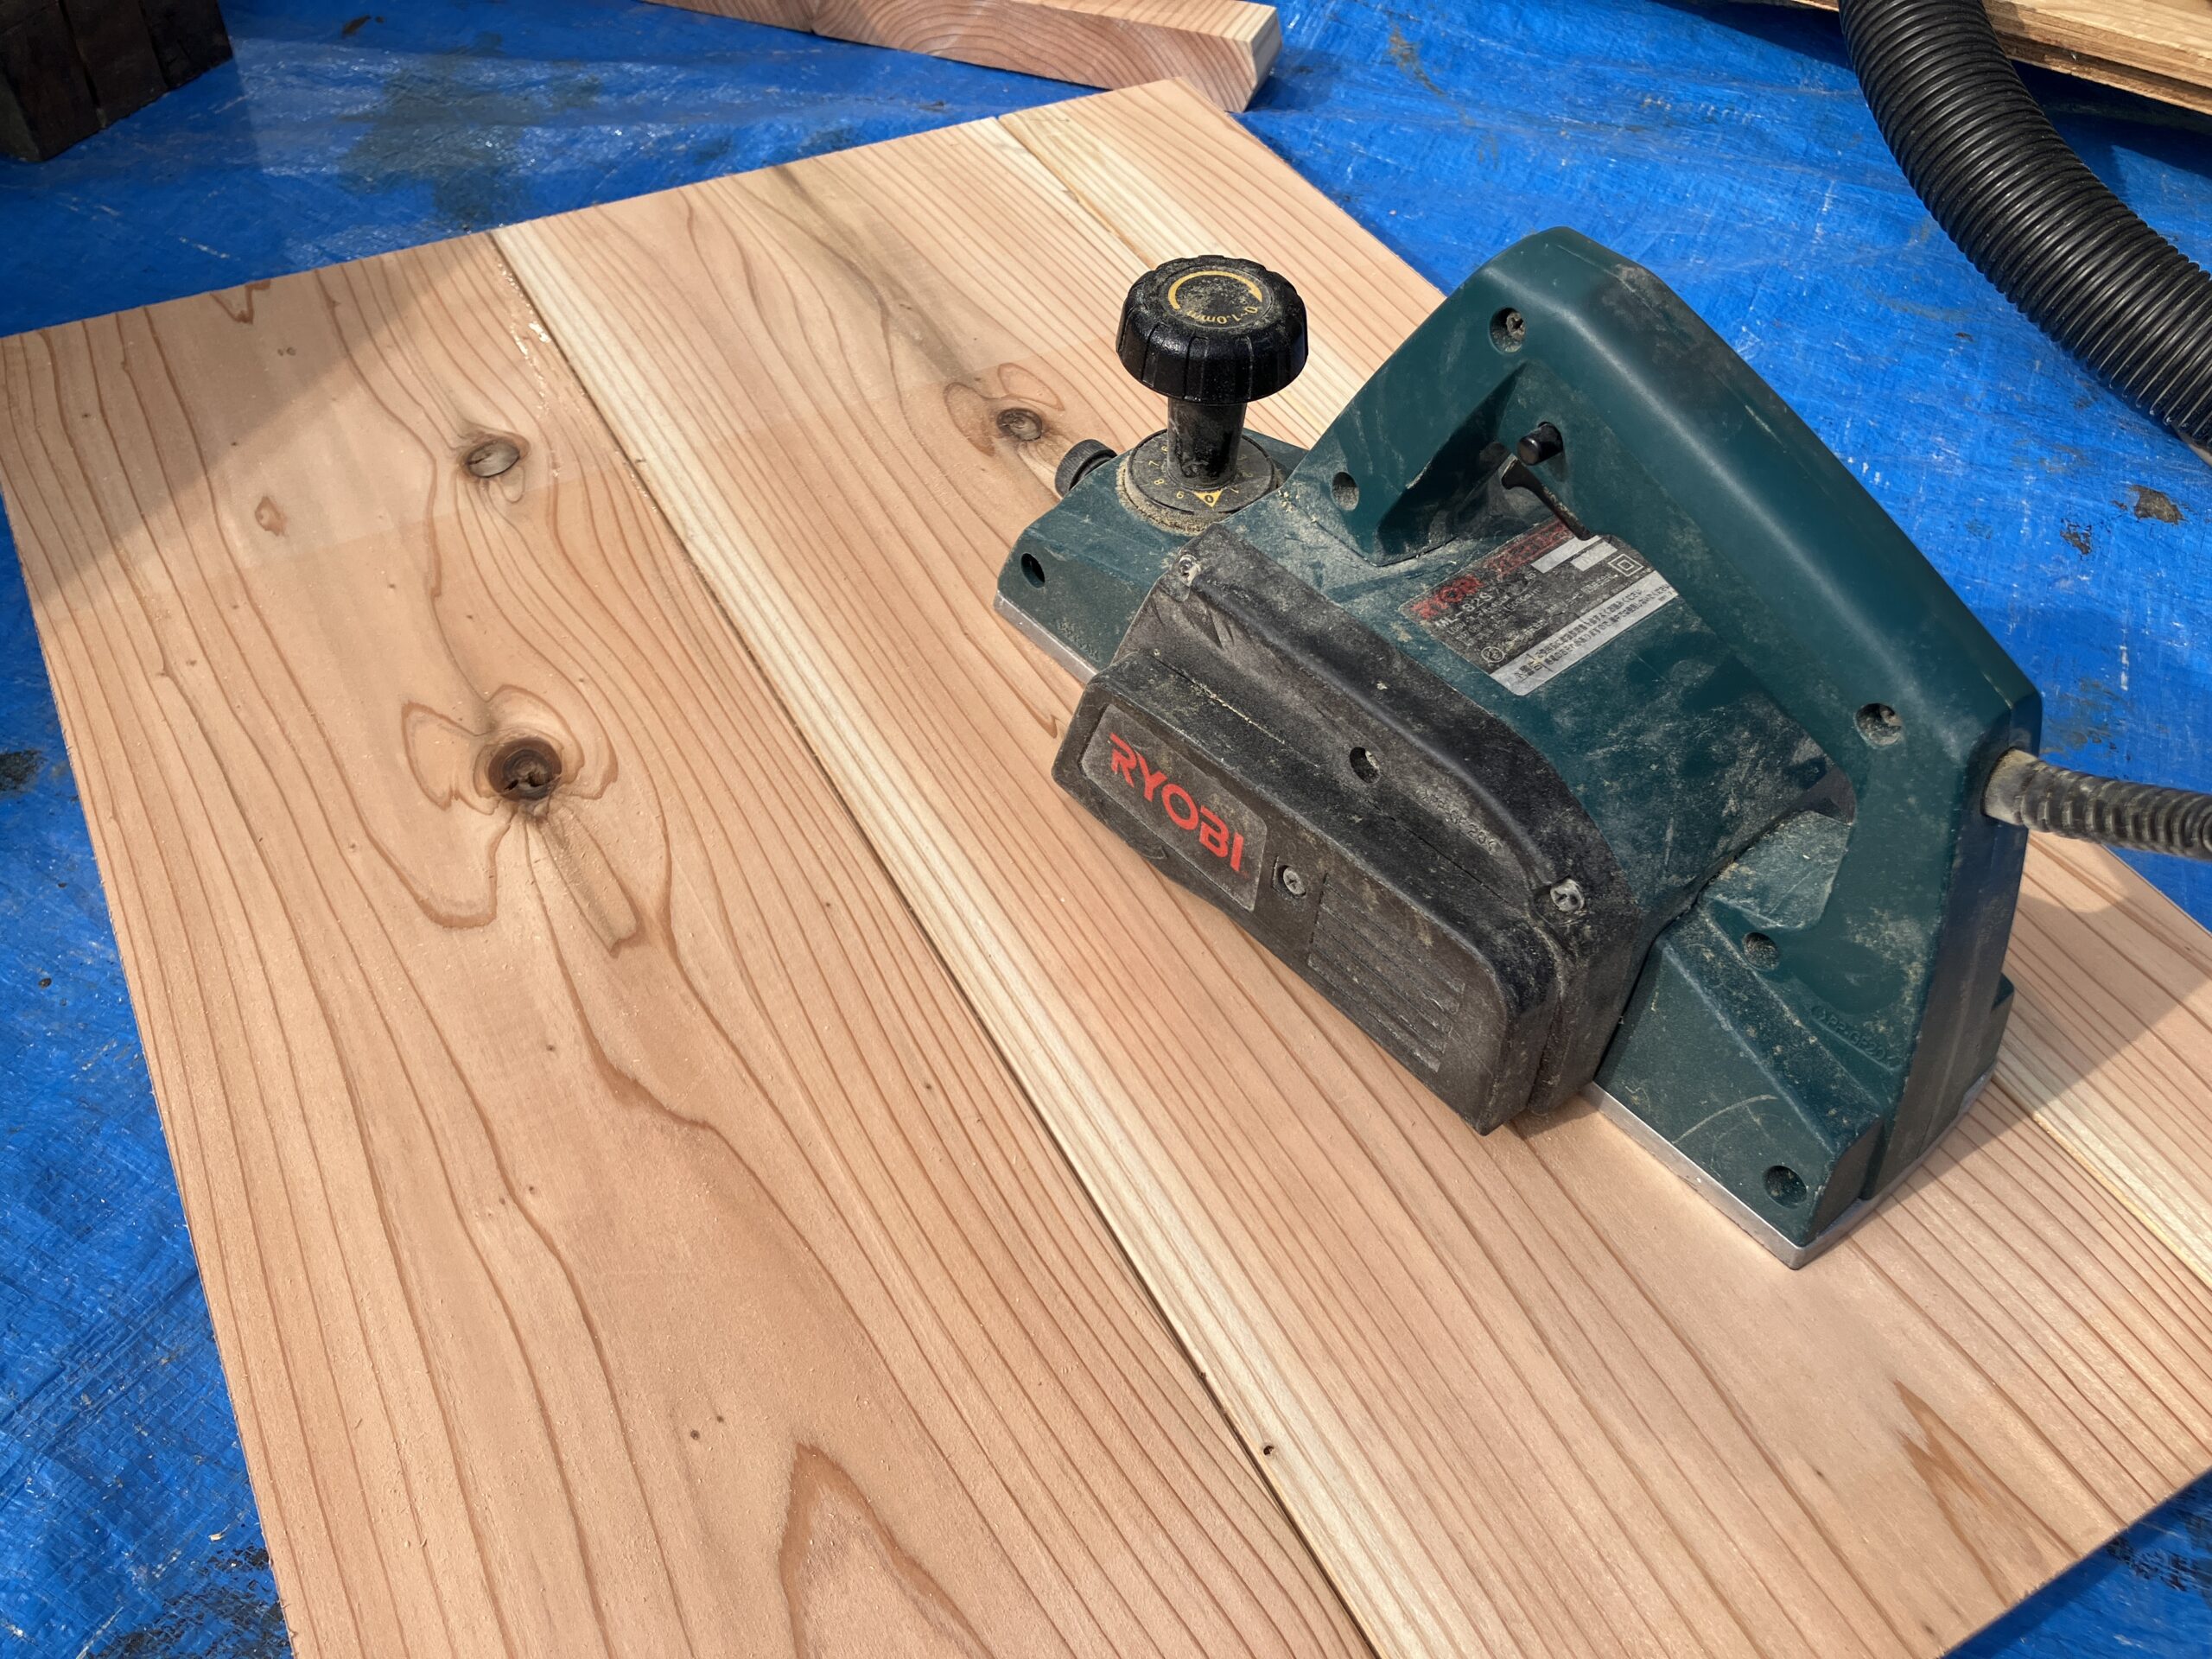
表面を電動カンナで削って、ジョイント部分が目立たないようにします。このままでも味わいがあるので、好みで残してもいいです。
机の角は丸く落とすといい感じになります。ジグソーを使って曲線切りします。

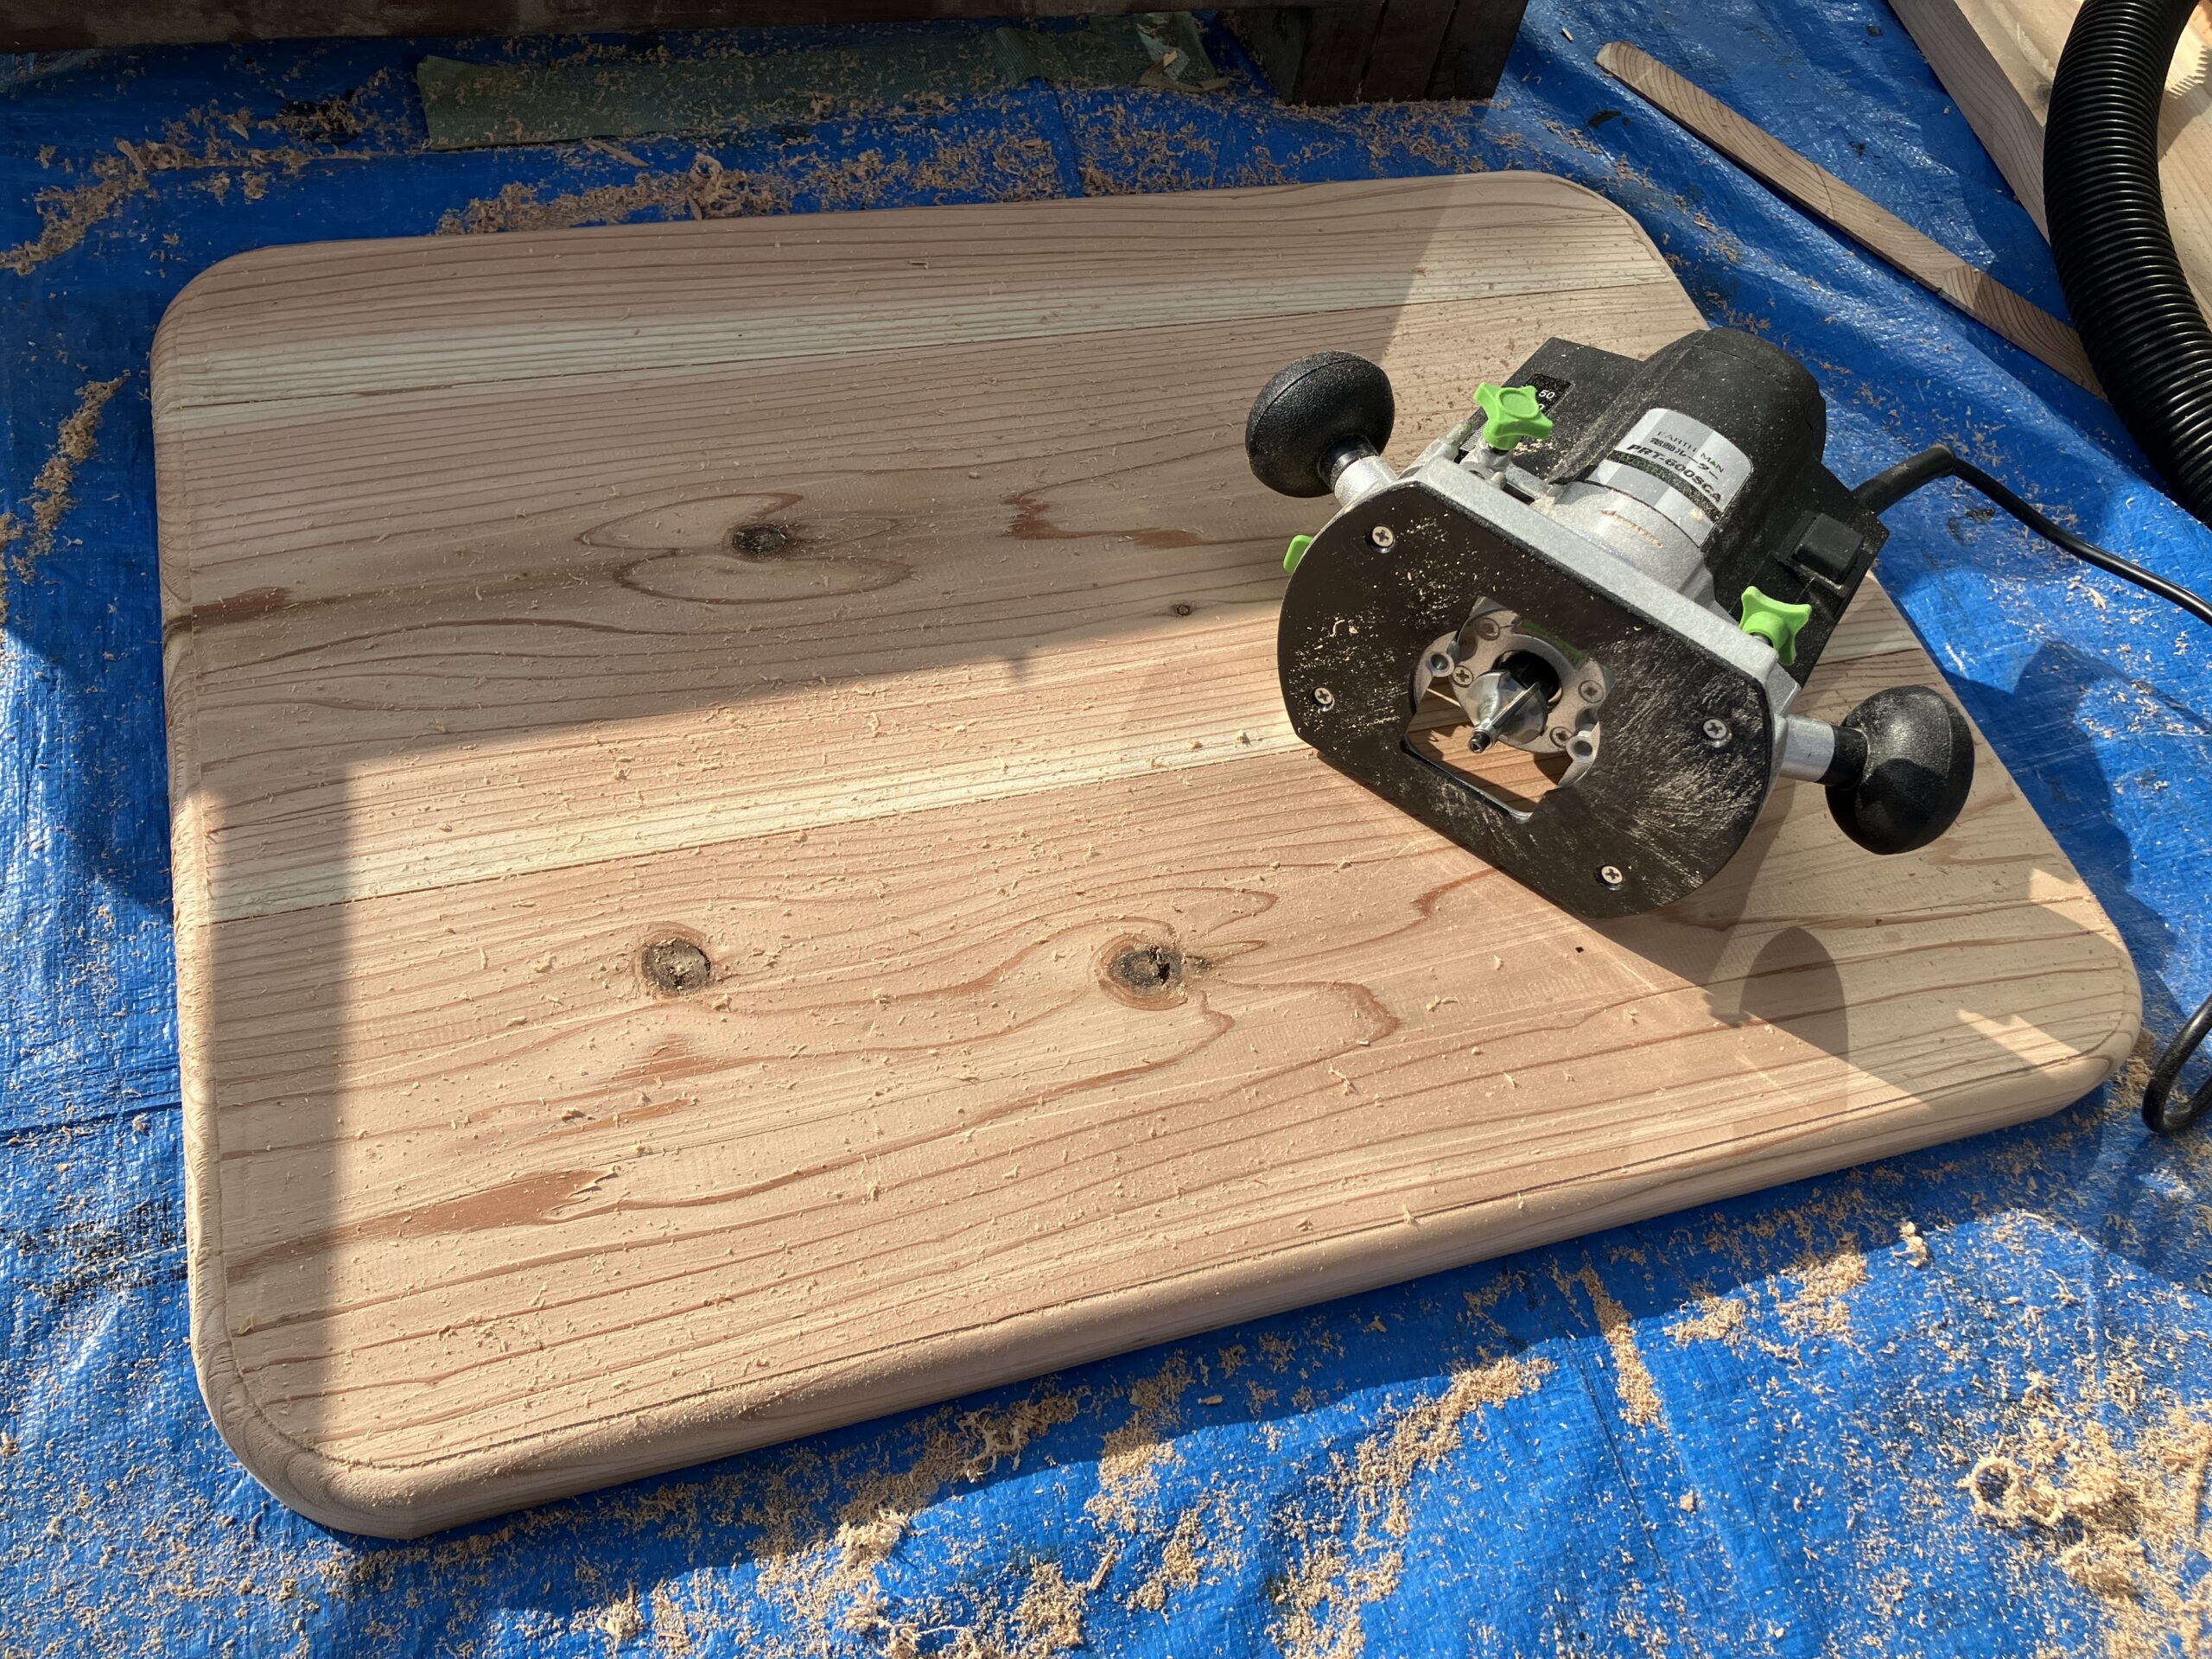
ルーターを使って表裏の角を丸くします。丸くするビットを使います。
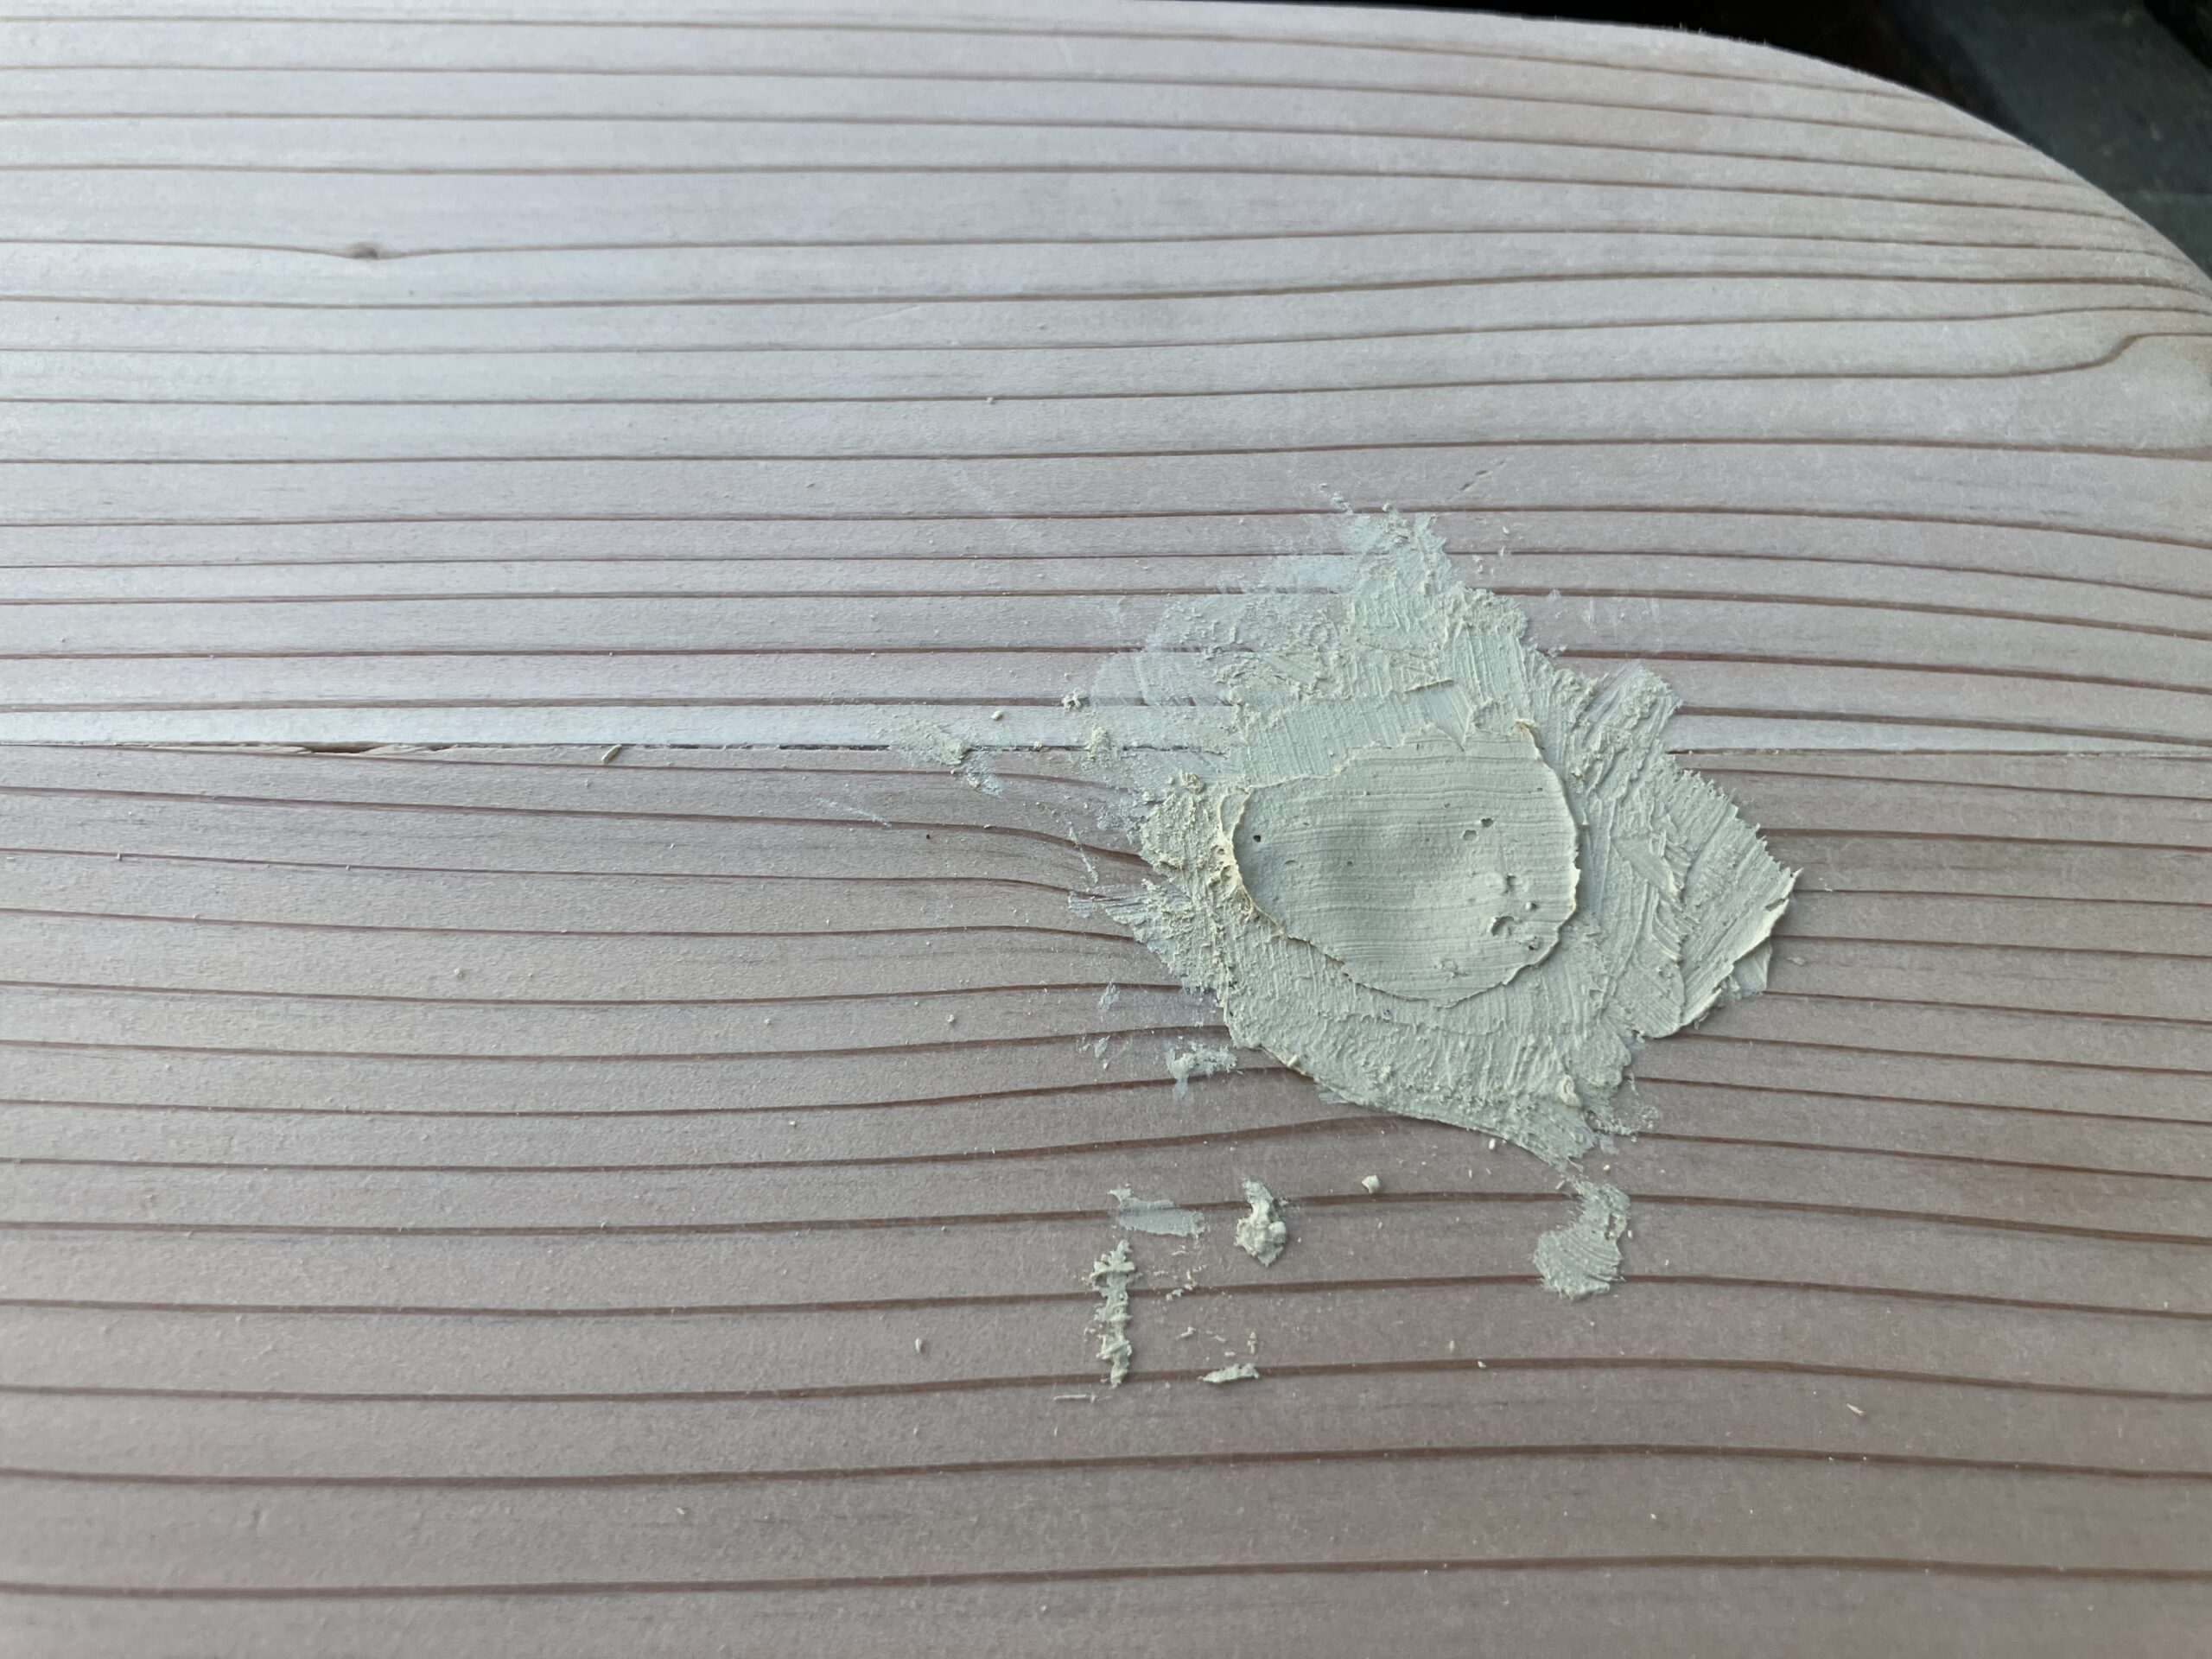
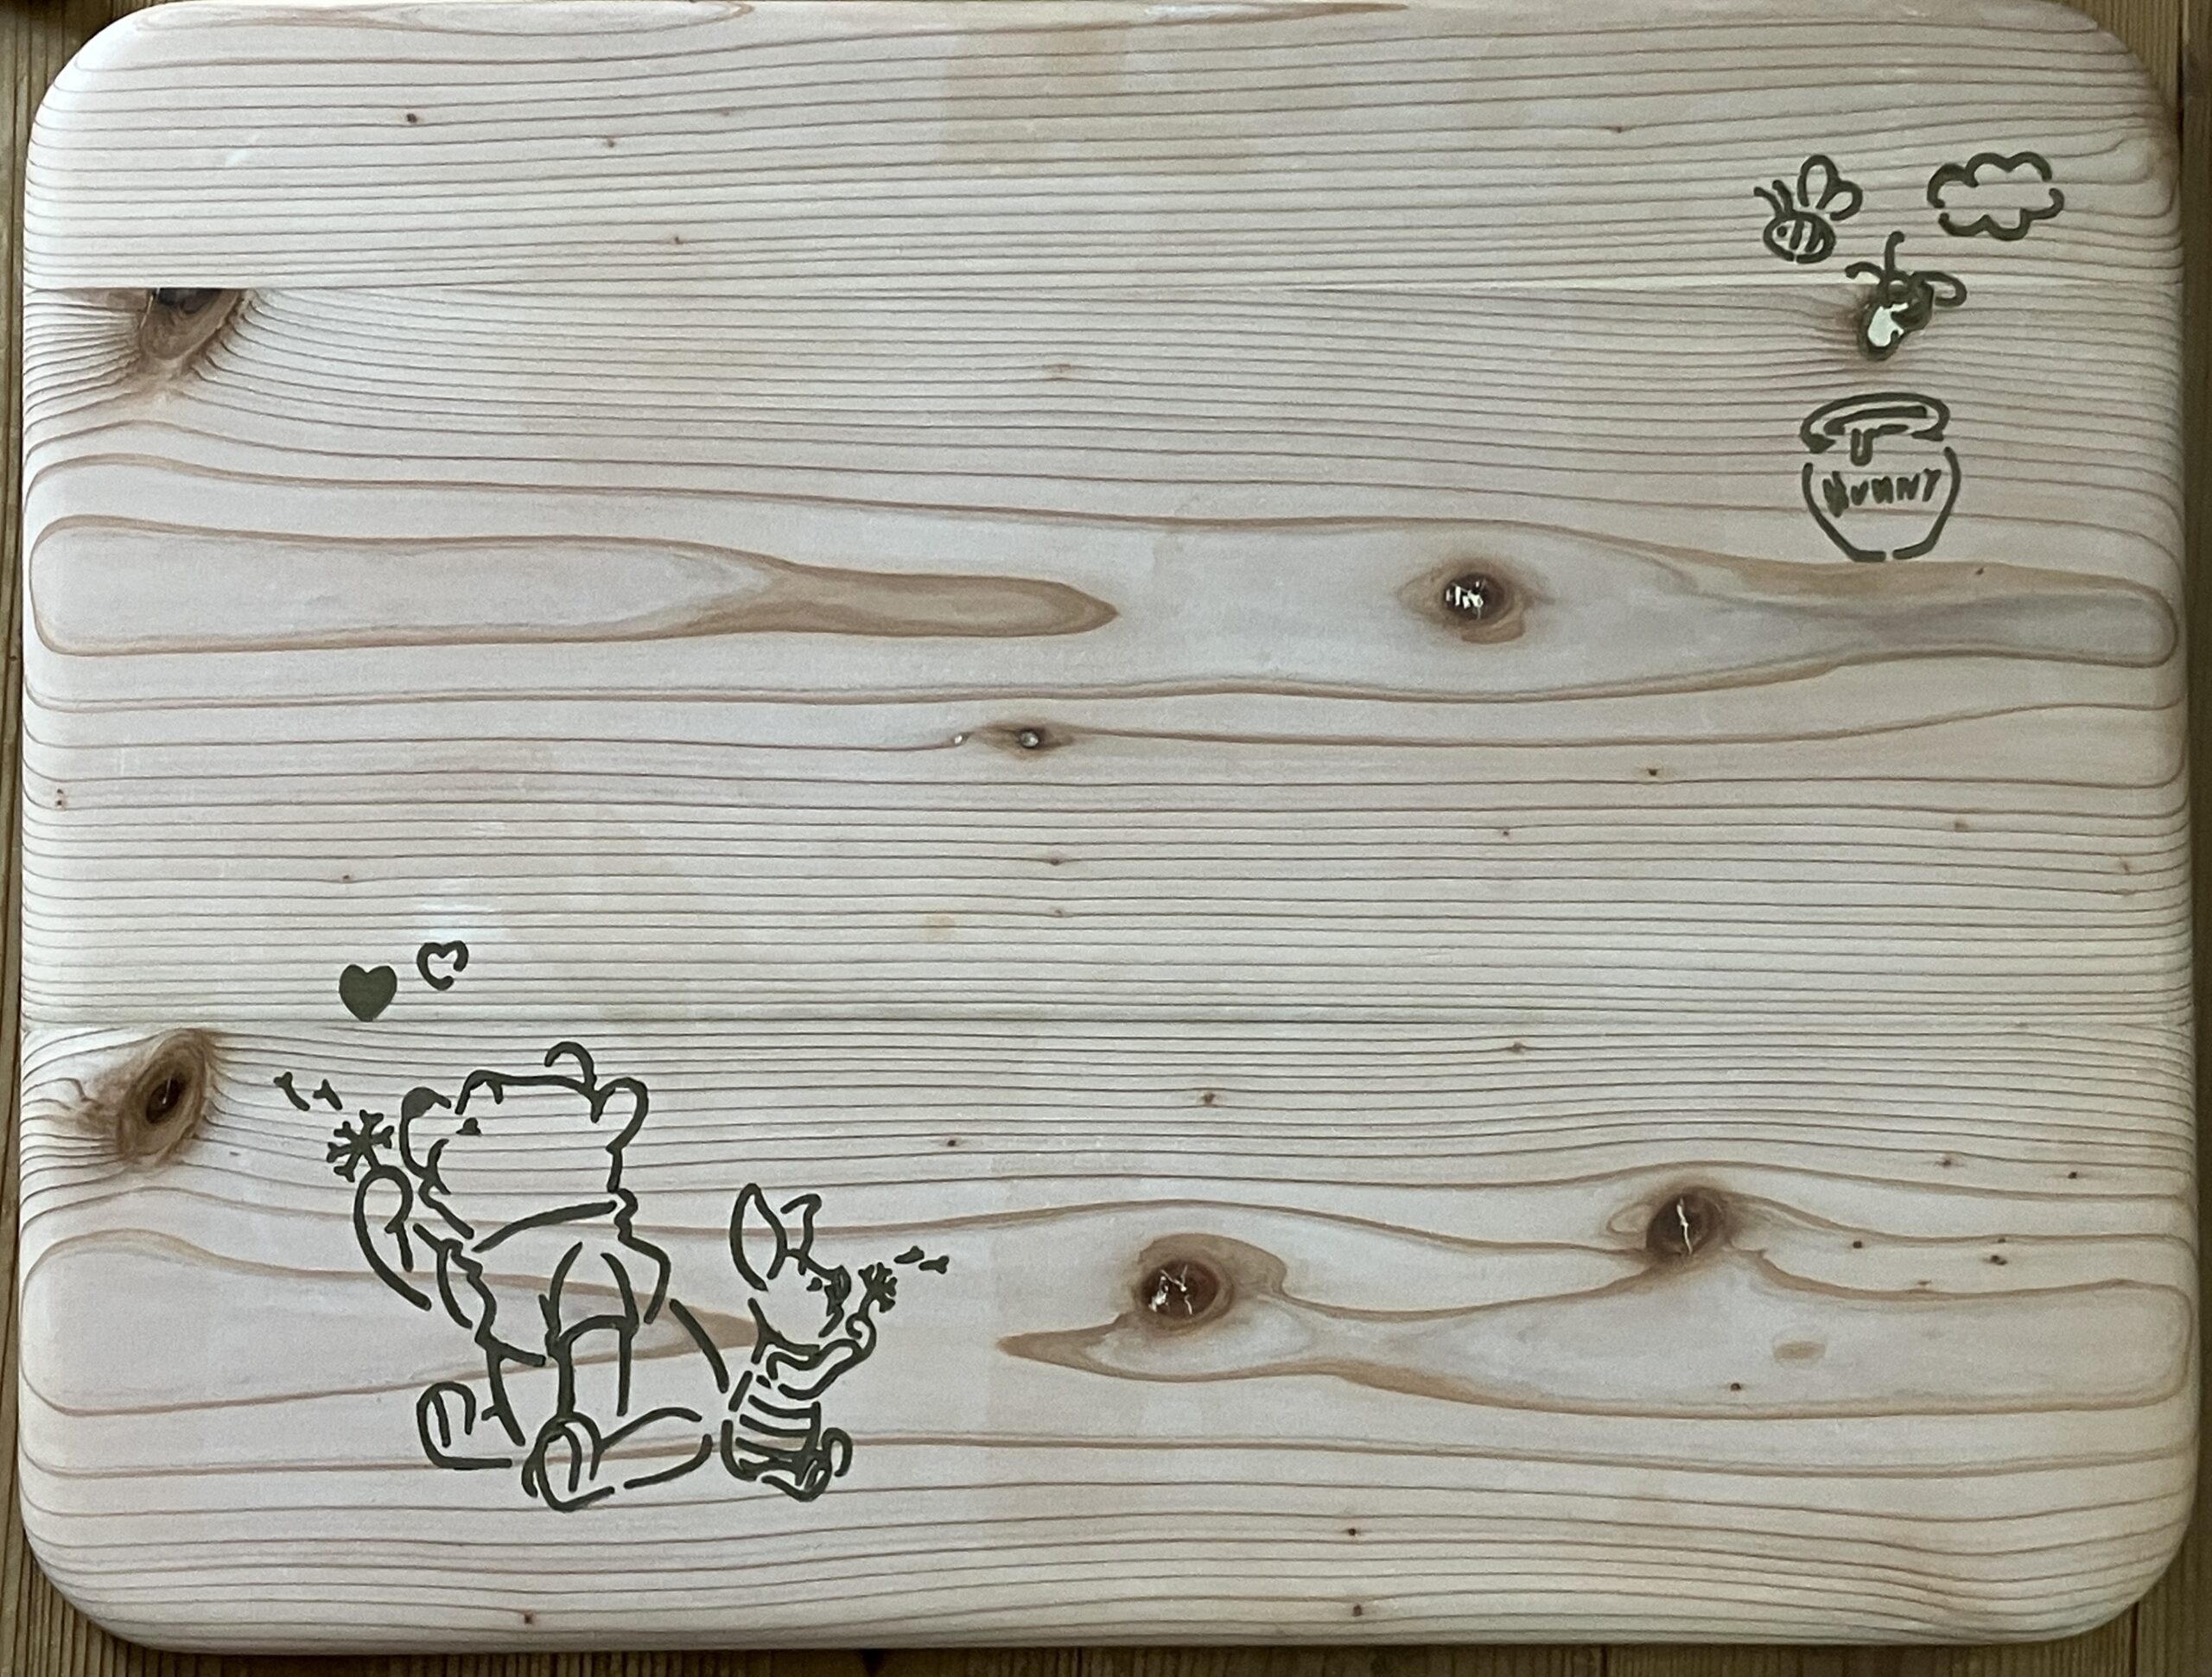
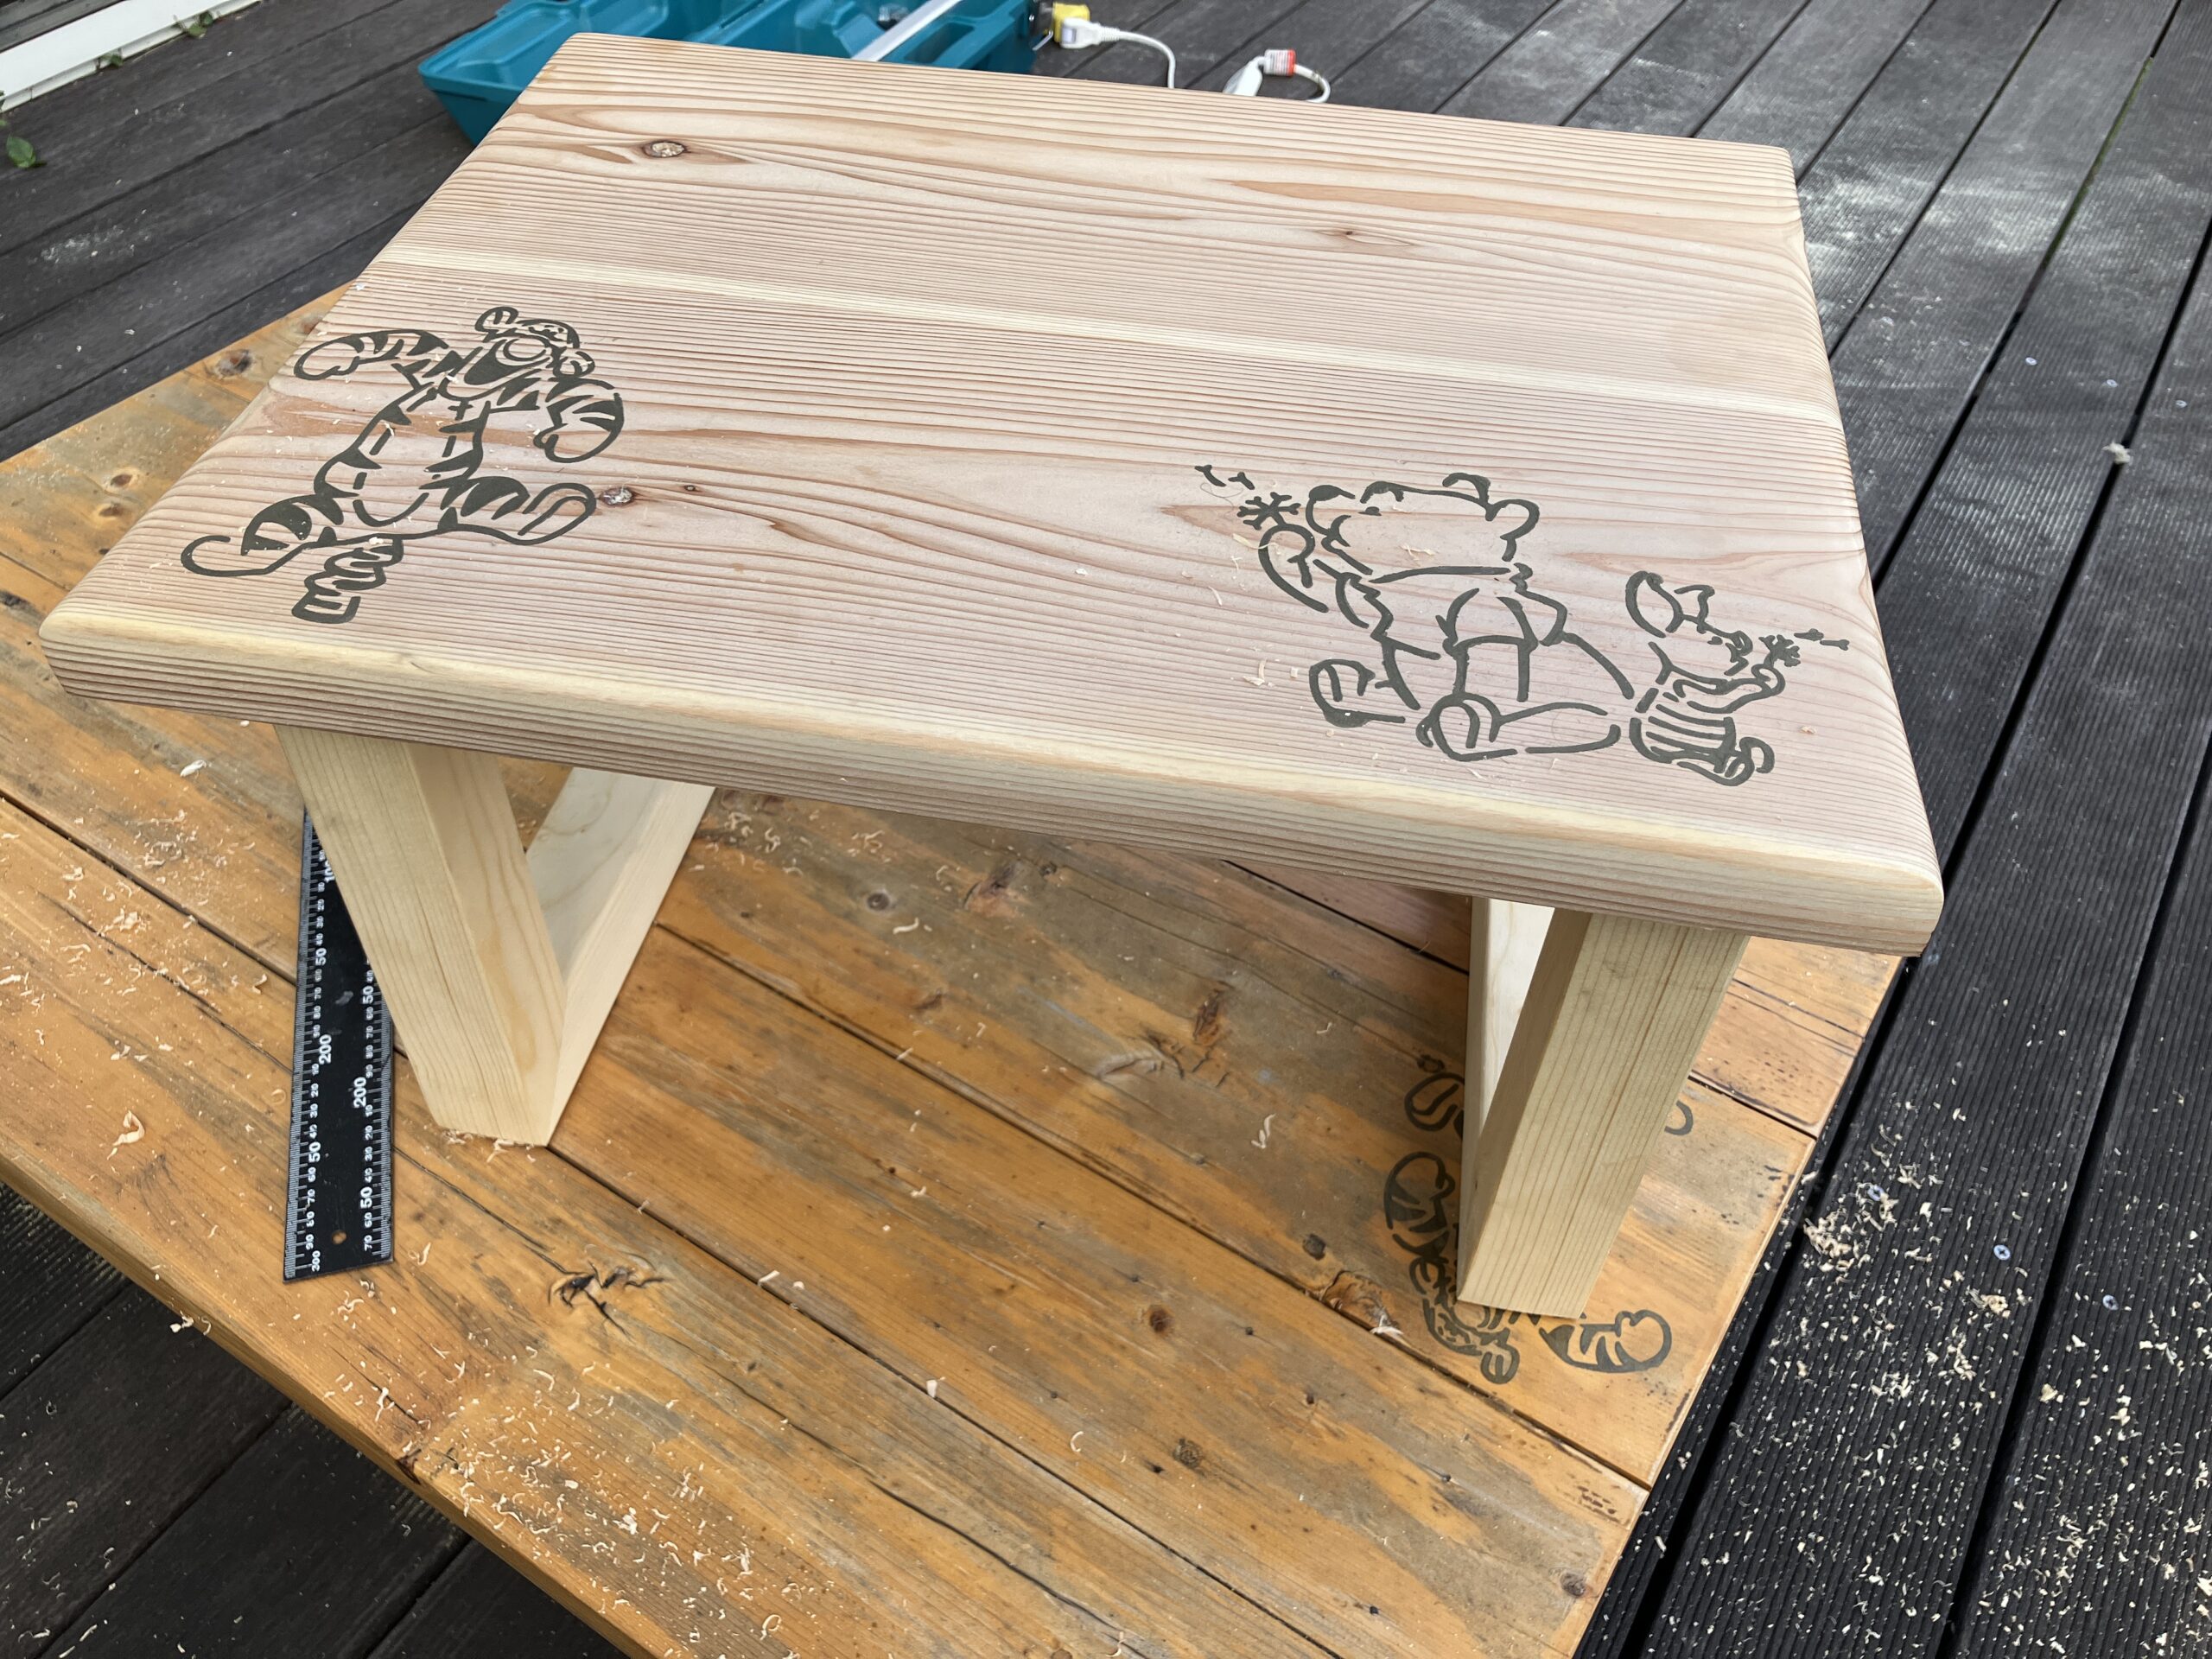
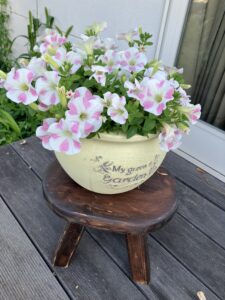
天板なので、節による陥没がる場合には埋めておきます。木工用パテが便利です。穴に塗り込んで、乾いてから削れば綺麗になります。そのままでは寂しいので、ステンシルで絵を描きます。

ステンシルのやり方は、こちらの記事に詳しく書いてあります。
天板が完成したので、脚を作ります。杉の45㎜角材がたくさん余っていたので使います。
椅子との高さをみながら、天板の位置を決めます。椅子の座面から天板の高さの差を差尺と言います。20㎝〜30㎝が標準となりますが、体の大きさに合わせて調整してください。
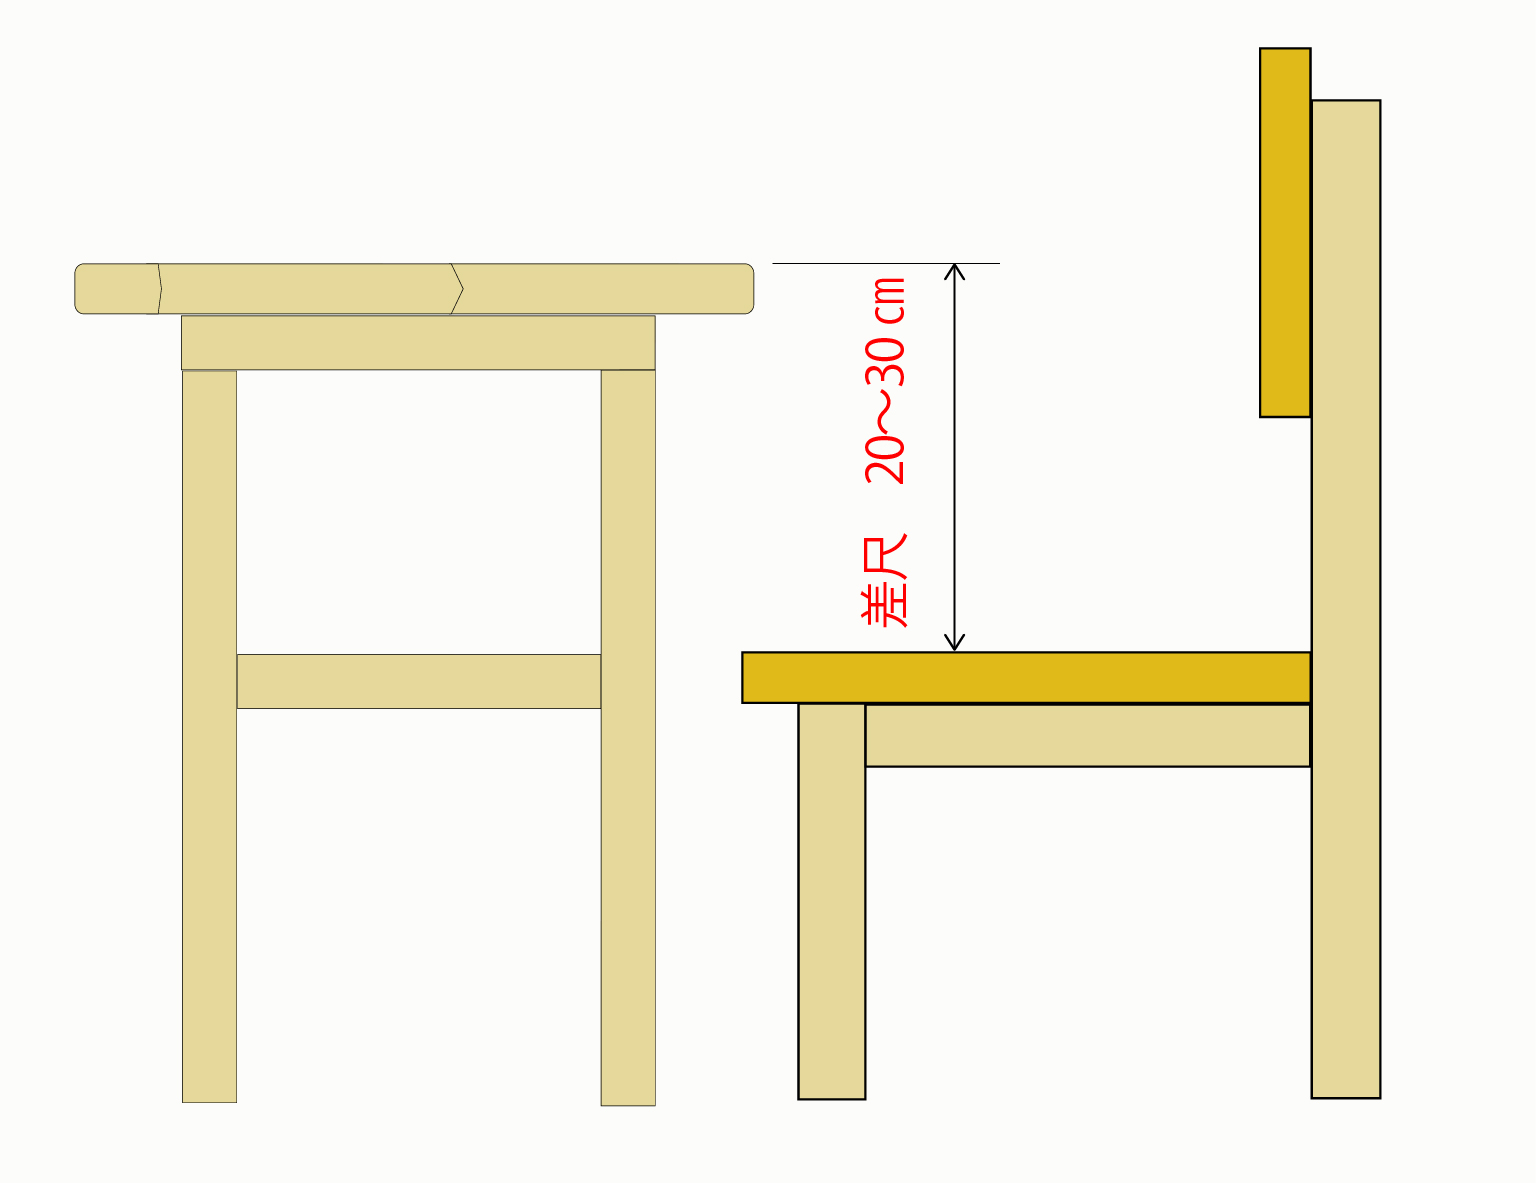
椅子に座って、天板の高さに板を持ってきてみると、高さのイメージがよくわかります。
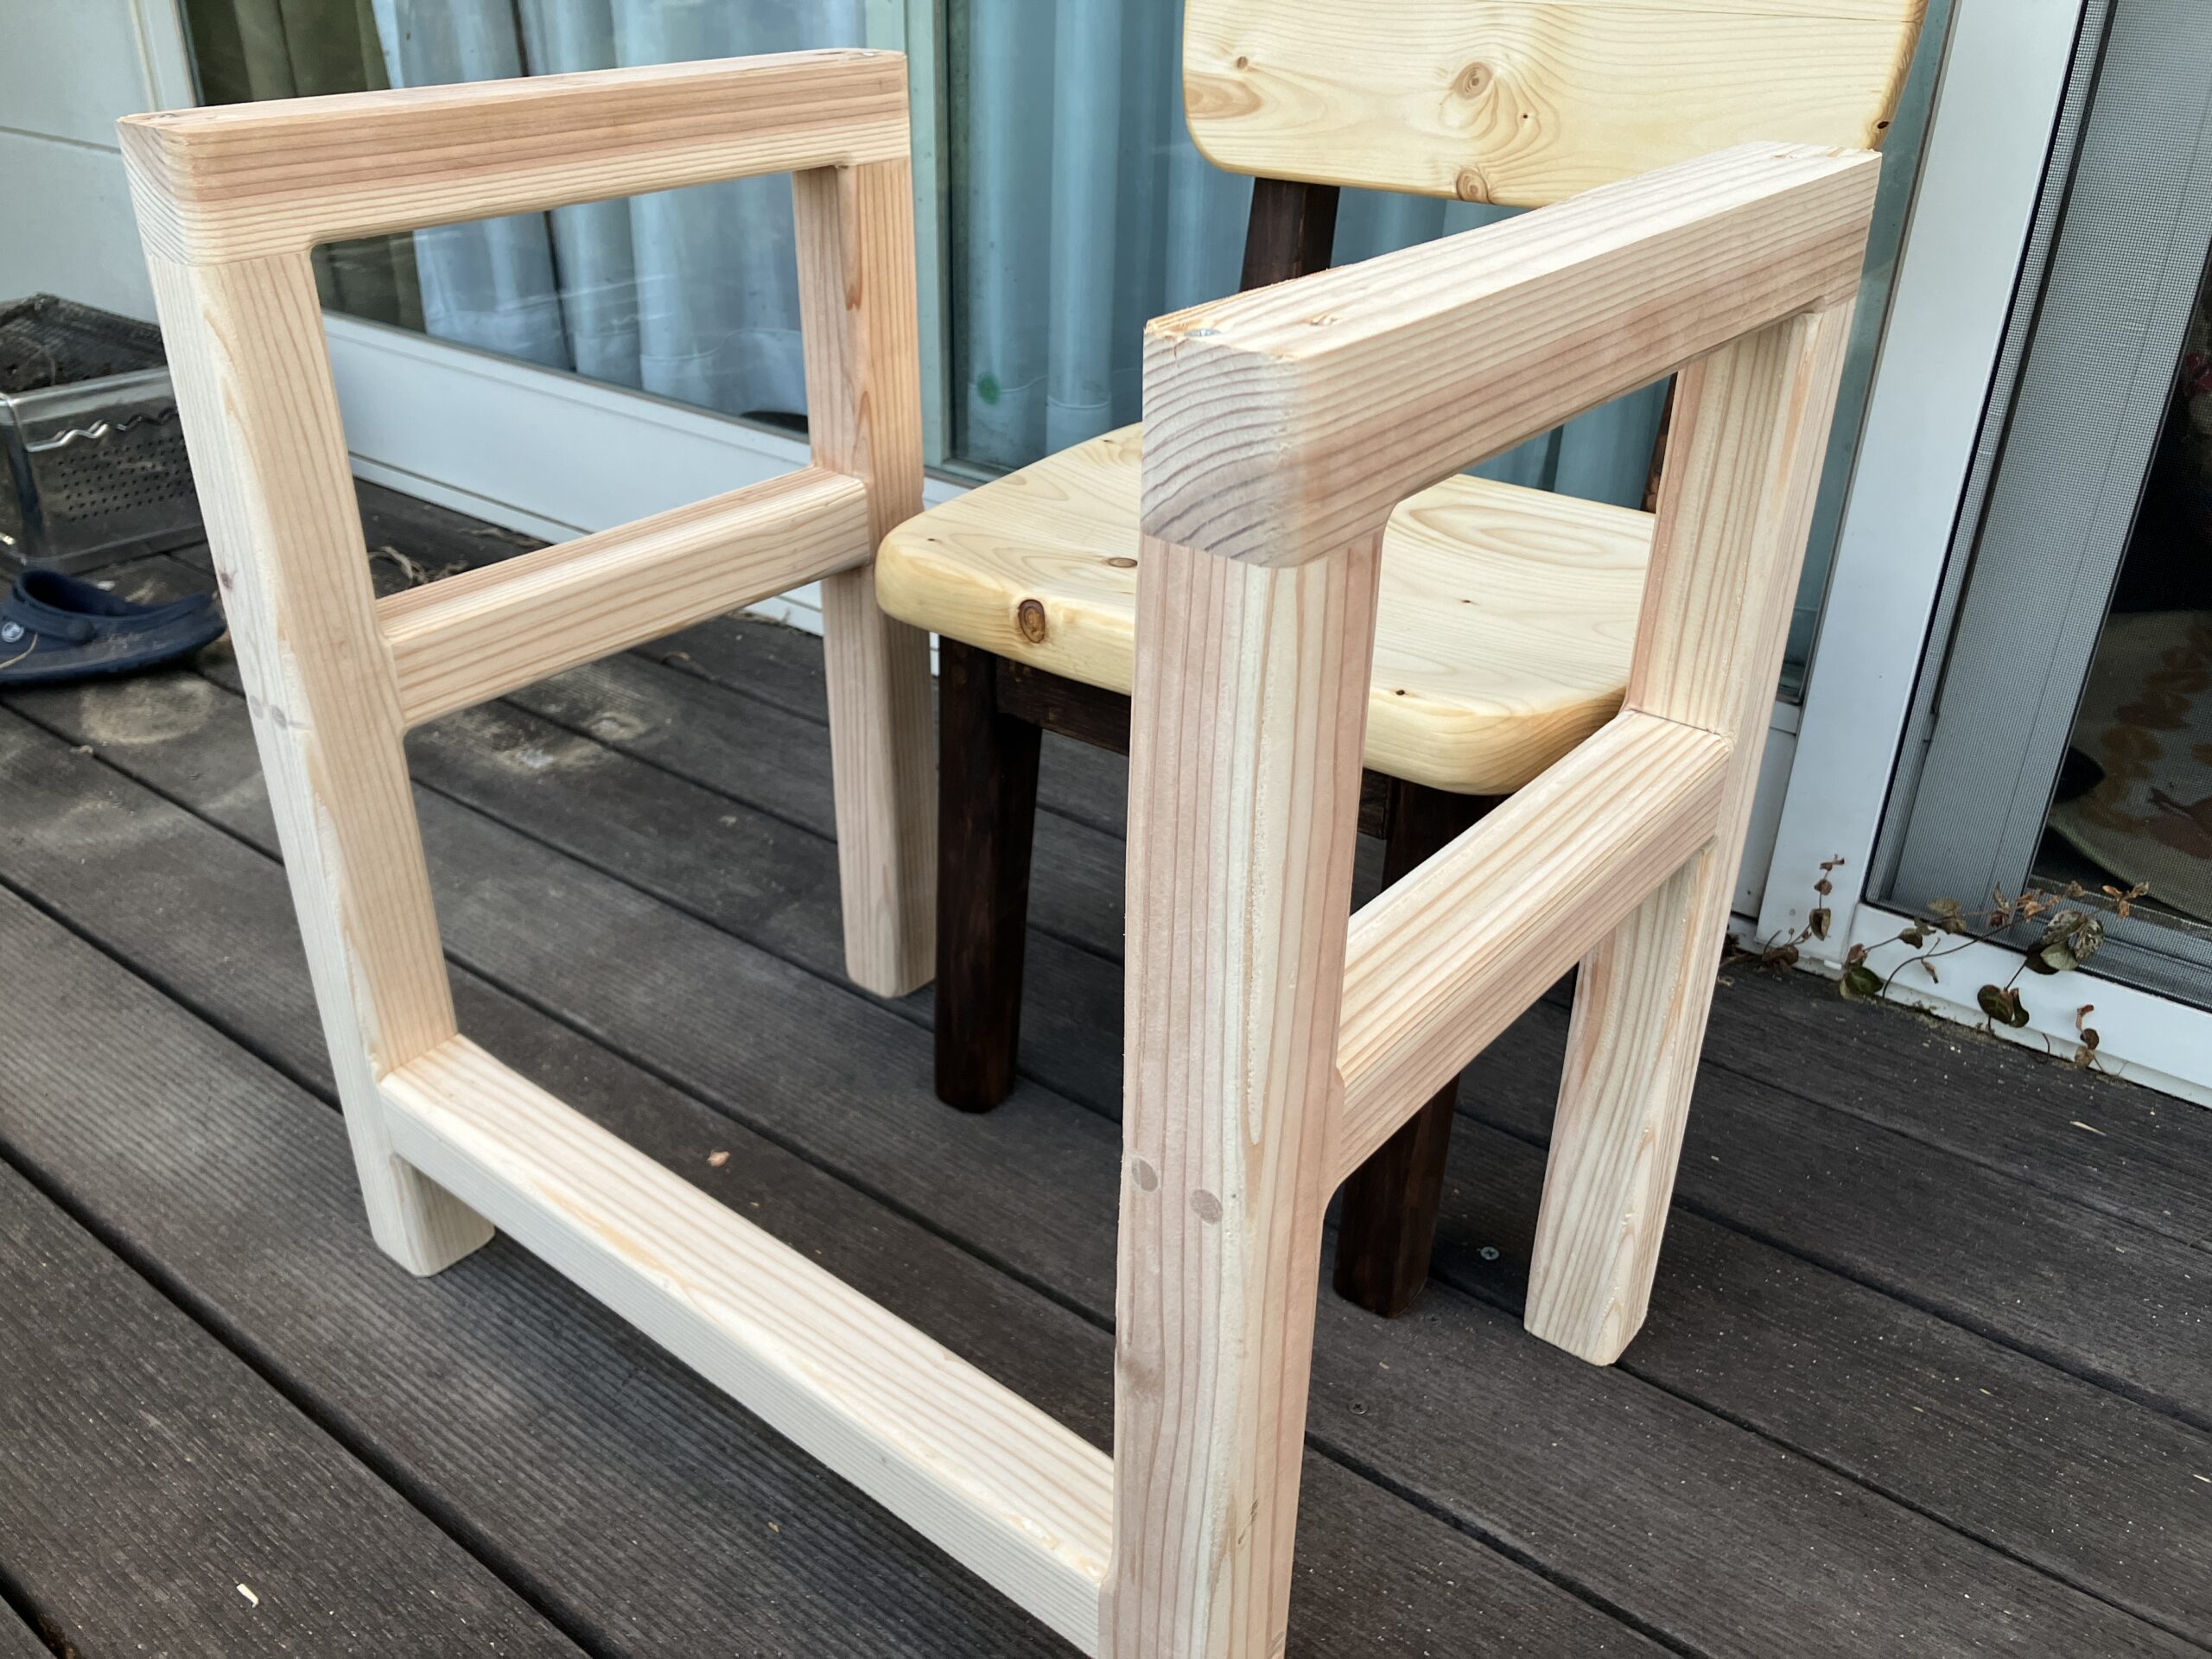
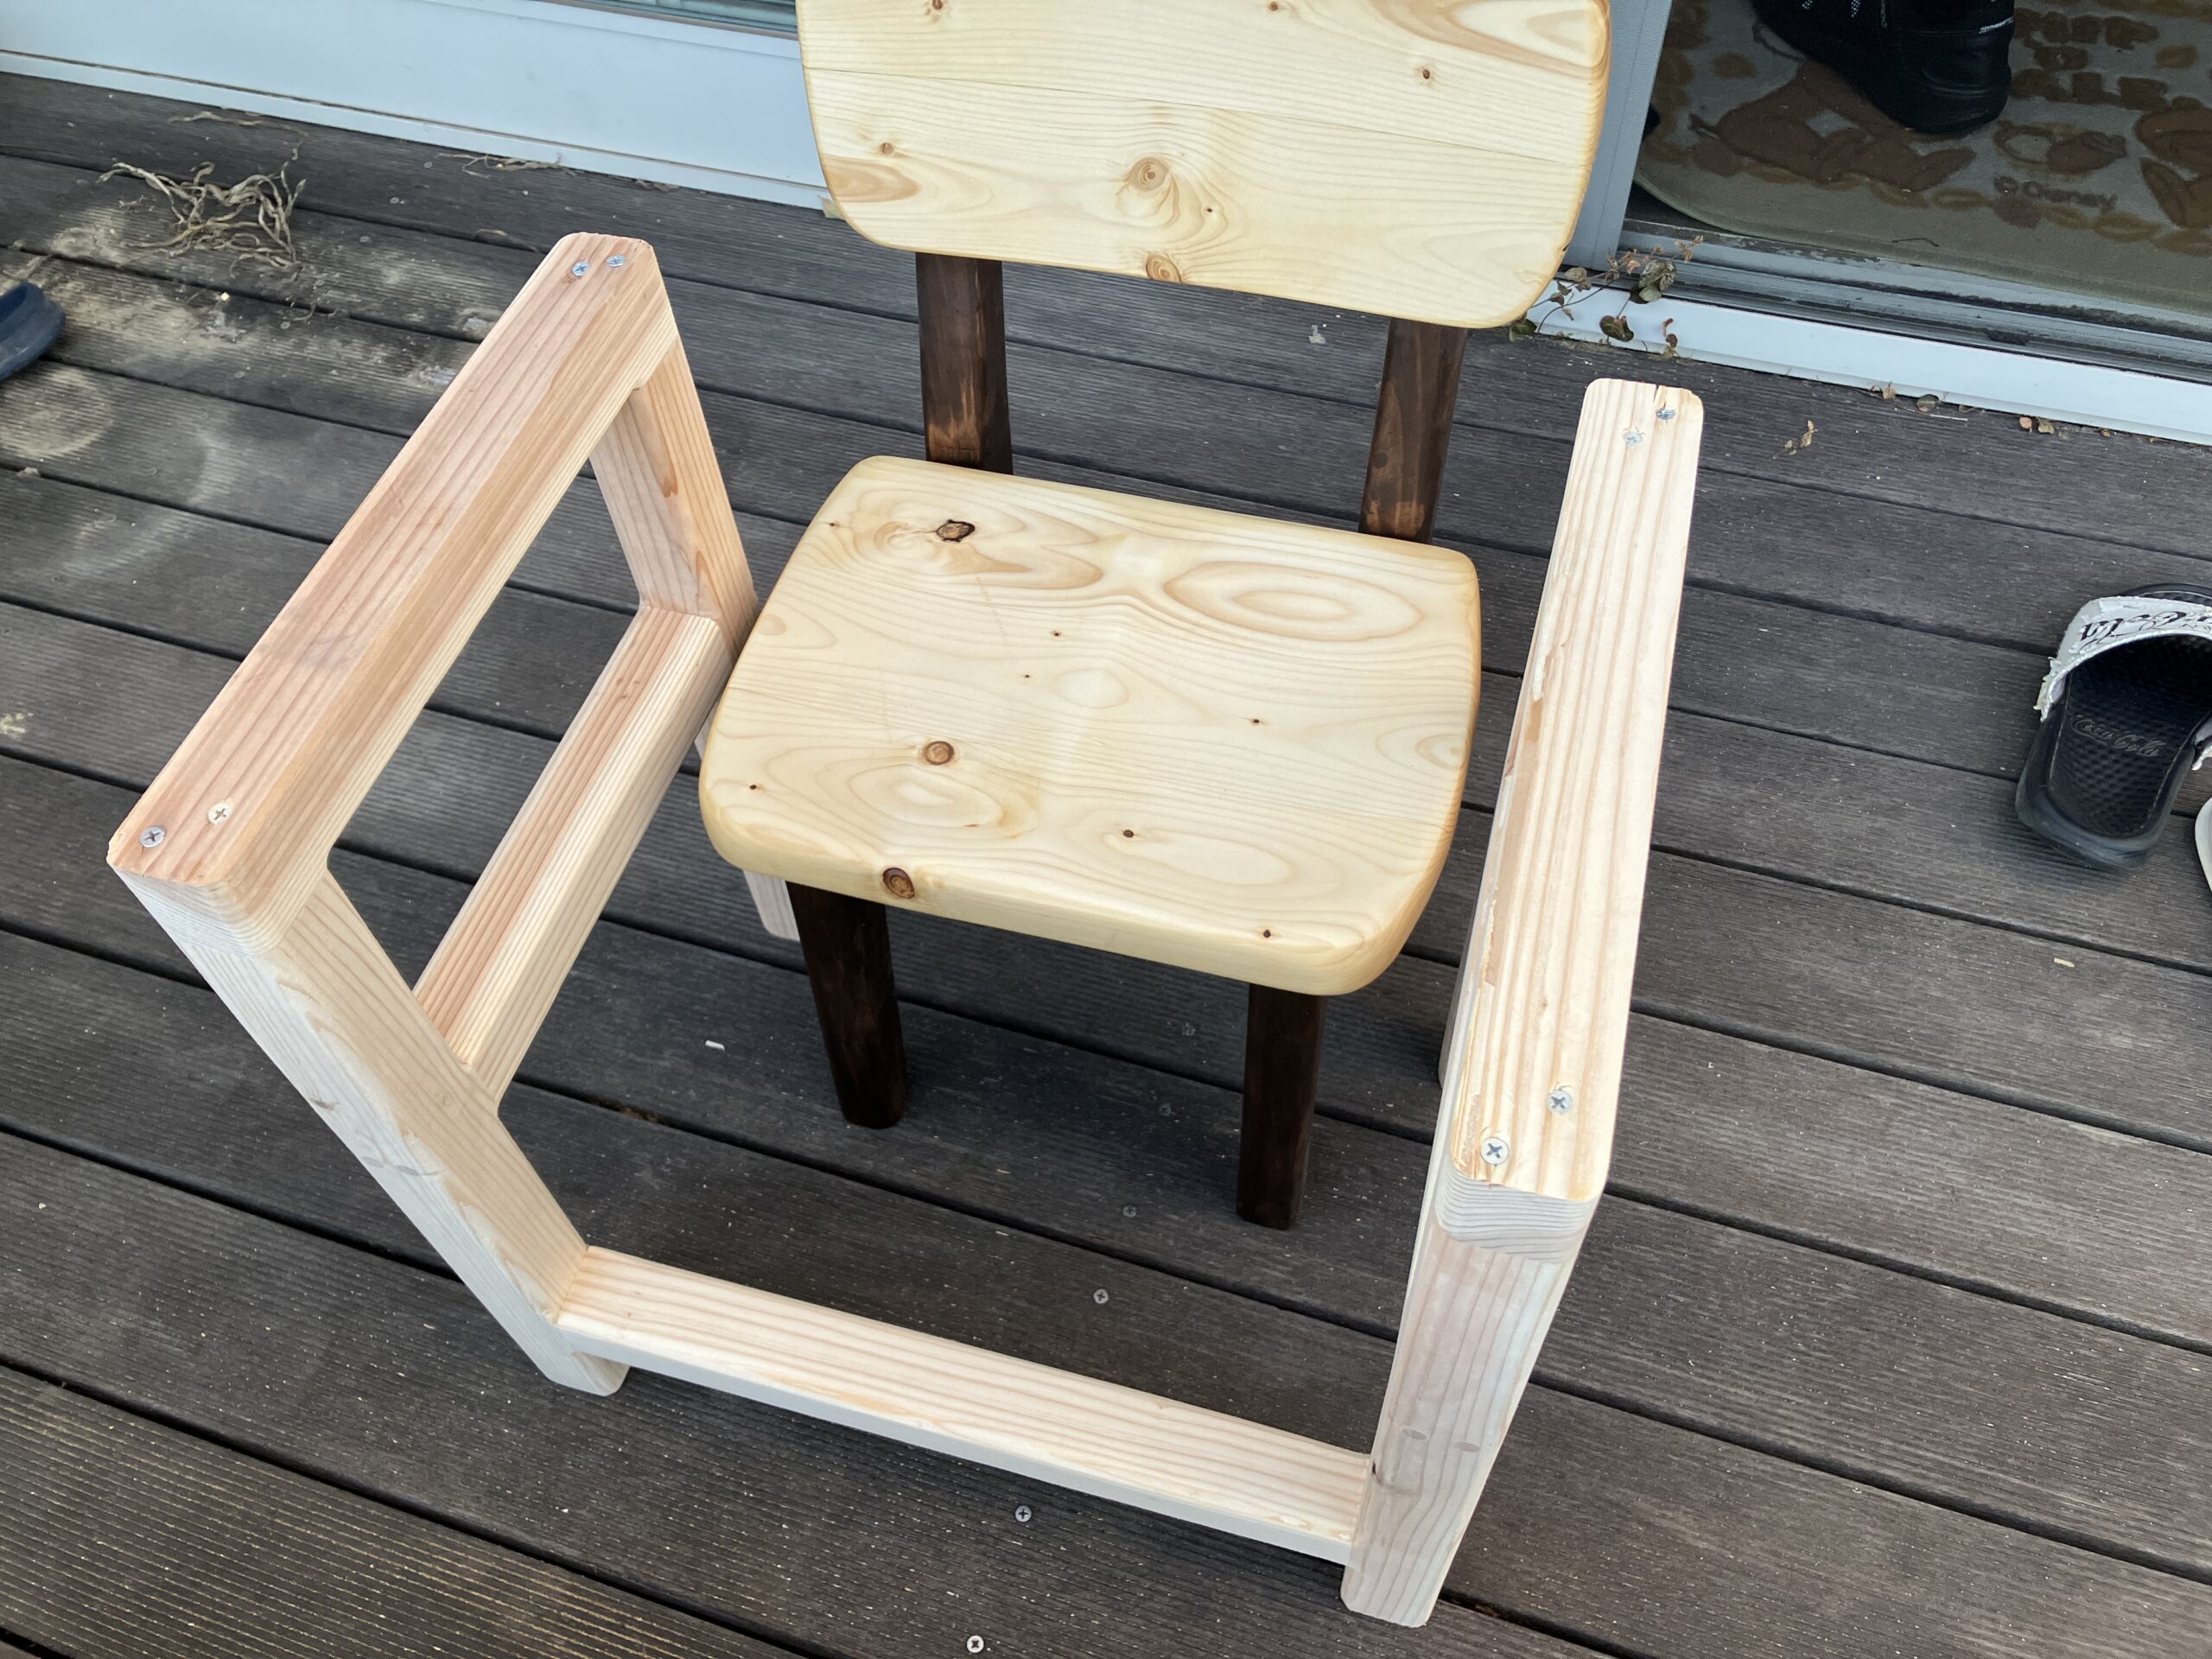
全てを杉で作ったので、脚の部分には色をつけ、天板は蜜蝋で木肌のままとします。
塗装をして完成です。塗料を紹介します。


慣れてしまえば、半日で完成できます。
使用工具
丸のこ
カフェ板の長さを調整したり、天板の四辺を整えるのに使います。

ジグソー
天板の曲線部分を切ります。直線も定規を使えば真っ直ぐ切れるので、丸のこよりも重宝します。
トリマー
写真ではルーターを使っていますが、トリマーの方が小回りがきいて便利です。ルーターとトリマーの大きな違いは力強さなので、深く彫りこまない時には、トリマーで十分です。
電動カンナ
天板のカフェ板接続部分を目立たなくするため、天板上面を2㎜ほど削ります。カンナで削ろうとすると結構な手間なので、電動カンナがあると便利です。

インパクトドライバー
脚をコの字に固定する際、ビスを打ったり、ドリルで孔を開けます。

ランダムサンダー
天板の表面を整えるため、磨きます。手でやすりがけしてもいいですが、サンダーはとても早く処理できます。

以上で作り方の説明は終わりです。最後まで読んでいただきありがとうございました。


コメント