こんにちは、源です。木製の物置を約半年かかって自作しました。
![](https://kantan-diy.com/wp-content/uploads/2023/07/de8b0abd7ba7114bec4d02279771fcd1-150x150.jpg)
自分の欲しいものがないなら、作るしかないよね
今回は材料費に注目しながら、物置の製作を報告します。
![](https://kantan-diy.com/wp-content/uploads/2023/07/de8b0abd7ba7114bec4d02279771fcd1-150x150.jpg)
人件費はプライスレスよ
同じ品物でも、購入した店や時期が違うことで値段が異なっています。また、木材は同じものでも長さの違いで値段が異なっています。
なお、購入した時期は、物置を作成していた令和元年8月から令和2年2月頃の約半年間です。
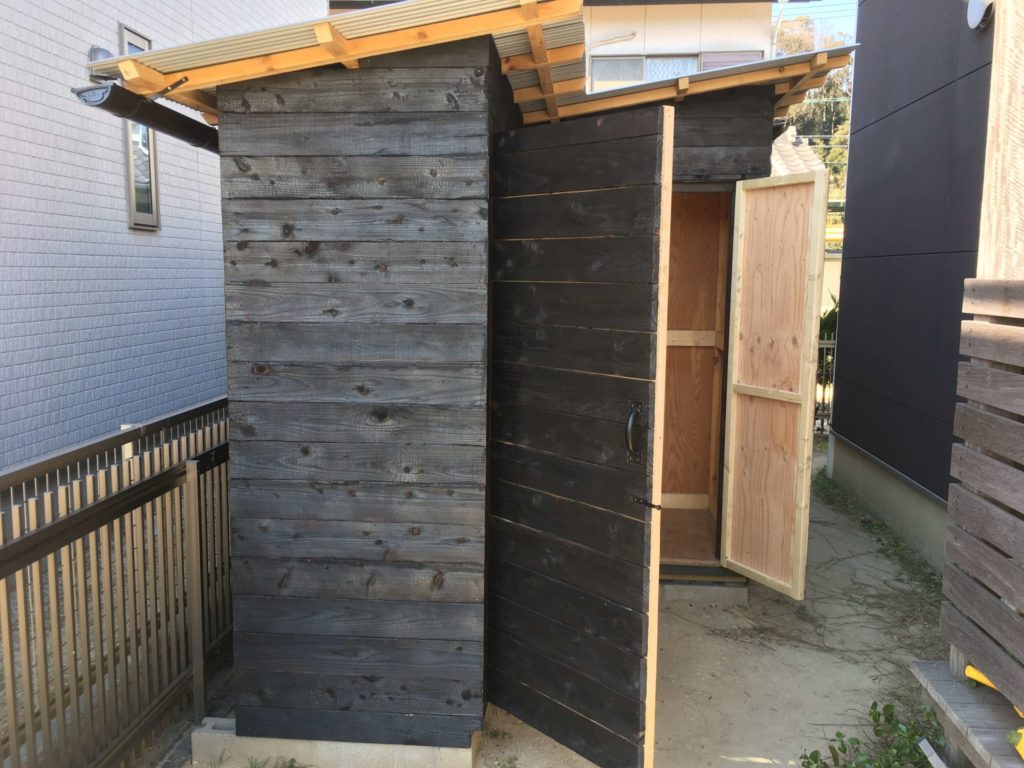
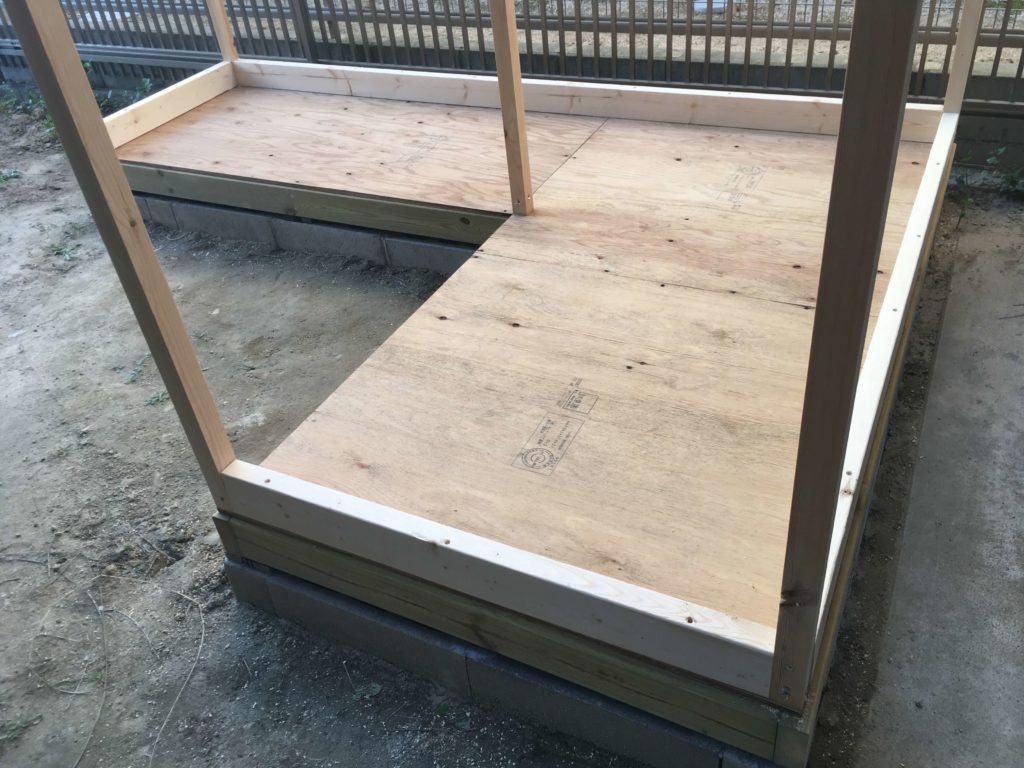
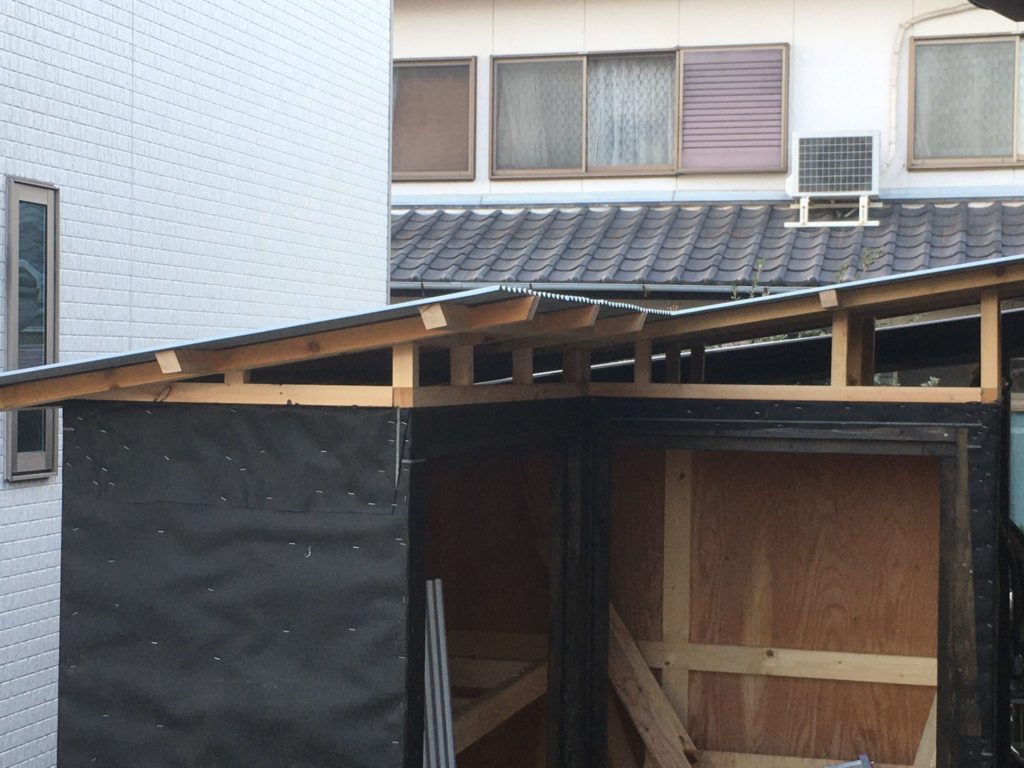
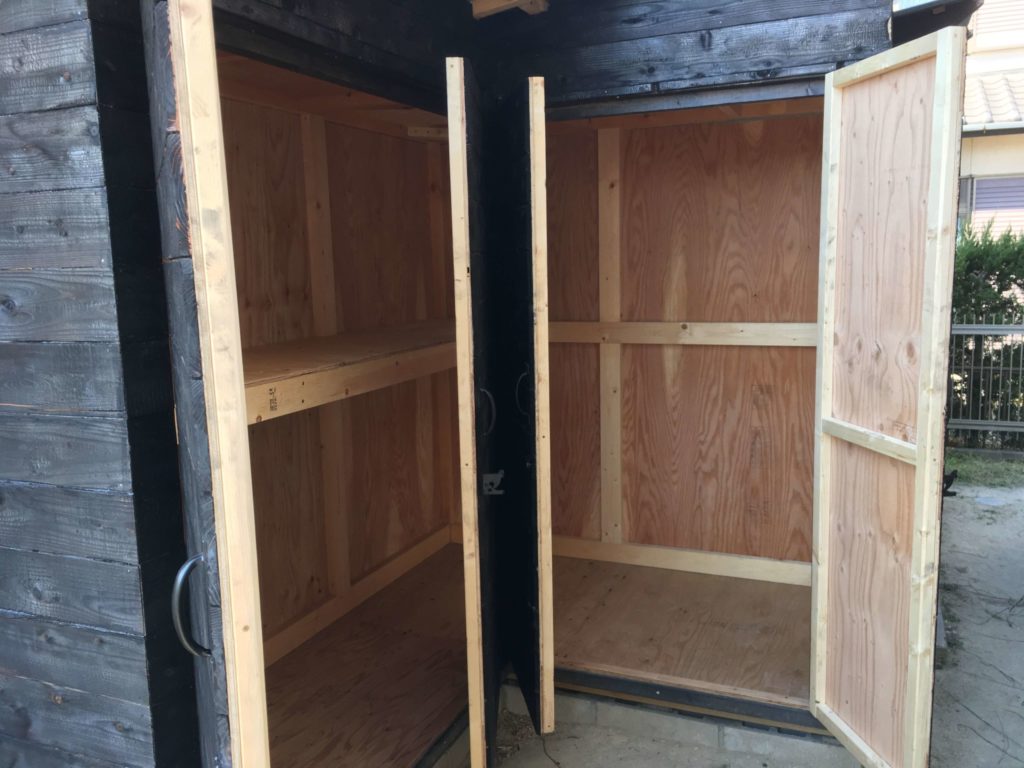
今回作成した物置はL字型で、長辺(2400㎜ー奥行き700㎜)短辺(1800㎜-奥行き1000㎜)の大きさで、収納部分の高さは2000㎜です。
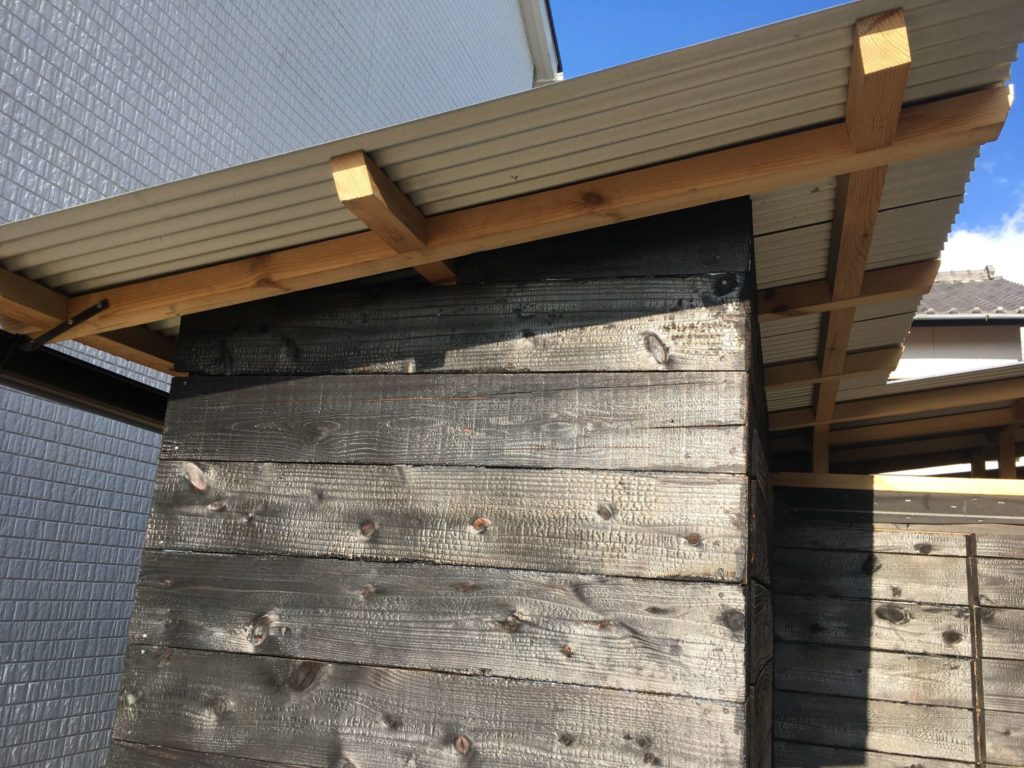
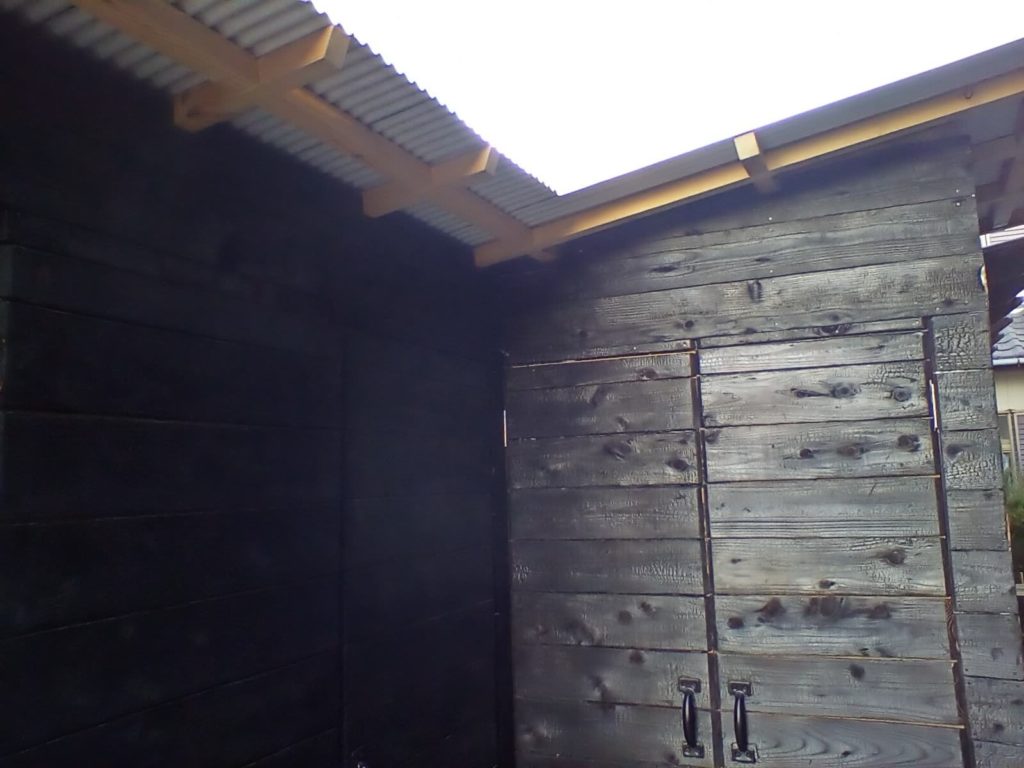
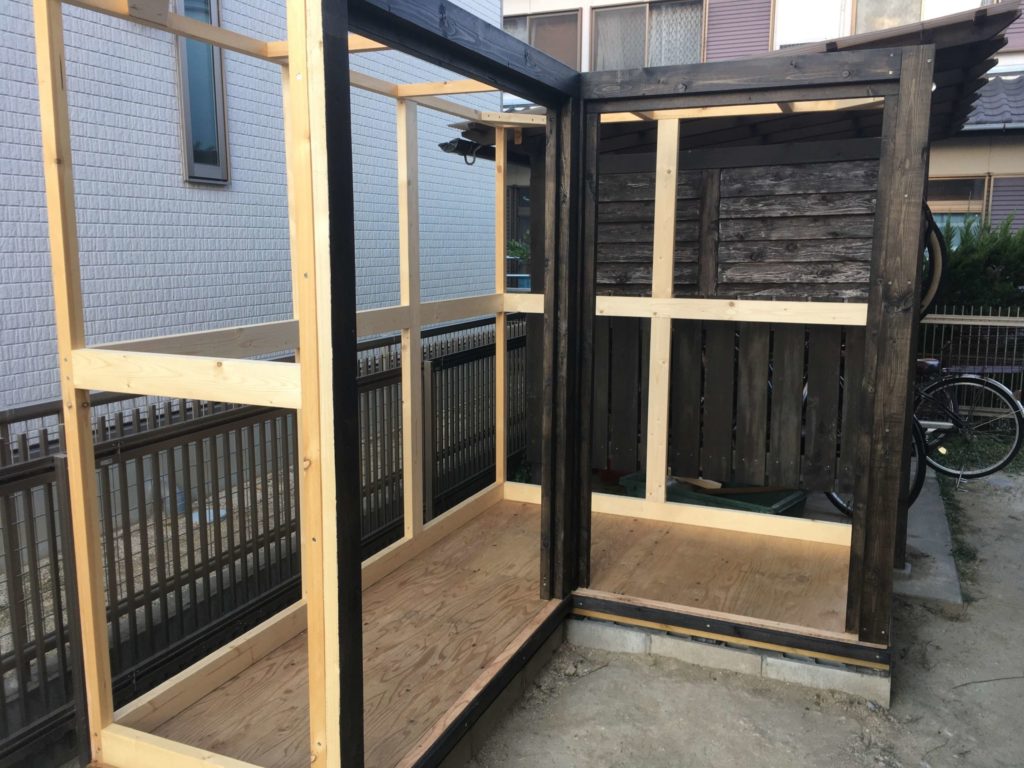
屋根は片流れの勾配屋根で、外壁を焼杉仕上げとしています。
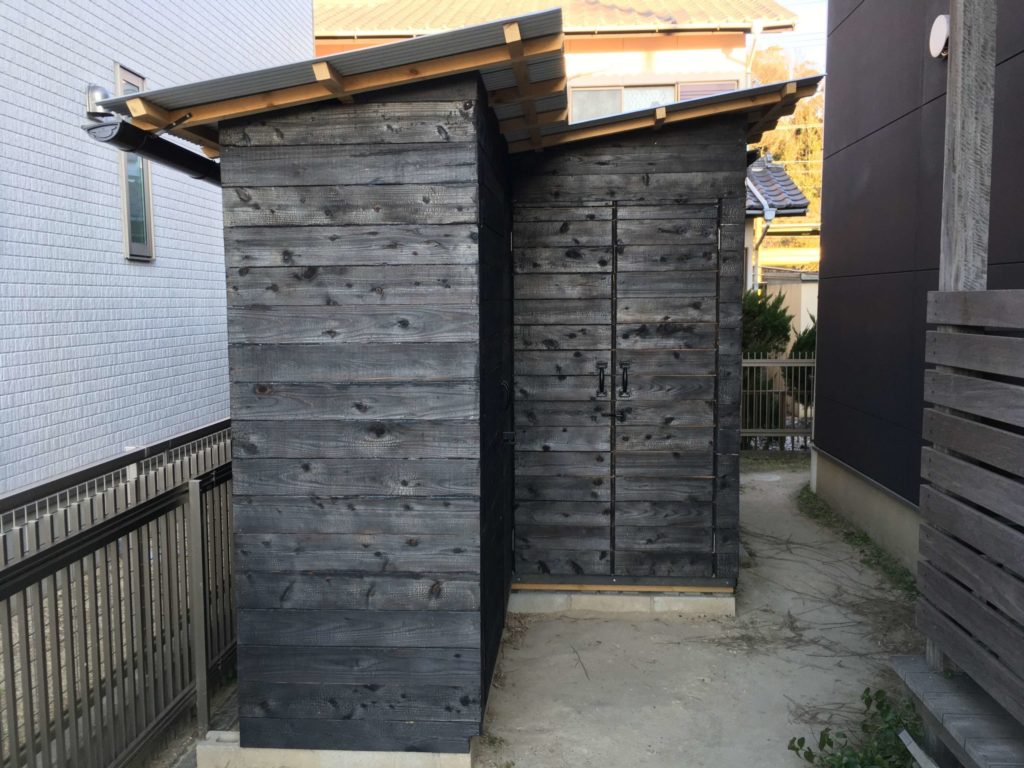
仕上がりの外観はこんな感じです。
![](https://kantan-diy.com/wp-content/uploads/2020/02/20200205_054302516_iOS-scaled-e1581243169493-1024x768.jpg)
![](https://kantan-diy.com/wp-content/uploads/2020/02/20200209_075125280_iOS-e1581243261466-1024x768.jpg)
![](https://kantan-diy.com/wp-content/uploads/2020/02/20200209_074503439_iOS-scaled-e1581243388417-1024x768.jpg)
木製物置材料一覧表
名称 | 規格 | 数量 | 単価 | 金額 | 使用箇所 | |
1 | インスタントコンクリート | 25㎏ | 2袋 | 615円 | 1,230円 | 基礎 |
2 | インスタントモルタル | 25㎏ | 2袋 | 591円 | 1,182円 | 基礎 |
3 | インスタントモルタル | 25㎏ | 2袋 | 615円 | 1,230円 | 基礎 |
4 | コンクリートブロック | 10㎝ スミ | 4個 | 105円 | 420円 | 基礎 |
5 | 共羽子板 | 25㎝ | 6本 | 152円 | 912円 | 基礎 |
6 | 防腐加工材(SPF材) | 2×4 | 3本 | 1,050円 | 3,150円 | 土台 |
7 | 防腐加工材(SPF材) | 2×4 | 1本 | 648円 | 648円 | 土台 |
8 | 構造用合板 | 910×1820×12㎜ | 12枚 | 1,350円 | 16,200円 | 壁、床 |
9 | 構造用合板 | 910×1820×9㎜ | 2枚 | 1,200円 | 2,400円 | 扉 |
10 | 赤松垂木KD材(6本束) | 4000×40×40㎜ | 1組 | 3,980円 | 3,980円 | 枠組 |
11 | SPF材 | 2×4 | 6本 | 780円 | 4,680円 | 構造材 |
12 | SPF材 | 2×4 | 5本 | 358円 | 1,790円 | 構造材 |
13 | SPF材 | 2×4 | 3本 | 378円 | 1,134円 | 構造材 |
14 | SPF材 | 2×4 6ft | 6本 | 382円 | 2,292円 | 構造材 |
15 | 垂木 | 30×40㎜ | 12本 | 228円 | 2,736円 | 扉 |
16 | 基礎パッキン(30個) | 100×100×20㎜ | 1箱 | 3,132円 | 3,132円 | 基礎 |
17 | 角杭 | 2本 | 127円 | 254円 | 基礎 | |
18 | ナット、ワッシャー | 1組 | 208円 | 208円 | 基礎 | |
19 | コーススレッド | 1箱 | 375円 | 375円 | 構造 | |
20 | コーキング材 | 1本 | 298円 | 298円 | 壁、天井 | |
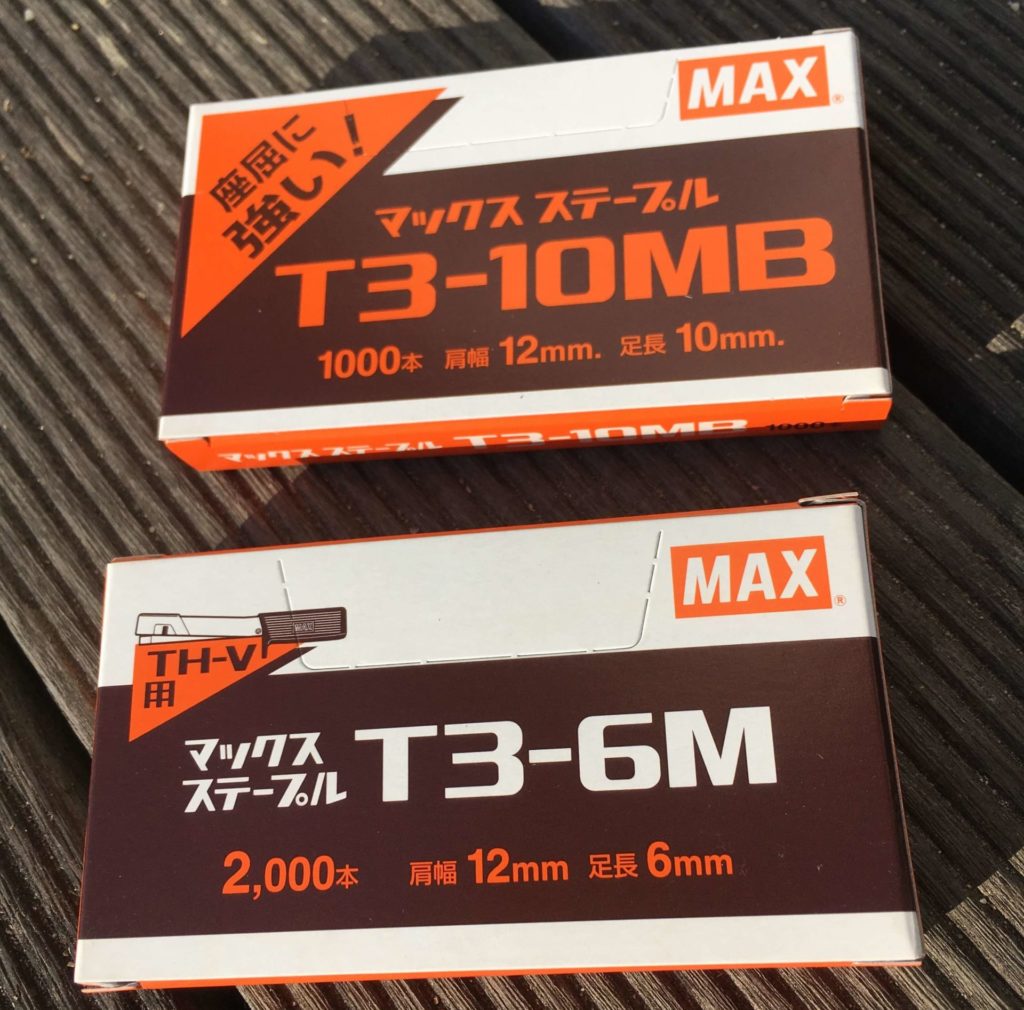
21 | タッカー針 | 10㎜ | 1箱 | 212円 | 212円 | 防水 |
22 | タッカー針 | 6㎜ | 1箱 | 198円 | 198円 | 防水 |
23 | コーススレッド | 1箱 | 478円 | 478円 | 構造 | |
24 | 杉野地板(10枚束) | 12×180×2000㎜ | 7束 | 1,180円 | 8,260円 | 外壁 |
25 | 木部塗料 | 1缶 | 1,080円 | 1,080円 | 構造 | |
26 | 木工用ボンド | 1本 | 646円 | 646円 | 扉 | |
27 | 木工用ボンド詰替え用 | 1袋 | 528円 | 528円 | 扉 | |
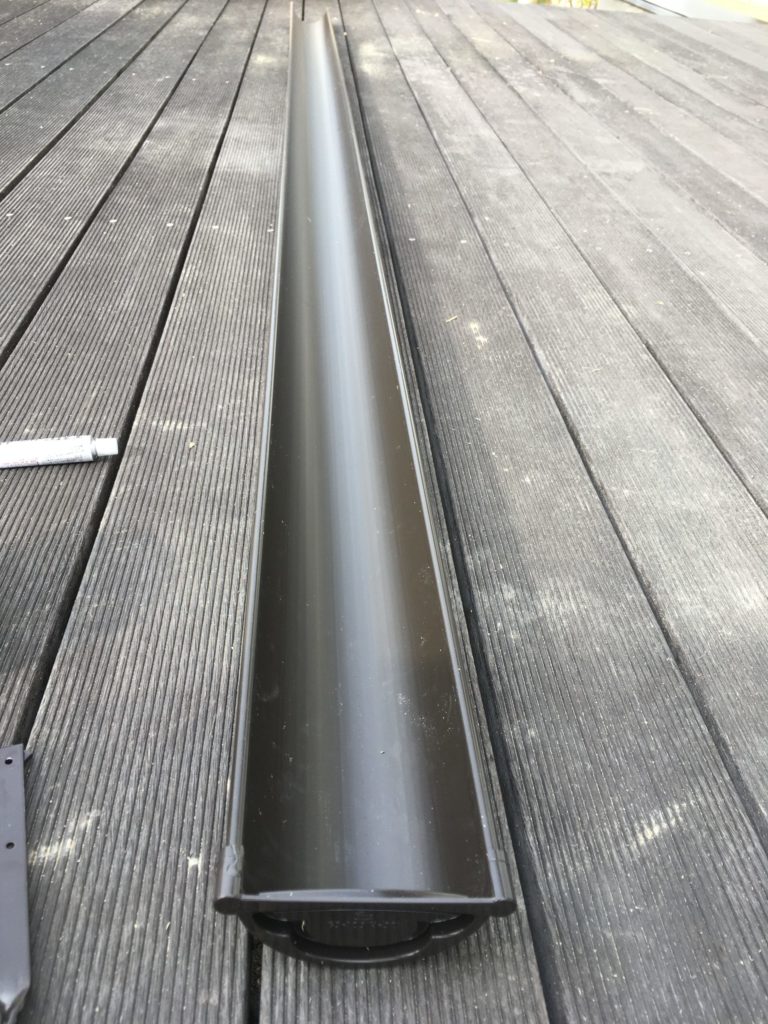
28 | 軒とい | 105×3600㎜ | 1本 | 1,936円 | 1,936円 | 雨樋 |
29 | とい金具 | 4本 | 198円 | 792円 | 雨樋 | |
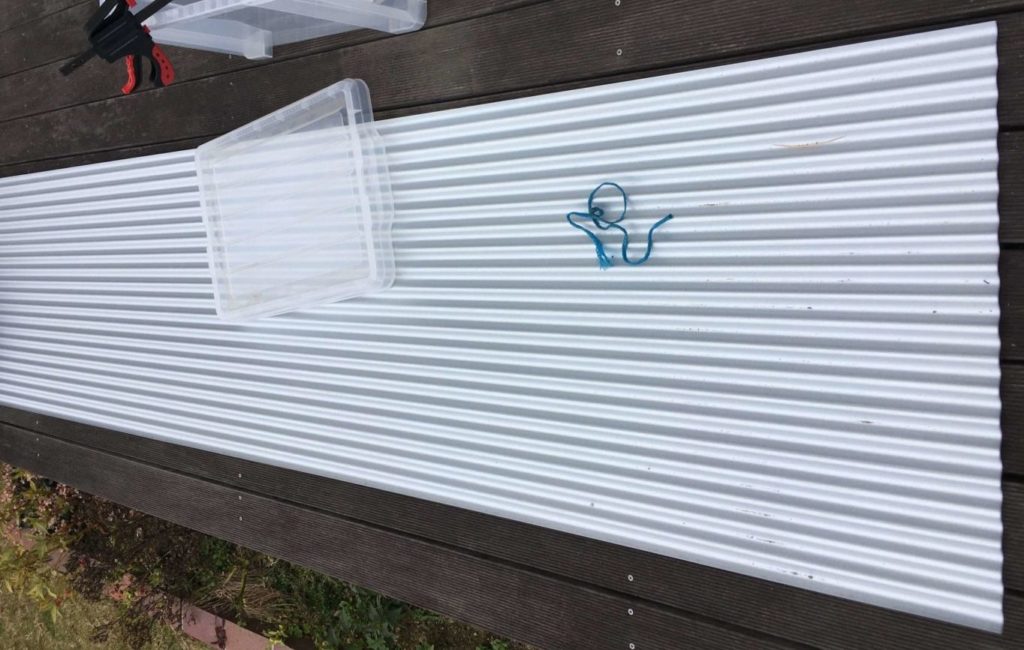
30 | ガルバリウム波板 | 9尺 | 7枚 | 1,280円 | 8,960円 | 屋根 |
31 | ガルバリウム波板用傘釘 | 1箱 | 780円 | 780円 | 屋根 | |
32 | 目地材 | 1本 | 580円 | 580円 | 屋根 | |
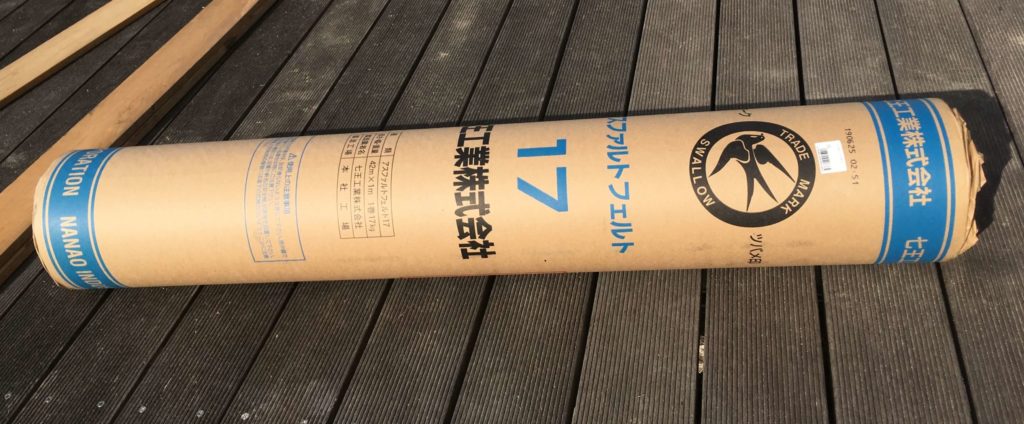
33 | アスファルトフェルト | 17㎏ | 1巻 | 3,980円 | 3,980円 | 壁、天井 |
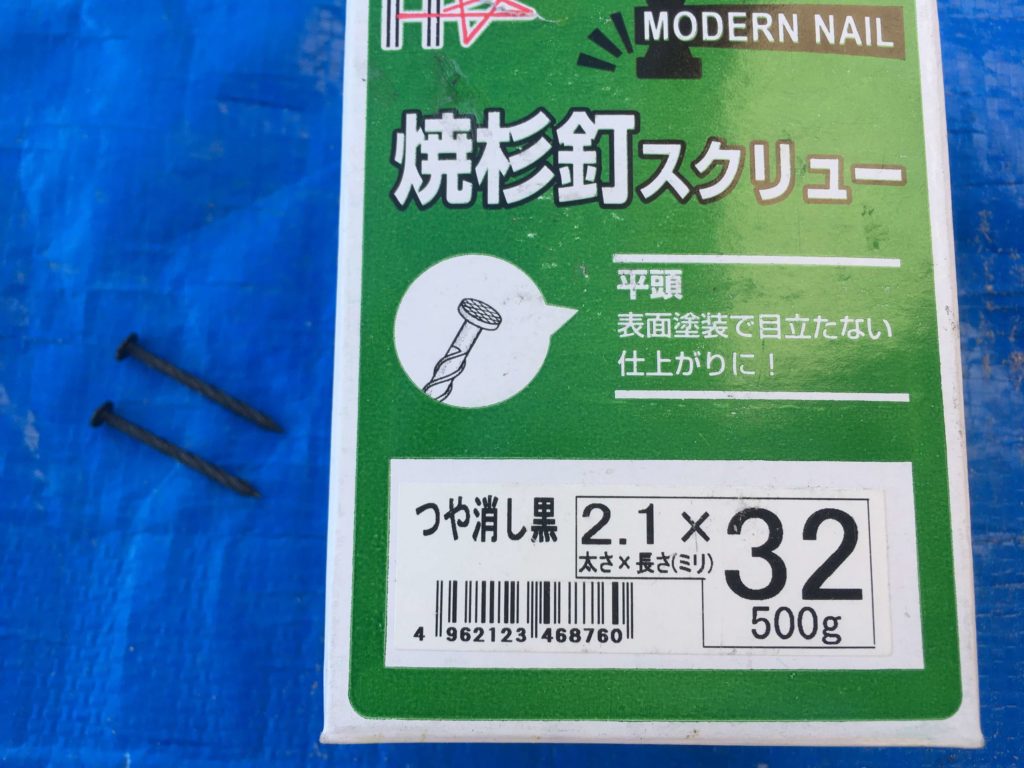
34 | スクリュー釘 | 焼杉用 | 1箱 | 1,342円 | 1,342円 | 外壁 |
35 | ビス | 60㎜ | 1袋 | 198円 | 198円 | 内装 |
36 | ビス | 30㎜ | 1袋 | 198円 | 198円 | 内装 |
37 | ステンレス蝶番 | 89㎜ | 8枚 | 377円 | 3,016円 | 扉 |
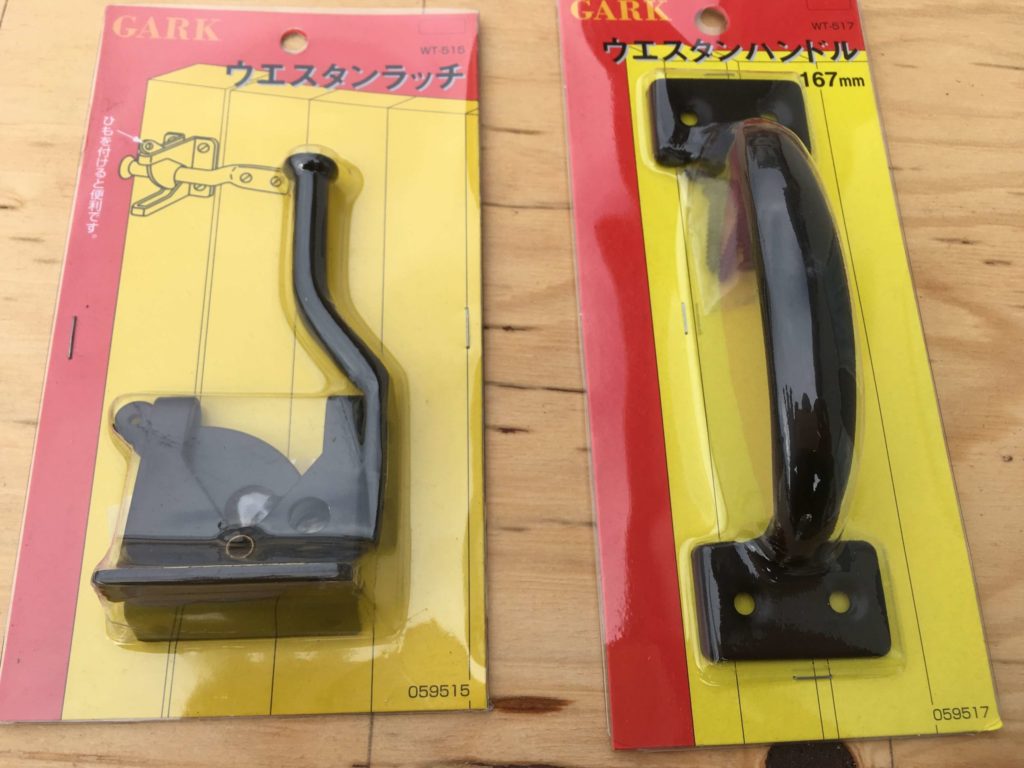
38 | ラッチ | 2個 | 655円 | 1,310円 | 扉 | |
39 | ハンドル | 167㎜ | 4個 | 621円 | 2,484円 | 扉 |
合 計 | 85,229円 |
今回の物置製作にかかった材料費は約8万5千円です。
材料の主なものは以下のとおりです。
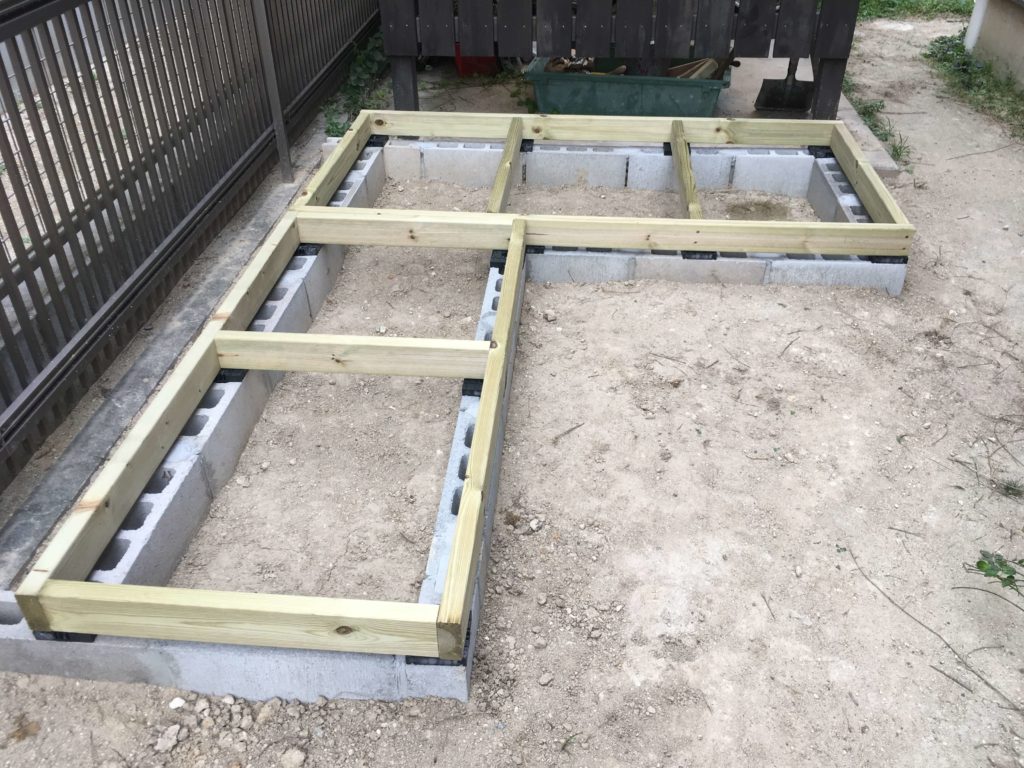
基礎の使った材料です。コンクリートブロック、基礎部分の風通しをよくするための基礎パッキン、アンカーボルトがわりの羽子板ボルトです。
![](https://kantan-diy.com/wp-content/uploads/2019/09/IMG_0671-1024x768.jpg)
![](https://kantan-diy.com/wp-content/uploads/2019/09/20190928_072926284_iOS-e1569666218126-1024x768.jpg)
![](https://kantan-diy.com/wp-content/uploads/2019/09/20190928_072947817_iOS-768x1024.jpg)
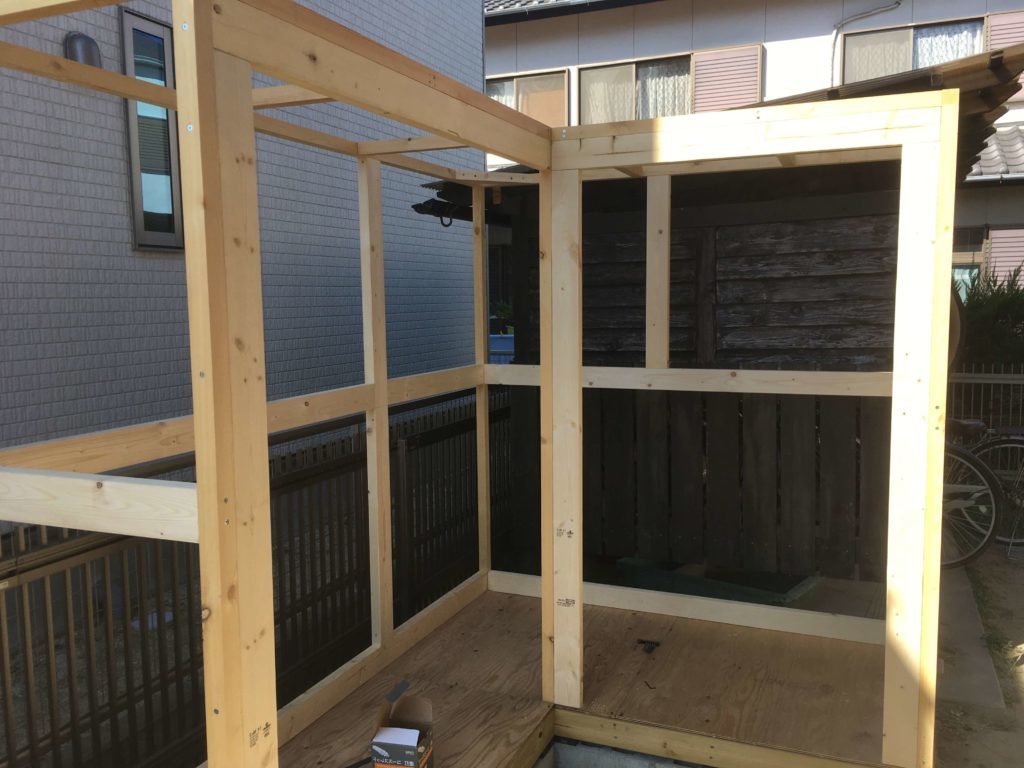
枠組みとなる材料です。赤松垂木、構造用合板です。
![](https://kantan-diy.com/wp-content/uploads/2019/10/20191027_050538449_iOS-e1572169777858-1024x686.jpg)
![](https://kantan-diy.com/wp-content/uploads/2019/10/20191005_062632921_iOS-1024x768.jpg)
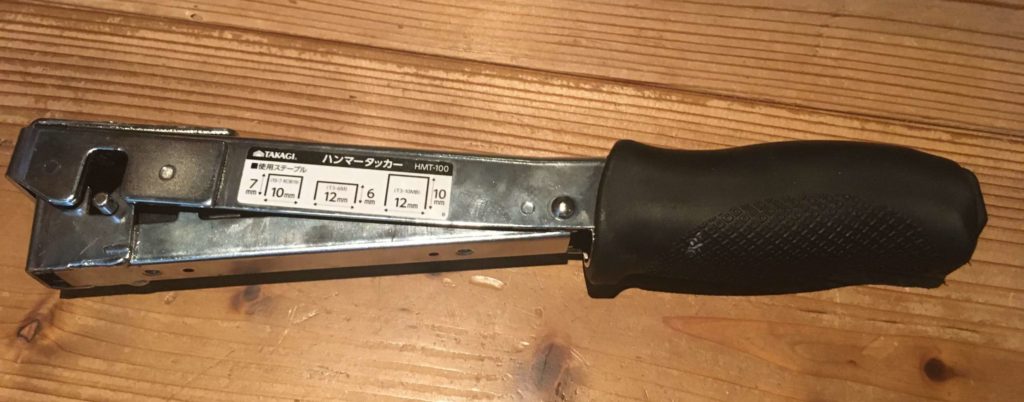
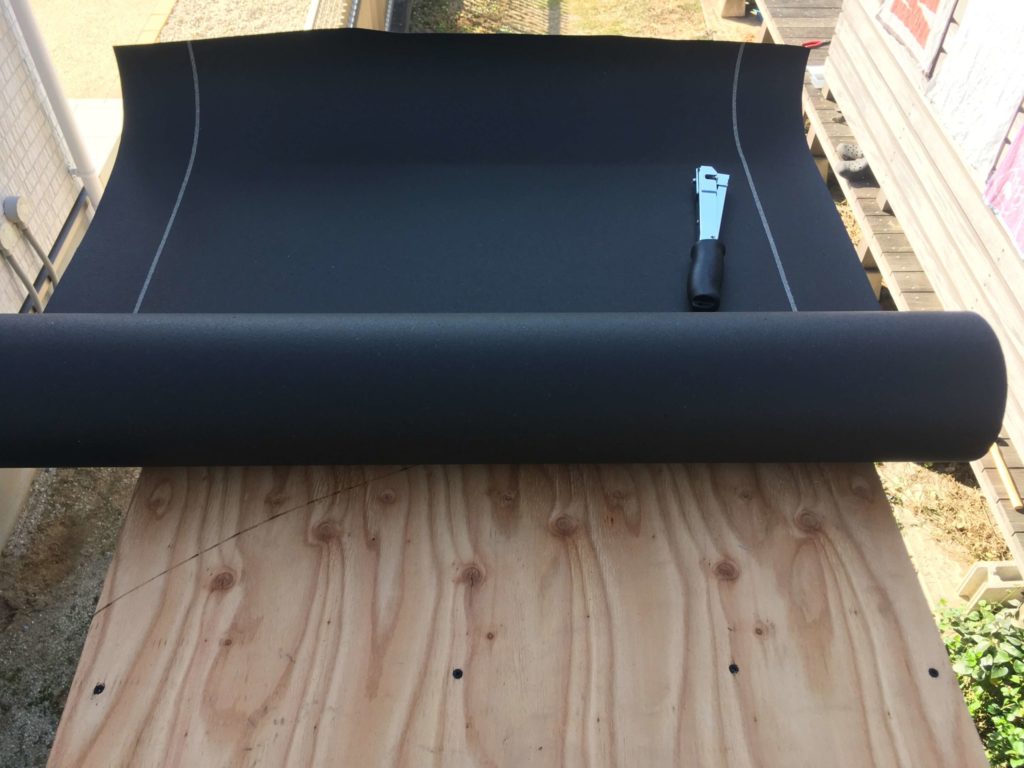
壁や天井に貼り防水するアスファルトルーフィングです。ルーフィングをホッチキスように貼る道具のタッカーと針です。
![](https://kantan-diy.com/wp-content/uploads/2019/12/20191201_010452952_iOS-scaled-e1575285834610-1024x424.jpg)
![](https://kantan-diy.com/wp-content/uploads/2019/12/tucker-scaled-e1575288327127-1024x402.jpg)
![](https://kantan-diy.com/wp-content/uploads/2019/12/20191201_052107337_iOS-scaled-e1575285667116-1024x1010.jpg)
屋根材の波板(ガルバリウム製)と雨といです。
![](https://kantan-diy.com/wp-content/uploads/2019/12/20191207_052043204_iOS-scaled-e1577176451961-1024x650.jpg)
![](https://kantan-diy.com/wp-content/uploads/2019/12/20191221_033421855_iOS-768x1024.jpg)
扉部分の取手やラッチです。外壁の杉板を打ち付けるための釘です。
![](https://kantan-diy.com/wp-content/uploads/2020/01/20200124_022309523_iOS-scaled-e1580038126799-1024x768.jpg)
![](https://kantan-diy.com/wp-content/uploads/2020/02/20200202_065716505_iOS-scaled-e1580637067998-1024x768.jpg)
今回は場所の制約から物置の形を「L字型」にしました。
このため、外壁面が多くなったり、構造が複雑になりました。単純な長方形であった場合は、もう少し安価に製作できたと思います。
![](https://kantan-diy.com/wp-content/uploads/2019/09/20190928_074050345_iOS-e1569666100153-1024x768.jpg)
![](https://kantan-diy.com/wp-content/uploads/2019/10/20191010_221613484_iOS-e1571018736960-1024x768.jpg)
![](https://kantan-diy.com/wp-content/uploads/2019/11/20191104_063926062_iOS-e1572869901605-1024x768.jpg)
![](https://kantan-diy.com/wp-content/uploads/2019/11/IMG_1070-e1573443078233-1024x768.jpg)
![](https://kantan-diy.com/wp-content/uploads/2019/11/20191116_070226466_iOS-scaled-e1573898565193-1024x768.jpg)
![](https://kantan-diy.com/wp-content/uploads/2019/11/20191123_055340485_iOS-scaled-e1574589665919-768x1024.jpg)
![](https://kantan-diy.com/wp-content/uploads/2019/11/20191124_050950095_iOS-scaled-e1574589204419-1024x768.jpg)
![](https://kantan-diy.com/wp-content/uploads/2019/12/20191201_022816058_iOS-1024x768.jpg)
![](https://kantan-diy.com/wp-content/uploads/2019/12/20191216_023013455_iOS-scaled-e1577013361909-1024x768.jpg)
![](https://kantan-diy.com/wp-content/uploads/2019/12/20191218_222638264_iOS-scaled-e1577186288813-1024x768.jpg)
![](https://kantan-diy.com/wp-content/uploads/2020/01/20200124_010746829_iOS-1024x768.jpg)
![](https://kantan-diy.com/wp-content/uploads/2020/02/20200211_022420598_iOS-scaled-e1581416222154-1024x768.jpg)
既製品の物置で同程度の大きさのものを購入した場合、組み立て費用を含め、10万円を切ることはなかなか難しいことです。
手間さえ惜しまなければ、既製品よりも安価に気に入った物置を作ることができます。
今回、ロードバイクを収納する目的で作ったので、自転車が錆びることが無いように雨漏りや湿気の混入が無いように気を付けました。また、構造的にも頑丈にしたいと思いました、
予算を抑えて作るため工夫したポイントしては以下のポイントです。
- 基礎はコンクリートブロックで作る
- 2×4工法で作る(2×4材と構造用合板をメインで作る)
- 屋根形状をシンプルな片流れとし、ガルバリウム鋼板製の波板とする
- 防水はアスファルトフェルトで壁、天井ともに施工する
- 外壁は杉野地板を焼杉加工する
物置の製作過程は、下記のまとめ記事をご覧ください。
![](https://kantan-diy.com/wp-content/uploads/2020/02/20200209_074503439_iOS-scaled-e1581243402584.jpg)
最後まで読んでいただきありがとうございました。
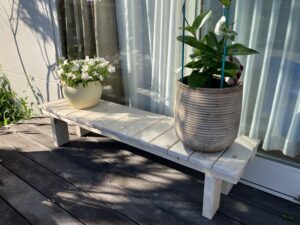
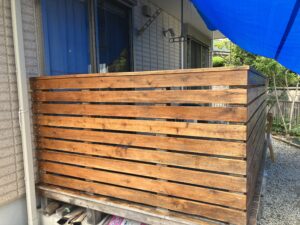
ウッドデッキや物置に関する記事はこちらです。よろしければご覧ください。
コメント